Today we will create Burger poster using GIMP.
What you will learn
- How to use curves
- How to add Text
- How to shearing object with Shear Tools
- How to change background color with Layer Mode
Tutorial Steps
Step 1
Create an A4 poster size in File > New and choose the A4 Template.

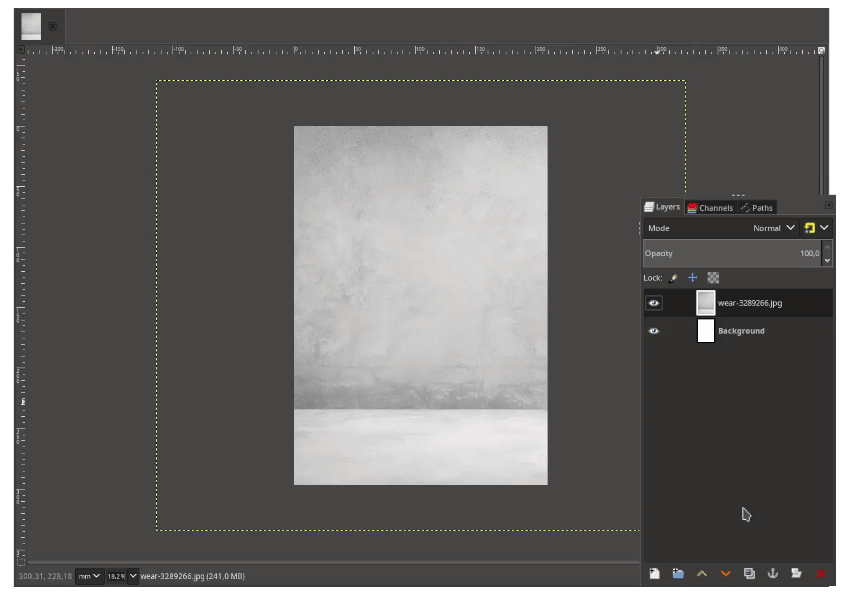
Step 2
And bring up the wall texture in File > Open as Layers. Press Shift+S to scale it up and hold Ctrl+Shift while scaling to make a proportional scale.
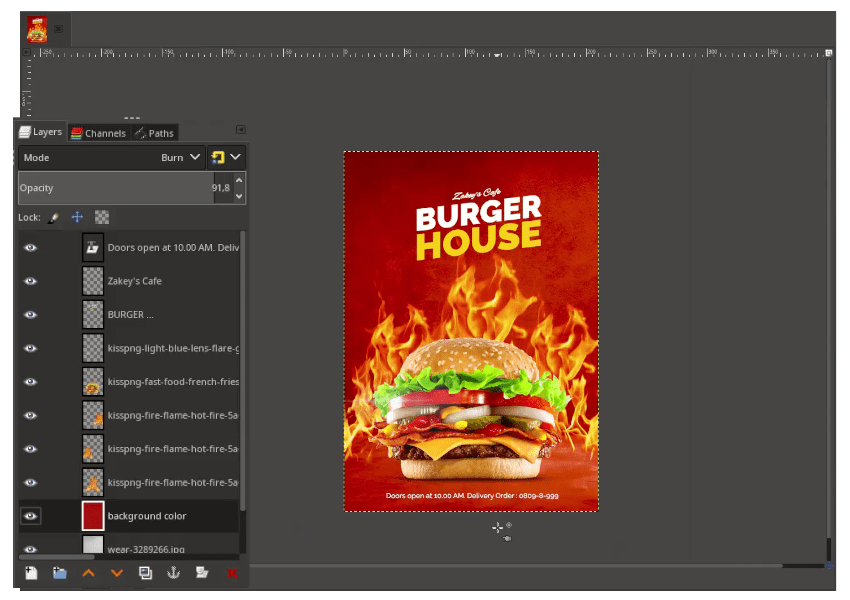
Step 3
Create a new layer for the color that we want to change (#aei1d0e) then change the layer mode to Burn and reduce the opacity. With Bucket Fill Tool (Shift+B) and click on the canvas.

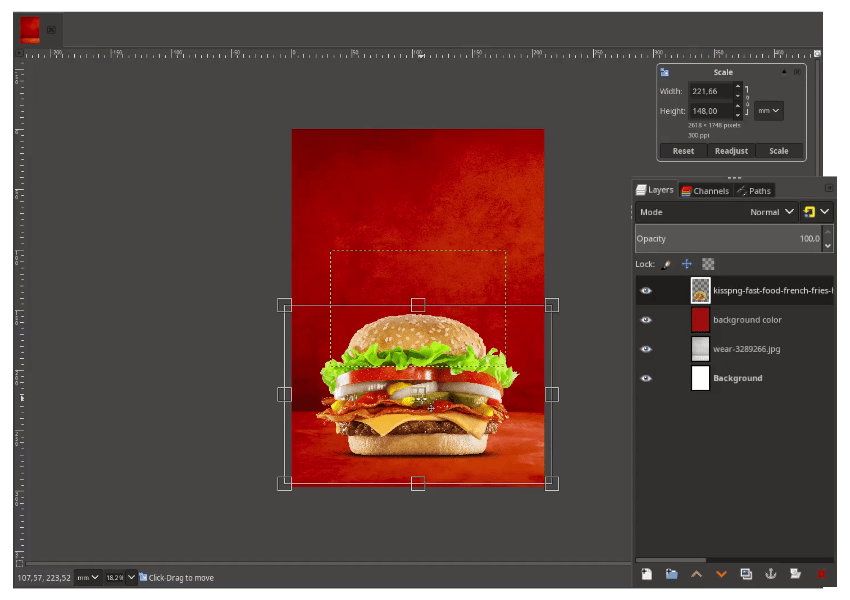
Step 4
Bring the burger png in File > Open as Layers and choose the images. Press Shift+S to scale it up.
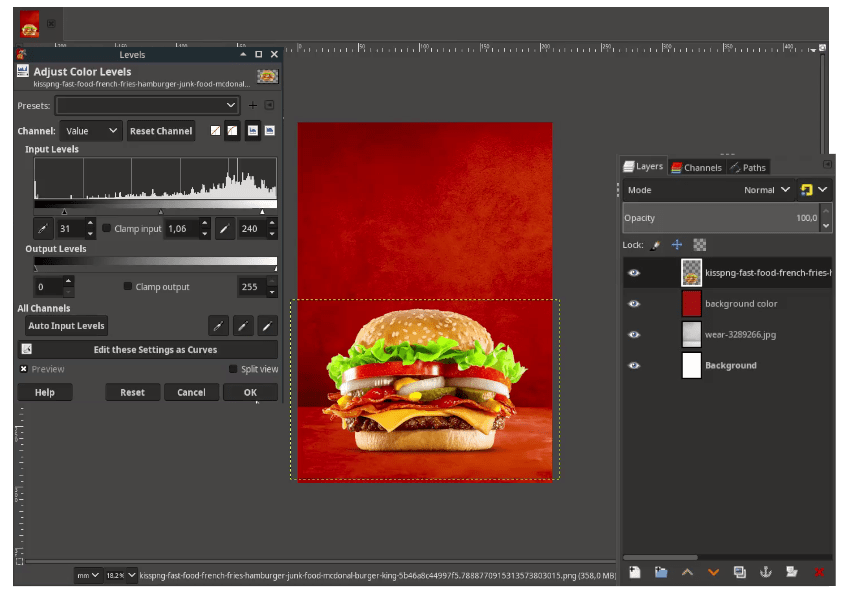
Step 5
Adjust the Levels to change the contrast in Colors > Levels.
Step 6
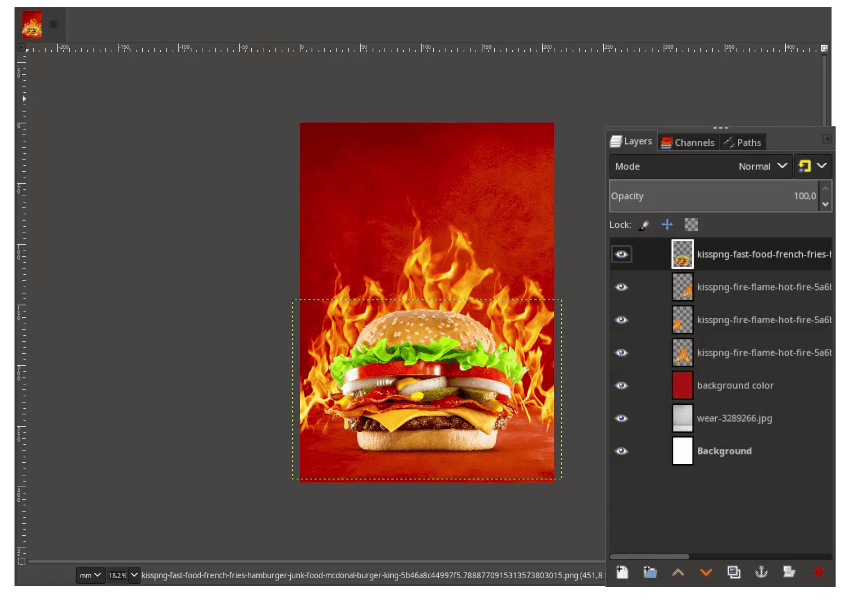
Add the fire png in File > Open as Layers then place the layer below the burger.
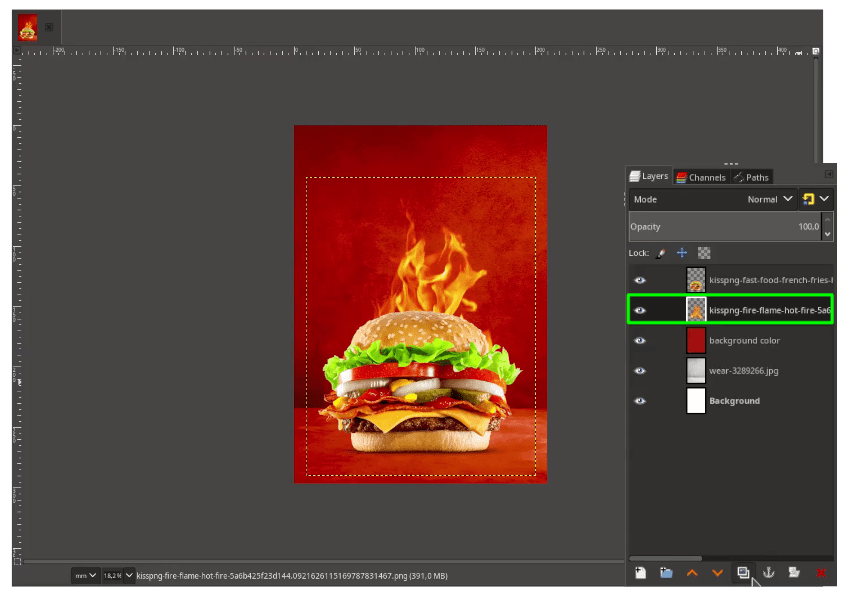
Duplicate more fire and place to the right and left sides.
Step 7
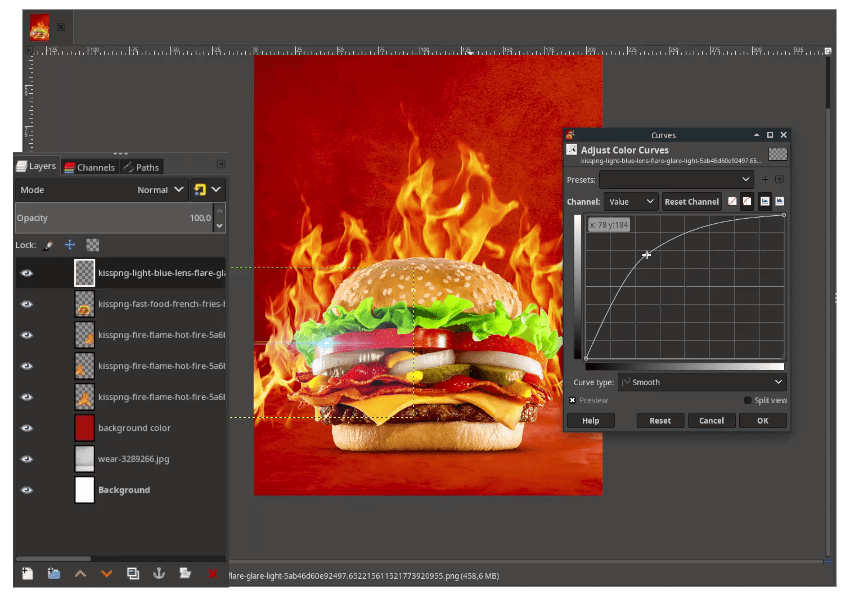
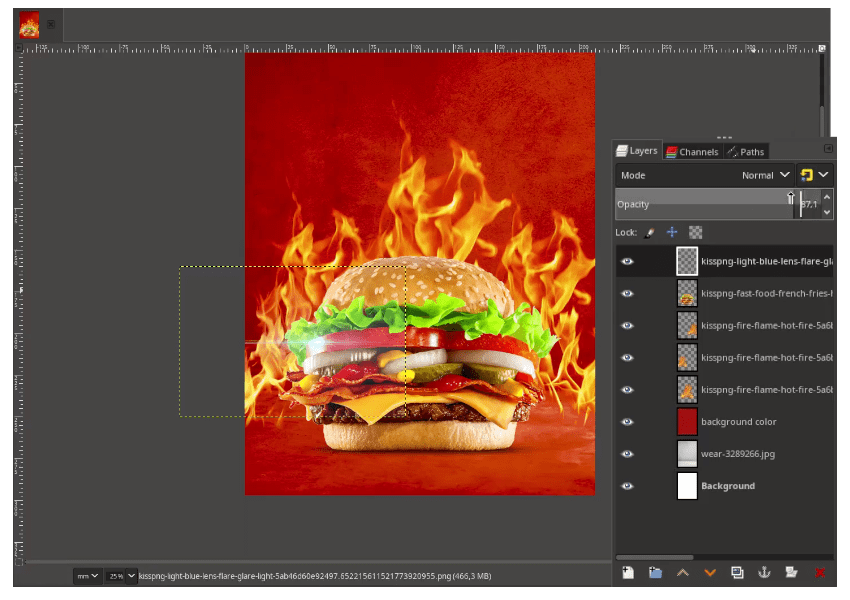
Add the lens flare png in File > Open as Layers then Adjust the curves to make it white.
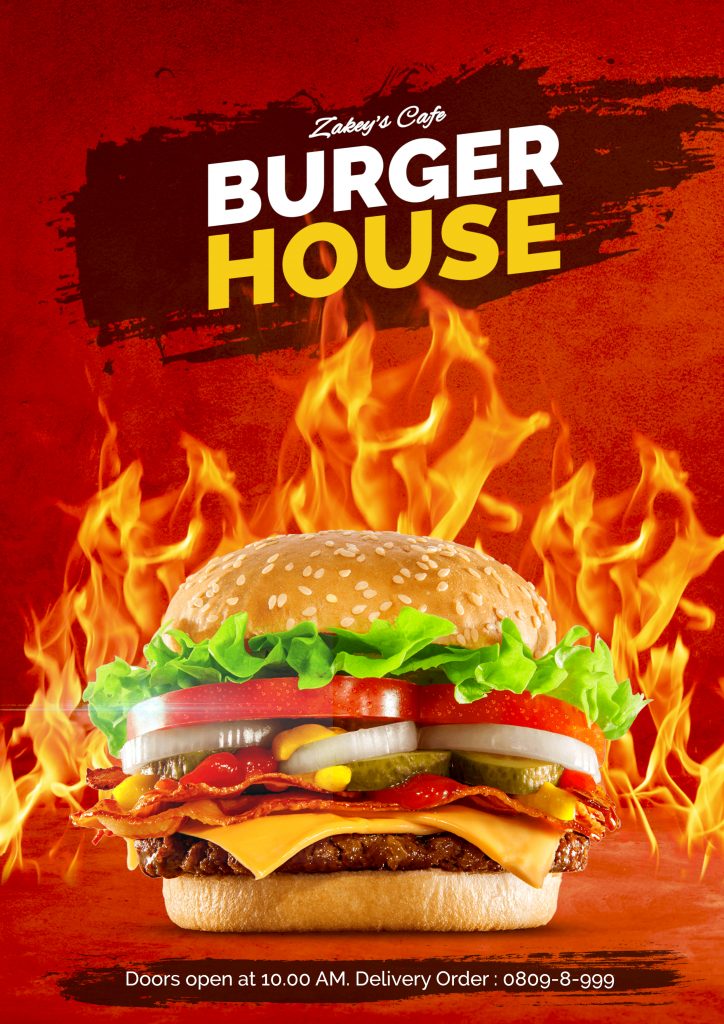
Result:
Step 8
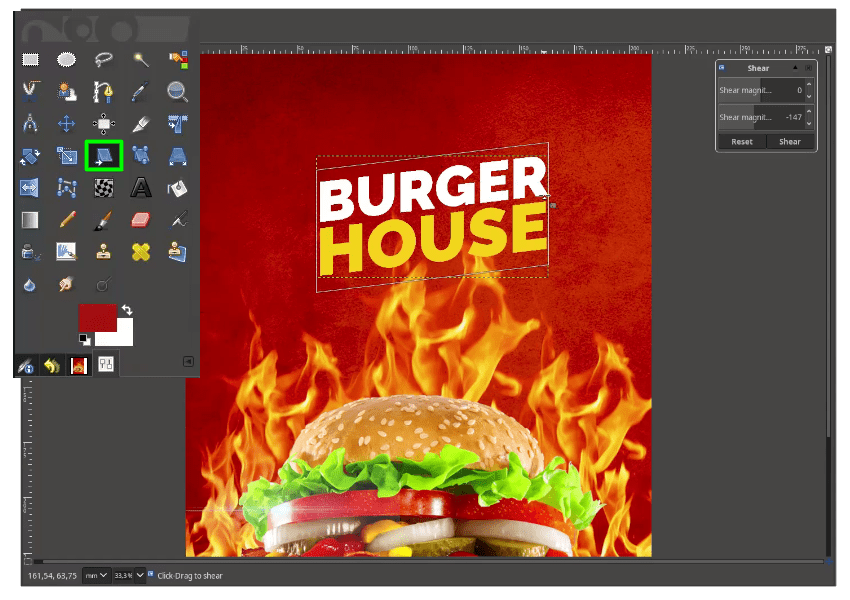
Create a text with Text Tool (T) you can adjust the spacing to make it close between the “Burger” and “House” text.

Make a shearing with Shear Tool (Shift+H) then just drag to the top. Add more text to the top and the bottom of the poster.
Result:
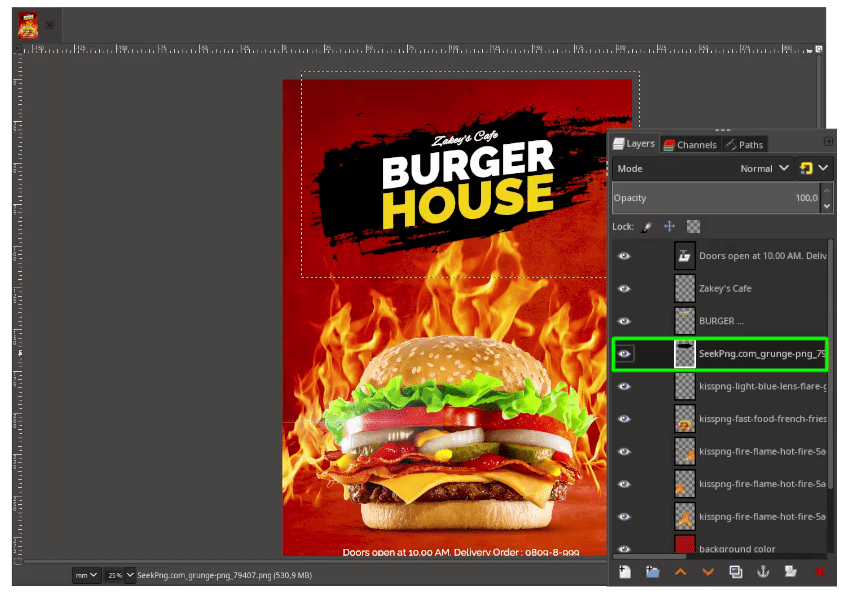
Step 9
Add the brush stroke png in File > Open as Layers then place it below the text.
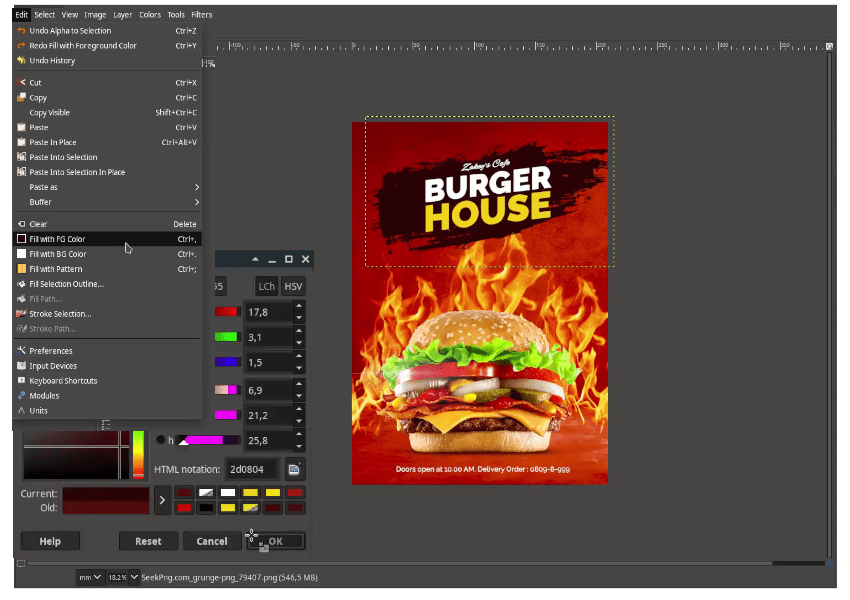
Step 10
Now this time, change the color by right click on the brush stroke png >Alpha to Selection. It will make a selection.

While in the selection, change the foreground to red color (#2d0804) then go to Edit > Fill with FG Color.
Step 11
Add another brush stroke to bottom text in File > Open as Layers. you can press Shift+S to do scaling.
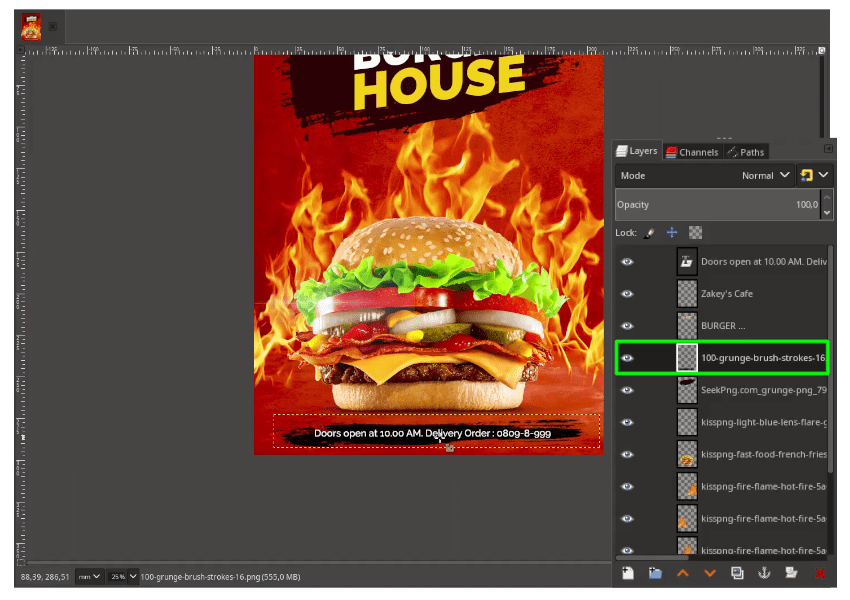
Change the color in Step 10 method.
Your Burger is Ready!
That’s it, in this tutorial you will learn how to make a food poster design in GIMP. You can create more food posters with this tutorial!
Tutorial Assets
- Wall Texture
- Burger
- Fire
- Lens Flare
- Brush Stroke Title
- Brush Stroke – Onlygfx
- Alex Brush Font
- Raleway Fonts

