Hello everyone in this tutorial we are going to create a flat portrait illustration with tracing method using reference image in Inkscape.
What you will learn
- How to use bezier tool
- How to use dropper tool
- How to intersect path
- How to lock the corner using bezier tool
- How to create a layer
- How to lock a layer
Tutorial Steps
Step 1
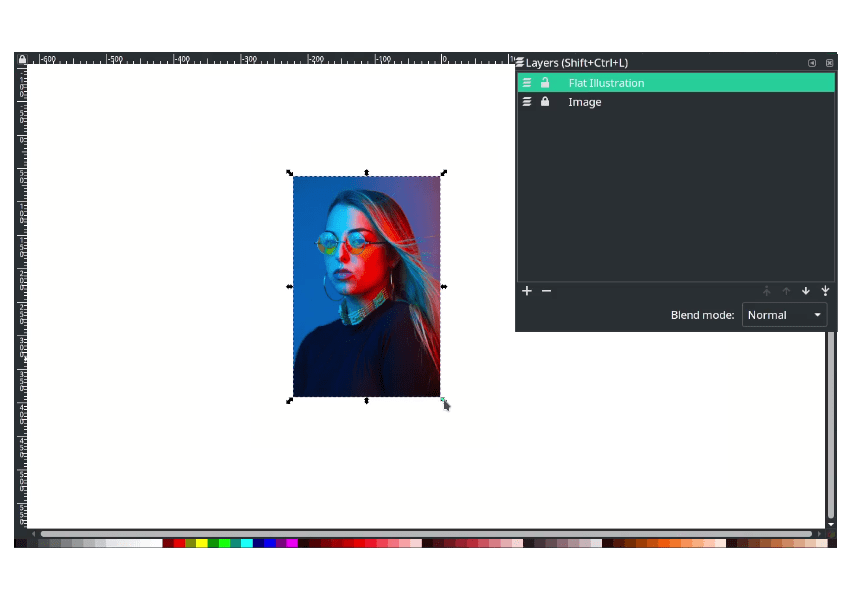
Import the image in File > Import > then click OK. Click the pictures and Press shift+ctrl+r to make the canvas size the same as the images.
Step 2
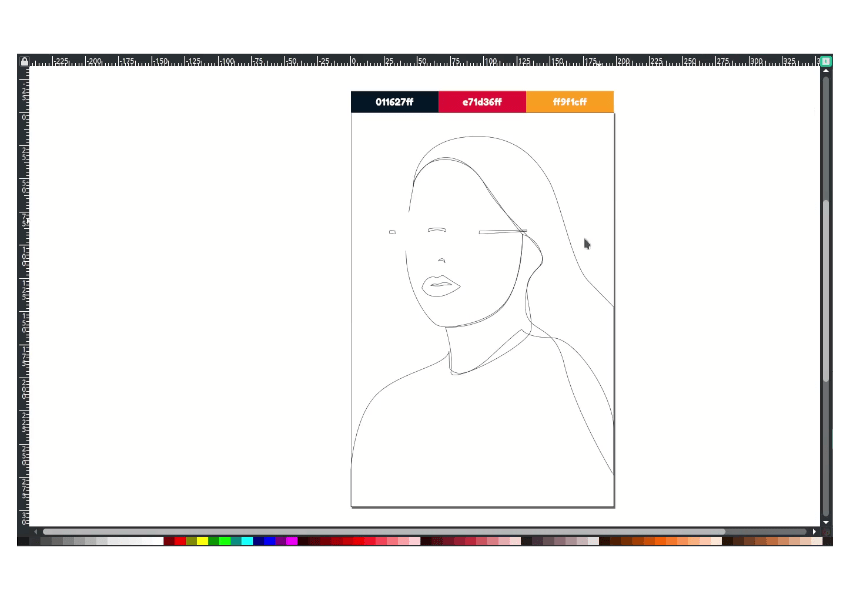
With the bezier tool (B), draw the face’s shape by clicking and dragging.
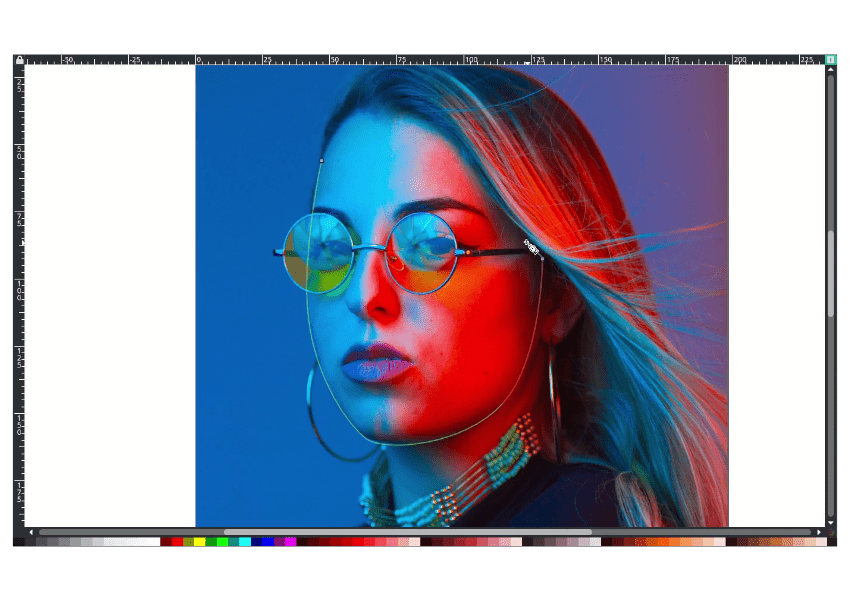
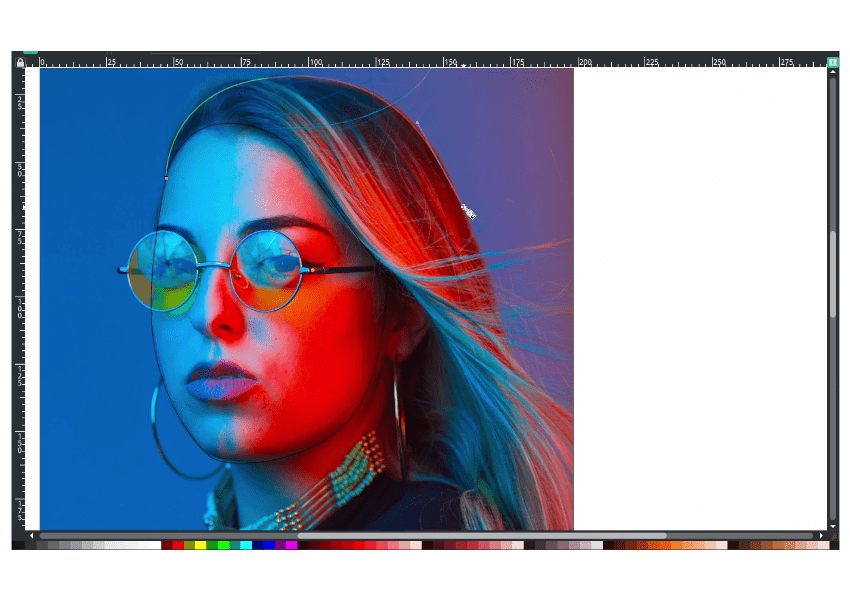
Continue to the hair, neck, and body.
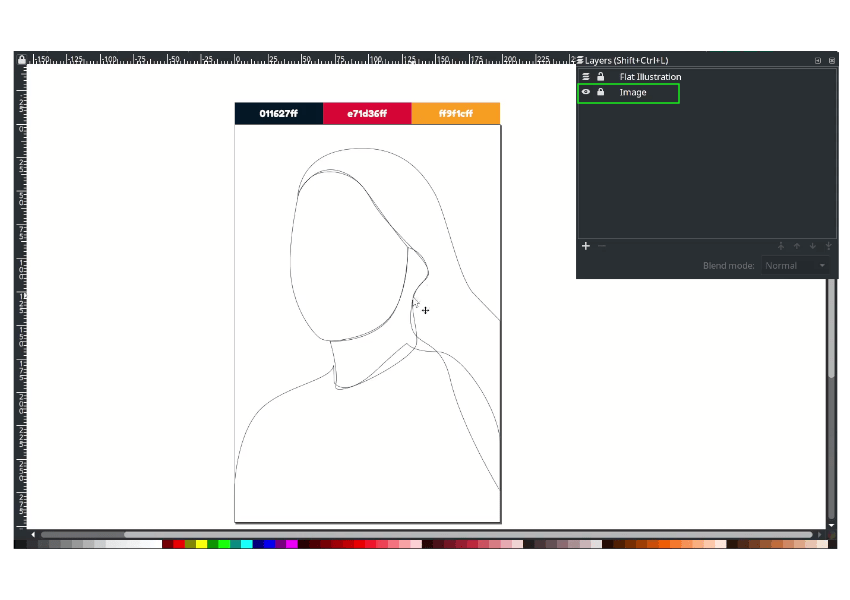
To see the result, click the layer left of the lock icon to hide the layer.
Result:
Step 3
Create an ellipse in eyeglasses with ellipse tools (E).
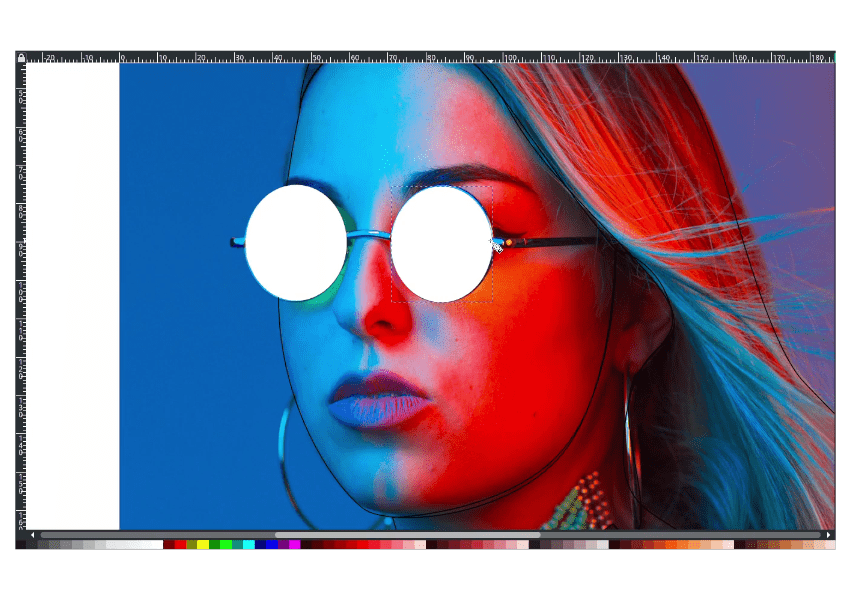
Draw the eyeglasses frame with bezier tool (B).
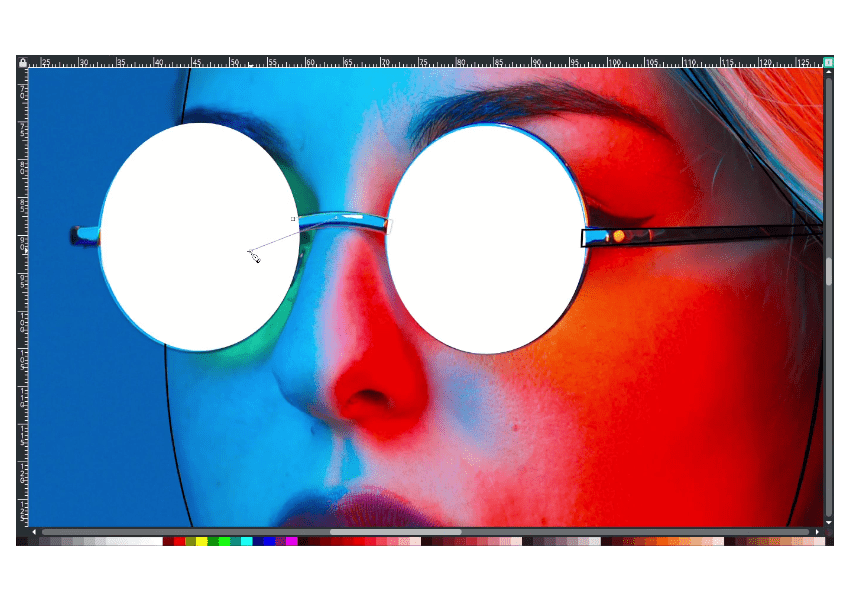
Continue draw to the nostril
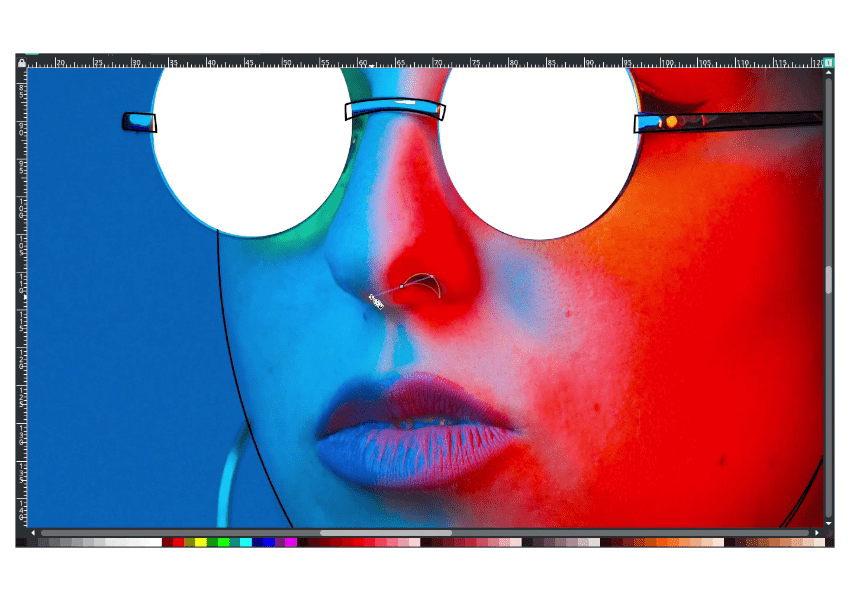
And.. the lips.
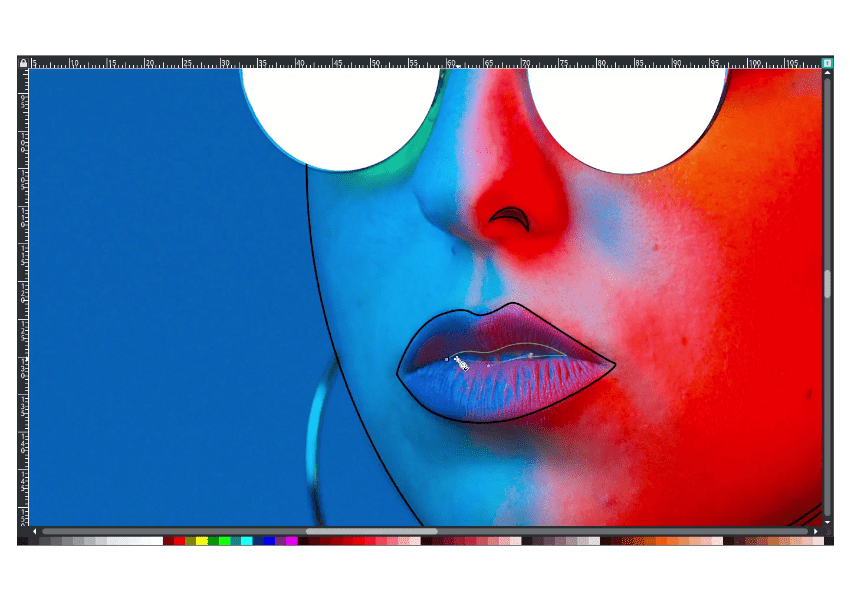
Result:
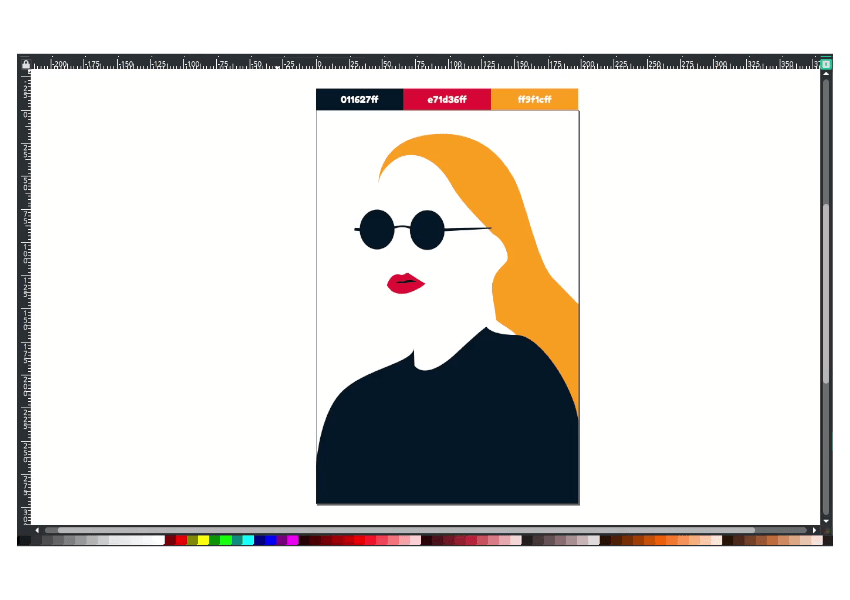
Give colors to each part by clicking the shape, then head up to edit objects (Shift+ctrl+f) to change the colors. Remove the stroke in the left corner of the stroke, right-click > remove strokes.
Step 4
Create a background with rectangle tool (R) then change the colors to Rose Madder (#e71d36ff).
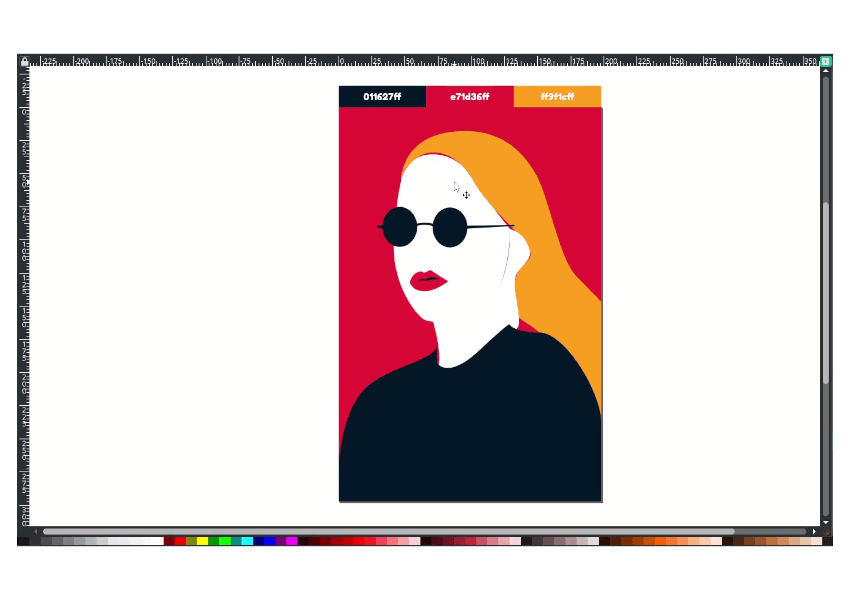
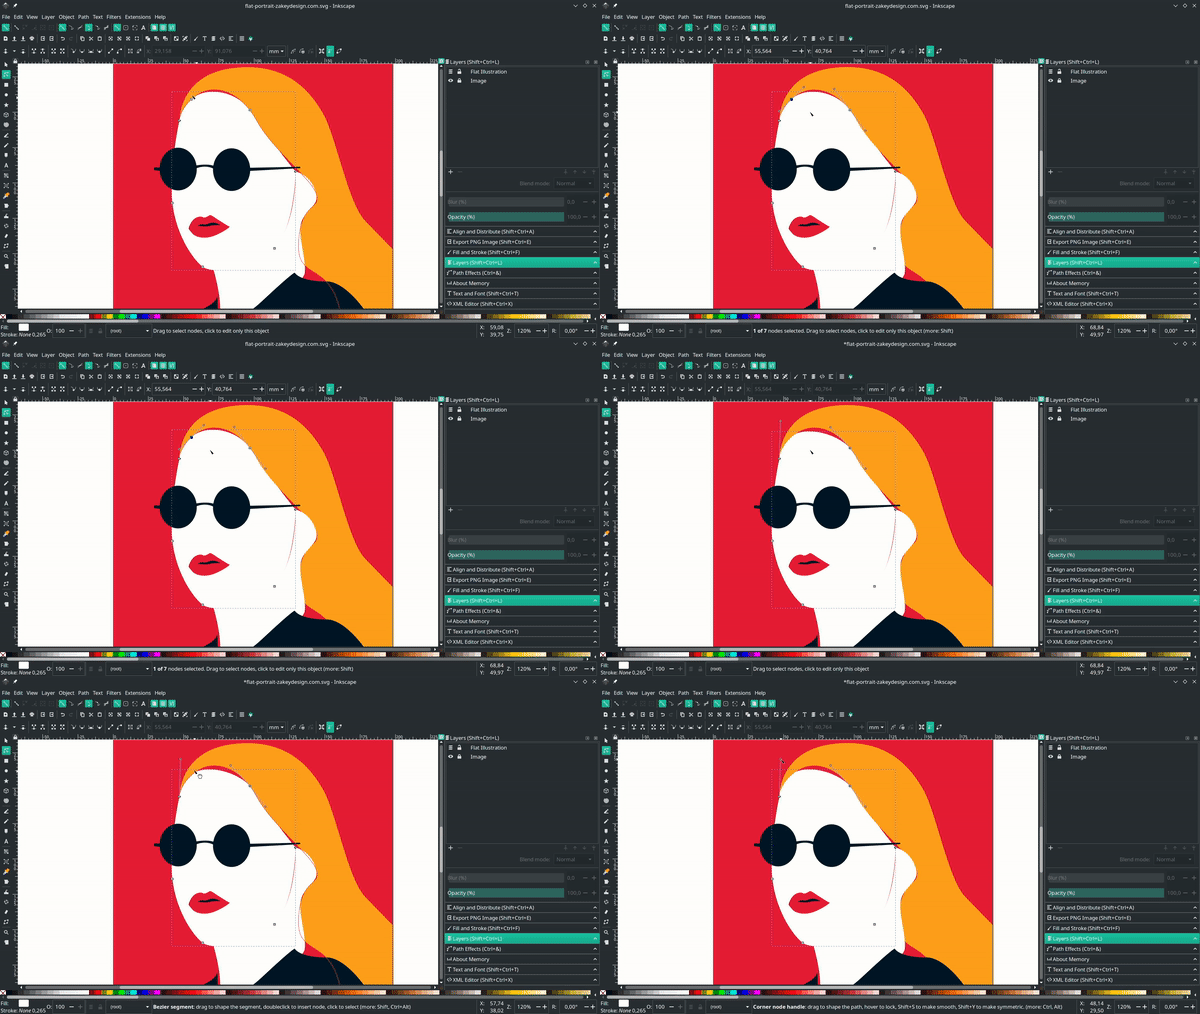
Then refine the shape by pressing F2 and drag the nodes.
Step 5
Draw the eyebrows with the bezier tool (B).
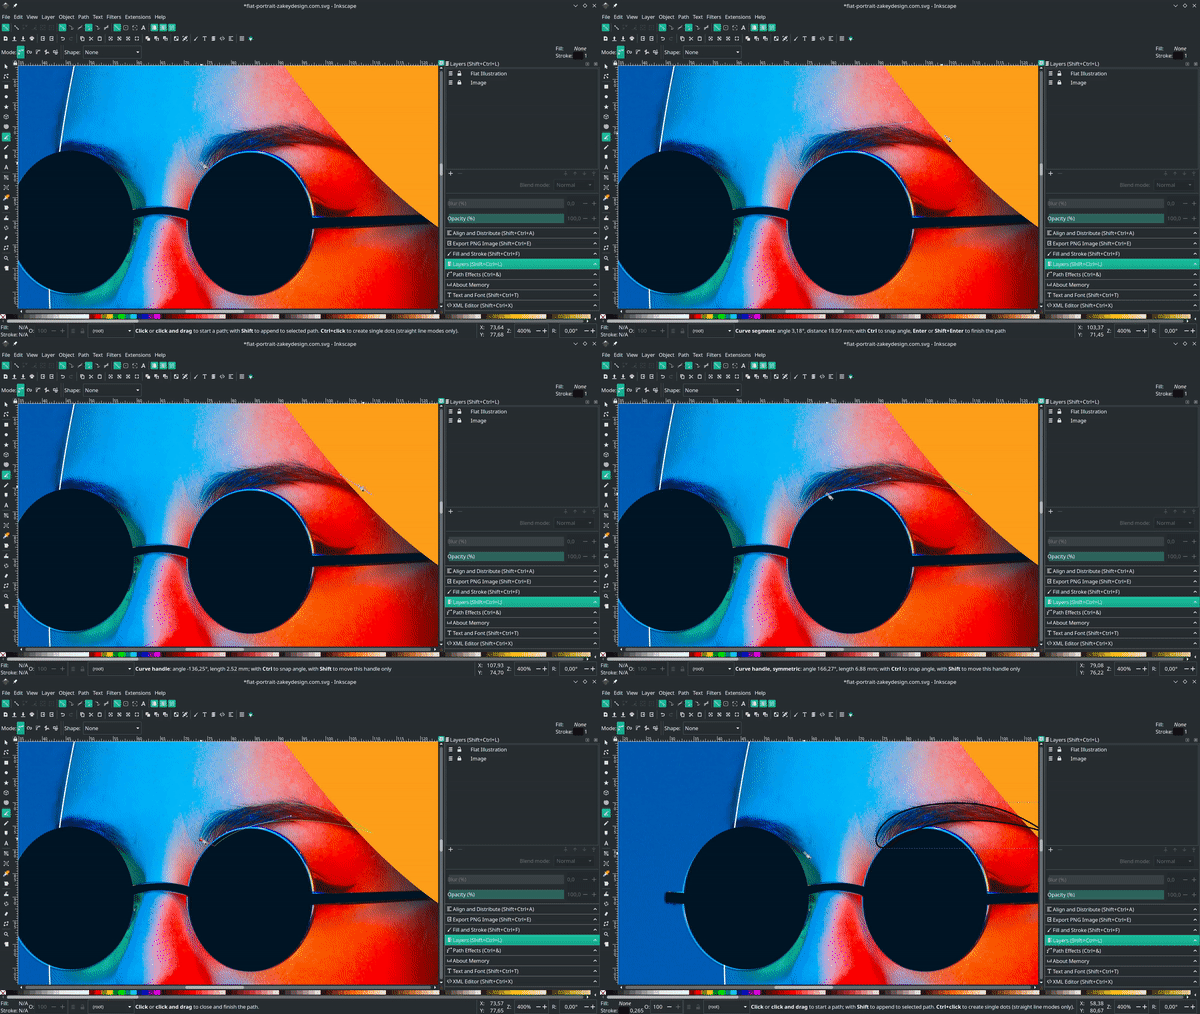
Draw earrings and the shadow on the neck with bezier tool (B).
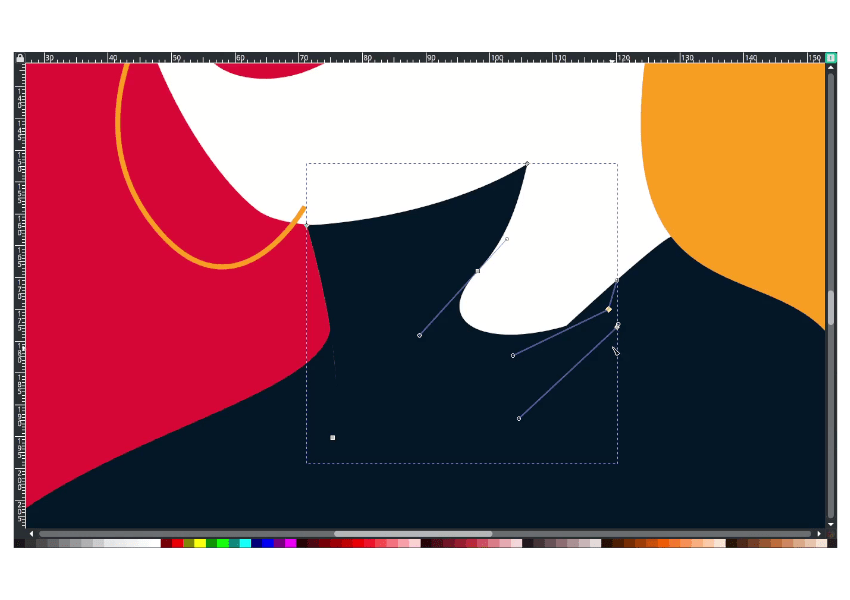
Step 6
Create a shading to the face with bezier tool (B).
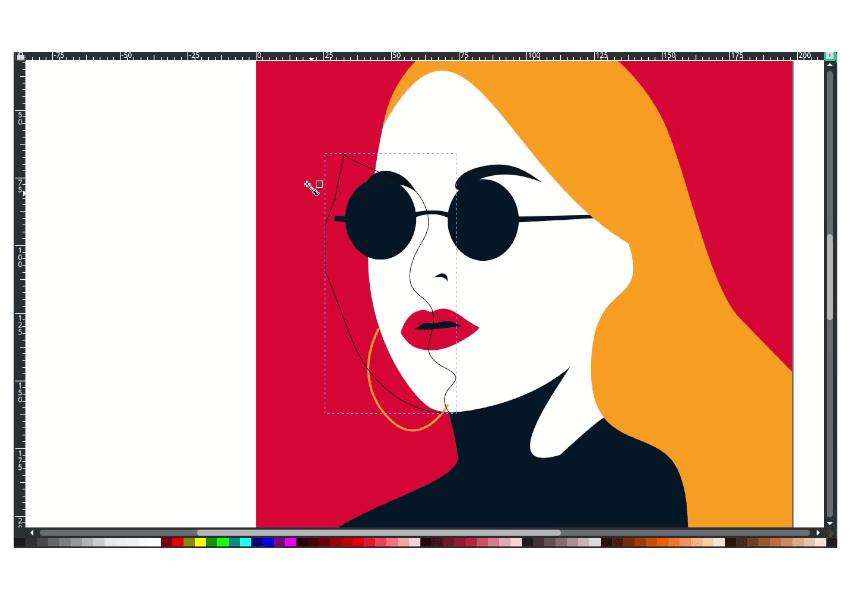
And send to the lower back.
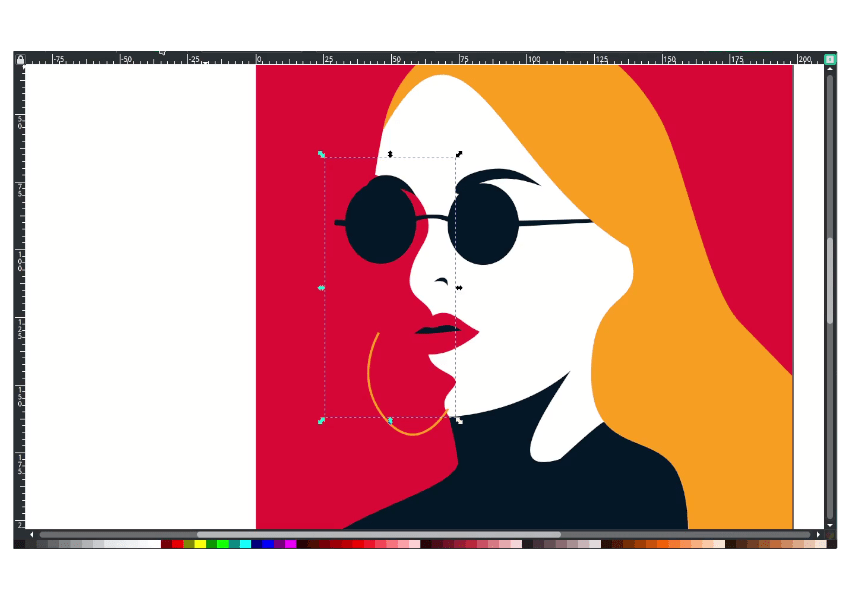
Step 7
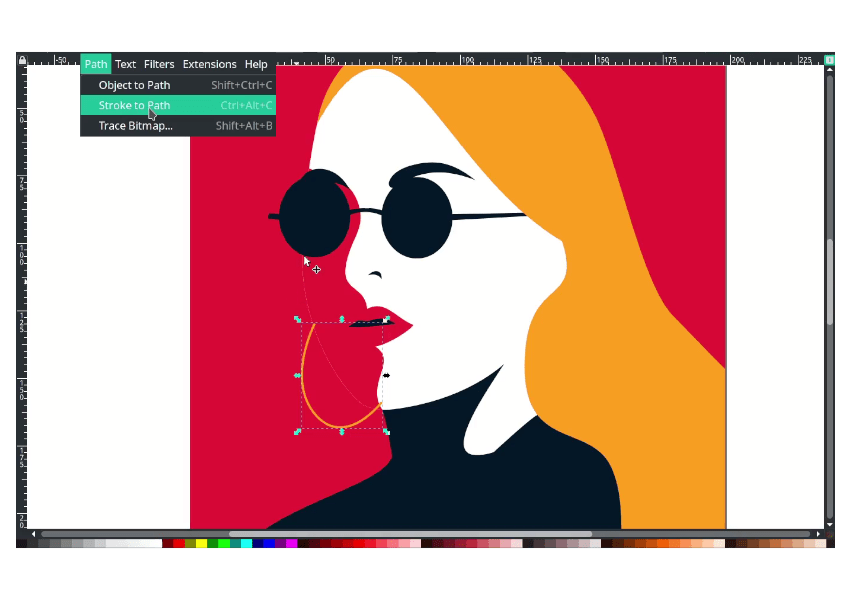
Convert the earrings to path in path > stroke to path.
Modify the shading by duplicating the face again with ctrl+d, move right a little bit, then select two shapes. Then in path > difference.
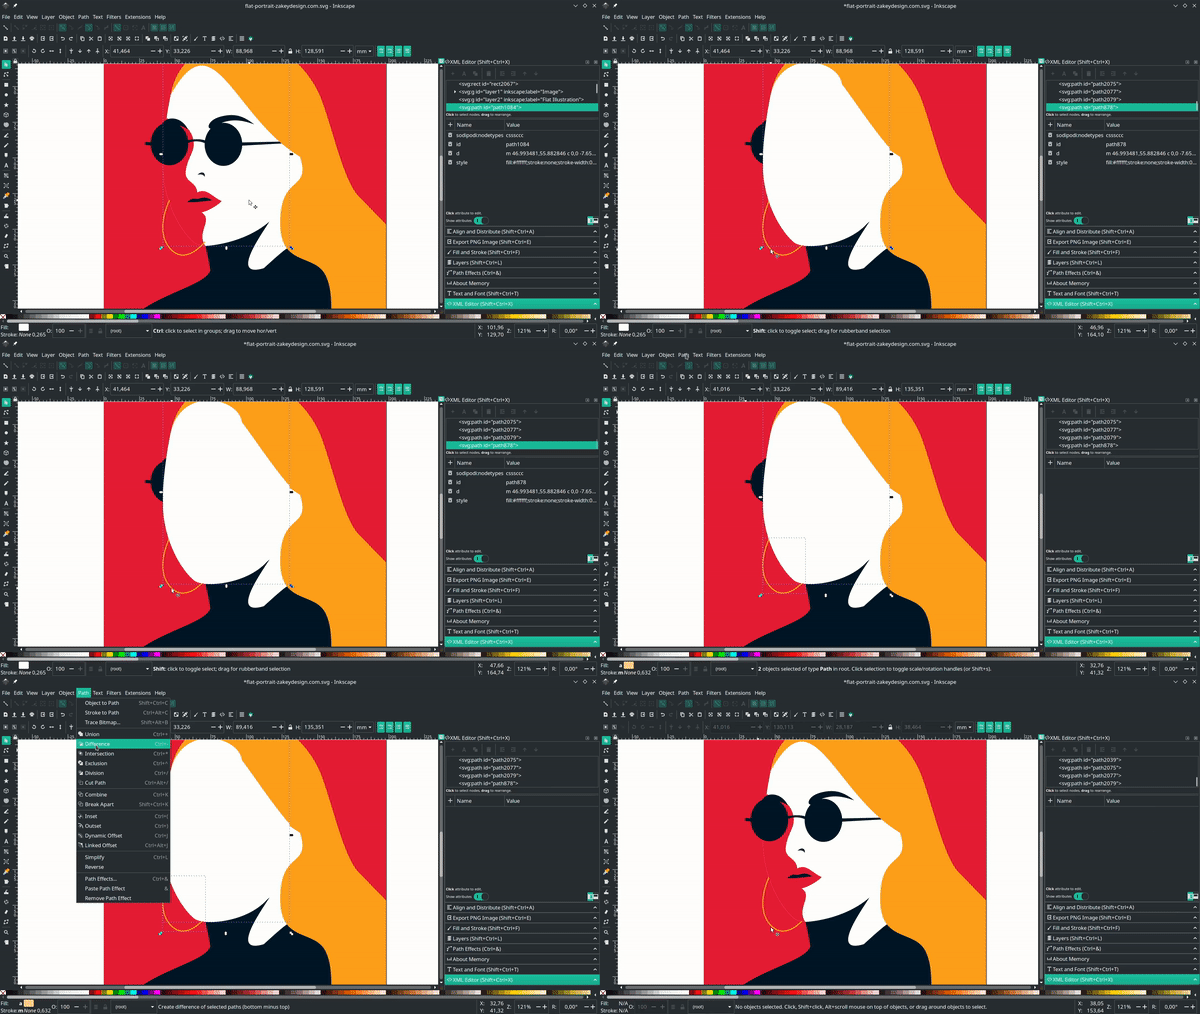
And send it to the lower back.
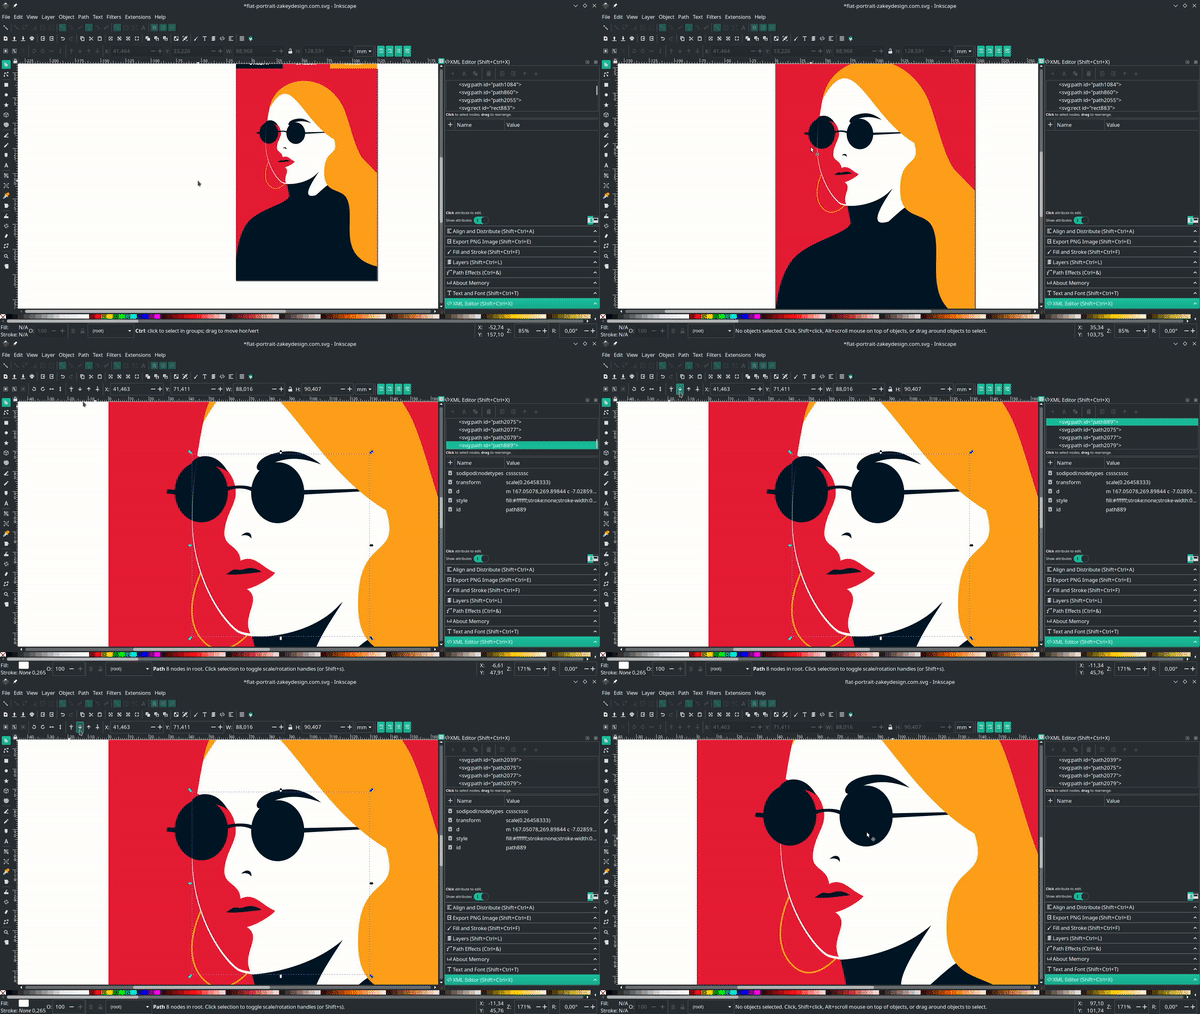
Finished!
The bezier tool is the primary tool in this tutorial, so you can draw and trace anything. Thanks for reading; see you in the next posts!

Tutorial Assets
Credits
- Inspired by Malika Favre Illustration
- Inspired by Woman working on her computer – Csaba Gyulai


