Hello In this tutorial, we will create wave ripple styles using interpolate with Inkscape and neon color gradient.
What you will learn
- How to use bezier tool
- How to use clipping mask
- How to use the Interpolate extensions
- How to use gradient tool
Tutorial Steps
Step 1
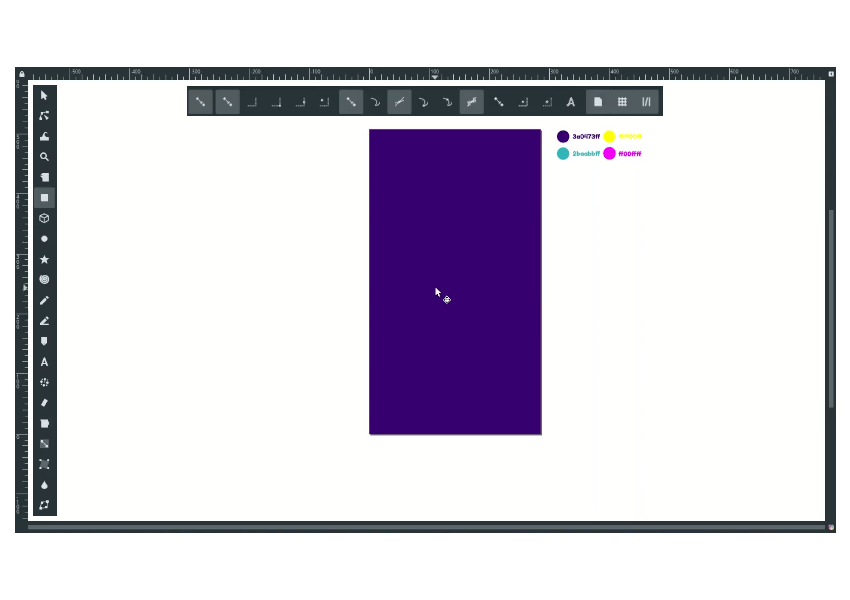
Create a background with the rectangle tool; make sure to turn on the toggle snapping and snap to the page border. It will allow you to auto-fitting the rectangle when you drag it to the canvas. with Dropper Tool (D) change the color to Persian Indigo (#3a0473ff) in Fill and Stroke Menu (Shift+Ctrl+F)
Step 2
Create a shape with Bezier tool (B).
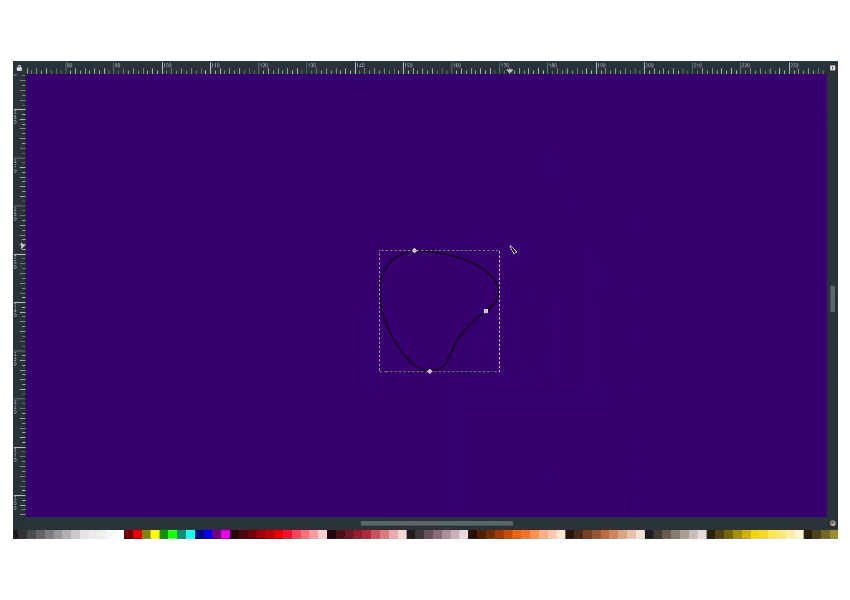
Duplicate the shape with Ctrl+D, then hold Ctrl+Shift and scale it up. Change the stroke style to 1px.
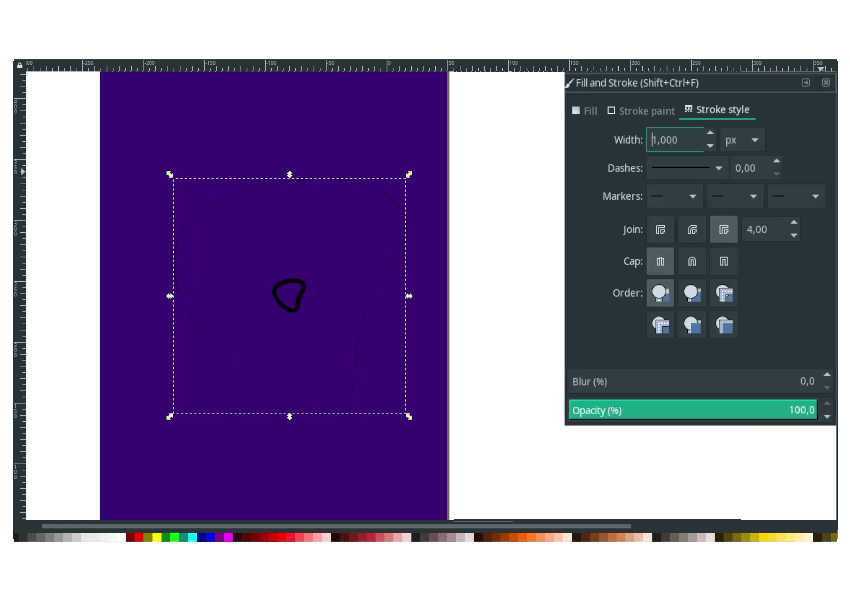
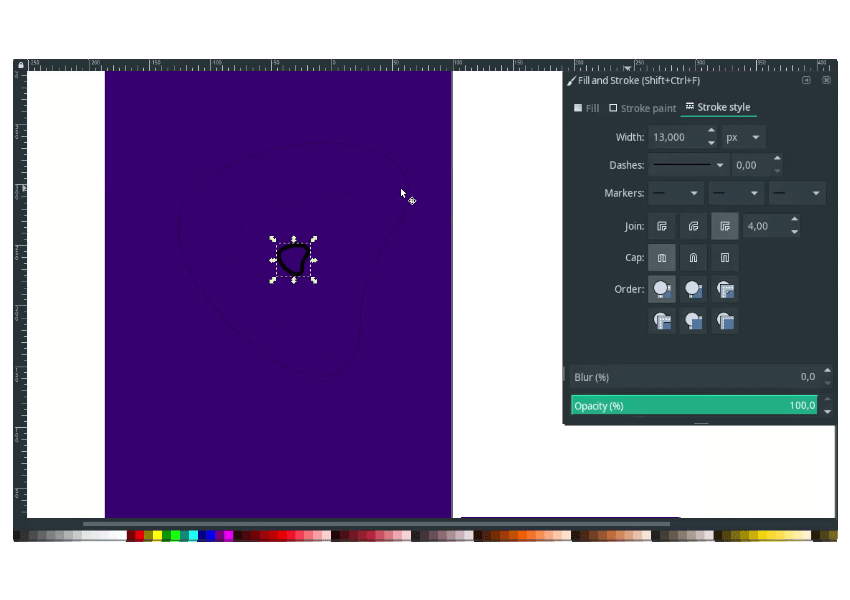
For the inner shape, change the stroke style to 13px.
Step 3
Now we will use the Interpolate Extensions, Select the inner object first by holding Shift, then click, and the outer object with Shift and click. In Extensions menu > Generate from path > Interpolate.
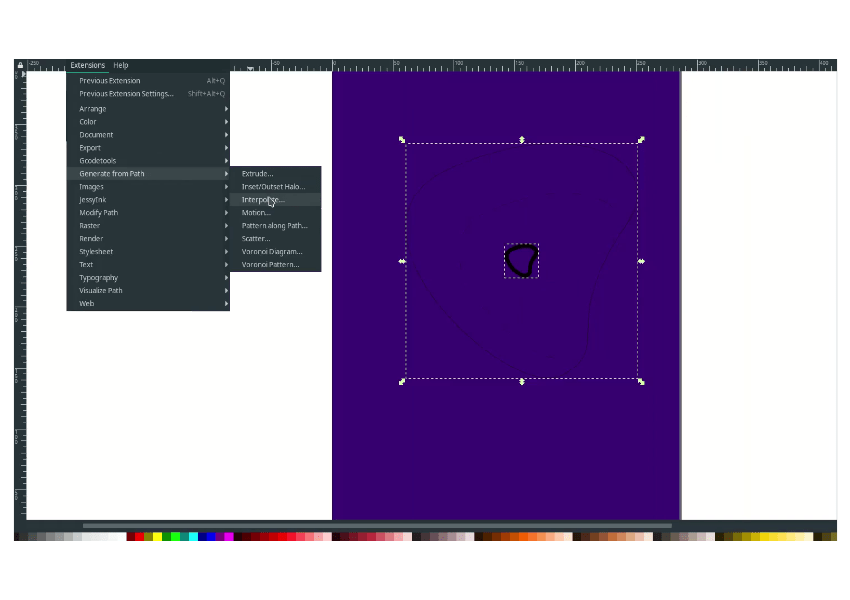
You can try to increase the interpolation steps and active the Live preview to see the result:
Don’t forget to delete the previous path. (the two shapes before we are doing the interpolate)

Step 4
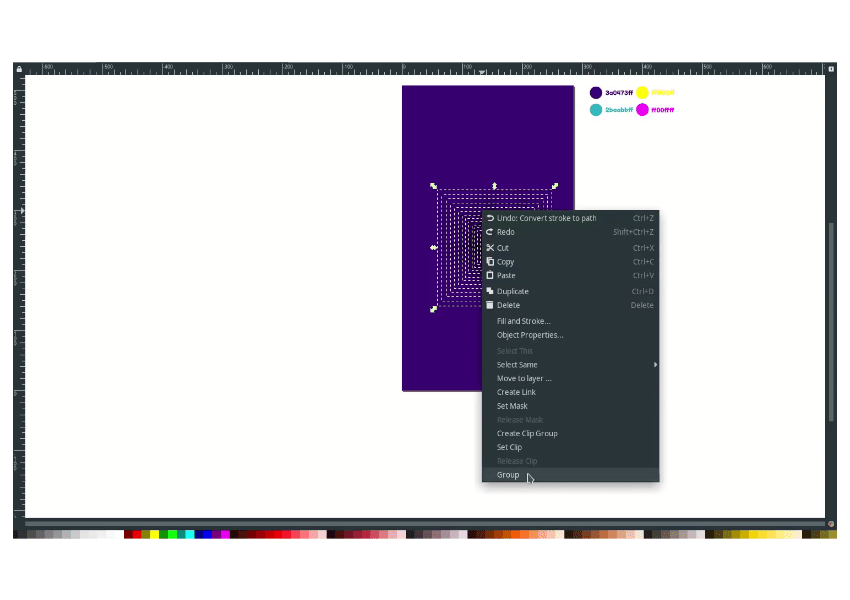
Before using the gradient, ungroup the shape by right click > Ungroup. Then convert the Stroke to the Path by going to Path> Stroke to Path.
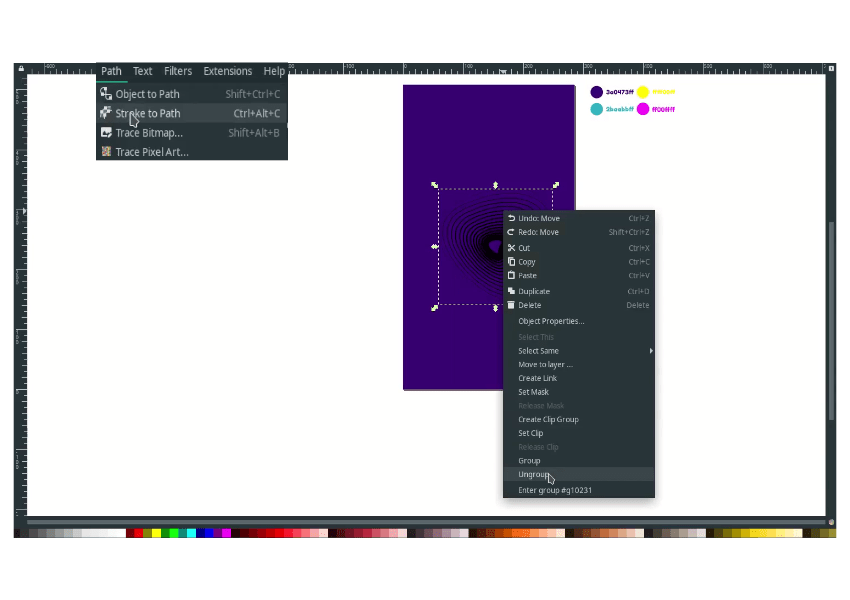
Then group again by selecting all then right click > Group.
Step 5
With Gradient Tool, drag to the shape, and change the top nodes color by double click and change the color to Pacific Blue #2babbff.
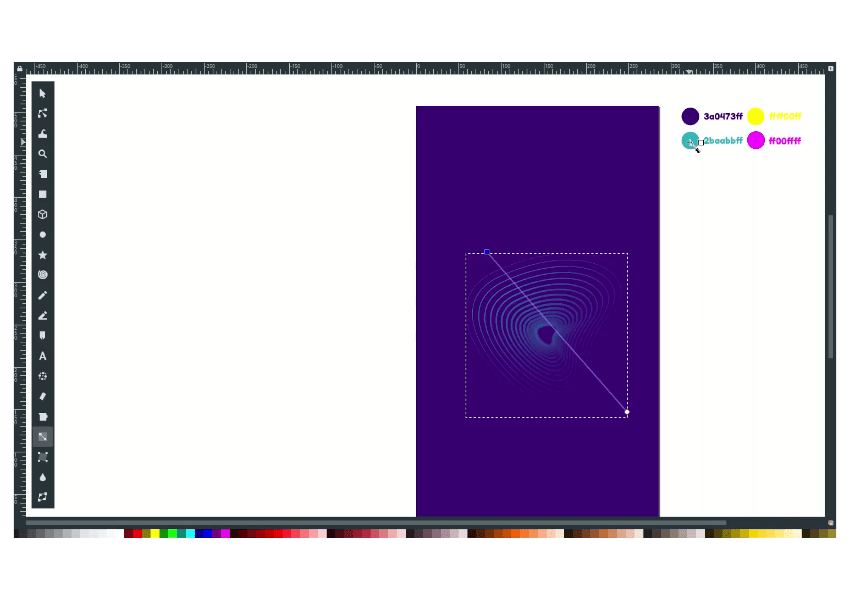
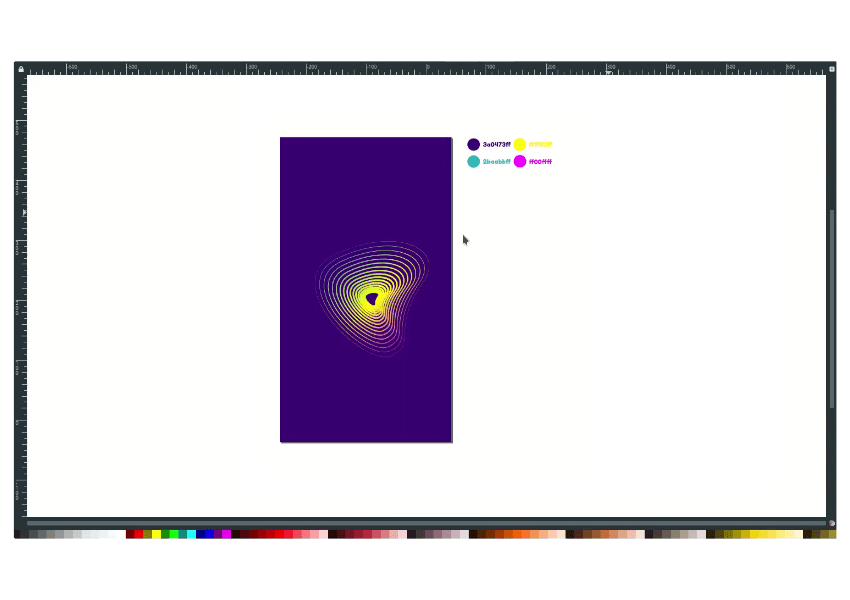
You can add the more gradient nodes by double clicking when the plus (+) icon appear. change the mid nodes color to Yellow (#ffff00ff) and for the bottom nodes to Magenta (#ff00ffff).

Result:
You can add more element like the text and a clipping mask.
Finished!
That’s how you can use the Interpolate extension in Inkscape by selecting two path then create an Interpolate Effects.


