In this tutorial, we are going to use Gradient Mesh to create a more realistic drawing in a Vector app like Inkscape. The color can be applied to grid points which is allow you to create color transitions between grid points.
Tips: To create a fluid shape easier with the bezier tool, you can change the Bezier mode with “Spiro Path”.
What you will learn
- How to use bezier tool
- How to create a gradient mesh
- How to add text
- How to use guides
Tutorial Steps
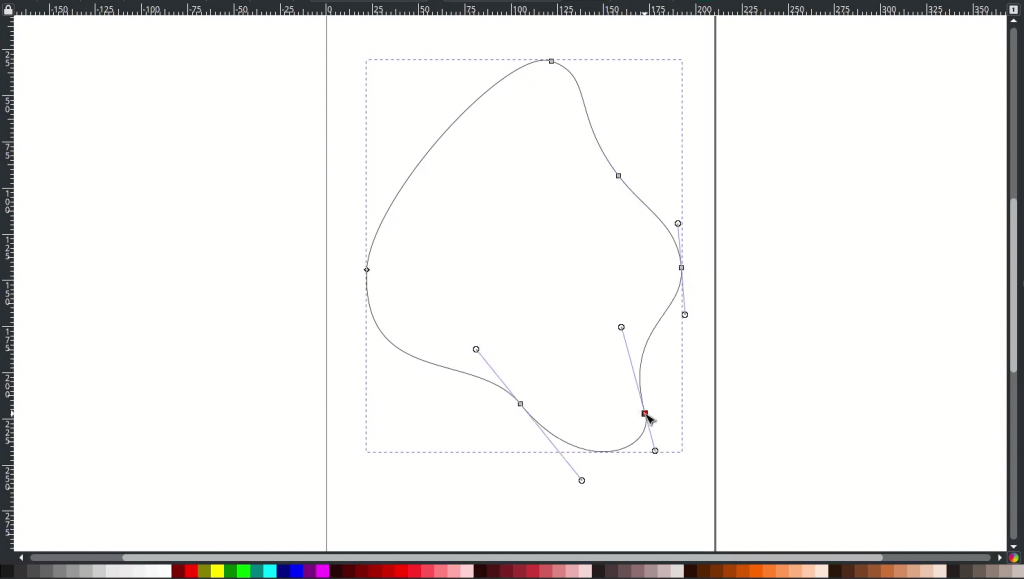
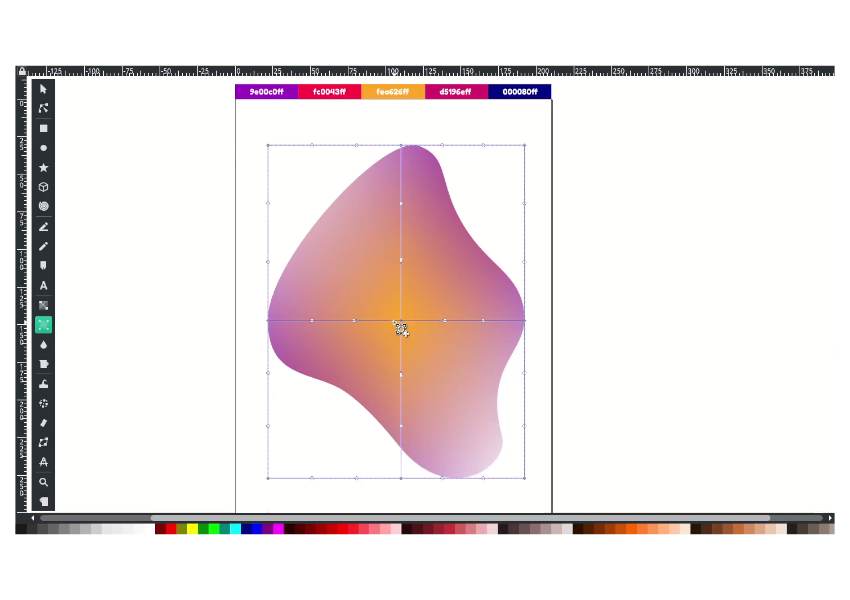
Step 1
First, draw an abstract shape with the Bezier tool (B). Adjust then node by dragging the handle.
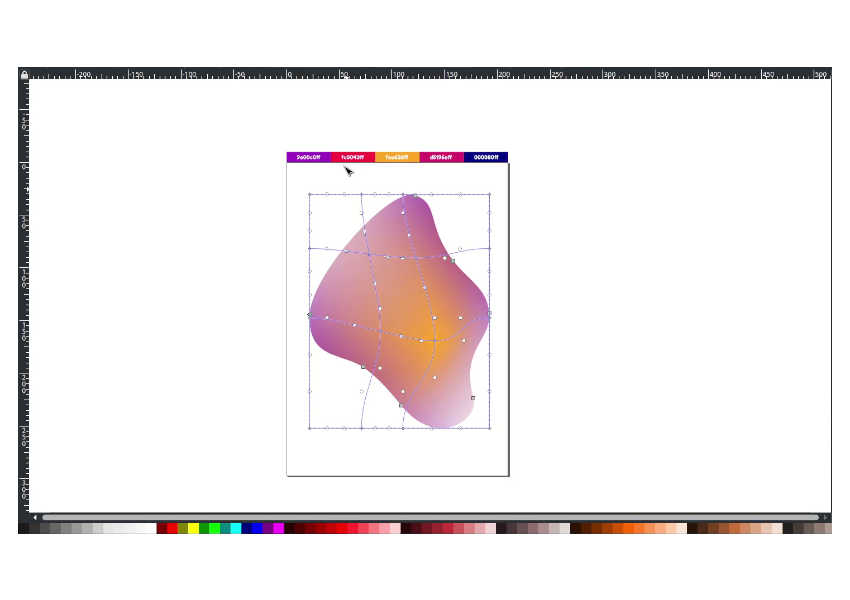
Step 2
Create a gradient mesh by clicking the icon (one step below the gradient icon), double-click on the shape.
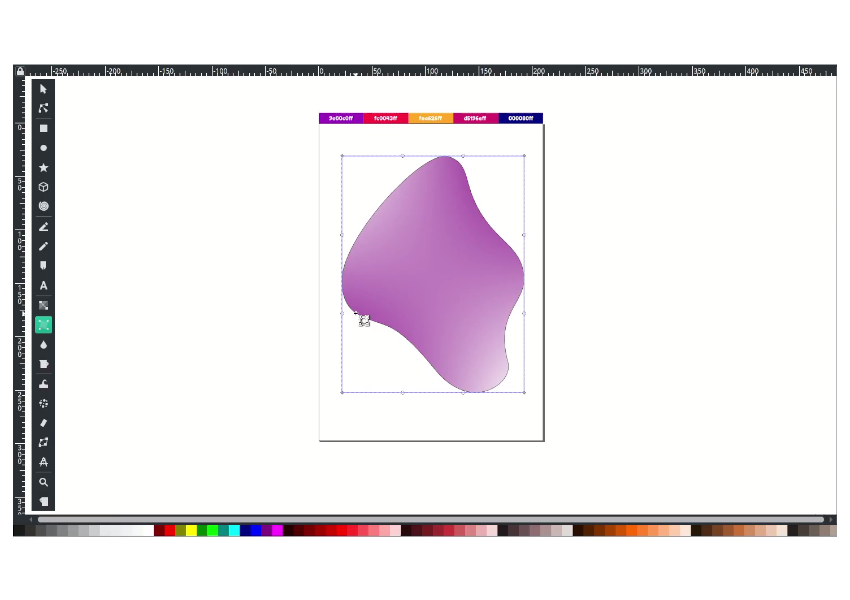
Double click again to add more rows or columns on the edge of the selection.
Add color by double-clicking where the arrow (> <) pointed.
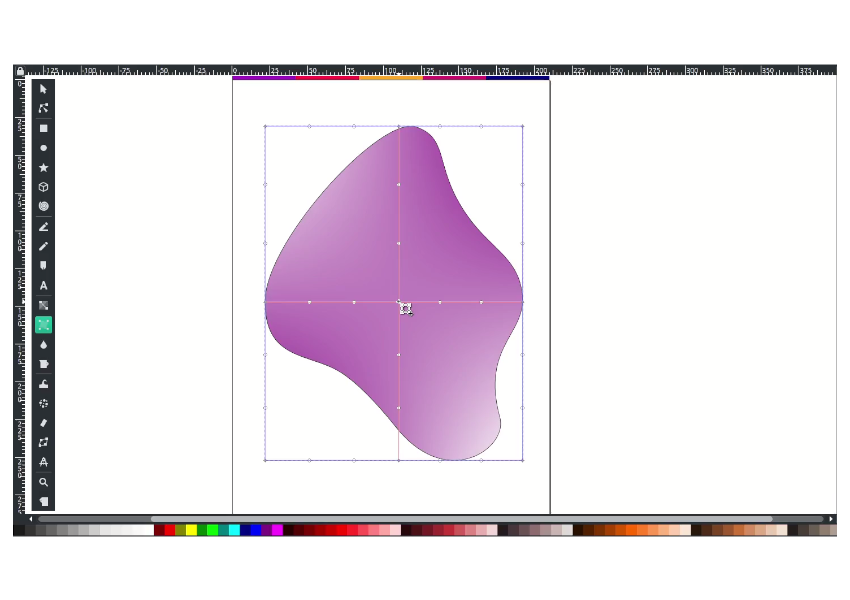
Step 3
Add more rows and columns, then feel free to change the colors.
Drag the nodes to the random and put some color to it.
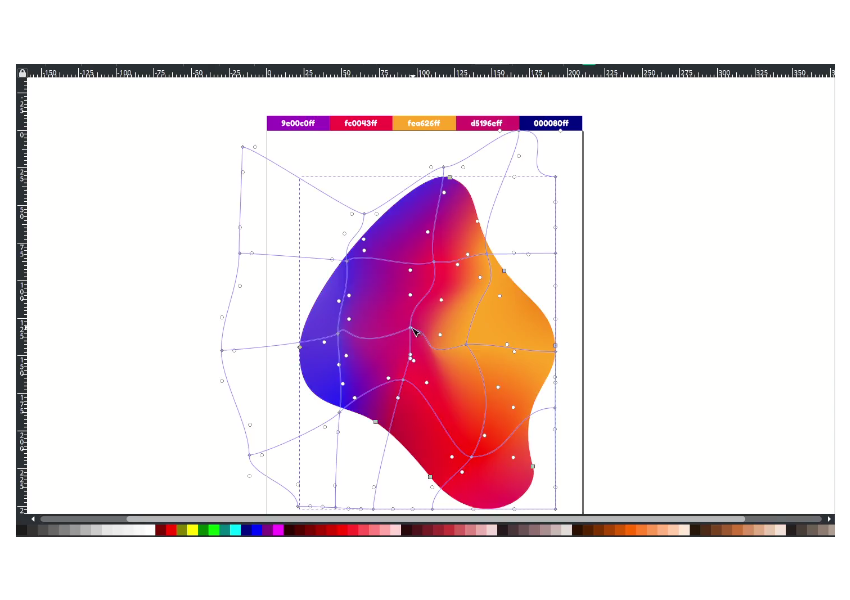
Nailed it.
Pretty easy, right? You can do some experiments with the color and move the handle with shapes.