In this tutorial we will create an abstract frame background in Inkscape with gradient tool, hexagon shape, and some interpolation.
What you will learn
- How to create a gradient color
- How to use bezier tool
- How to use Interpolate Extensions
- How to create Hexagon shapes
- How to create stroke
- How to create a shadow effect
- How to shear
Tutorial Steps
Step 1
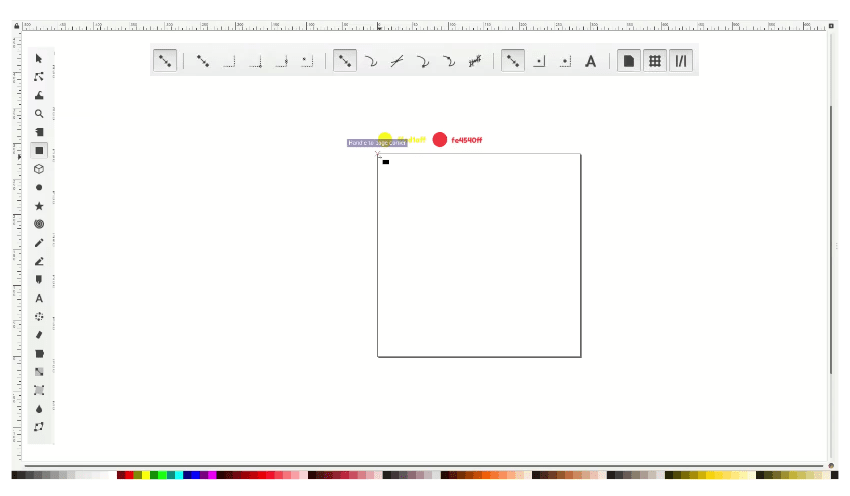
Create a new background with Rectangle Tool (R) and active snap to the page border for auto fit to the canvas.

Step 2
Create a gradient with Gradient Tool (G), click on the rectangle, and drag it down.

double click on the point and press D to active the Dropper Tool and change the color to red (#1e4540ff) and yellow (#ffed1aff).

Step 3
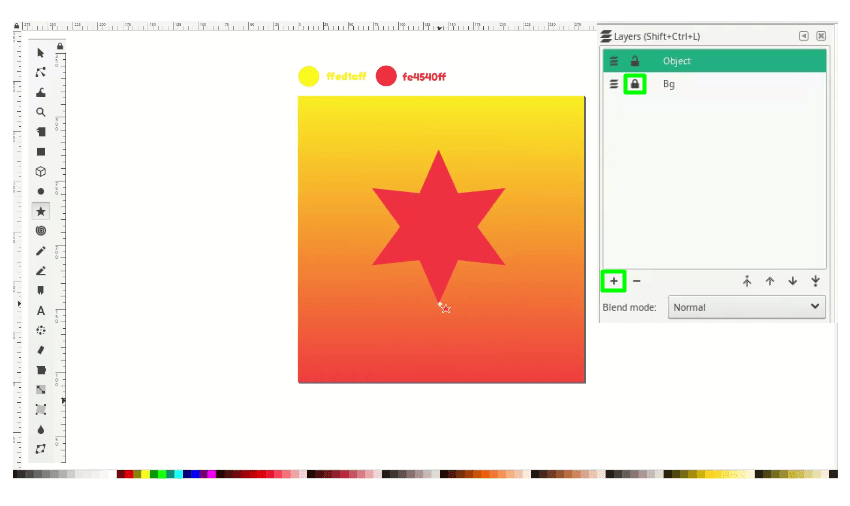
We will create the Hexagon shape, but first in the Layers menu, click Lock icon on the Bg Layer, then create new layer and name it click the Icon below the Ellipse Tool, then drag to the canvas hold Ctrl+Shift to create a symmetrical shape.

Change the option to Polygon and the corners to 6 to create the Hexagons.

Step 4
Create some gradient to the shape in Fill Tab, click the Linear Gradient icons, then change the color to recent colors.

Step 5
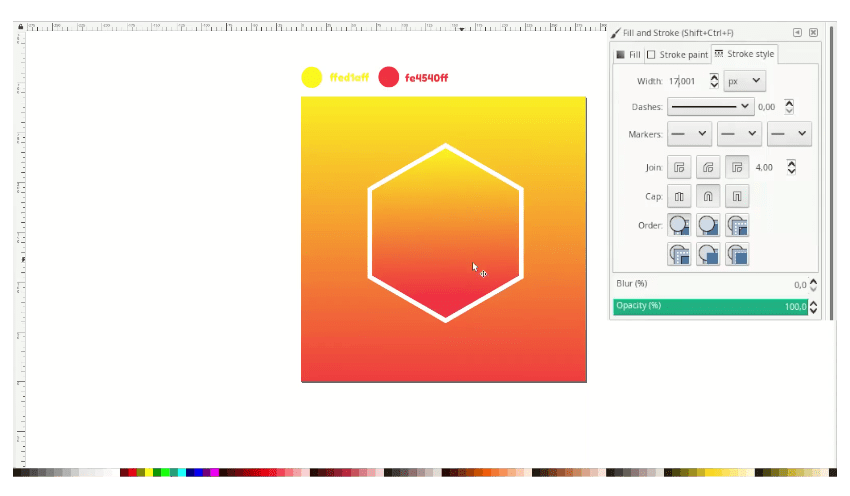
Create a stroke in the Fill and Stroke menu, choose the Stroke Style tab, then change the color to white and width to 17px.

Step 6
Create a shadow by duplicating the Hexagon Shape, sending it to the lower back, and then changing the color to black. Try to Increase the blur and reduce the opacity in the Fill and Stroke menu.

Add a text with Text Tool (T).

Step 7
Create a shape with Bezier Tool (B).

And change the color to gradient with Gradient Tool (G) then send it to lower back, And change the color to gradient with Gradient Tool (G), then send it to the lower back.

Add the shadow by duplicating the shape with Ctrl+D, then adjust the blur and opacity.

Add more shapes with Bezier Tool (B).

Step 8
Active Bezier Tool (B) and create some a lines.

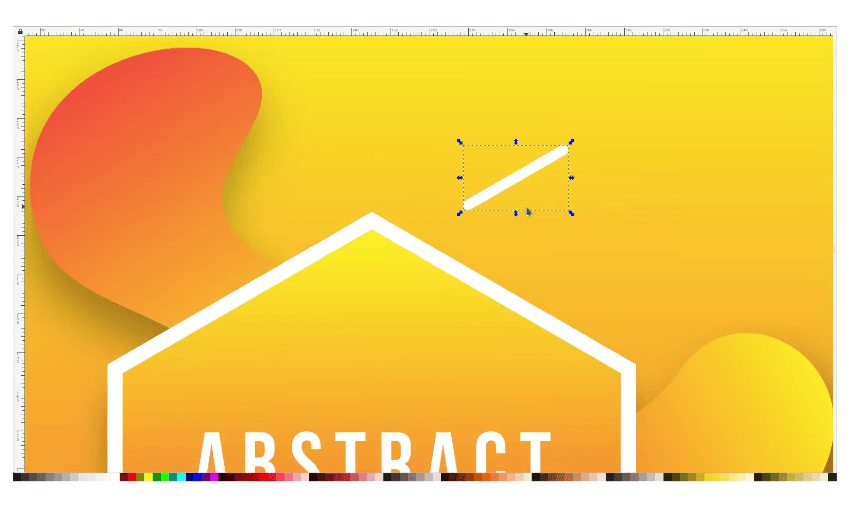
Create a stroke with 10px size, and activate the round cap to make the line rounded. Press S/F1 to active the Select and Transform objects, then double click on the line and drag it up.

It should be like this:

Add more lines by duplicating and make some length adjustments.

Step 9
Create one circle with Ellipse Tool (E) then duplicate press Ctrl+D then move and place it like this:
Tips: hold Ctrl+Shift to make it straight when we move the objects.

Select the two circles and create an Interpolate effect in Extensions > Generate from path > Interpolate. Active the Live preview to see what happened.

Now we are using Transform Menu to create a precise step in Object > Transform input the vertical to 20px (y). Press Ctrl+D and click apply with repetition.

Duplicate more dots and make some excellent placement. Feel free to add more elements.

Nicely Done!
Now we’ve learned how to create a shape with a bezier tool, Hexagon shape, and interpolate in Inkscape extensions. Keep practicing, see you in the following lessons.


