in Today’s tutorial, I’m going to show you how to create a flat illustration landscape using the monochromatic color concept with Inkscape 1.0
What you will learn
- Scaling, Rotating, Duplicating Object
- Make Object as Group
- Flipping Object
- Turn PNG into editable Object with Trace Bitmap
- Making Clipping Mask
- Making Glow Effect with Blur
- Union Object
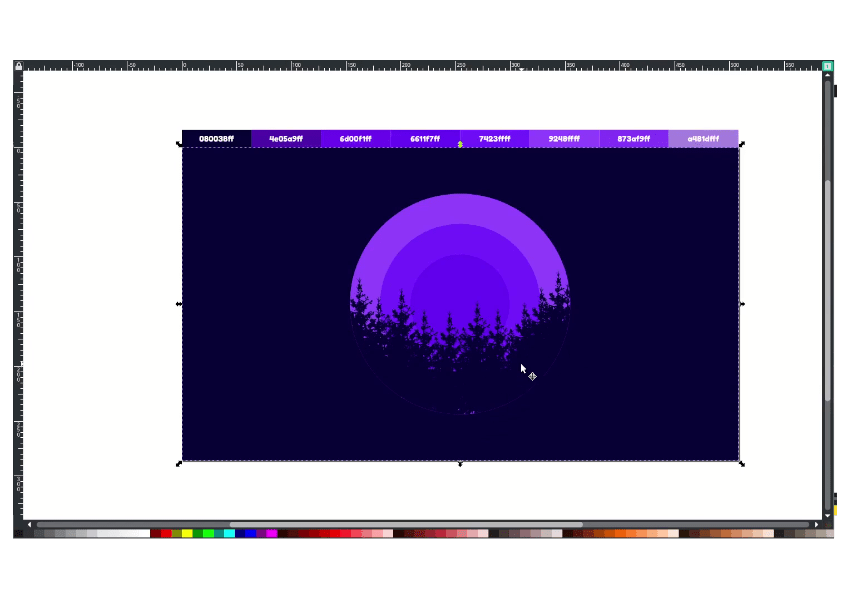
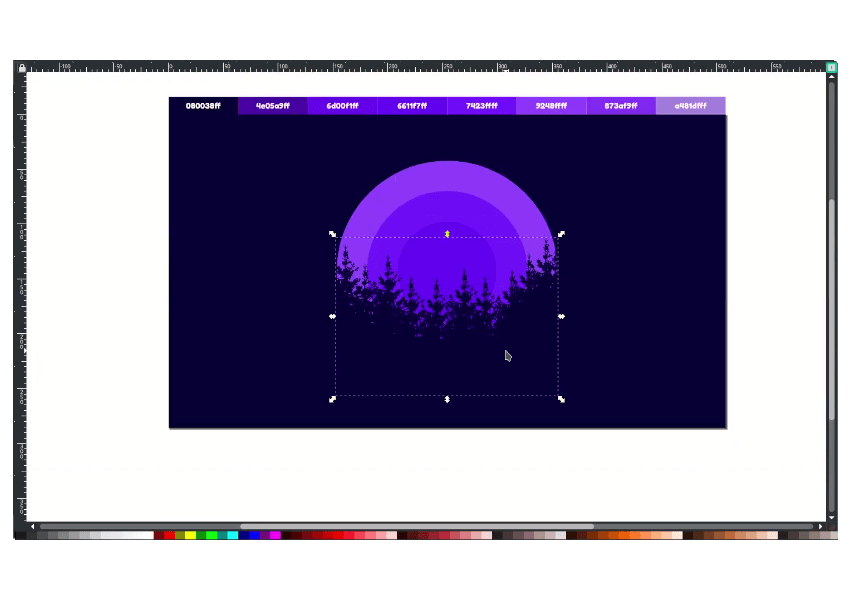
Step 1
Create a background with the rectangle tool (R).
Tips: make sure you turn on enable snapping for easier when creating a background.
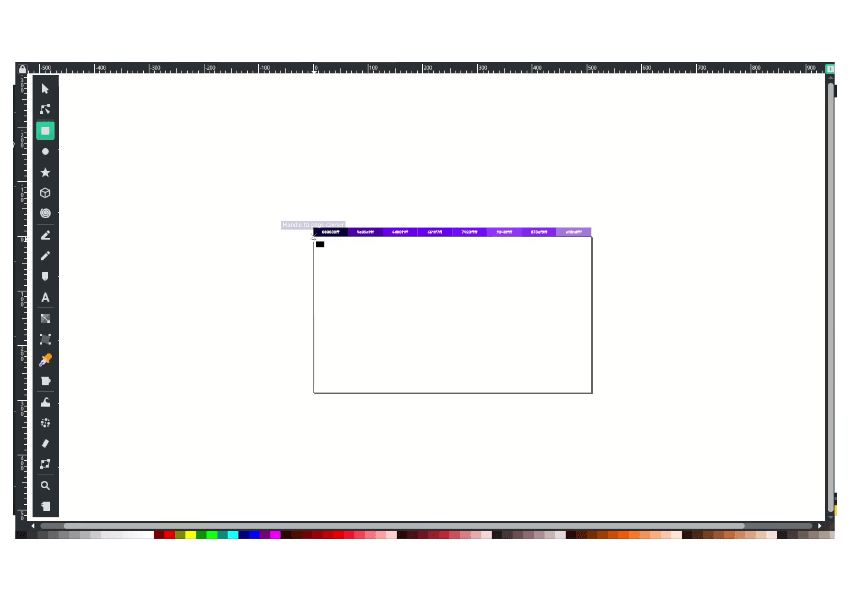
Drag from the left top corner of the canvas to the bottom right.
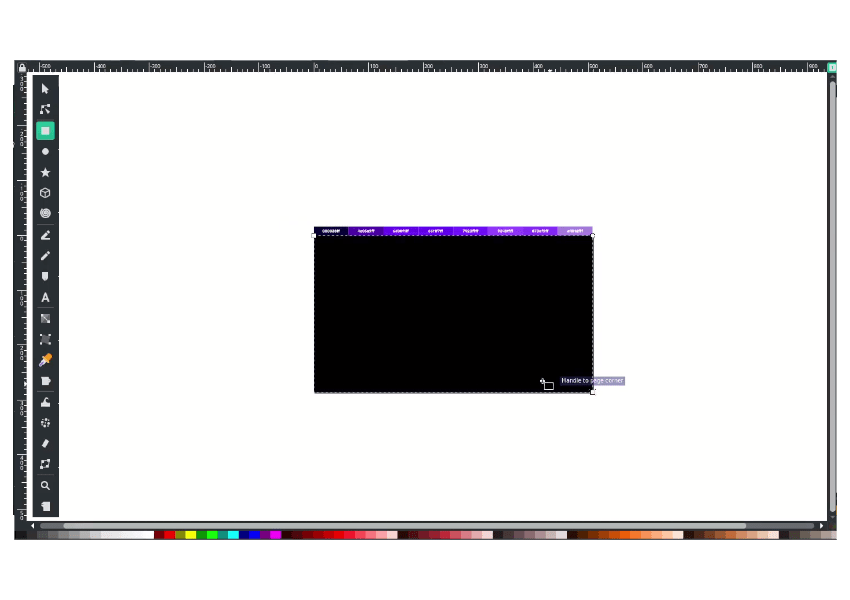
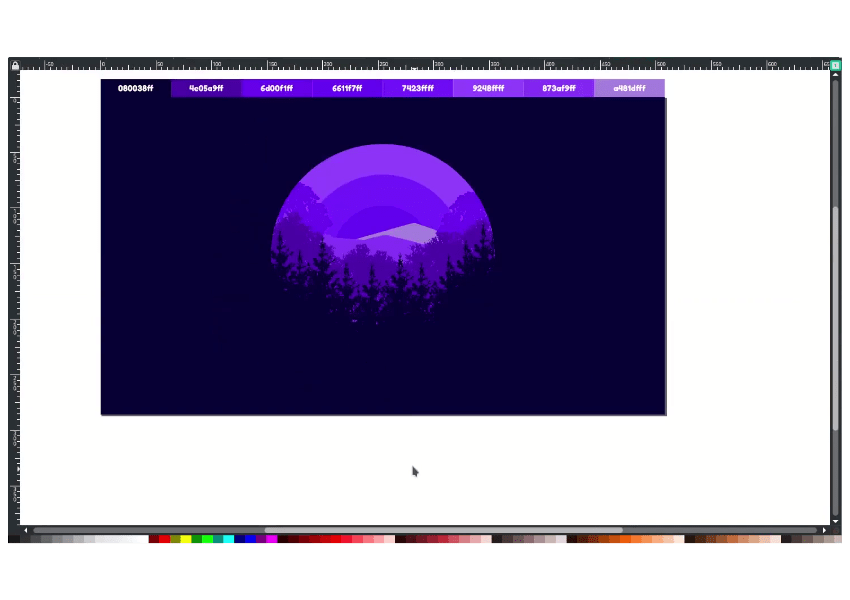
Change the color with dropper tool (D) to Russian Violet (#080038ff) as a background.
Tips: Or you can input the color code in Edit objects (Ctrl+Shift+F) in the Fill tab on the RGBA Input.
Result:

Step 2
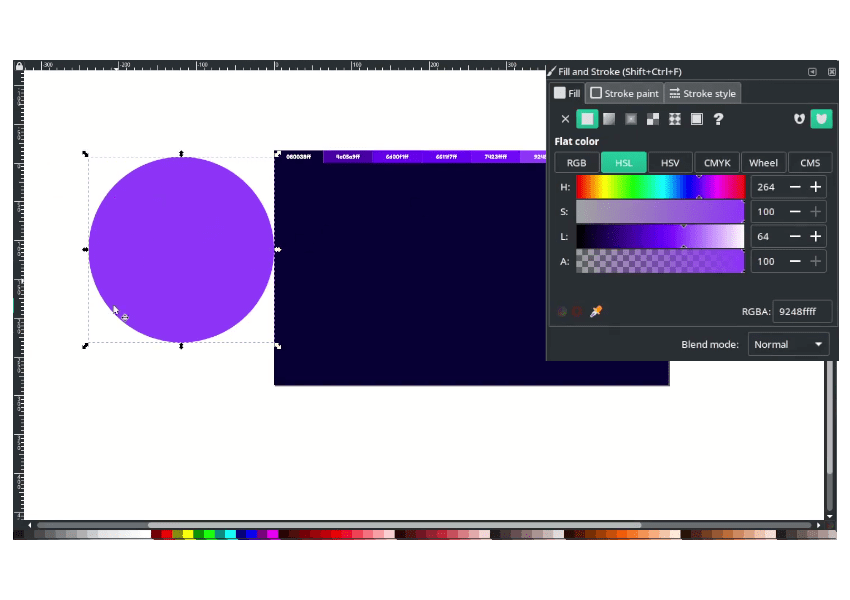
With ellipse tool (E), draw a circle by holding ctrl+shift while dragging, then change the color to Purple X 11 (#9248ffff).
Duplicate the circle by pressing ctrl+d, then scale it down with ctrl+shift, and you can change the color to Violet Color (#7423ffff).
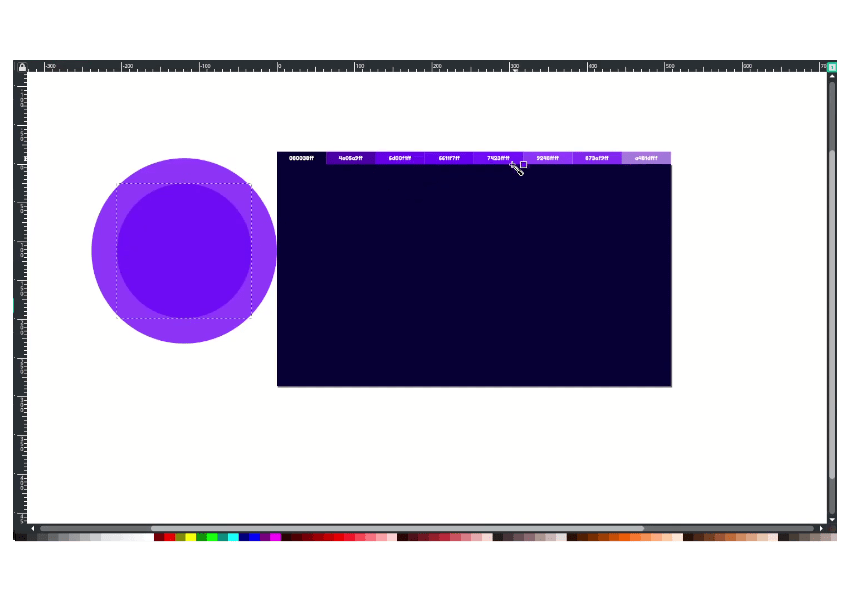
For the last circle, duplicate with ctrl+d like previous step. change the color to Electric Indigo (#6611f7ff).
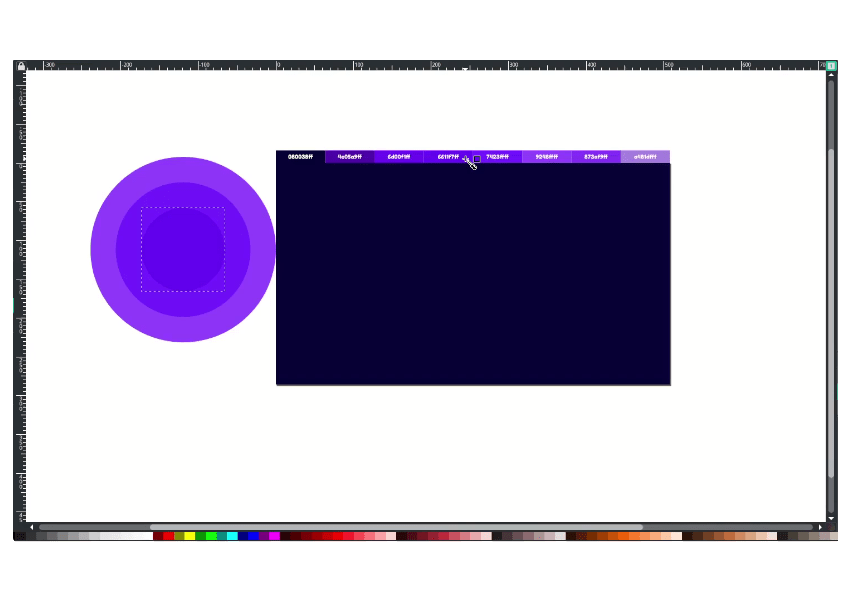
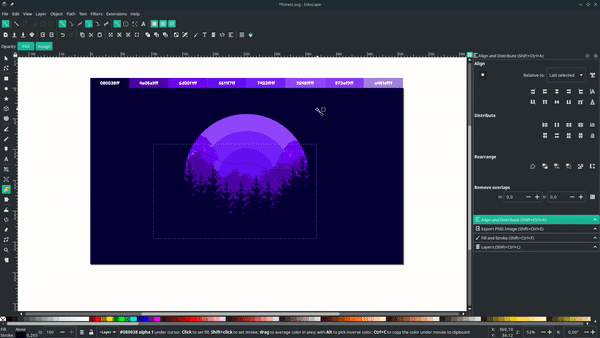
Create a group by selecting all the circles, then right-click> choose group.
Note: Grouping allows you to work with multiple objects as a single object: any changes you make will equally affect all group members, and the entire group can be copied, duplicated, or cloned as a unit.
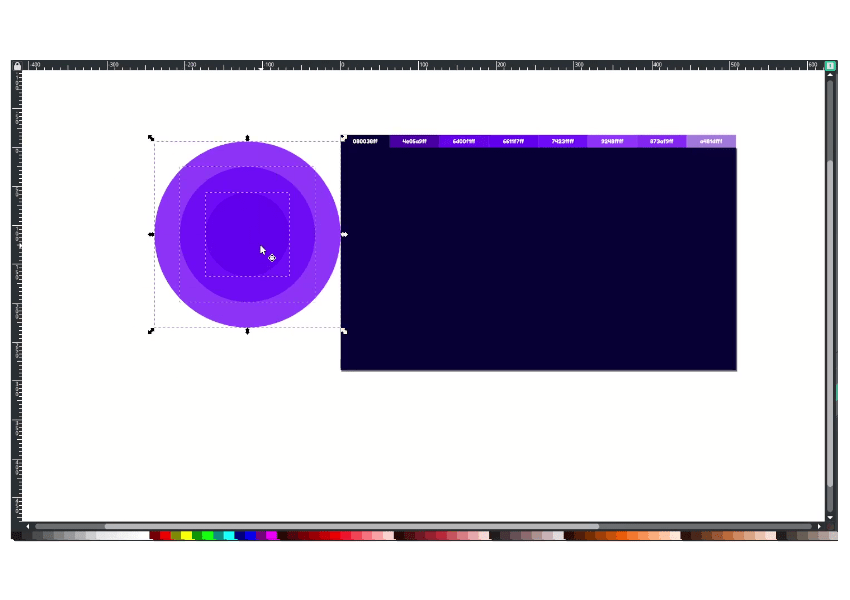
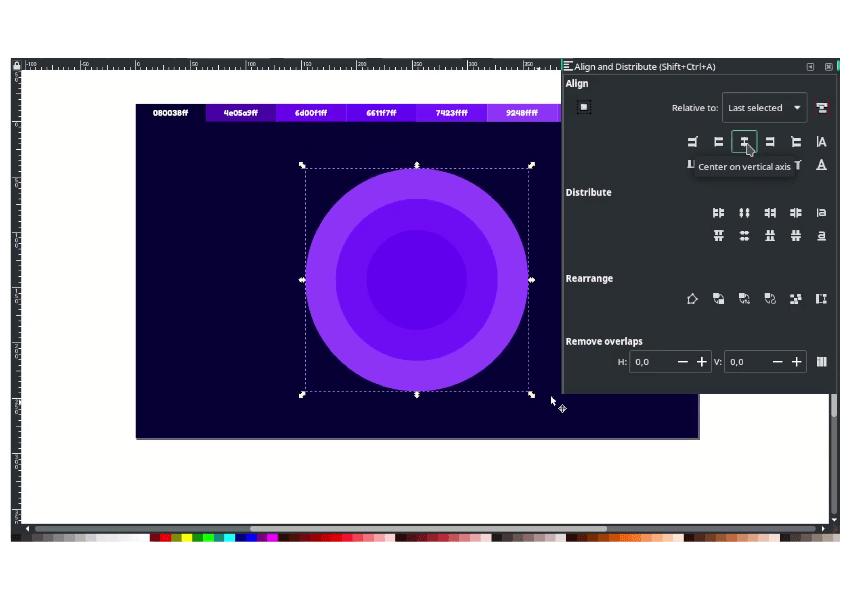
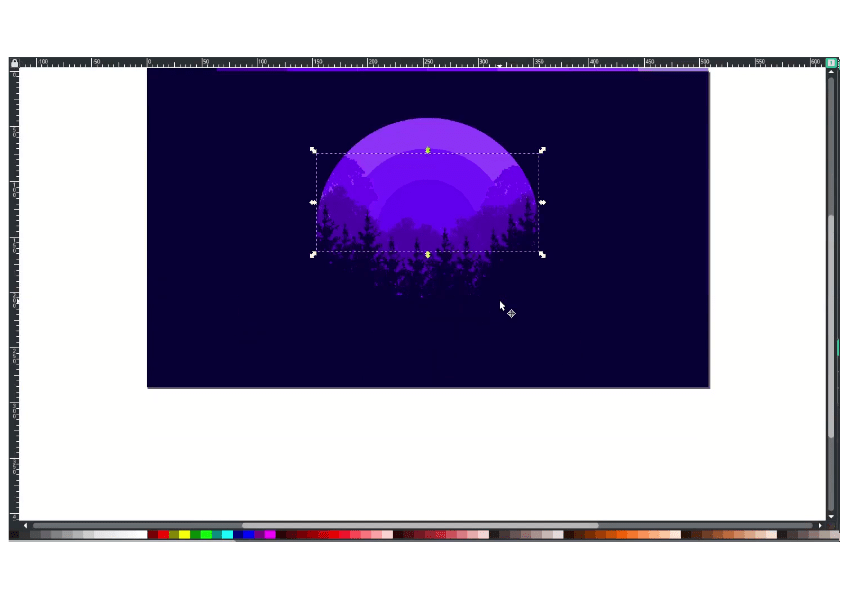
Select the grouped circle first, next to the rectangle. Then in Align in Distribute (Shift+Ctrl+A), change the Relative to Last Selected (because we want to place the circle on the center of the rectangle). Click center on the vertical axis/ click on the horizontal axis.
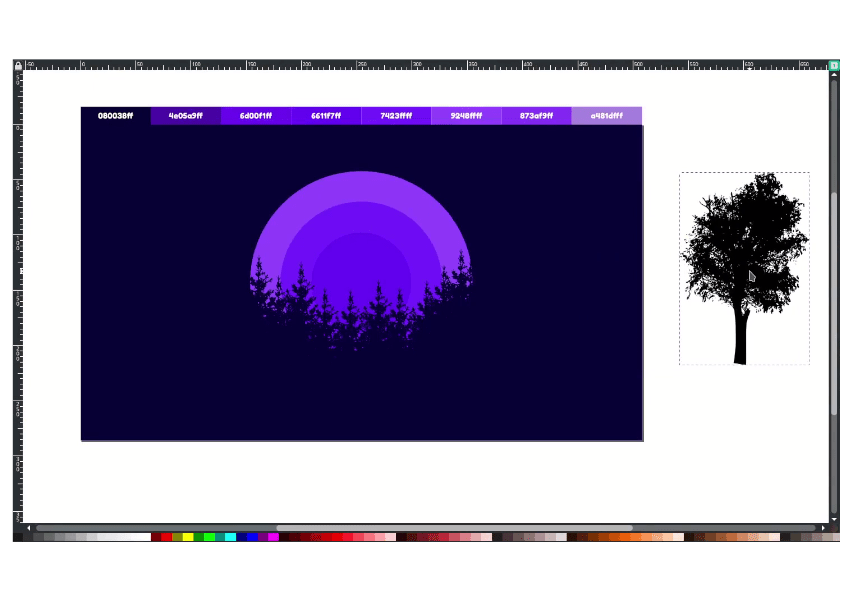
Step 3
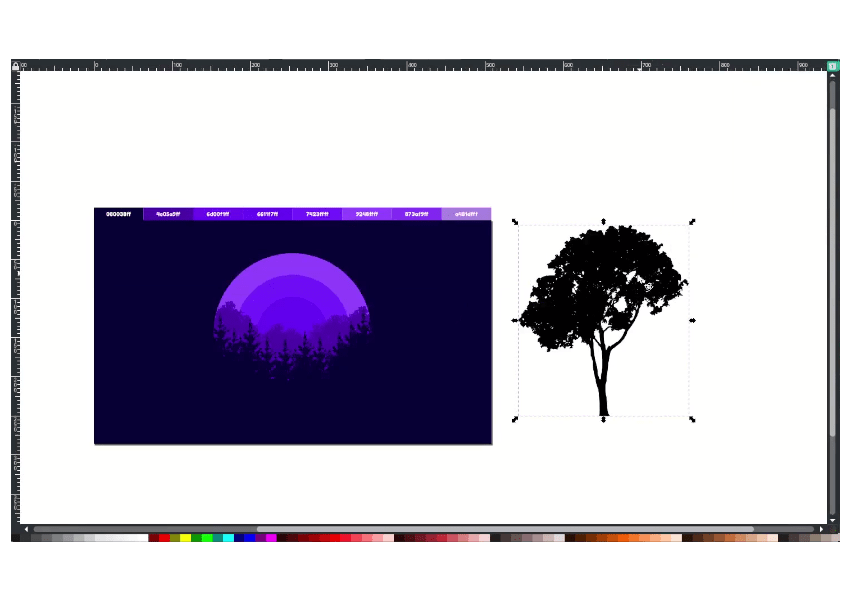
Import the trees PNG in file > import. How do you edit the trees (ex: changing the color)? On Inkscape, you can do it with trace bitmap in Path > Trace Bitmap.
Note: Trace Bitmap does a great job when you have an image file with one solid color (ex: black, red, blue, etc.)
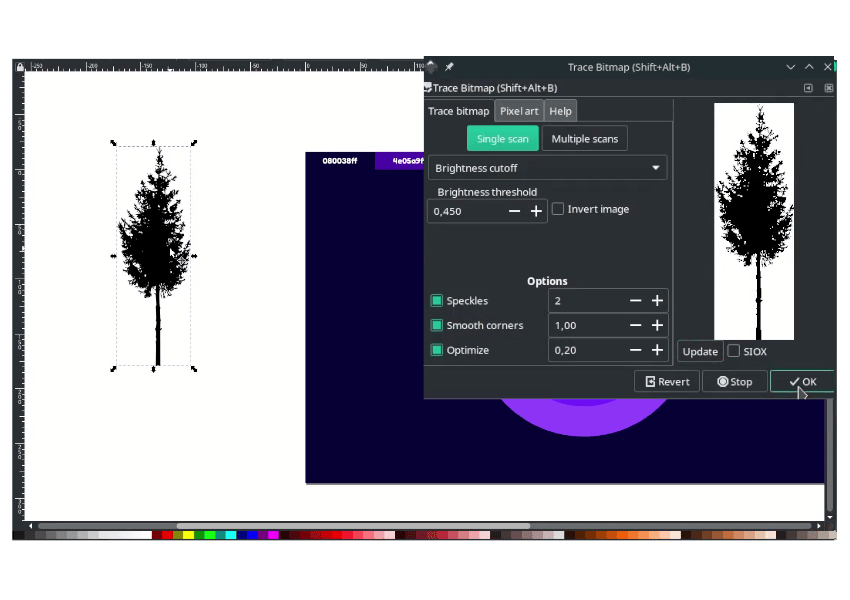
And now you have two objects; the left is the original PNG, and the right is the traced bitmap. You can edit the object and change it to any color.
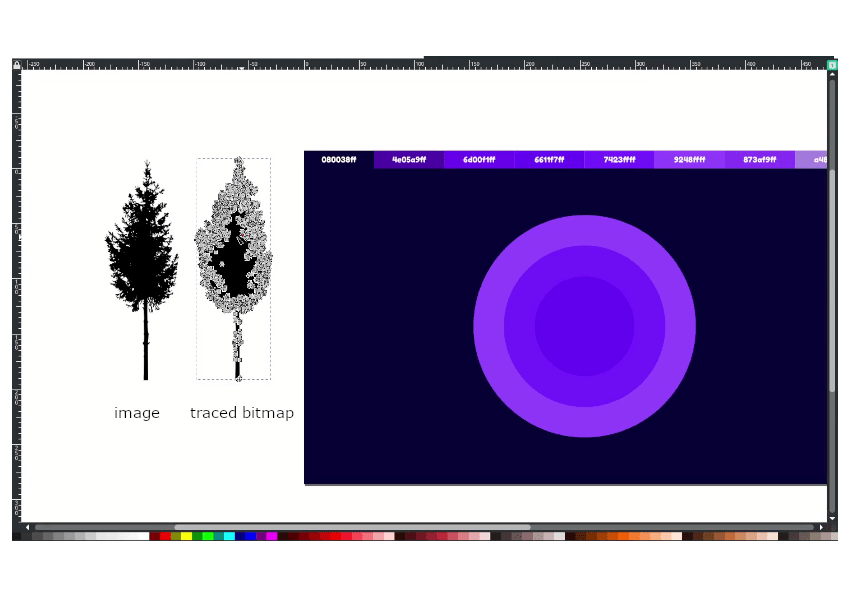
Change the color same as the rectangle.

Duplicate the trees with ctrl+d, and then you can move to create a nice placement.
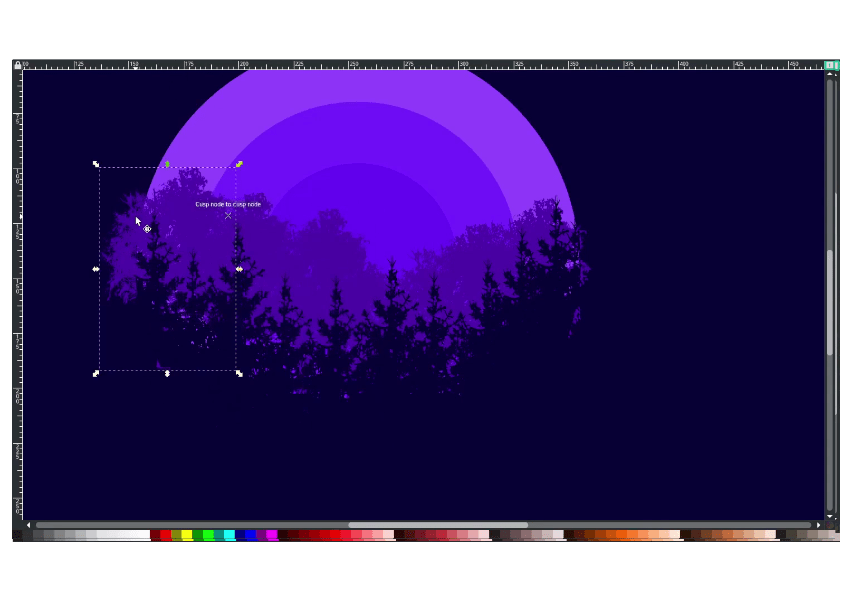
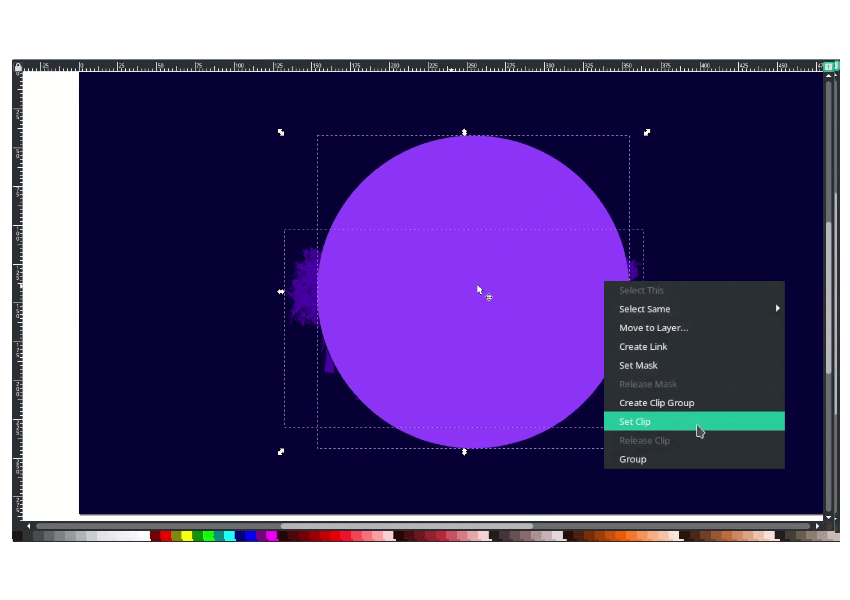
Step 4
Group the trees by selecting all the trees with right click > group.
Now, create a clipping mask. First, select the outer circle with F2, then click. Next, Duplicate it with ctrl+d, and now it’s in the front of the tree object. Select the duplicated circle, then the trees, right click > set clip.
Note: The clipping mask allows you to hide all parts outside the clip object. In this case, the clip object is the circle, so the trees will follow the circle shape.

Result:
Step 5
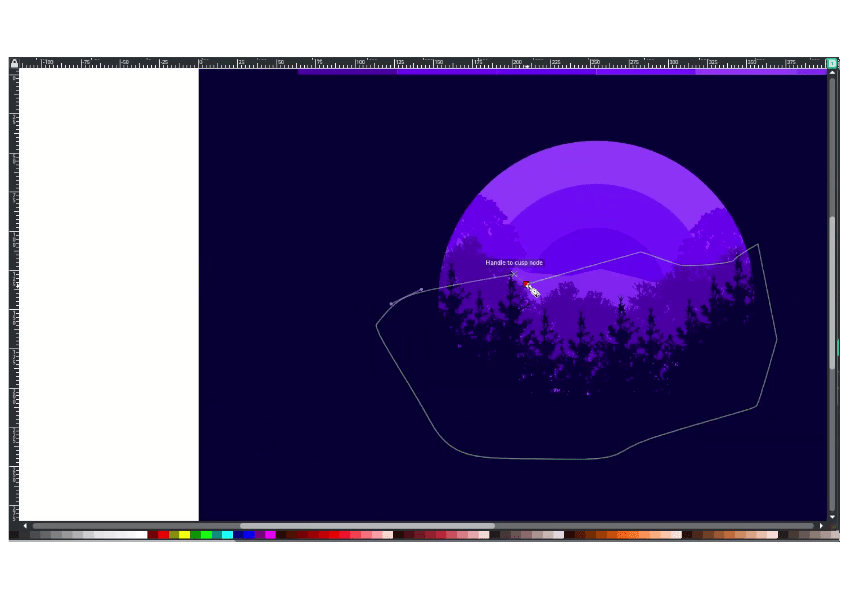
Fill the gap with bezier tool (B) and change the color same as the rectangle color and don’t forget to remove the stroke.
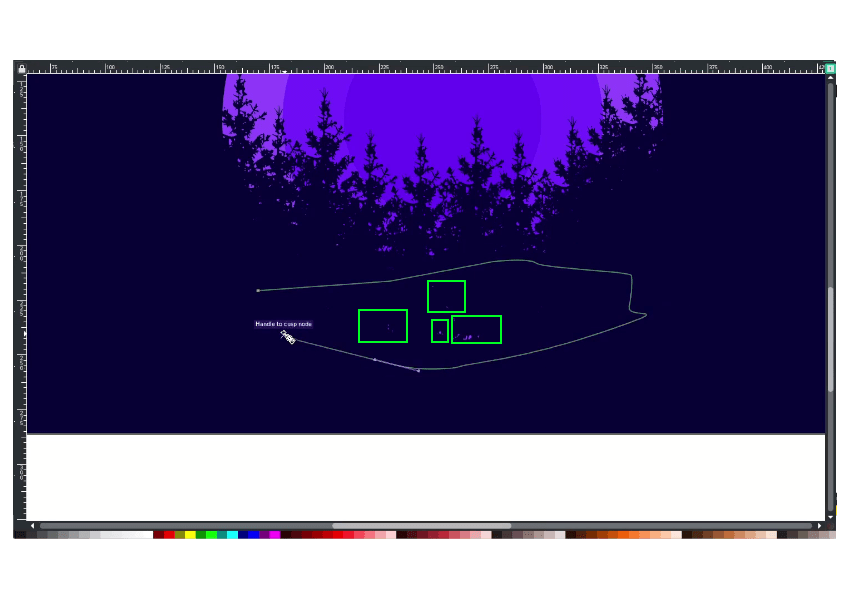
Result:
Group with the trees object.
Result:
Step 6
Import another tree PNG and trace bitmap like Step 3.
Change the color to Purple (#4e05a9ff).
Duplicate the outer circle with ctrl+d, then create a clipping mask.
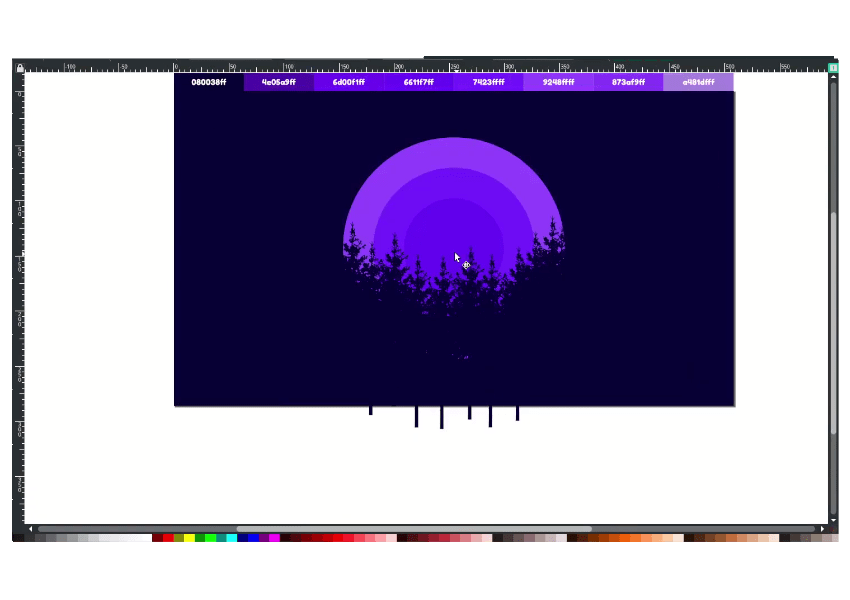
Add another tree PNG. and move to create a nice placement.
Result:
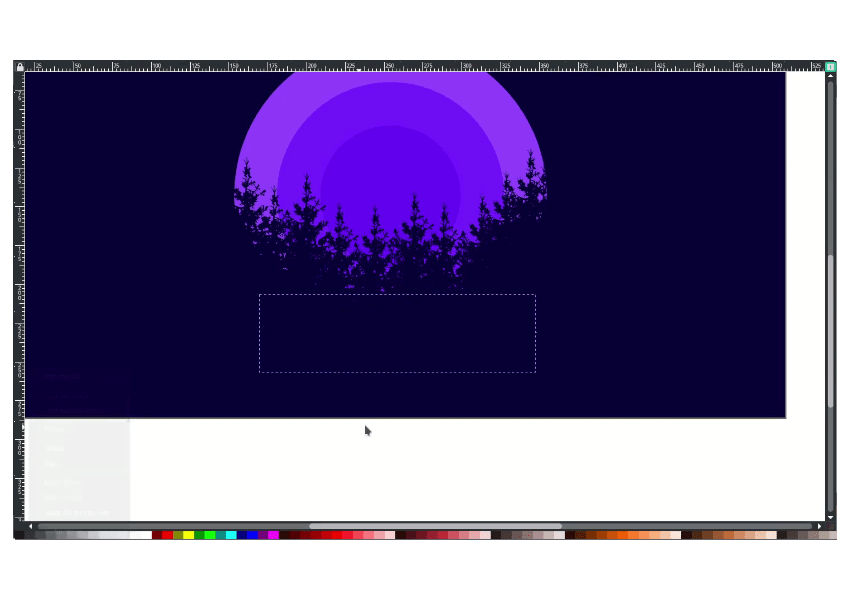
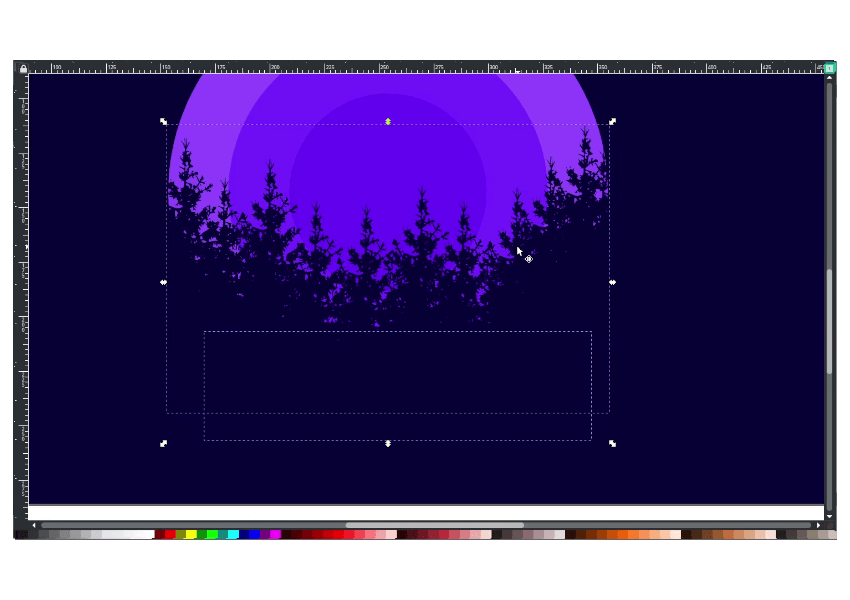
Step 7
Draw a mountain with a bezier tool (B), add another shape, then create a clipping mask. Change the color to Blue Violet (#873Af9ff).
Add another one, and send it to the lower back.
Result:
Step 8
Create a circle with an ellipse tool (E) (like in Step 2) and change the color to white.
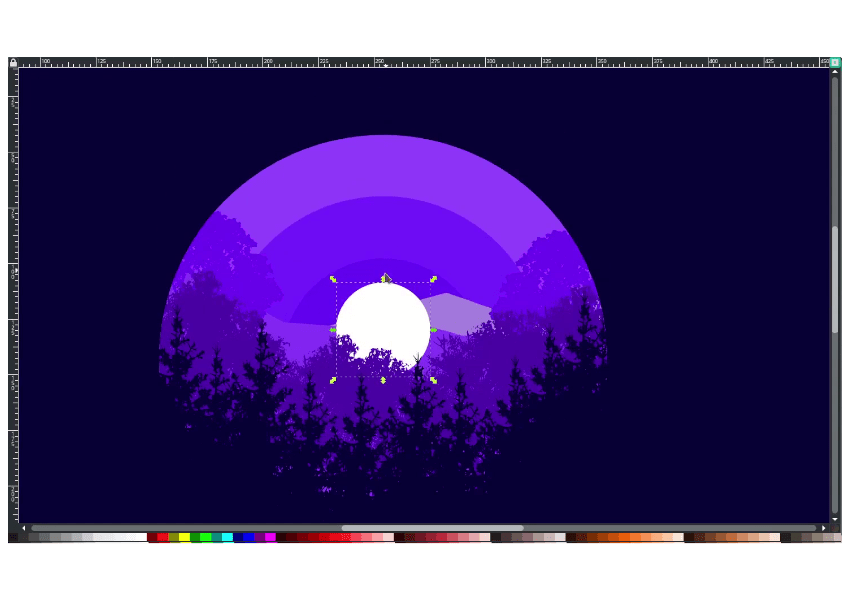
Next, create a glow effect by duplicating the circle with ctrl+d, then increase the blur around 27% in Fill and Stroke Menu (Shift+Ctrl+F).
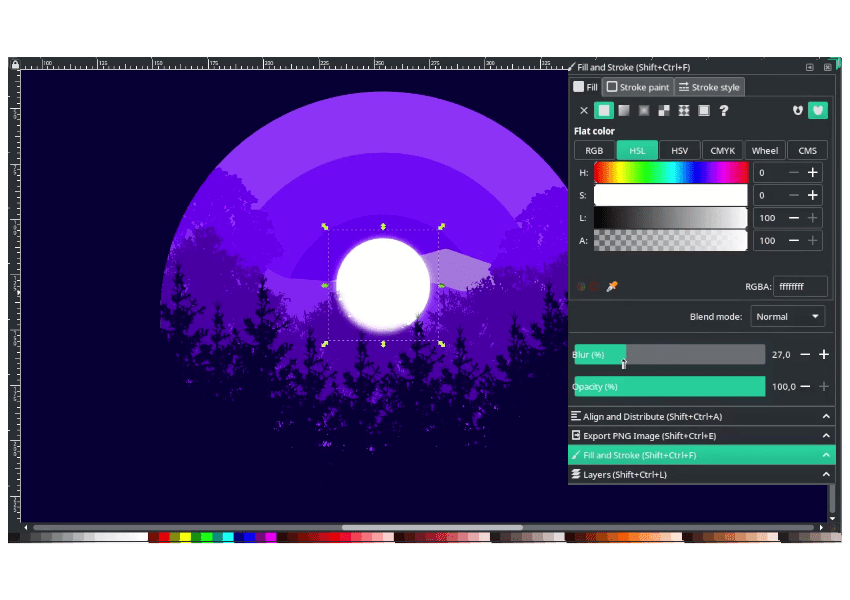
Send it below the original circle.

Step 9
Draw a bird shape with a bezier tool (B).
Tips: you can hold shift to lock the corner when drawing a shape with a bezier tool.
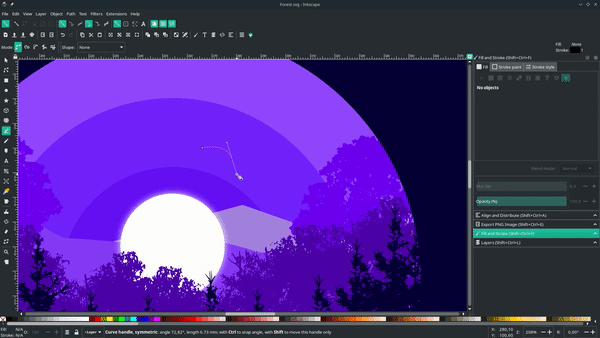
Result:
Step 10
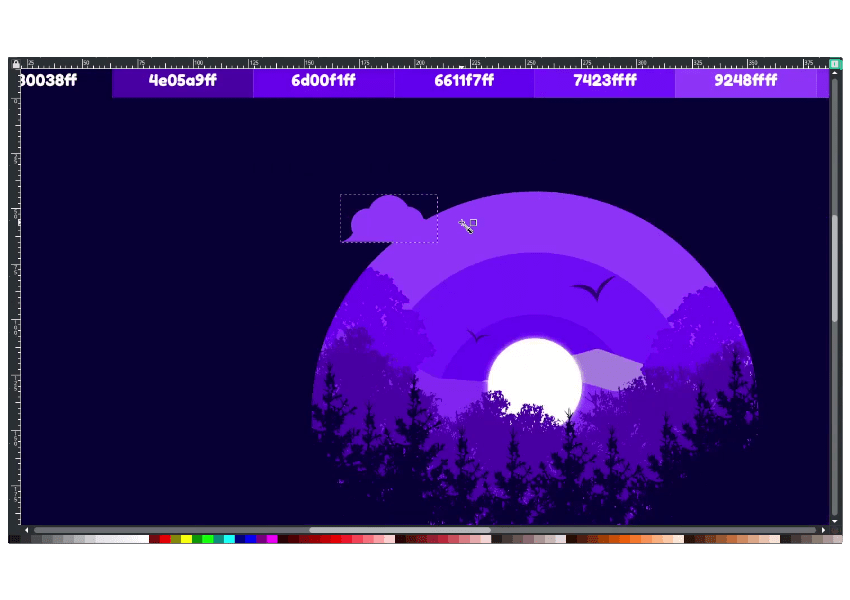
Create a clouds by duplicating the circle, then draw some shape with bezier tool (B).
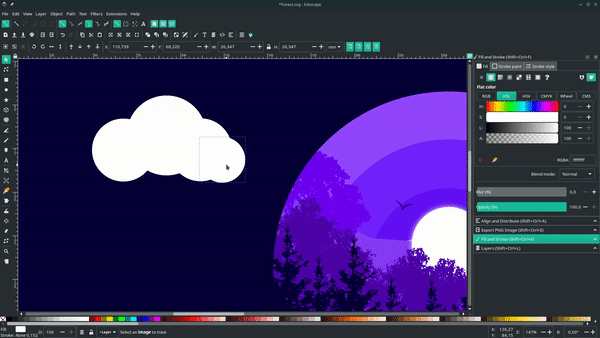
Change the color to Purple X 11 (#9248ffff).
Duplicate the clouds, change the color same as the background.
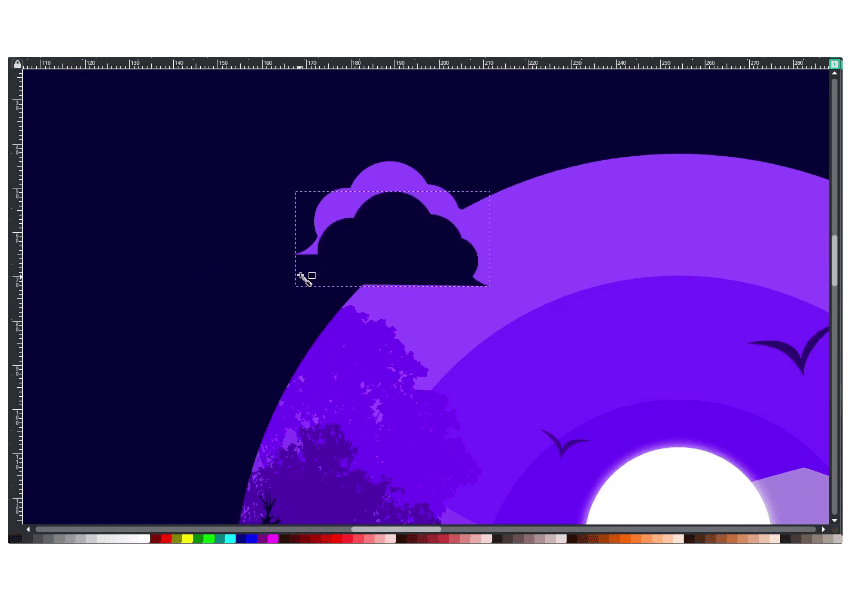
And scale it down by holding ctrl+shift. And do the same for the right side.
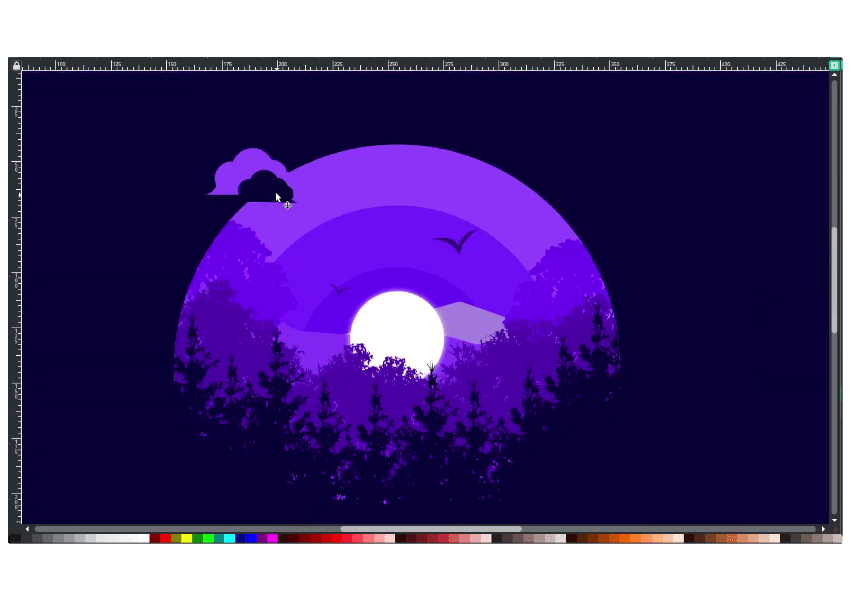
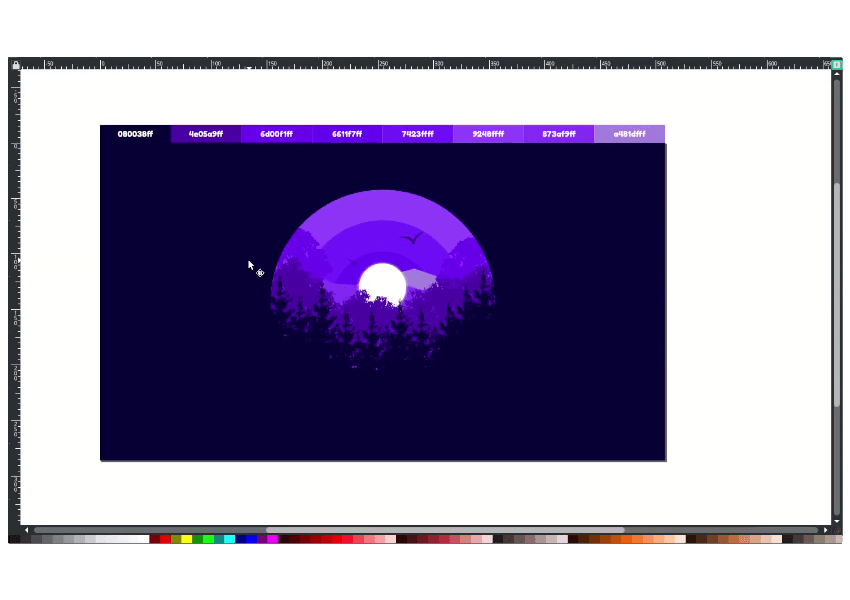
Result:
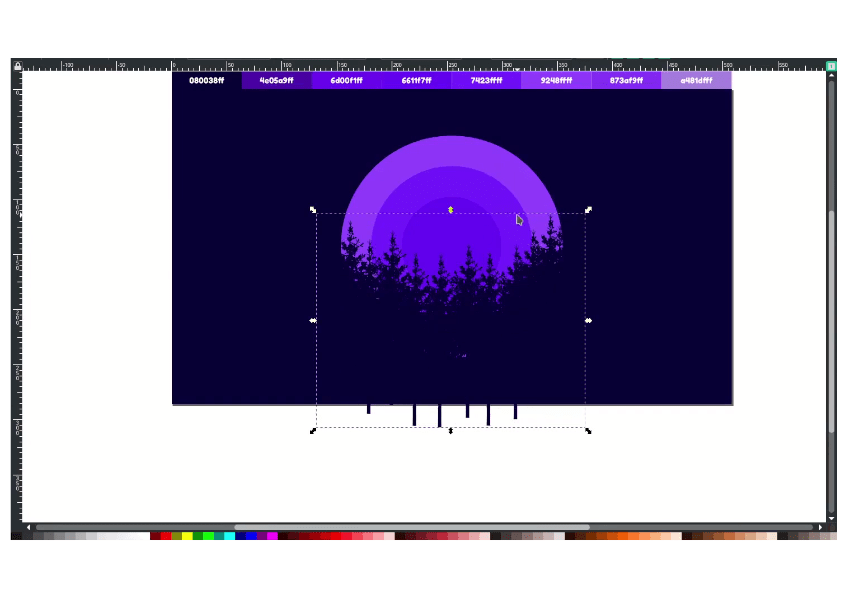
Also, you can add text below the illustration with the text tool (T).
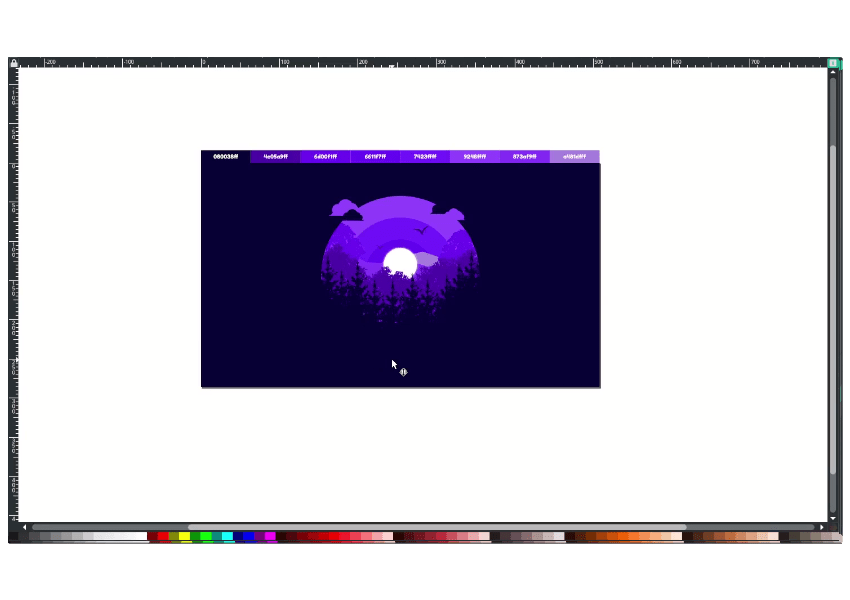
Final Result
That’s it. I hope you learn something new on Inkscape and how to create this illustration. Thank you for reading.

Tutorial Assets
Credits
- Inspired by Jeremiah J. Corder – The Forest


