In today’s tutorial, we are going to create a Game Logo design based on a text by using gradient and perspective path effect in Inkscape.
What you will learn
- How to use gradient
- How to use bezier tool
- How to add path effect
- How to change perspective with path effect
- How to change the color
- How to create a stroke with outset
- How to create sunburst in Inkscape
Tutorial Steps
Step 1
Create a gradient with Gradient Tool (G) and change the gradient option to Radial.
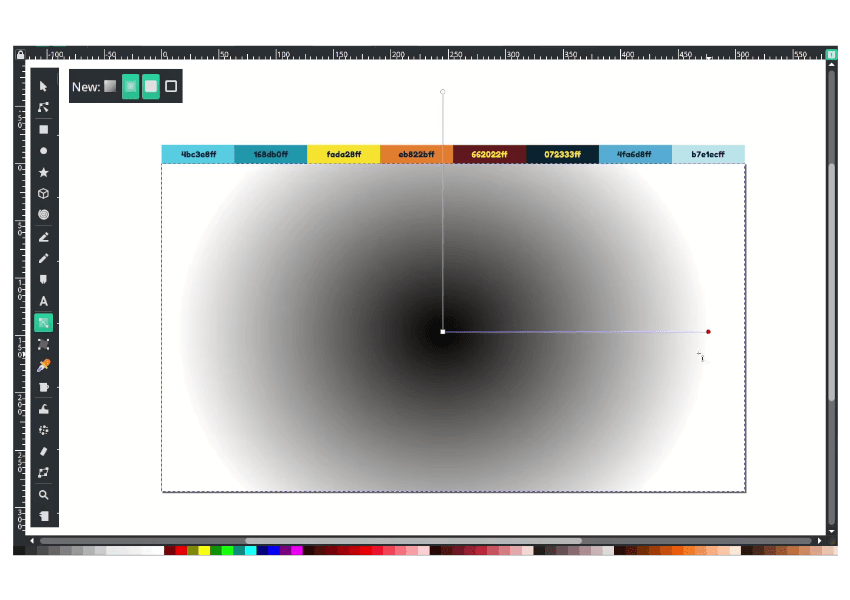
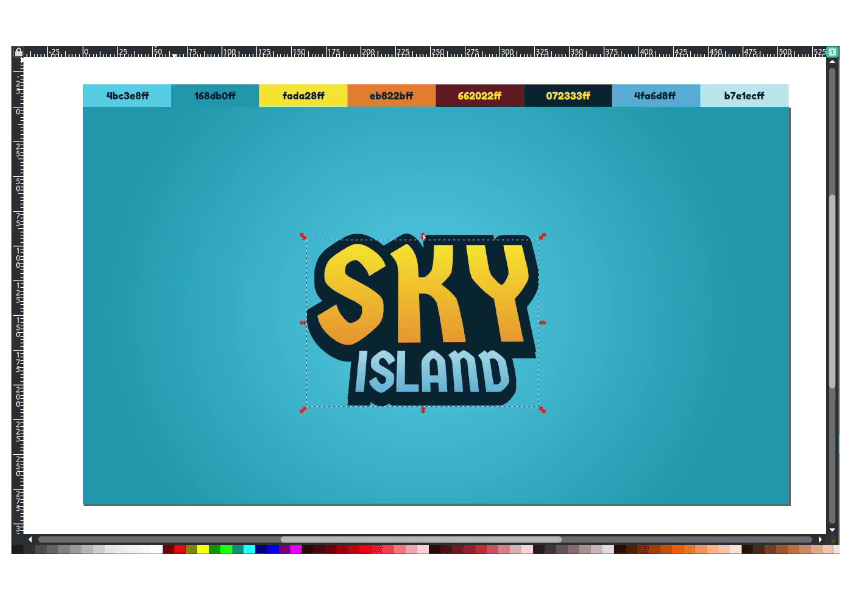
And change the color with Dropper tool (D) to Vivid Sky Blue (#4bc3e8ff) and Blue Munsell (#168db0ff).

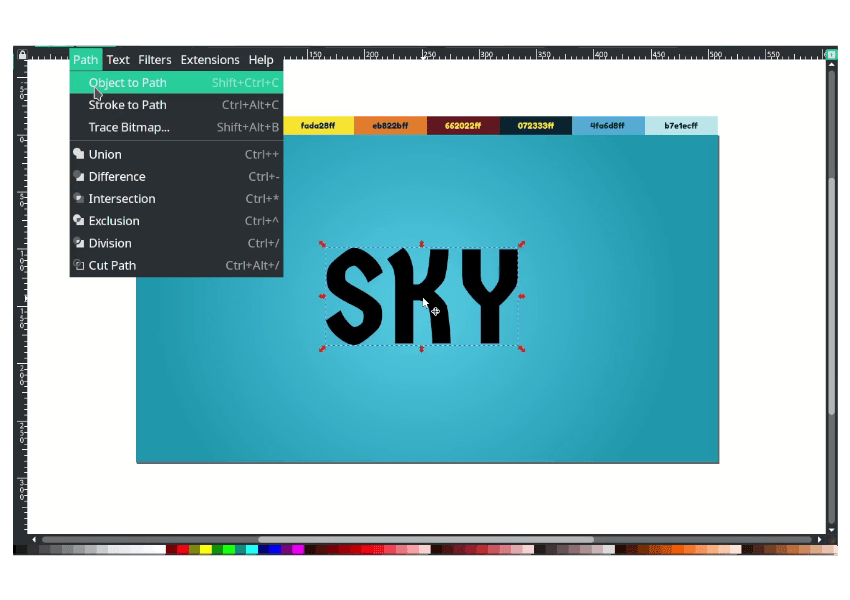
Step 2
Type a text with Text Tool (T) and change the font to Germania One then convert the font to path in Path > Object to Path.
Step 3
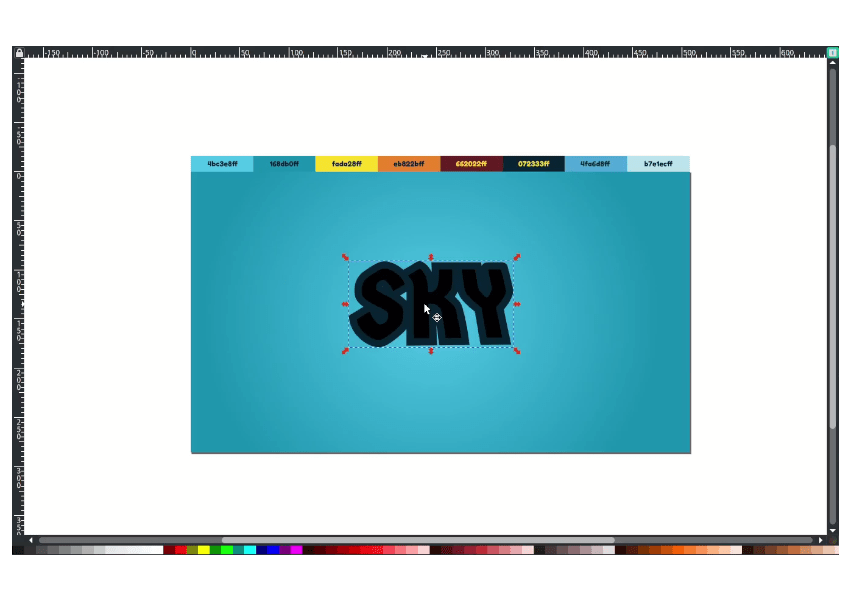
Next, add the persepective path effects in Path > Path Effects > Perspective/Envelope.

And you can drag the handle like to create a perspective:

Step 4
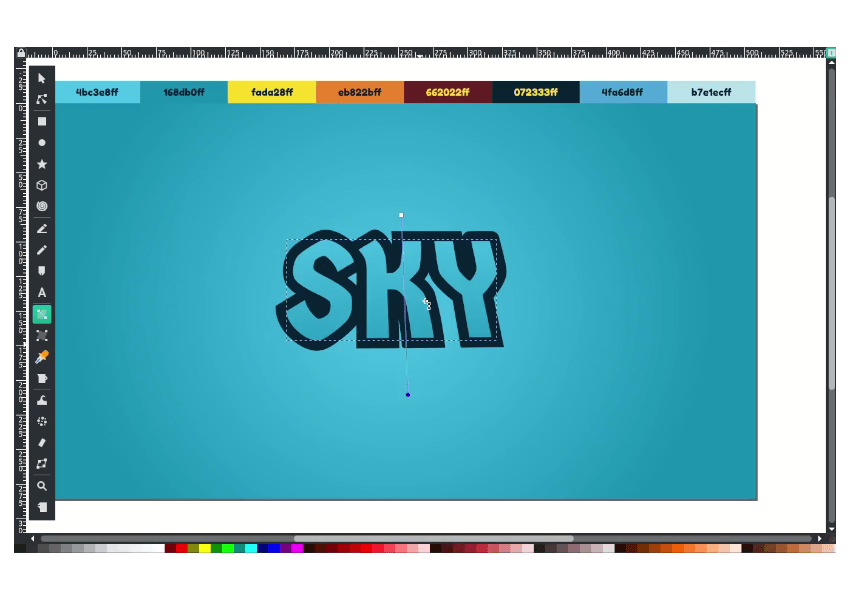
Duplicate the text with Ctrl + D, then change the duplicated object color to Prussian Blue (#072333ff). Then select the path and choose Combine (Ctrl+K) for creating an outstroke later.
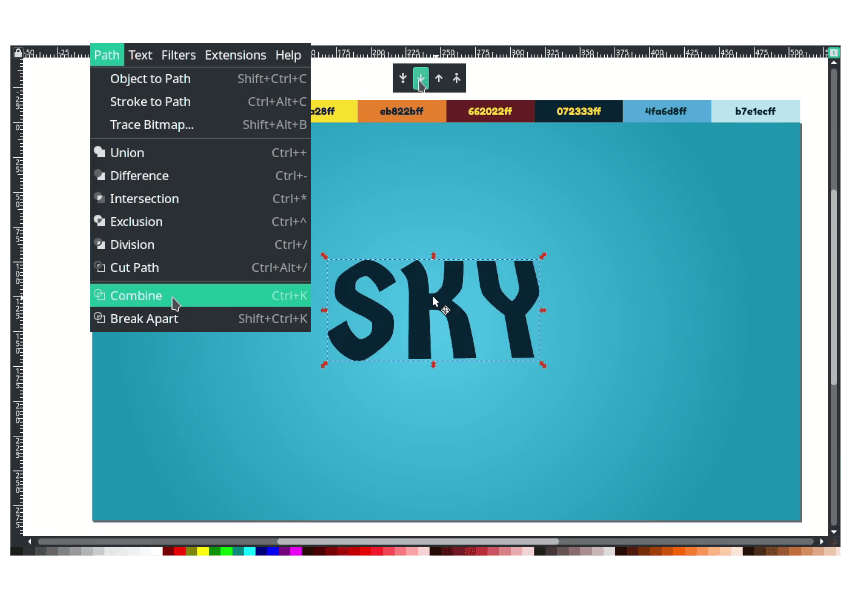
Press Ctrl + ) for a few times (Outset Shortcut).

Then send it to the lower back.
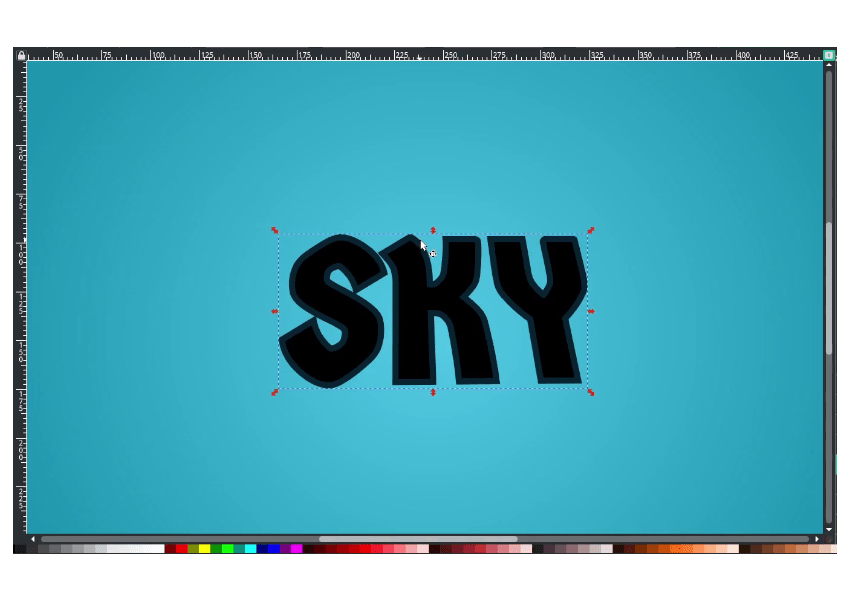
Increase the outset more by pressing the shortcut ( Ctrl+) ).
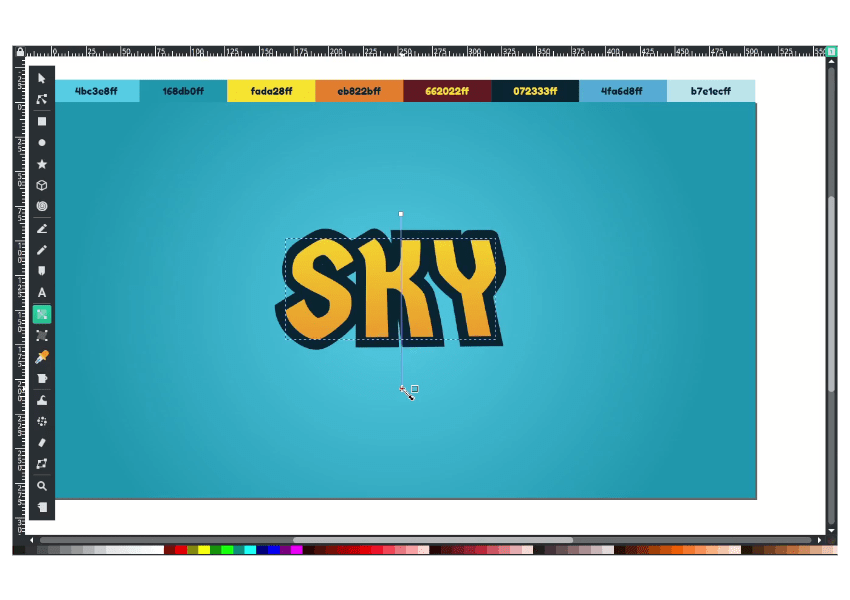
Step 5
Create a gradient to the text with Gradient Tool (G).
Then change the color with Dropper tool (D) to Sizzling Sunrise (#fada28ff) and Cadmium Orange (#eb822bff).
Add more text and Perspective in Path Effect (See from step 2) and change the color with Gradient Tool (G) to Vivid Sky Blue (#4bc3e8ff) and Blue Munsell (#168db0ff).
Step 6
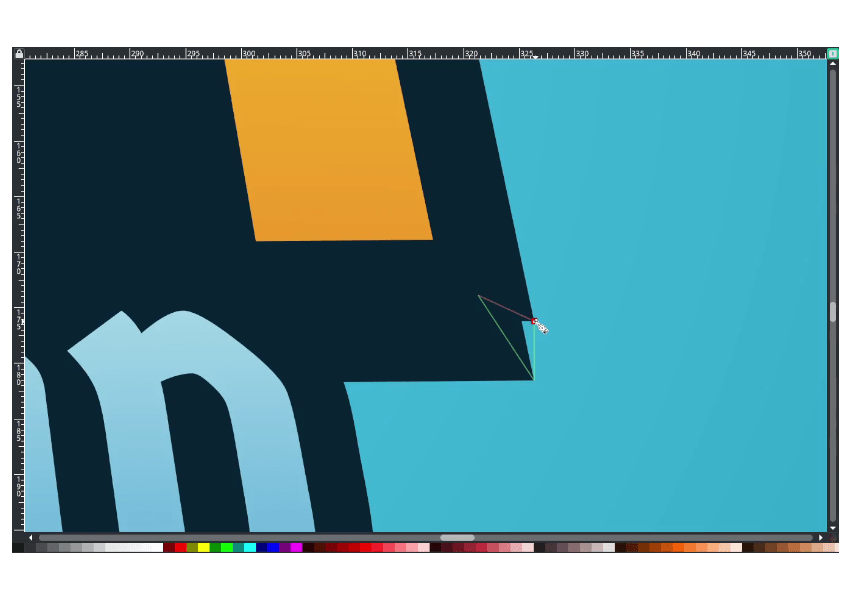
Create a shape to fill the empty gap with Bezier Tool (B), and with dropper tool (D), change the color same as the stroke color Prussian Blue (#072333ff), then remove the stroke.

Send it to the lower back.

Fill the “Island” text with Bezier tool (B).

Select all the path and the stroke with the Bezier tool (B), then unite it with Union in Path > Union.

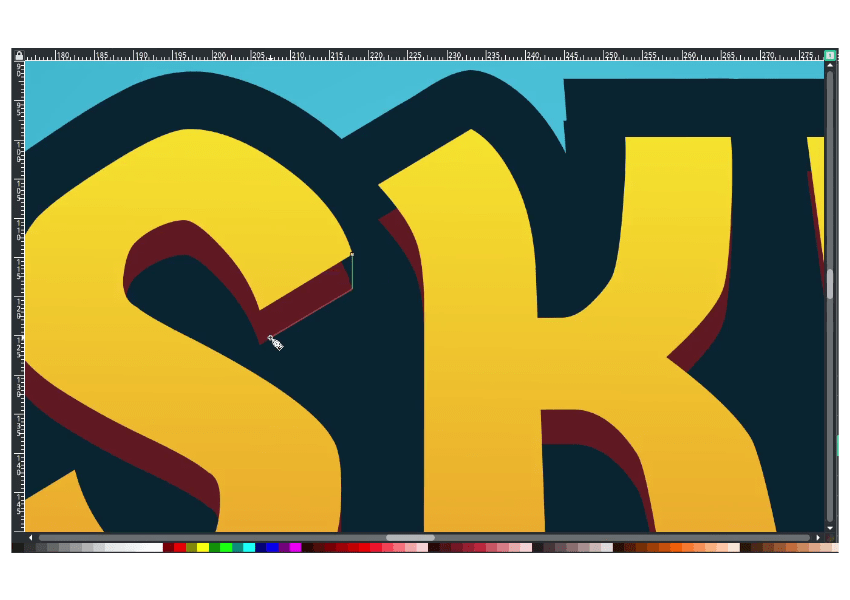
Step 7
Duplicate the stroke with Ctrl+D then connect it with the Bezier Tool (B).
Remove the stroke on left corner, Right Click > Remove Stroke.
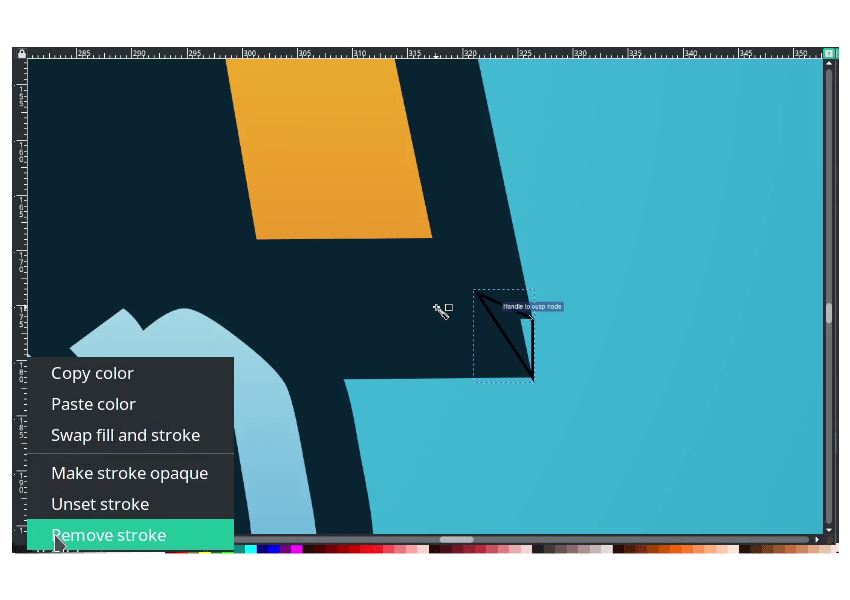
Result:

Then connect all the edge with the Bezier tool (B) then unite it in Path > Union.
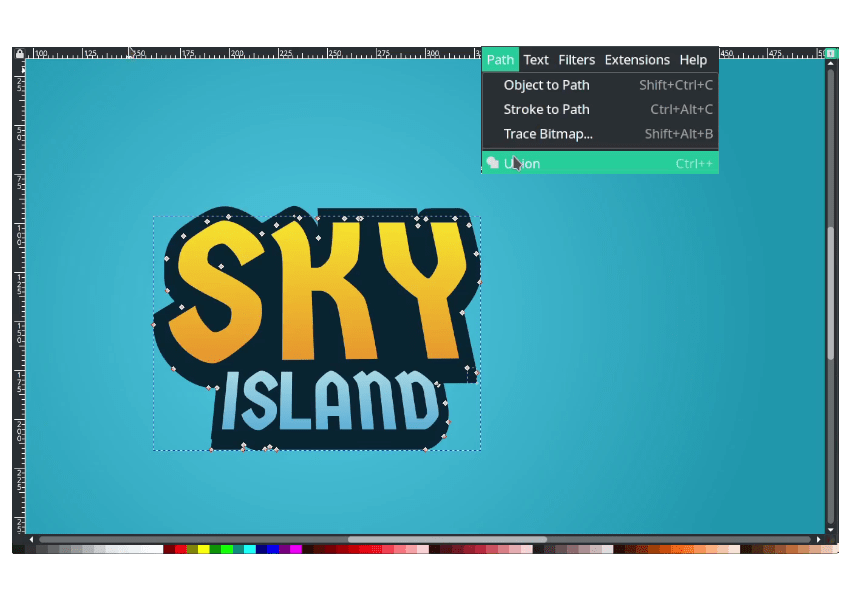
Result:
Step 8
Duplicate the “Sky” with Ctrl+D then change the color to Persian Plump (#662022ff). Again, connect the path with Bezier Tool (B).
Duplicate the island text with Ctrl+D.

Connect all the shapes with Bezier Tool (B).
Create a sword clash effect with Bezier Tool (B).
Step 9
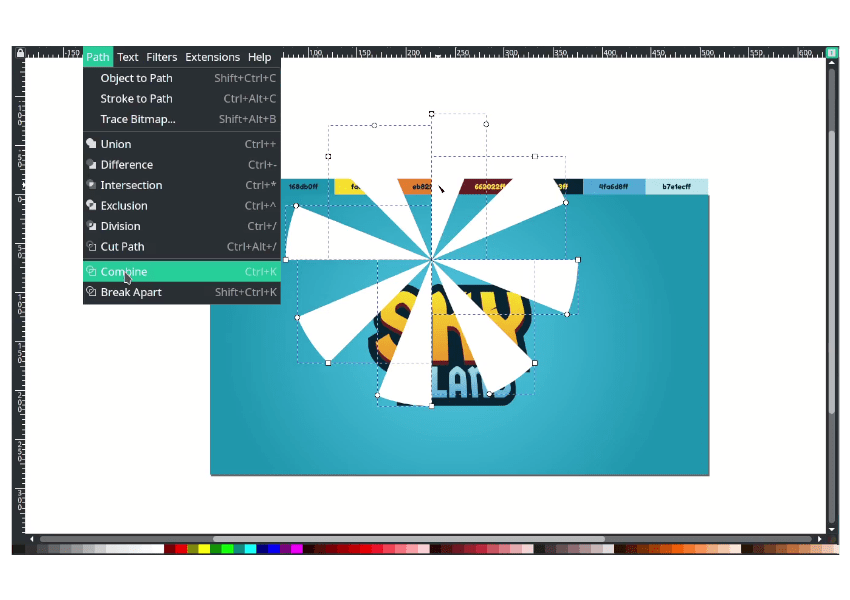
Lastly, we will create a sunburst effect with Ellipse Tool (E) hold Ctrl+Shift to create a proportional scale. Then drag the point to create a slice of that Ellipse.

Click once, then move the pivot point to the left top corner.

Then head up to Object > Transform then choose the rotate tab. increase the angle to 45, then press Ctrl+D to duplicate then hit apply. Repeat the steps.

Combine all the shape by selecting the white shapes then in Path > Combine.
Place it in the middle and move it to the lowerback. Then create Gradient with Gradient Tool (G), choose the radial option:

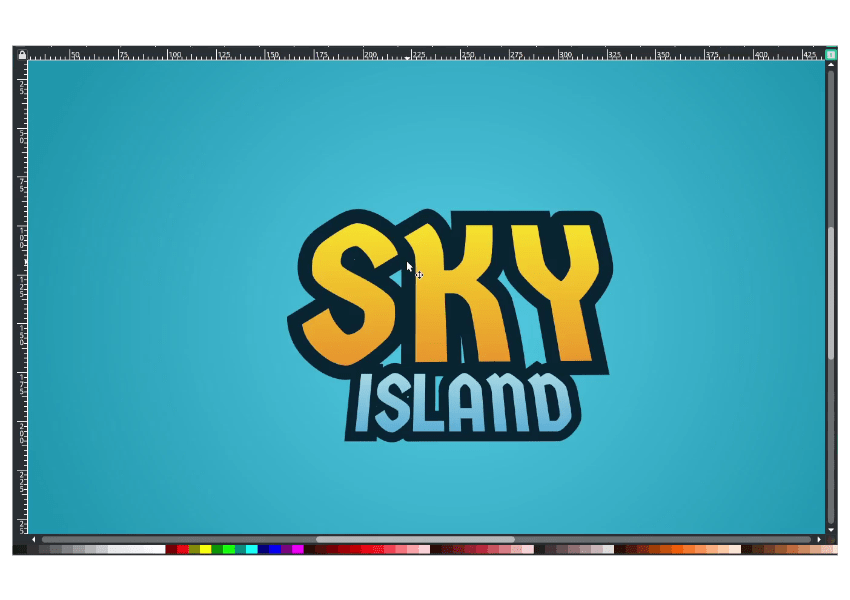
Well Done!
That’s all, i hope you understand how to use the bezier tool and Gradient Tool in Inkscape.