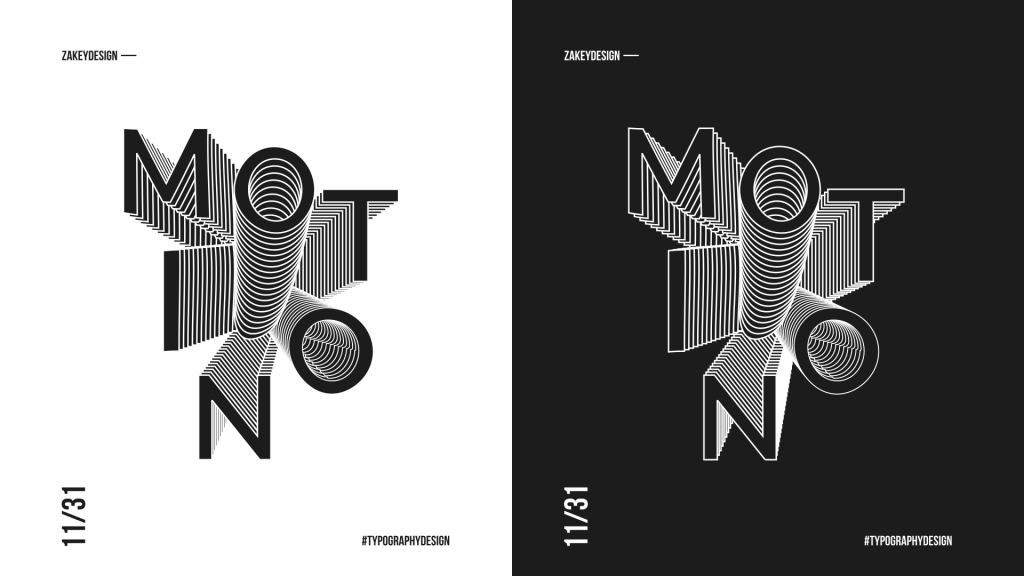
In today’s tutorial, we will create a text effect with Interpolate and use the path effect to slightly bend the text in Inkscape.
What you will learn
- How to scale object
- How to use Interpolate effect
- How to use path effect
- How to create a background
- How to use guides
Tutorial Steps
Step 1
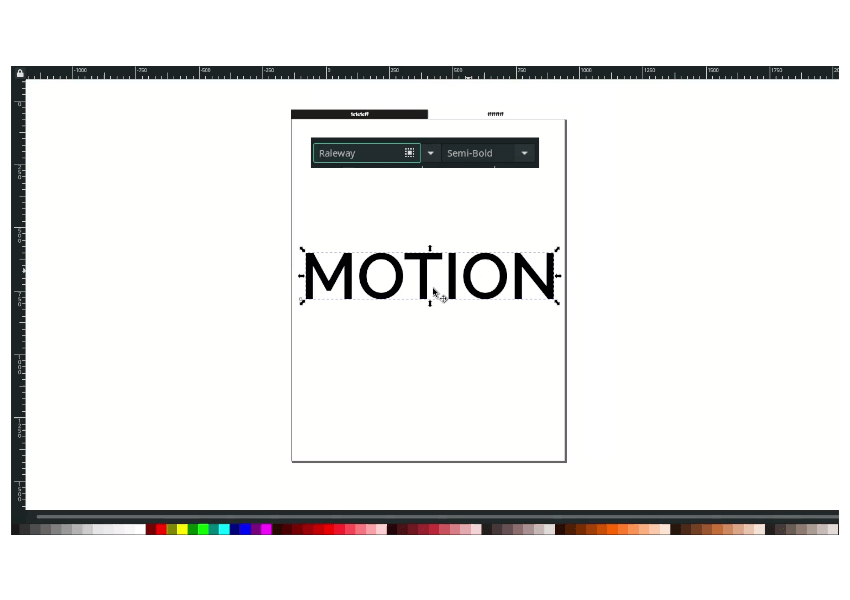
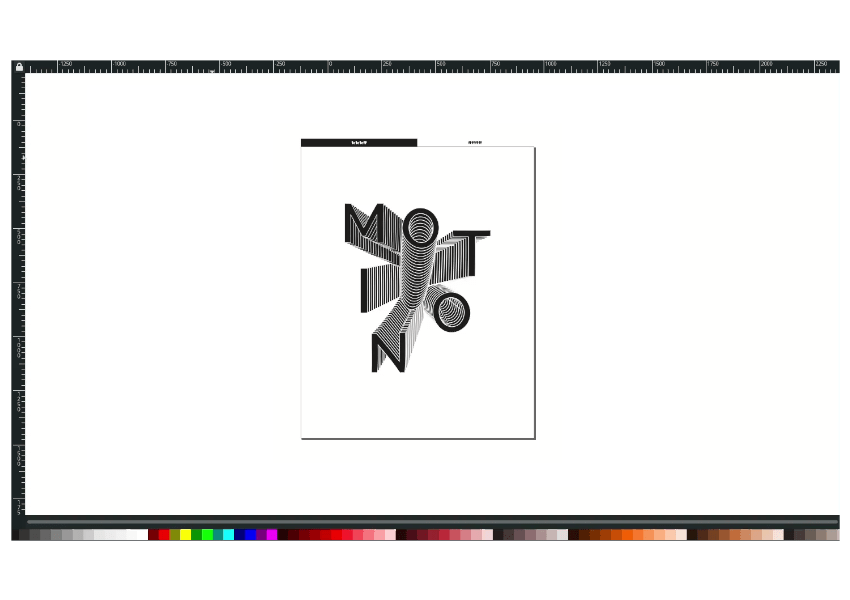
Create a text with Text Tool (T), and type a word with Raleway Fonts with Semi-Bold type.
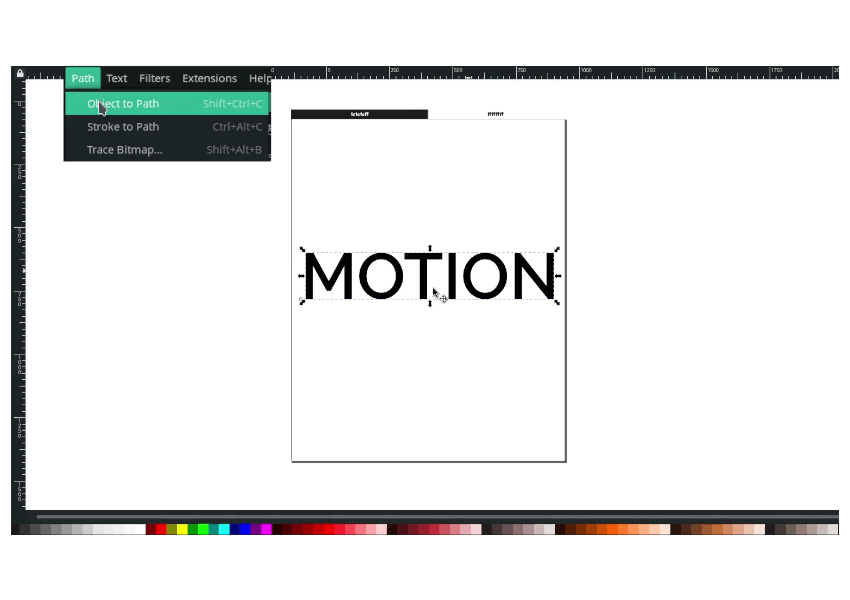
Convert it to the Path in Path> Object to Path because we are going to edit the text with path effects.
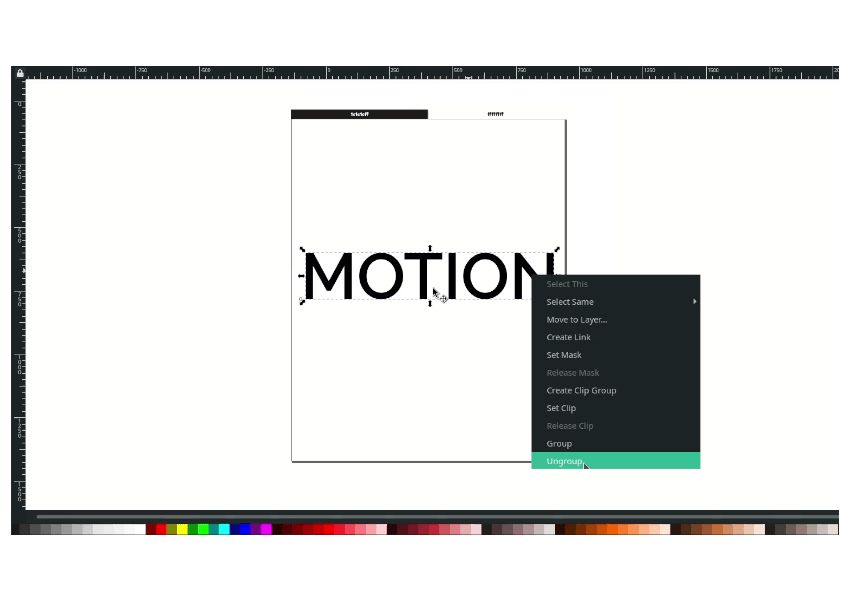
And ungroup the text in Path > Object to Path to separate the word into letters.
Change the letter color to Eerie Black (#1c1c1cff) with the dropper tool to take the color sample and give a white stroke to the letter.

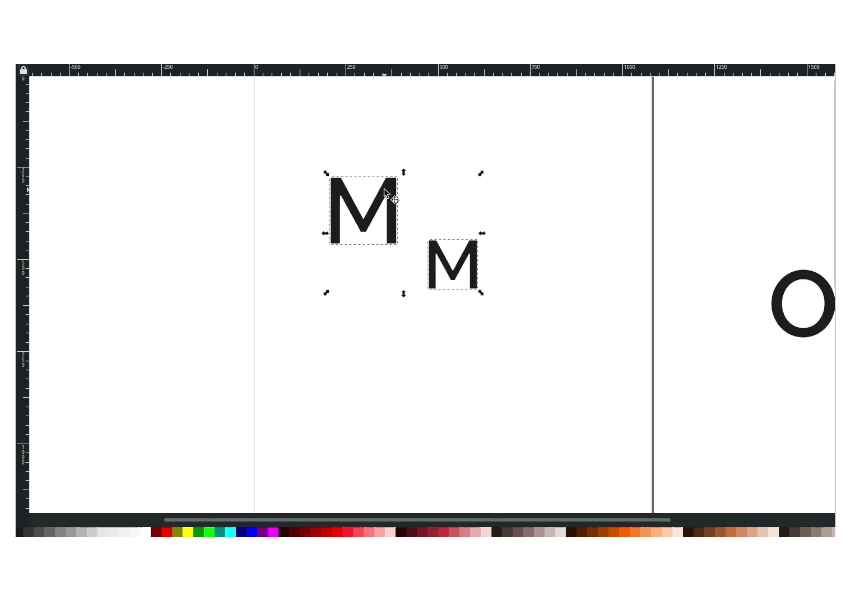
Step 2
Now we are going to create the Interpolate effect. First, duplicate the M Letter and scale it down with Shift+S, hold Ctrl+Shift while scaling to create a proportional scale.
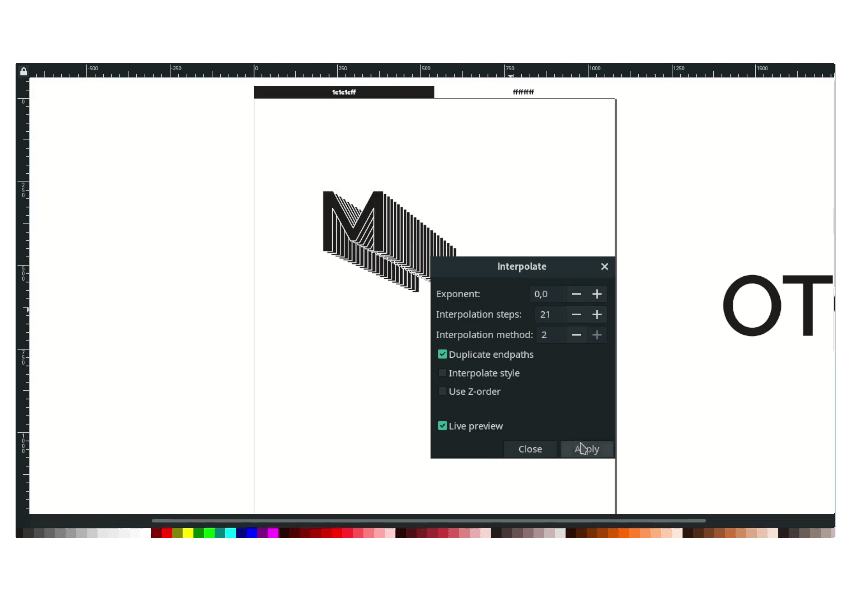
Create an interpolate effect by in Extensions > Generate from Path > Interpolate. Increase the Interpolation Steps to 20 or more.
Tips: Select the first object, the back one (the minor), and the second is the original to define the result from small to big.
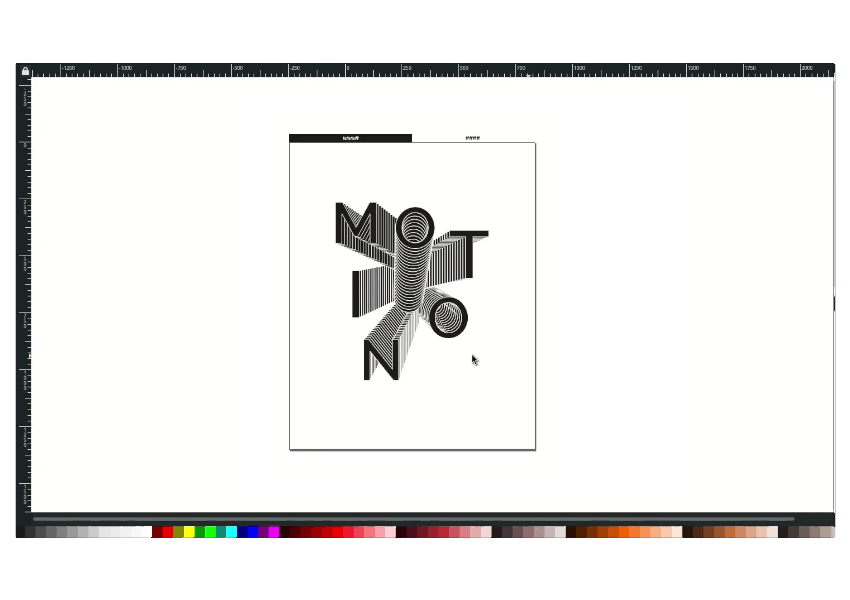
Do the same method to all letters.
Step 3
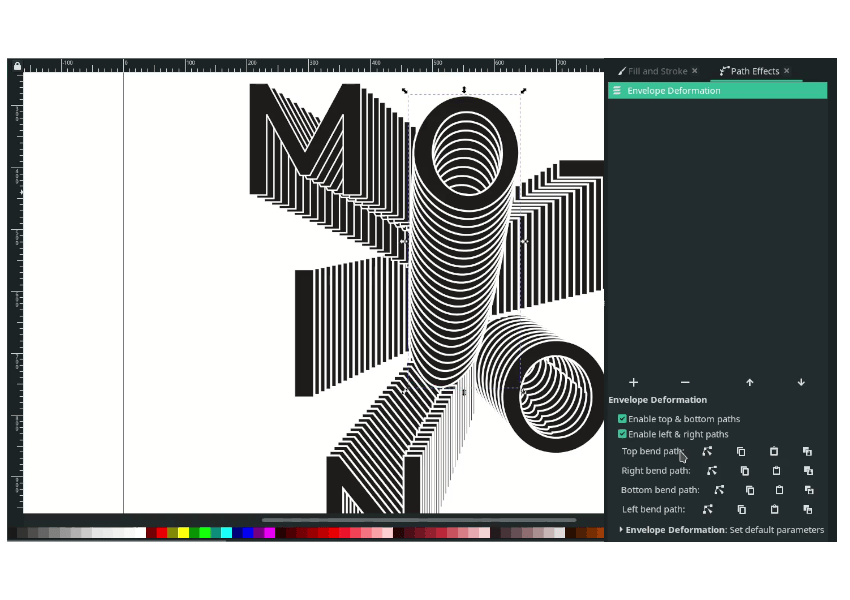
Create a path effect in Path > Path Effects > Envelope deformation. This effect deforms a path with four control paths, the top, right, left, and the bottom bend path.
You can add more text element to the canvas.
It’s Done!
Easy, right? the critical thing to activate the Interpolate Effect to the letters is to Ungroup the text. Otherwise, the Interpolate not working.
Finally, have fun with the Interpolate effect on Inkscape!