This tutorial will show you how to create an isometric text effect with Interpolate on Inkscape.
What you will learn
- How to add text
- How to create interpolate effect
- How to create isometric design
- How to add text
- How to use multiple page on inkscape
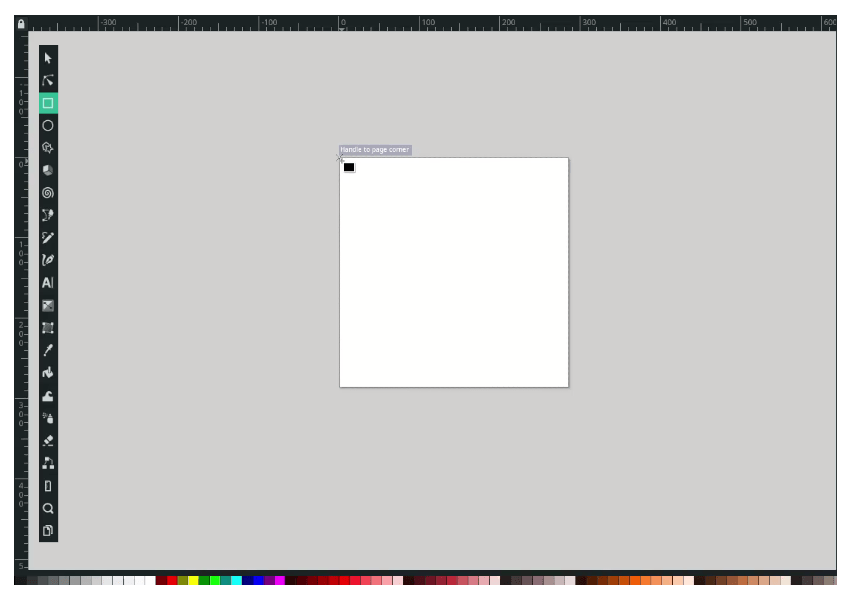
Step 1
Create a background with the rectangle tool (R) and drag from the top left corner to the bottom right corner.
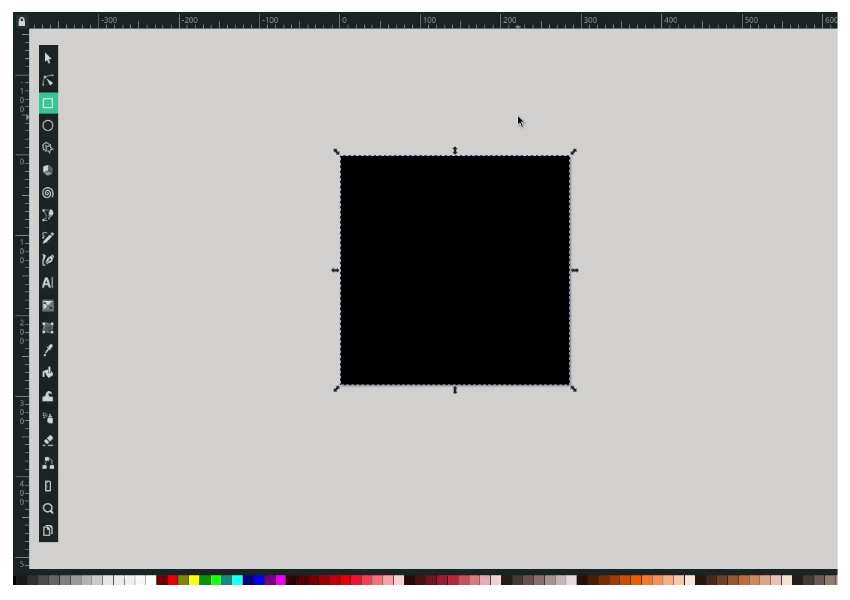
Result:
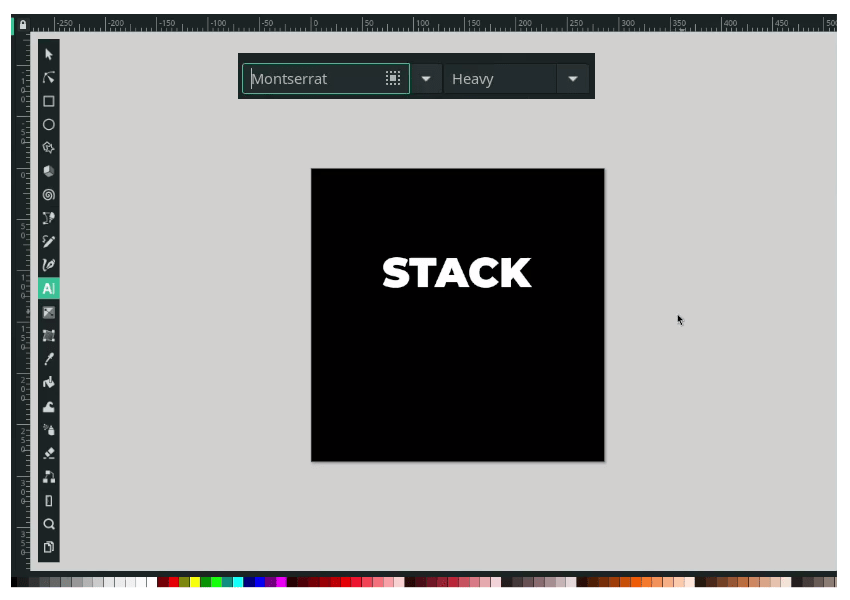
Step 2
Create a text with the text tool (T), then change the font to Montserrat with a Heavy style.
Step 3
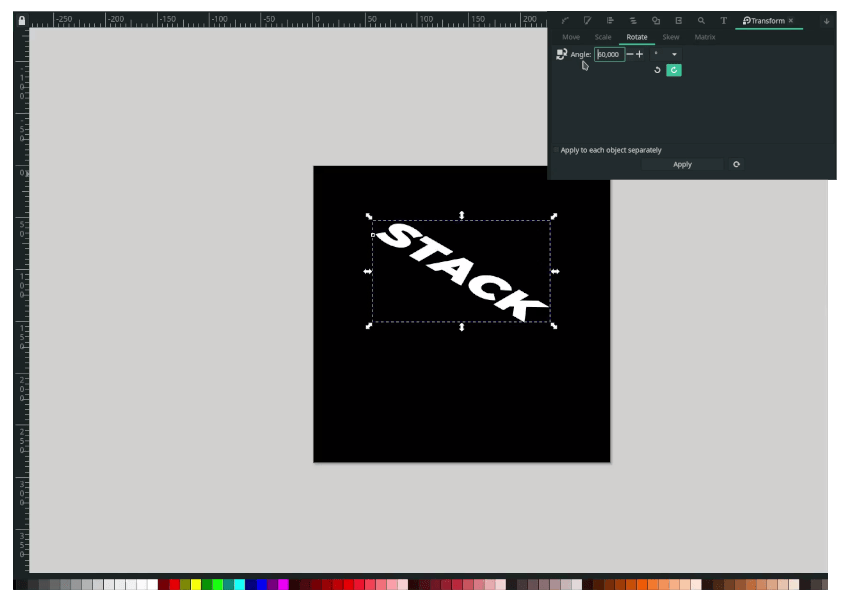
Now, create an isometric effect by selecting the text first, then in Object > Transform. in the Skew tab, change the vertical to -30.
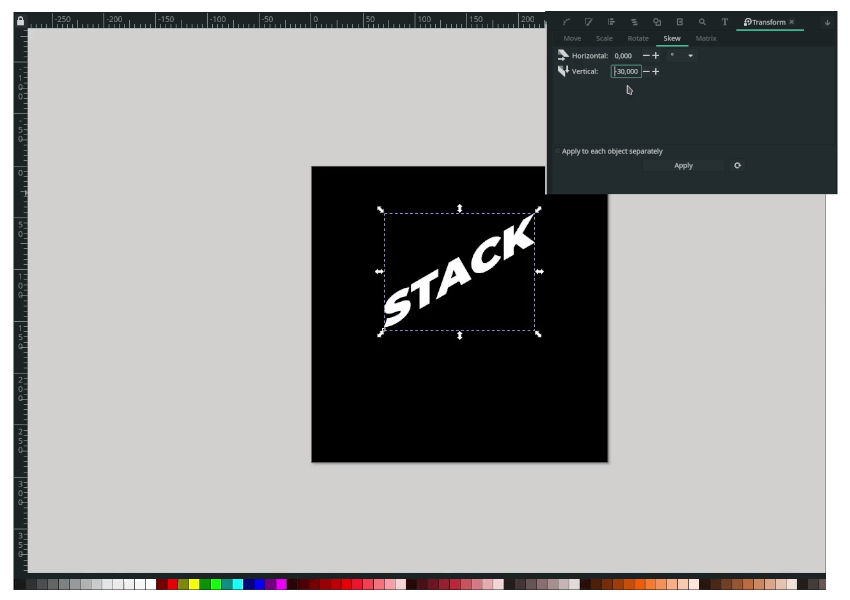
in the Rotate tab, change the angle to 60.
Step 4
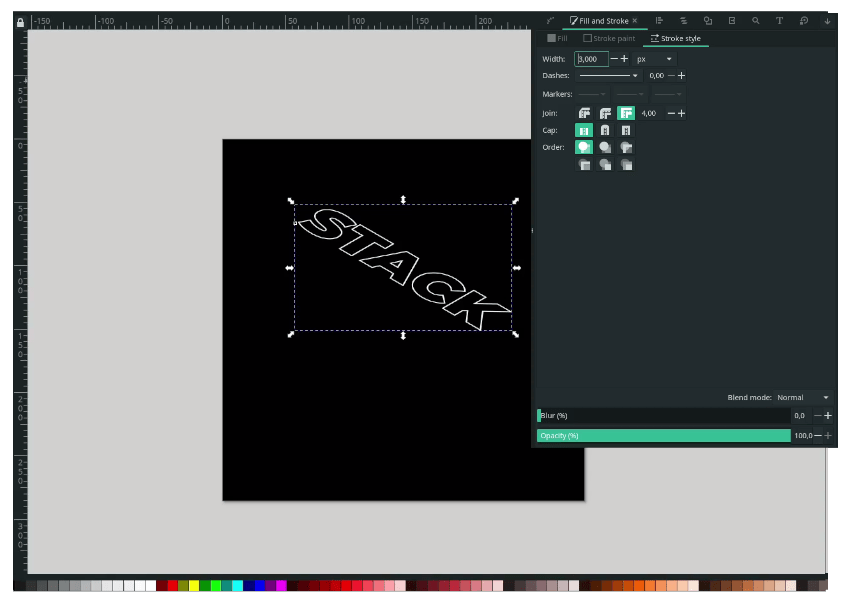
Remove the fill color, and active only stroke. In Edit objects (Shift+Ctrl+F), change the stroke width to 3px.
Step 5
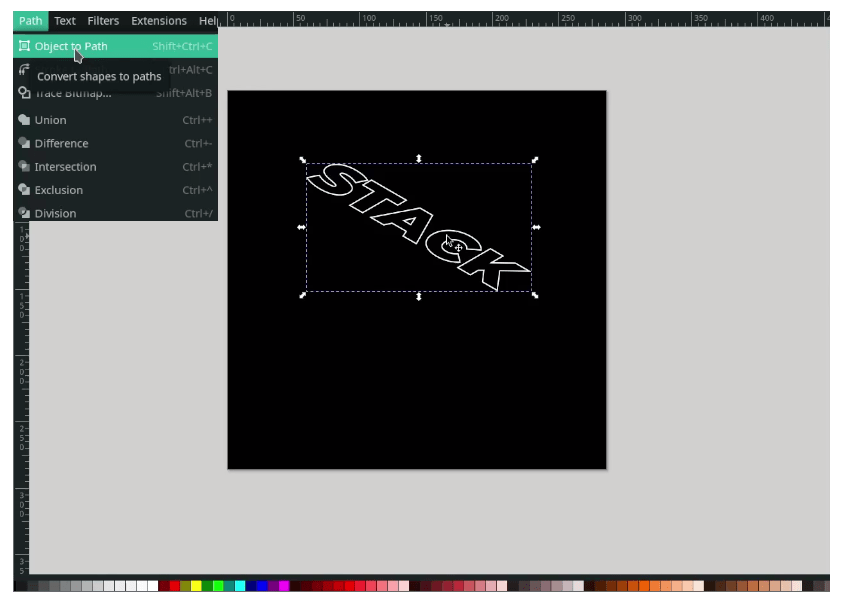
Next, create an Interpolate effect by converting the text to path in Path > Object to Path.
Then ungroup the text by right click > Ungroup.
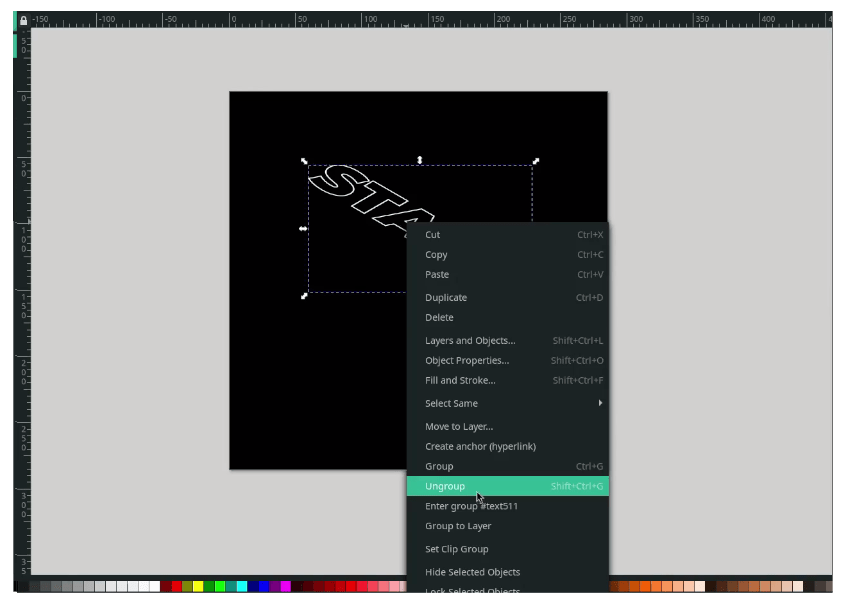
Final step, make it combine in Path > Combine.

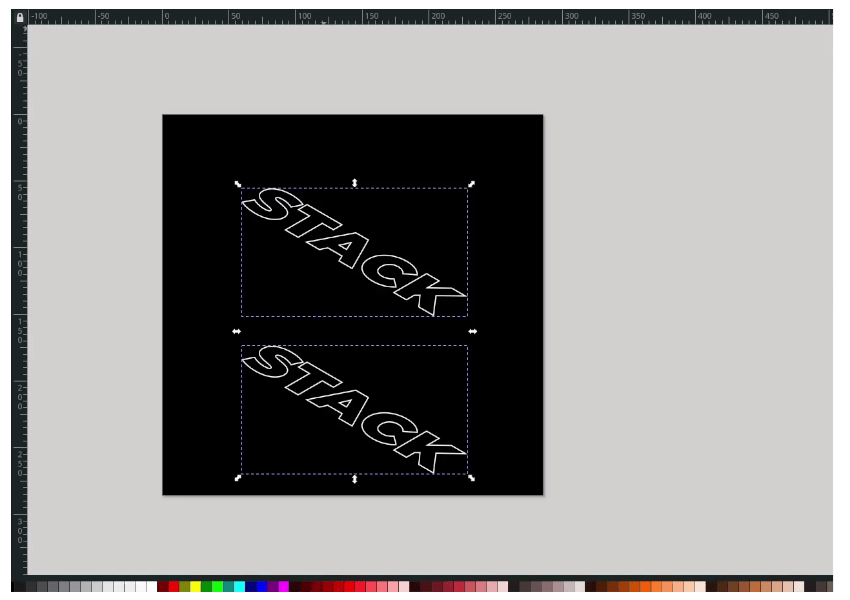
Step 6
Press Ctrl+D to duplicate the text and move it to the bottom. And select the text by holding shift, then click the text.
Note: Make sure the first selected text is in the front before you do the Interpolate effect.
In the top bar, click Extensions > Generate from path > Interpolate. Check all the options, and you can change the Interpolation steps to 25.
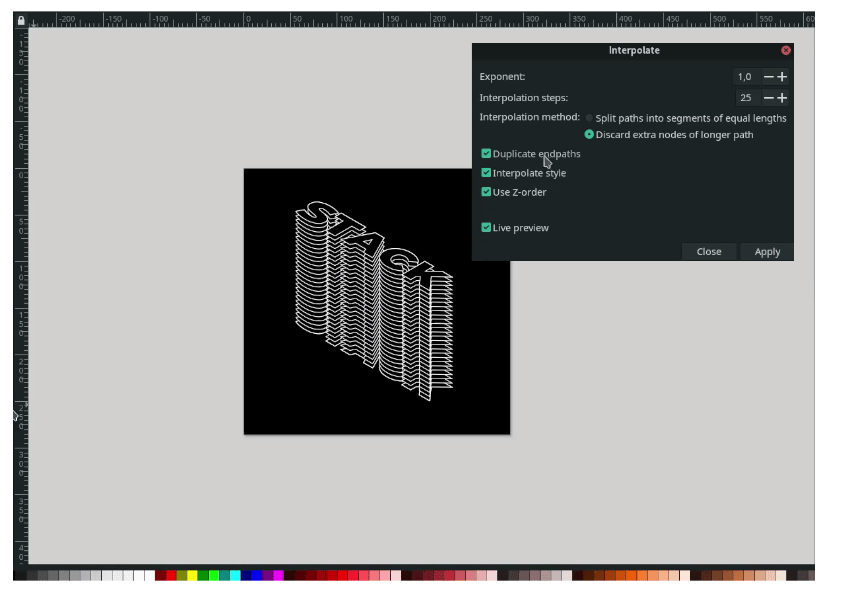
Final Result
You can add more variation by creating multiple pages and moving with an arrow on the keyboard by pressing F2 for each path.