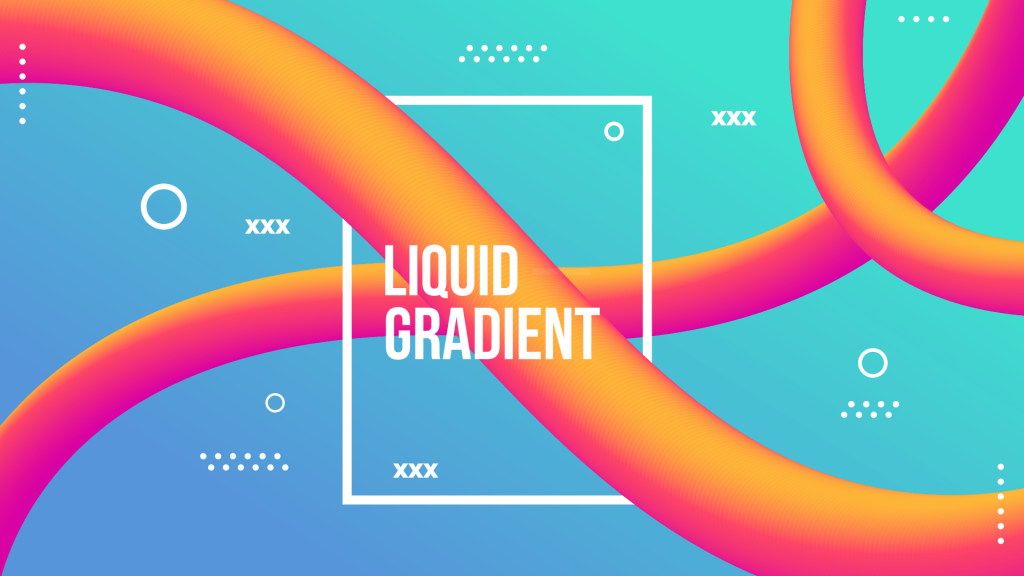
This tutorial shows you how to create a liquid gradient effect in Inkscape using Scatter Extensions and linear-gradient color to create a fluid effect. The position of the circle must be above the line when trying this extension.
What you will learn
- How to use bezier tool
- How to create Interpolate Extensions
- How to create Scatter Extensions
- How to use Gradient Tool
- How to create a clipping mask
- How to rotate object
- How to duplicate object
Tutorial Steps
Step 1
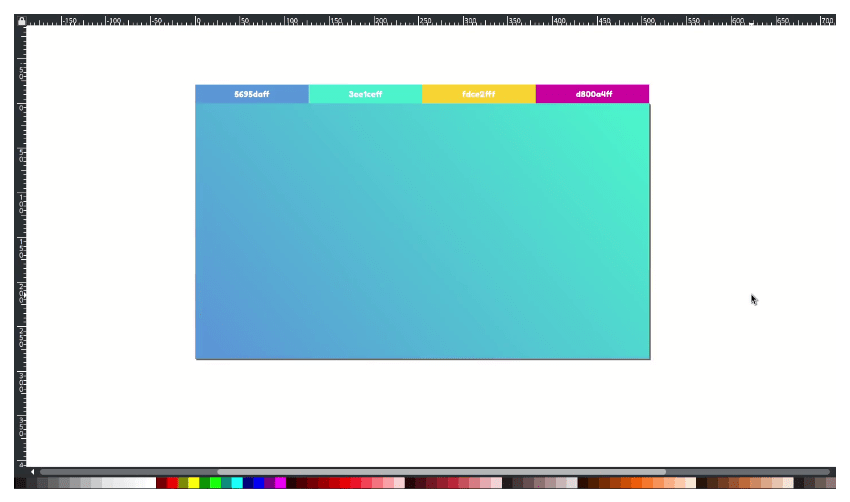
Create a background with Rectangle Tool (T) active the snap to the page border to auto fit when dragging the rectangle to the canvas.

Create a linear gradient with Gradient Tool (G) drag to the canvas and change the color to Turquoise (#3ce1ceff) and Tufts Blue (#5695da).

Result:
Step 2
Create a circle with Ellipse Tool (E) hold Ctrl+Shift to create a proportional scale.
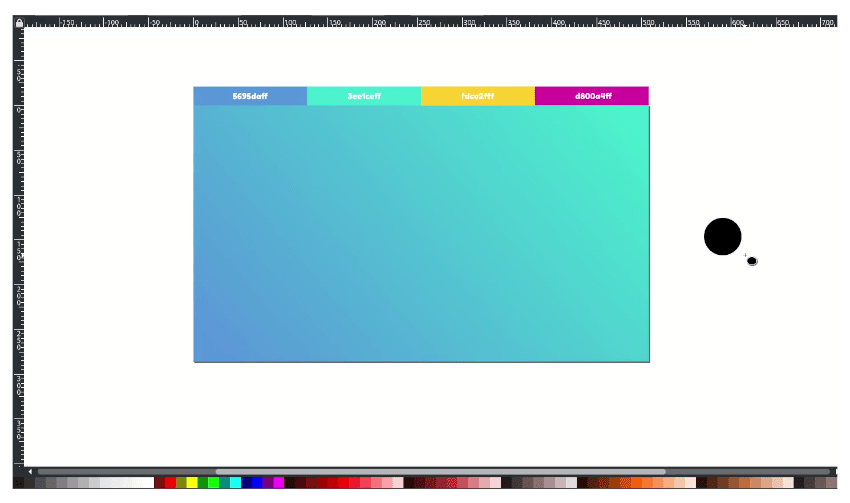
Create a linear gradient with Gradient Tool (G) and change the color to Sunglow (#fdce2fff) and Byzantine (#d800a4ff).

Step 3
Draw a line with Bezier Tool (B) click and drag.
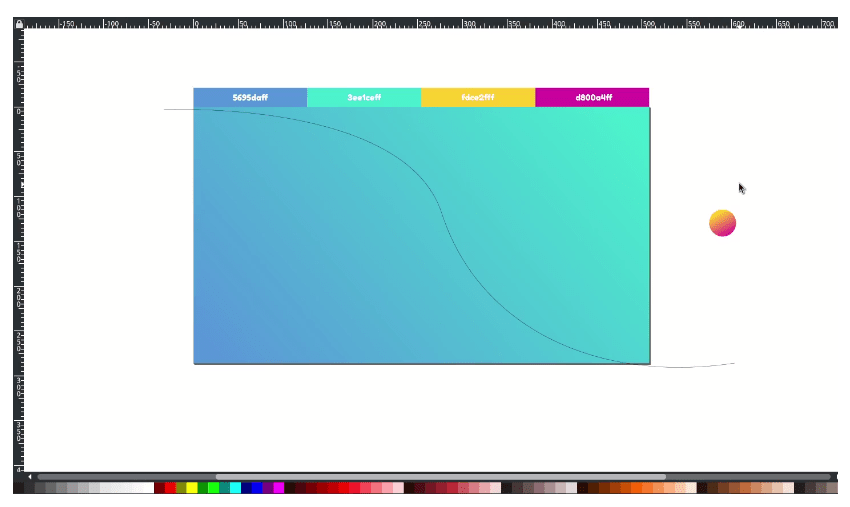
Now we are going to create the scatter effect, convert the circle into path in Path > Object to path.
Tips: Make sure the circle is on the top of the line; otherwise, the scatter extension is not working.

Step 4
Active the scatter in Extension > Generate from Path > Scatter. and check the setting as this below:
Tips: Don’t put the number; click the (-) button to find the maximum scatter until the notification appear.

The notification message will appear with the -30.6 is the maximum. And try to create the scatter again below that numbers.

And put the number below the –30.6, in this tutorial -29.6, it should working fine.

Result:

Step 5
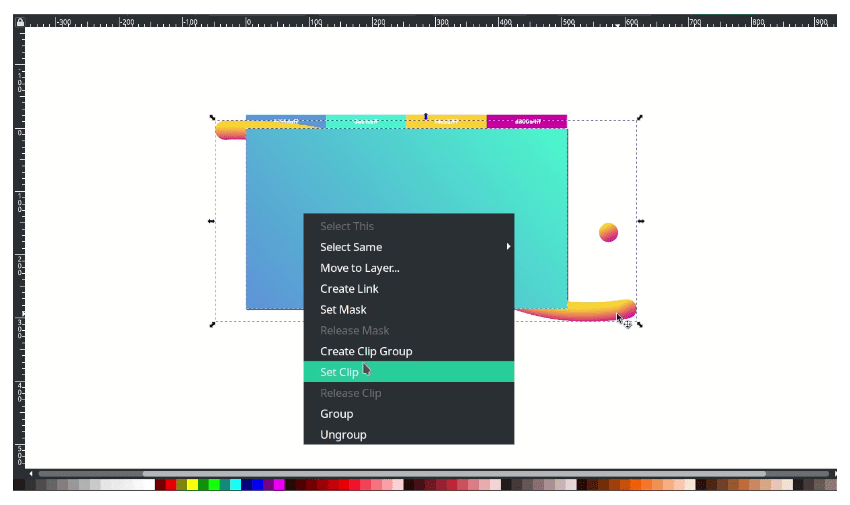
Create a clipping mask by duplicating the background with Ctrl+D then right click > Set Clip.
Result:

Step 6
Add more lines and create a scatter again in Extensions > Generate from Path > Scatter.

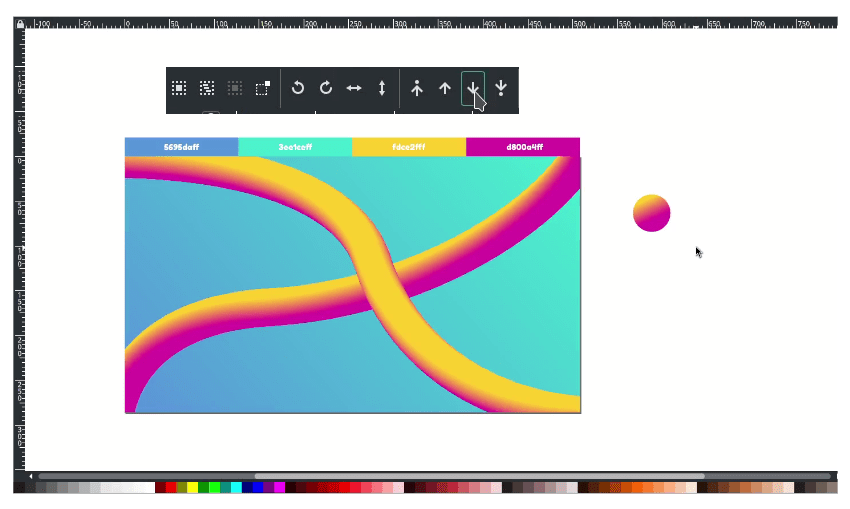
Create a clipping mask by duplicating the rectangle with Ctrl+D, then right-click > Set Clip.

Send the lines to lower back.
Step 7
Create more line with Bezier Tool (B) and Activate the scatter extensions in Extensions > Previous Extensions.

Again, create a clipping mask by duplicating the rectangle with Ctrl+D then right click > Set Clip.

Result:

Step 8
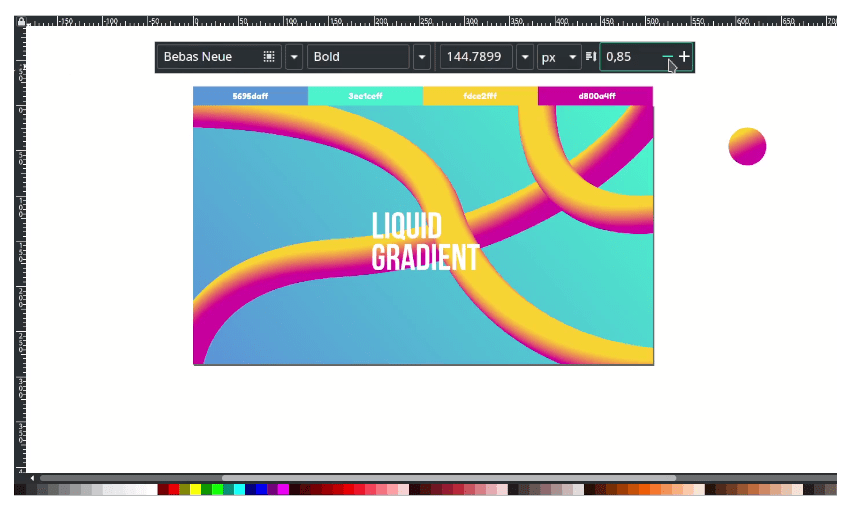
Add a text with Text Tool (T) and change the font to Bebas Neue. We can also reduce the Spacing in Spacing between baselines.
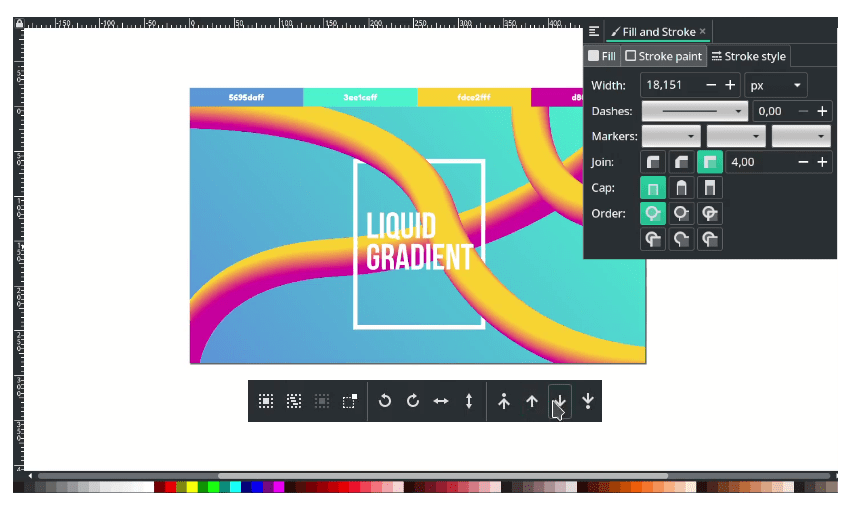
Then create a rectangle with stroke only. In the Fill and Stroke menu, change the stroke width to 18px. And send it to the lower back.
Step 9
Now, make an Interpolate by creating two circle then convert it to path in Path > Object to path.
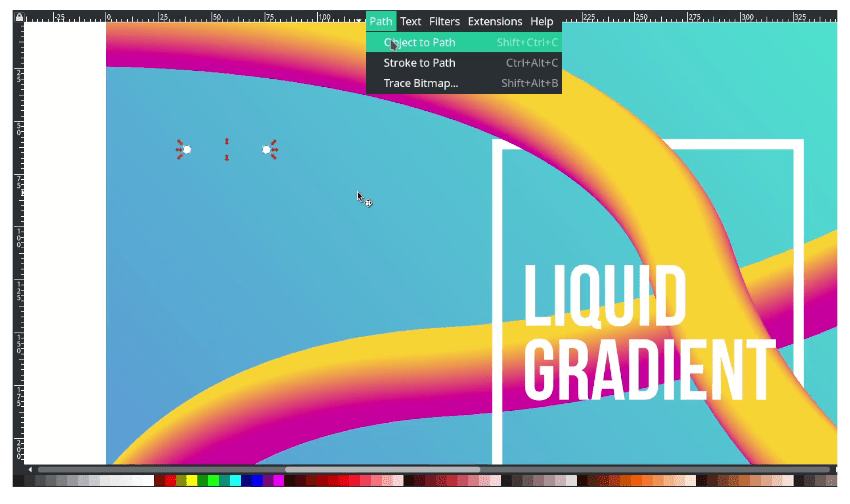
Select the two circle, and active the Interpolate Extensions in Extensions > Generate from path > Interpolate.
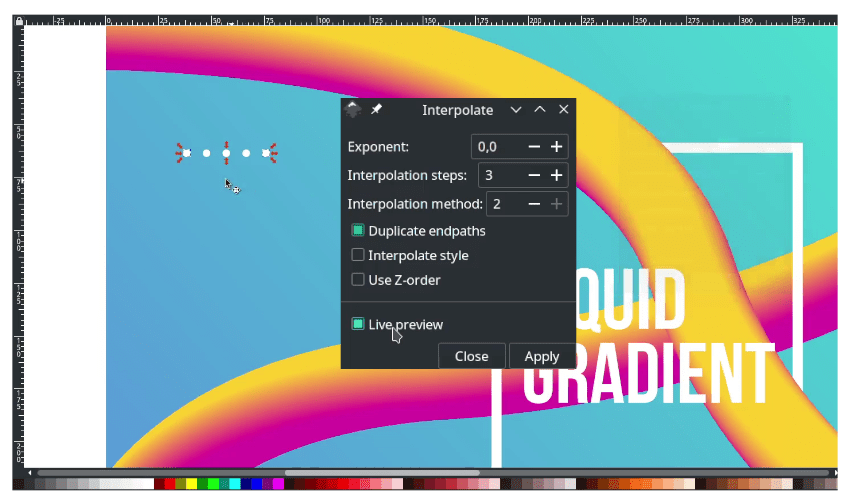
Duplicate and feel free to add more elements.
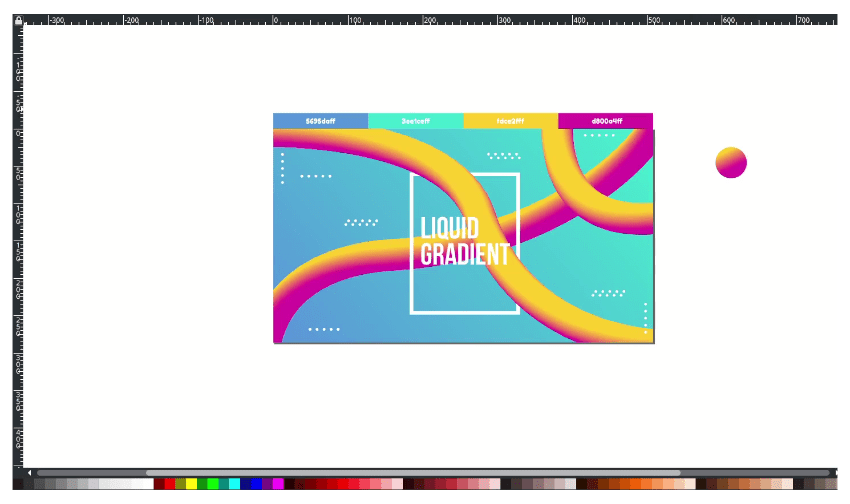
Well done, you made it!
I hope you learn something new about creating this liquid gradient effect in Inkscape with Scatter Extensions. You can try some experiments with the new gradient color and the line variations. It’s using more resources when the scatter extension is activated.
