In this tutorial, we are going to create a Pizza poster with GIMP 2.10.22 and add some effect like fire, smoke, tomato and chili. yum!
What you will learn
- How to use Burn Tool
- How to add text
- How to change PNG color
- How to add Particles
- How to use linear motion blur
- How to use Curves
- How to change the color with Hue and Saturation
Tutorial Steps
Step 1
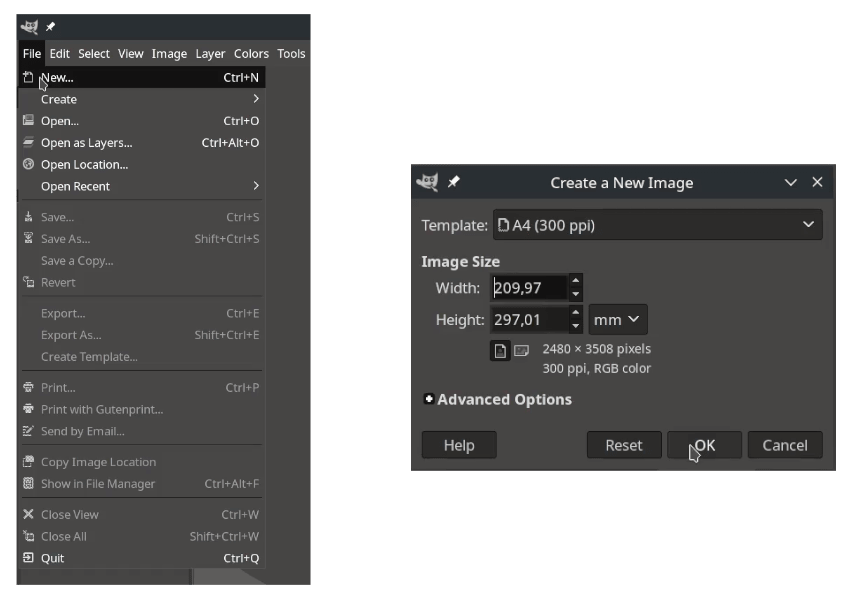
Create a new file in File > New and choose the A4 template.
Step 2
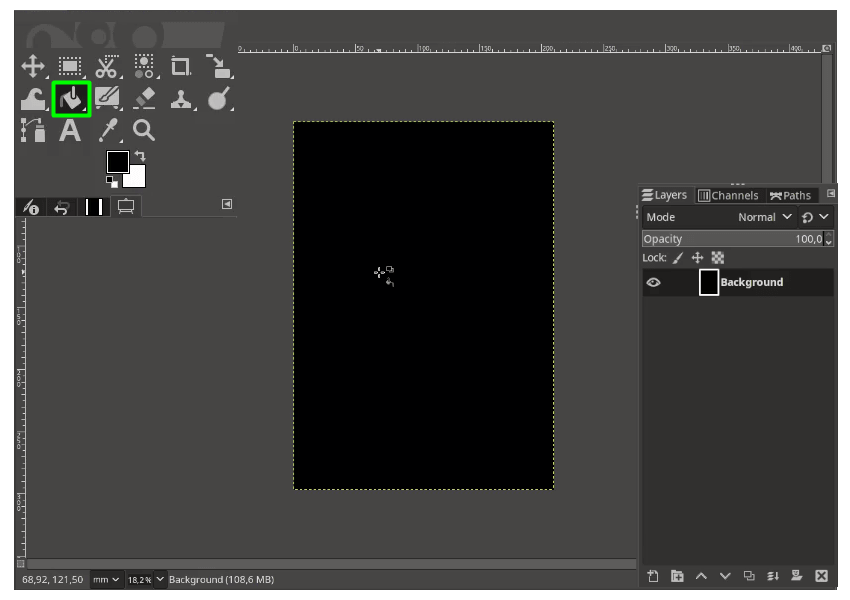
Fill the background with Bucket Fill Tool (Shift+B).
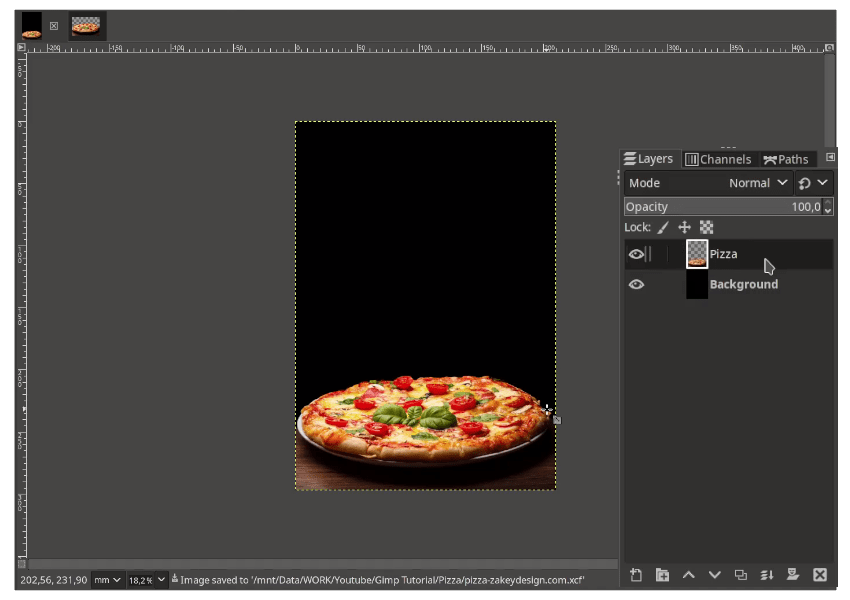
Step 3
Open the Pizza images and select with Bezier Tool (B) (See step 10 how to make a selection with bezier tool) and move the layer to previous canvas.
Press Shift+S to scale and move down to the bottom.
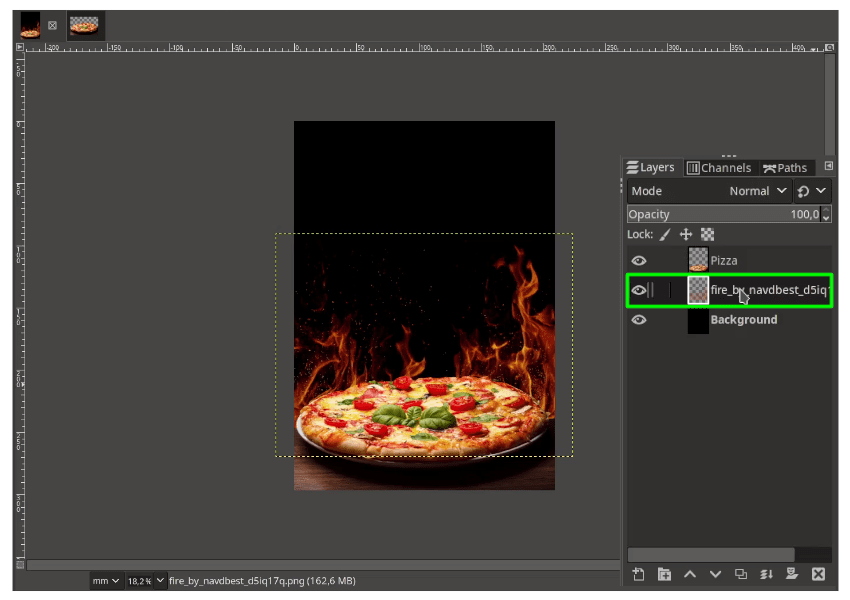
Step 4
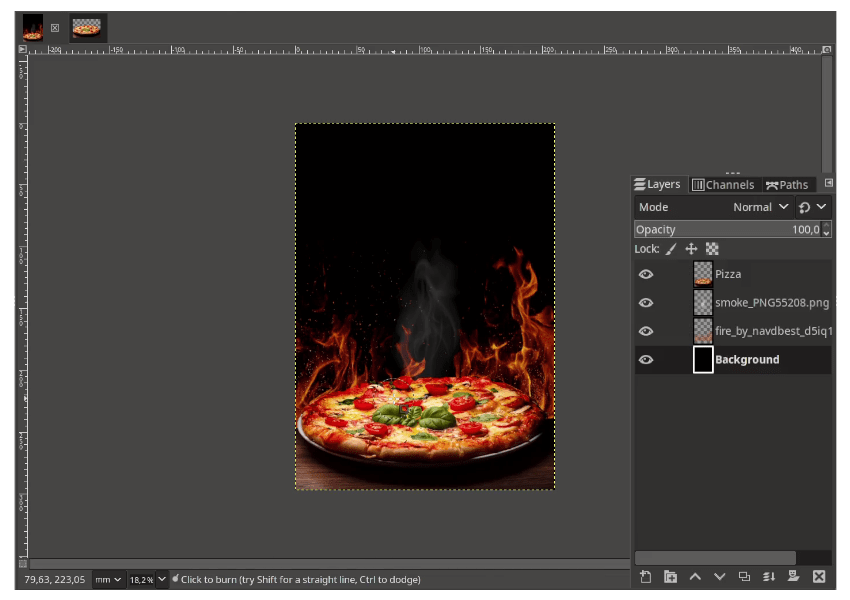
Add the fire png in File > Open as Layers. place the layer below Pizza.
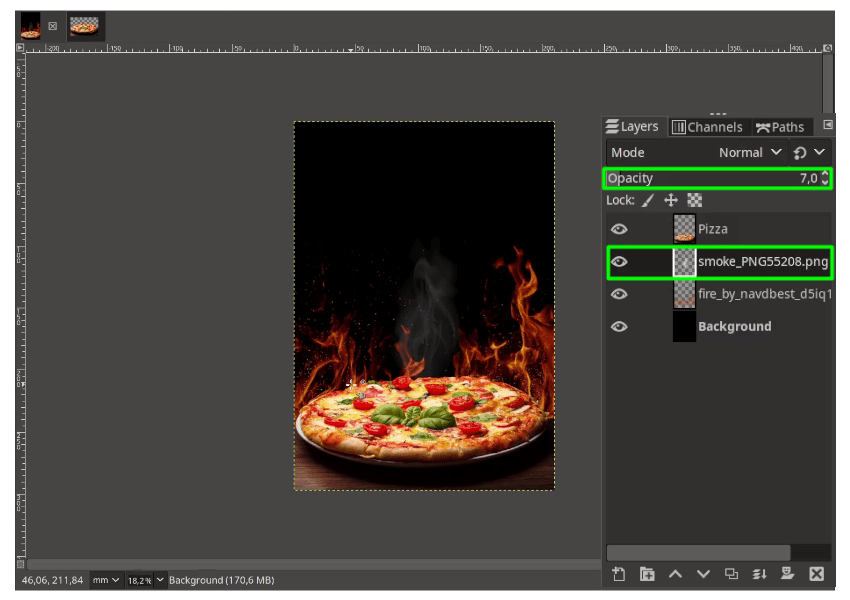
Step 5
Add the smoke png in File > Open as Layers then reduce the opacity.
Step 6
Make the pizza more cooked look, by using the Burn Tool (Shift+D) then brush around the Pizza.
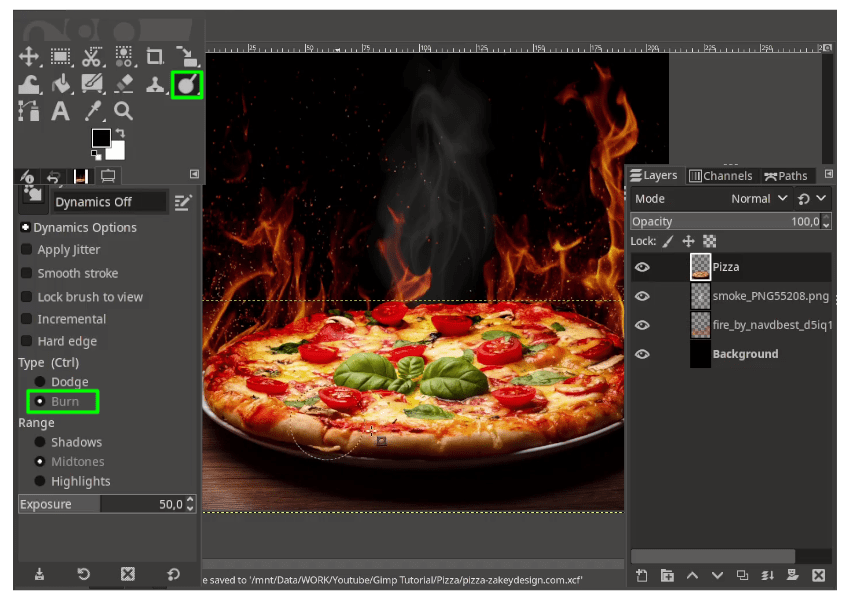
Result:
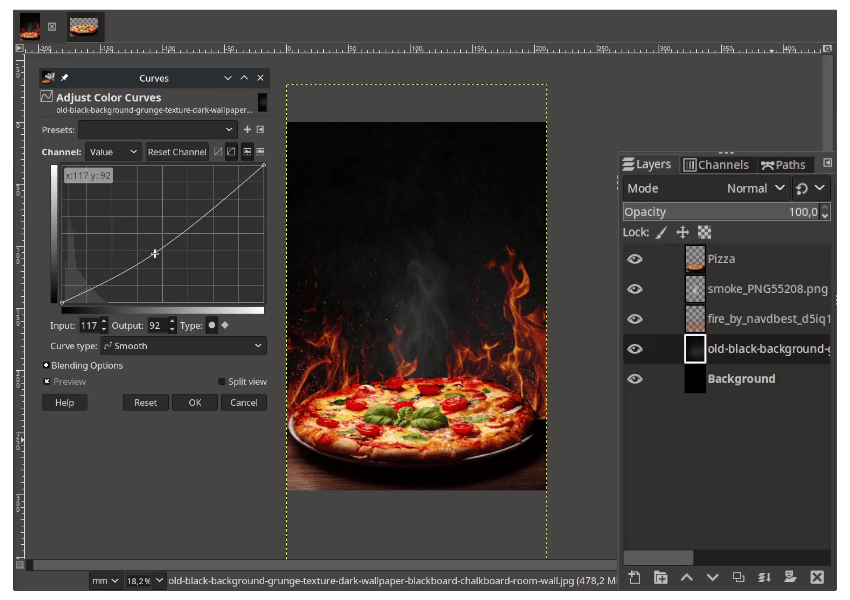
Step 7
Add the black background texture in File > Open as Layers. Rotate it by pressing Shift+R then hold ctrl shift while rotating to make 15-degree increment. Use curves in Colors > Curves.
Step 8
Add some text with Text Tool (T).
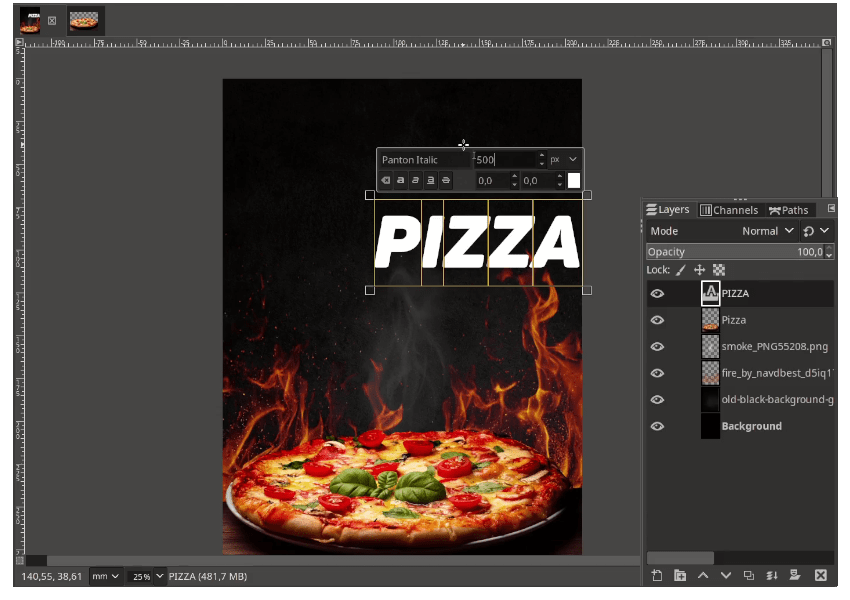
Result:
Step 10
Add the brush stroke png in File > Open as Layers. place the layer below the tagline.
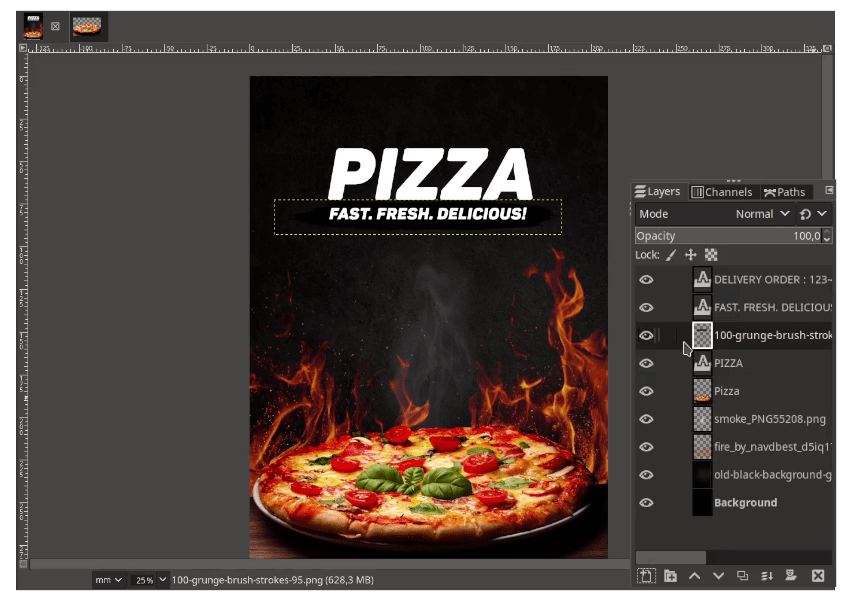
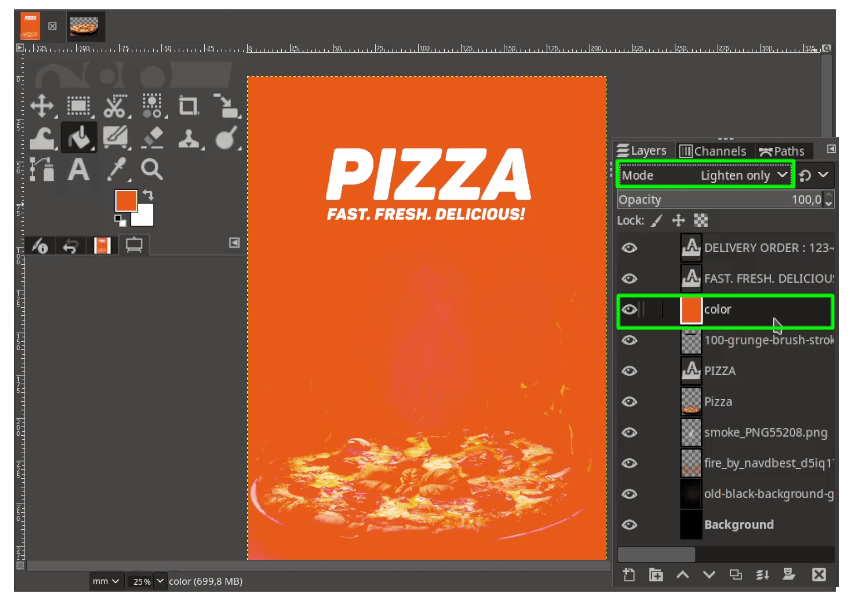
Create new layer for the color, change the layer mode to Lighten Only and fill with orange color.
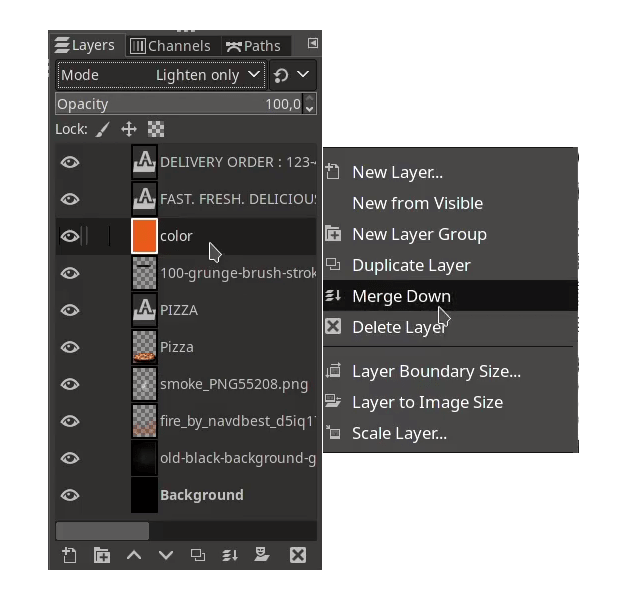
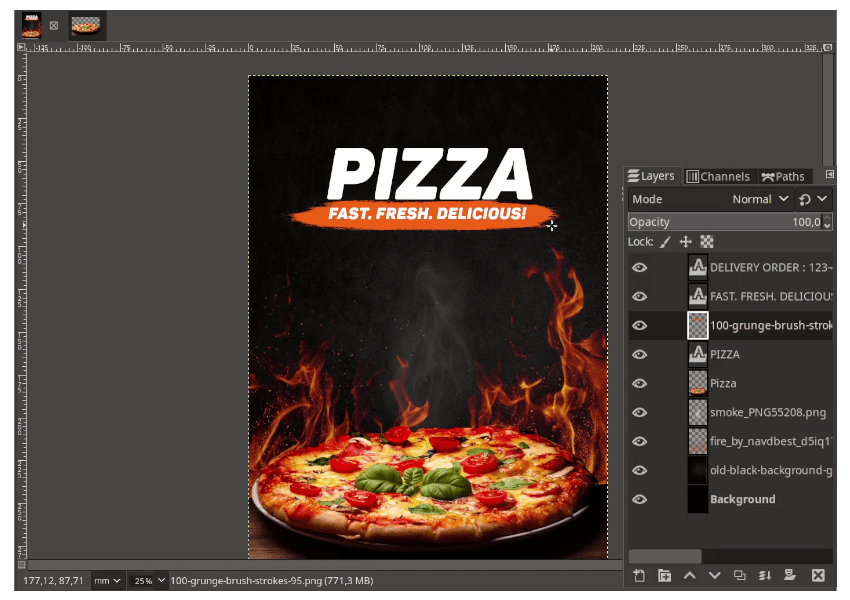
In Color layer, right click > Merge Down (make sure the color layer one step above the brush stroke png).
Result:
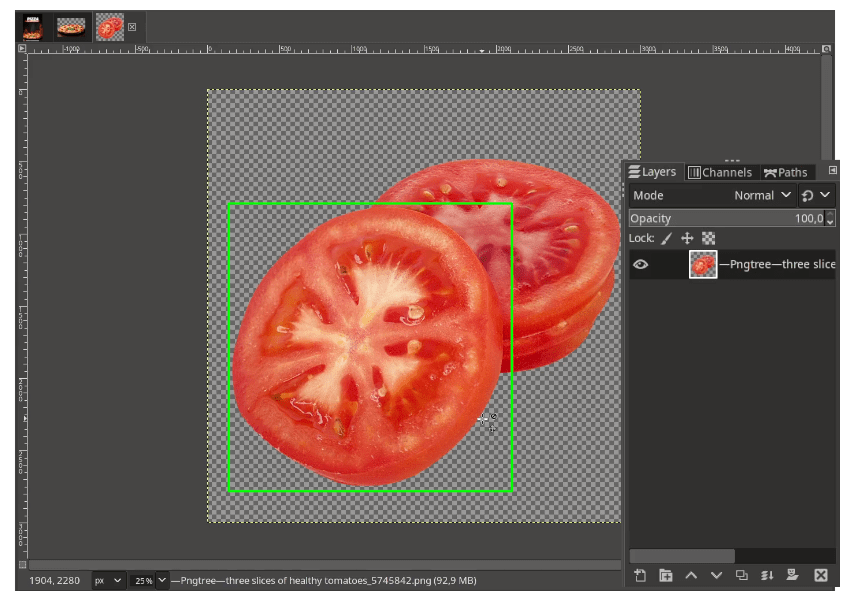
Step 10
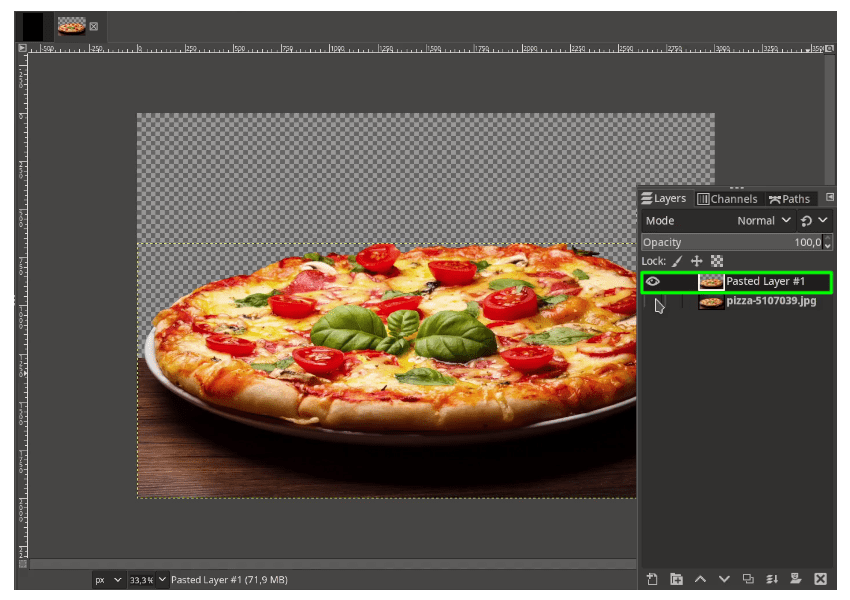
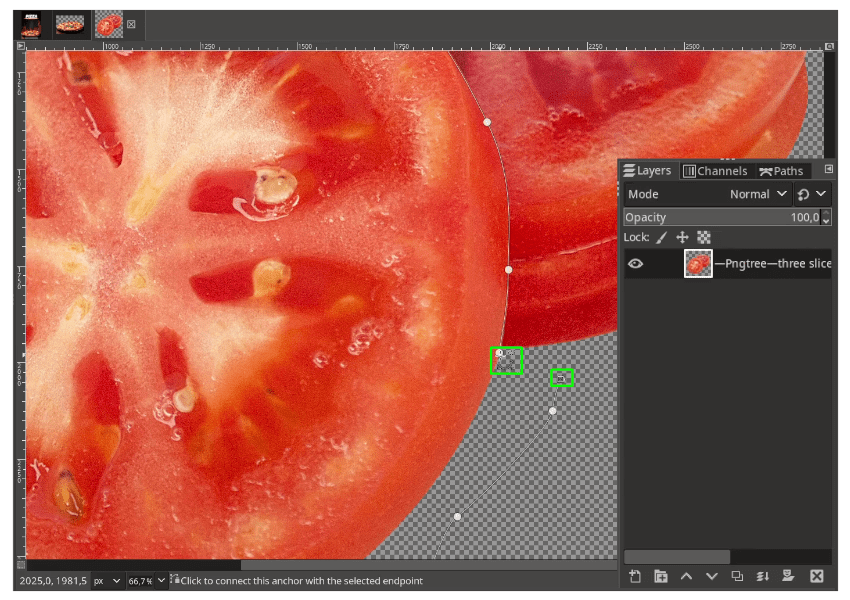
Add the tomato in File > Open. Select the higlighted tomato with Bezier Tool (Shift+B).
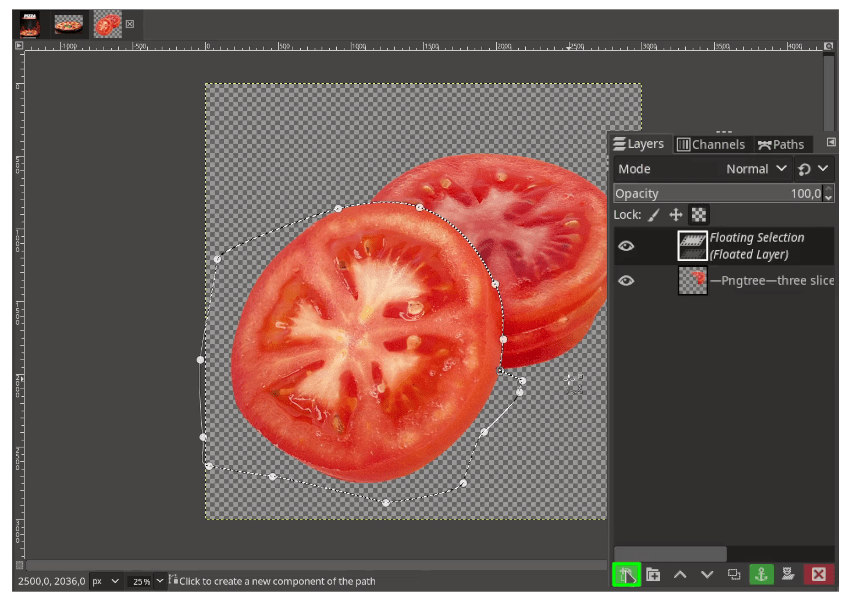
When almost finished, hold Ctrl then Click to the start point and press Enter. It will create a selection.
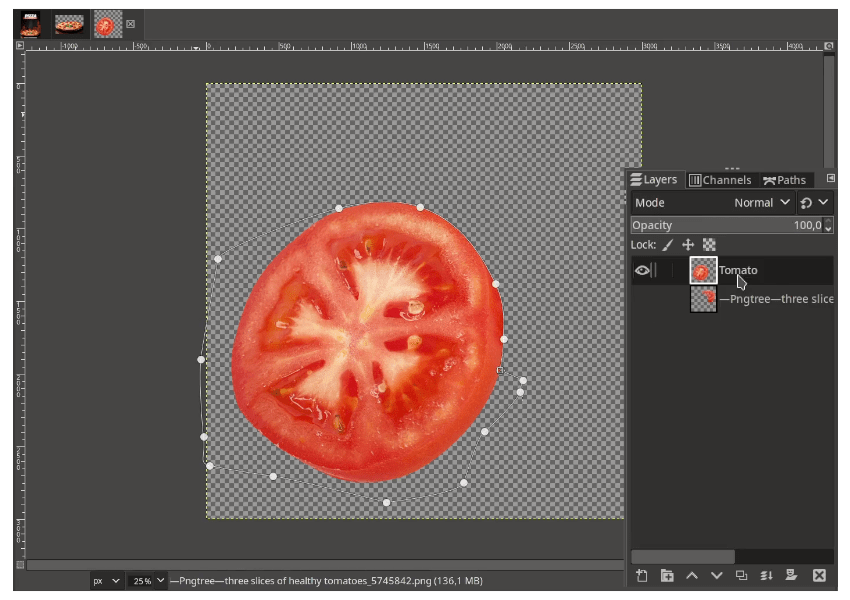
While in selection, go to Select > Float. The floating selection will appear then click create a new layer.
Result:
Bring the selection to pizza canvas.
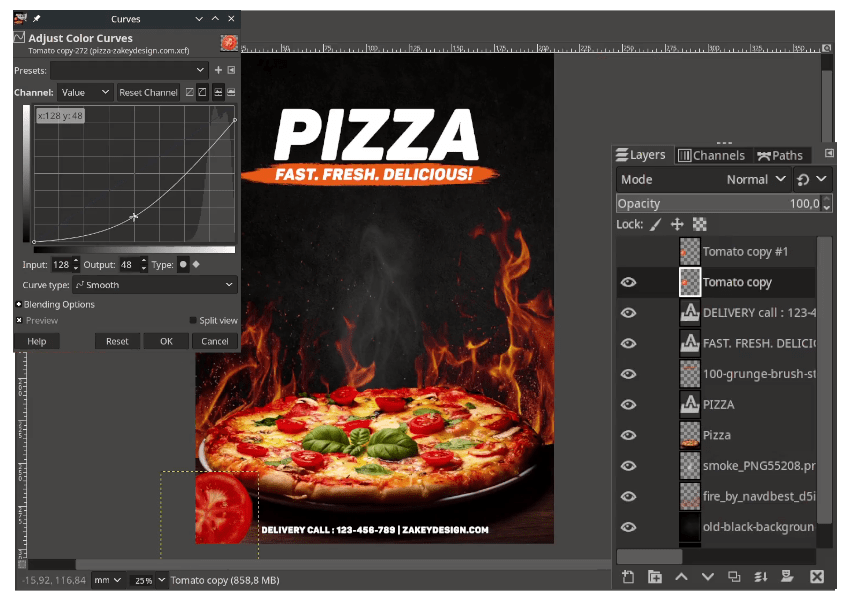
Step 11
Make the tomato as the same color as the pizza’s tomato by using curves in Colors > Curves just turn it down.
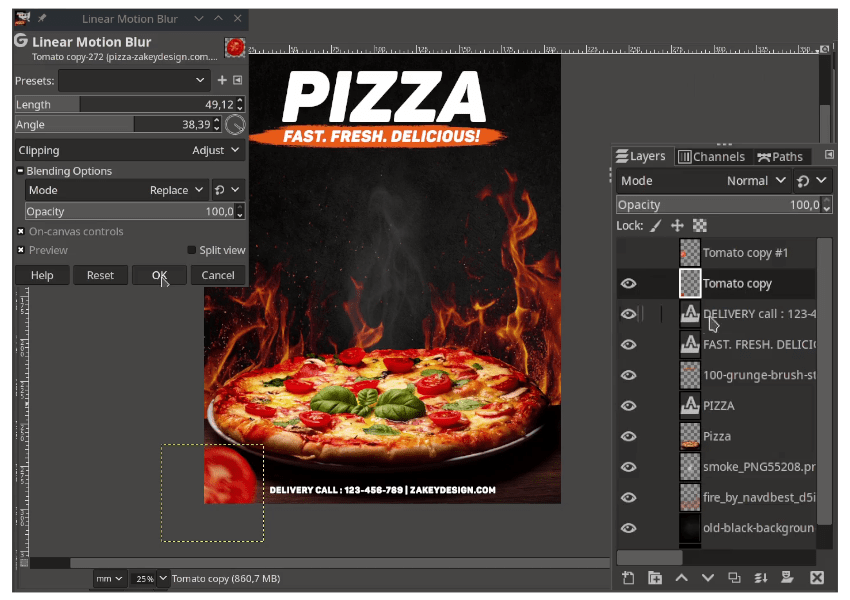
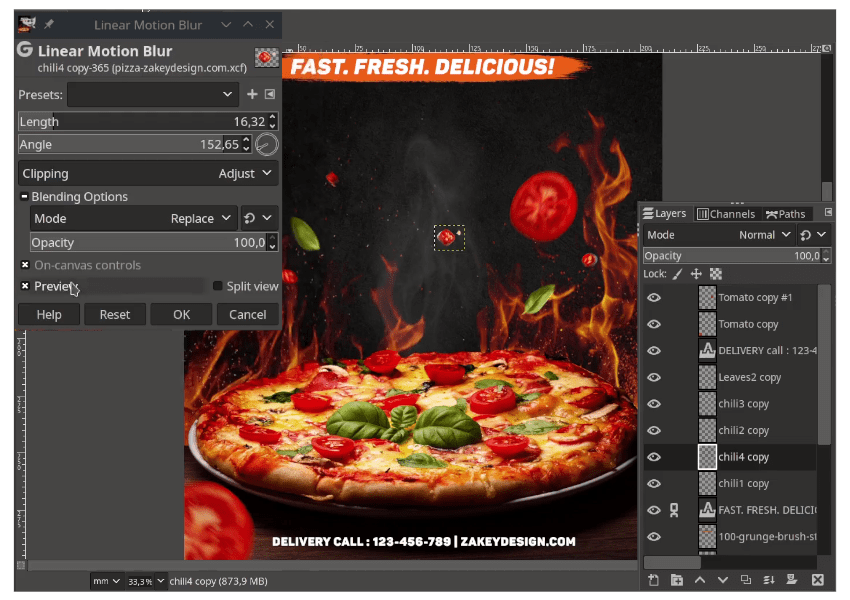
Use linear motion blur to add speed effect in Filters > Blur > Linear Motion Blur.
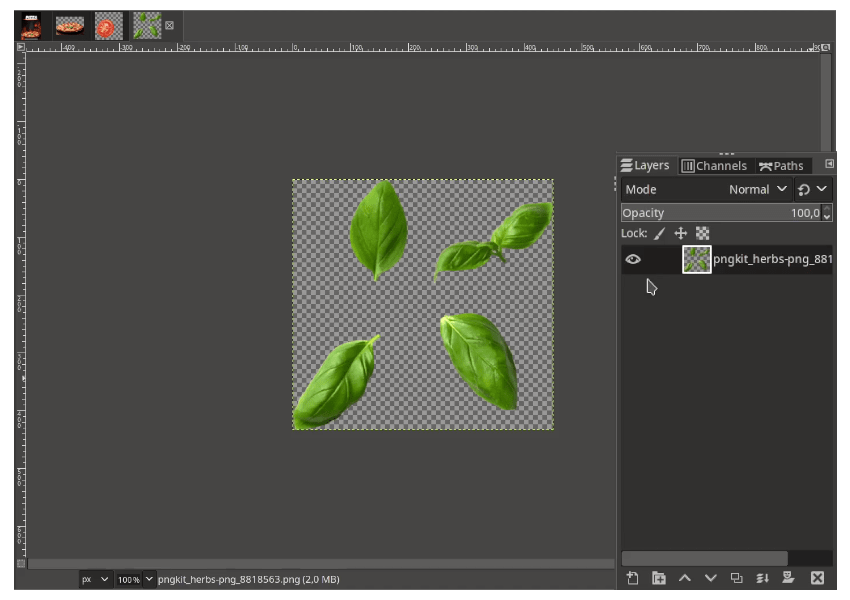
Step 12
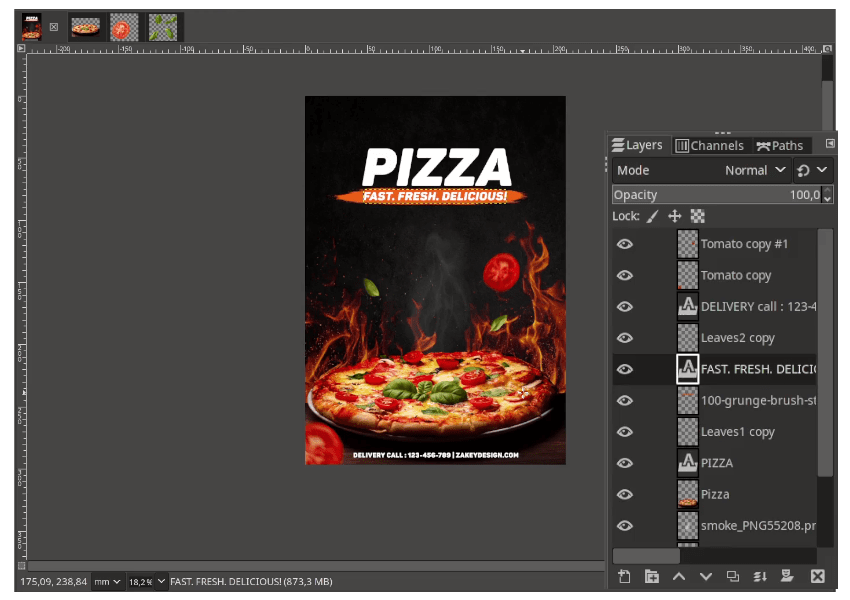
Add the herbs png in File > Open.
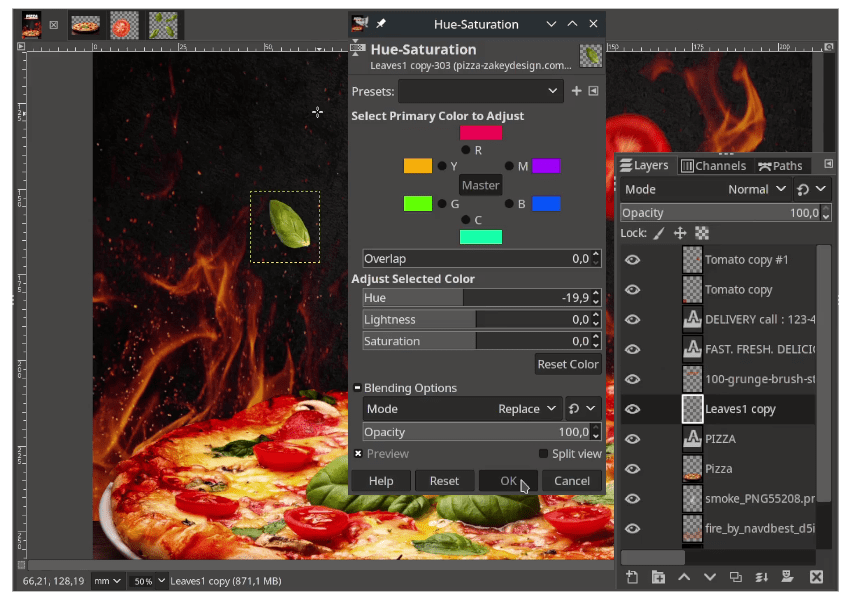
Make the herbs seperate with float (same with step 10).

Change the color of the herbs same as pizza’s herb in Colors > Hue and Saturation.
Add the more element, do the same for the Chili pepper.
Result:
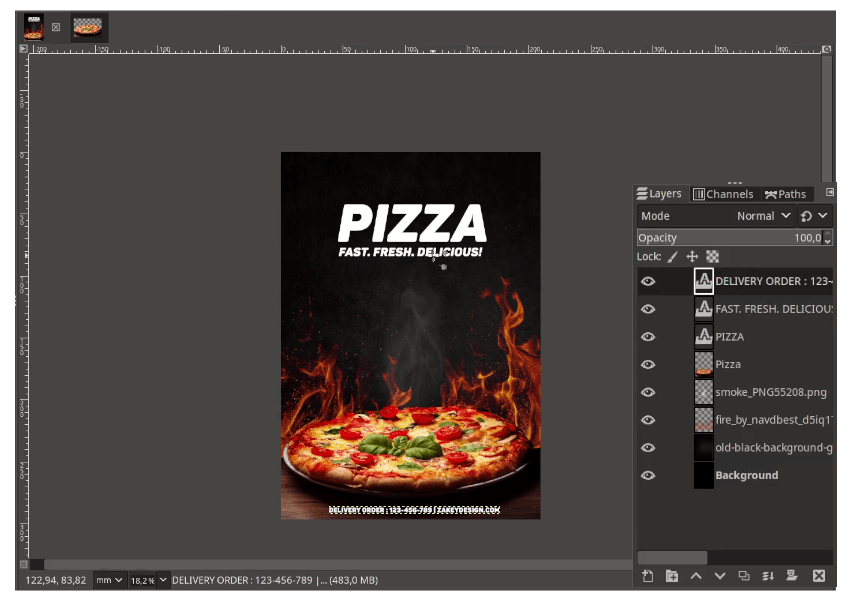
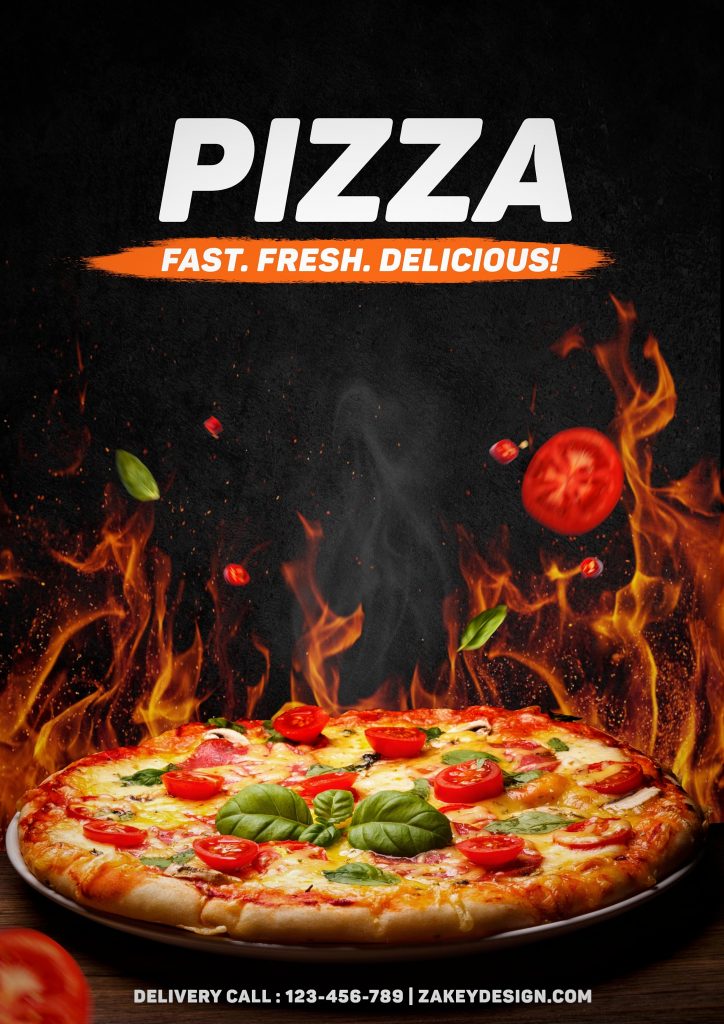
Your Design is Ready!
Hope you learn something new about how to create food poster design in GIMP by trying to mix and match the color. Watch out for the calories!
Tutorial Assets
- Pizza
- Black Grunge Texture – Freepik
- Leaves
- Tomato
- Chili
- Smoke
- Fire
- 100 Brush stroke – onlygfx.com
- Panton Font