Hello Everybody, this tutorial will show you how to create splash effect using gimp using masking and a little clone tool.
What you will learn
- How to use Clone Tool
- How to change layer mode
- How to add Layer Mask
Tutorial Steps
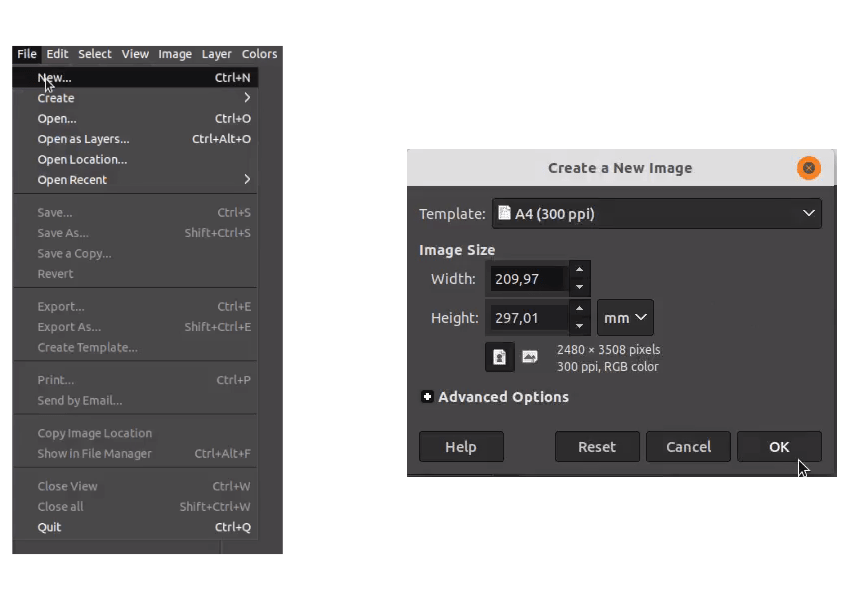
Step 1
Create a new file with A4 Poster size in File > New and choose A4 template then click OK.
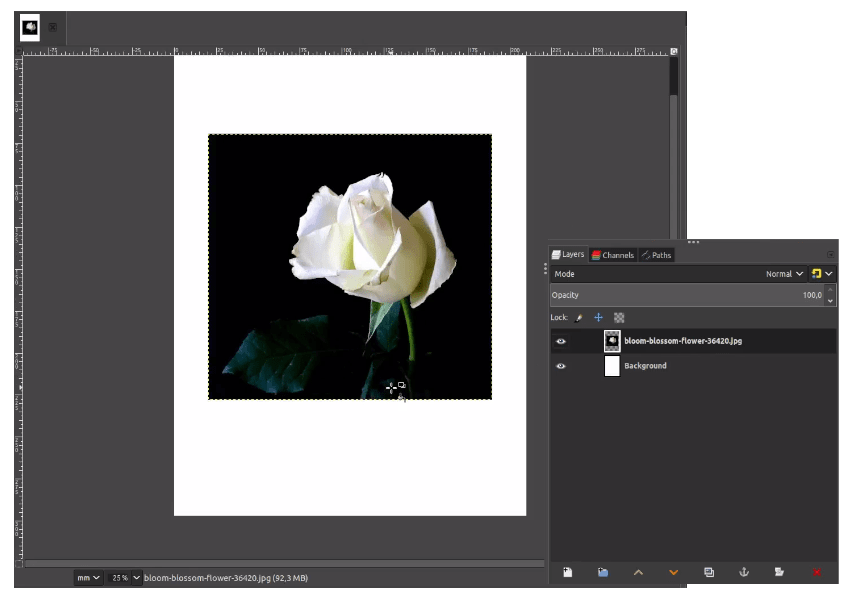
Step 2
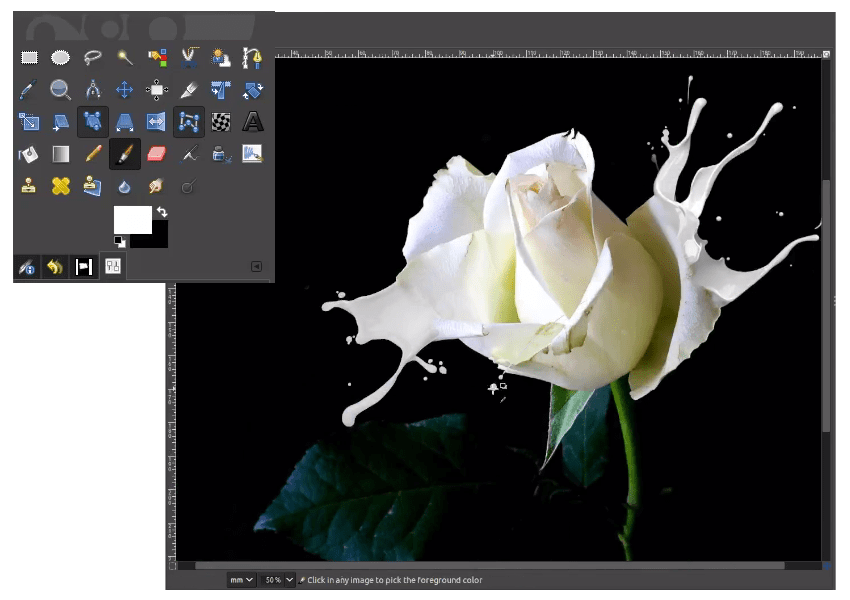
Import the image in File > Open as Layer and choose the white rose.
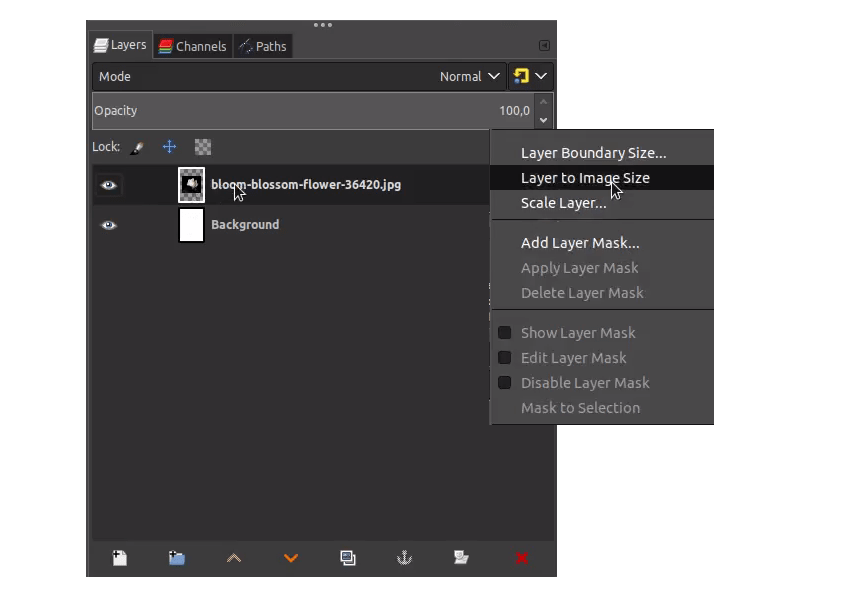
Step 3
Make the images become the same width as the canvas by right click on the layer > Layer to Image Size.
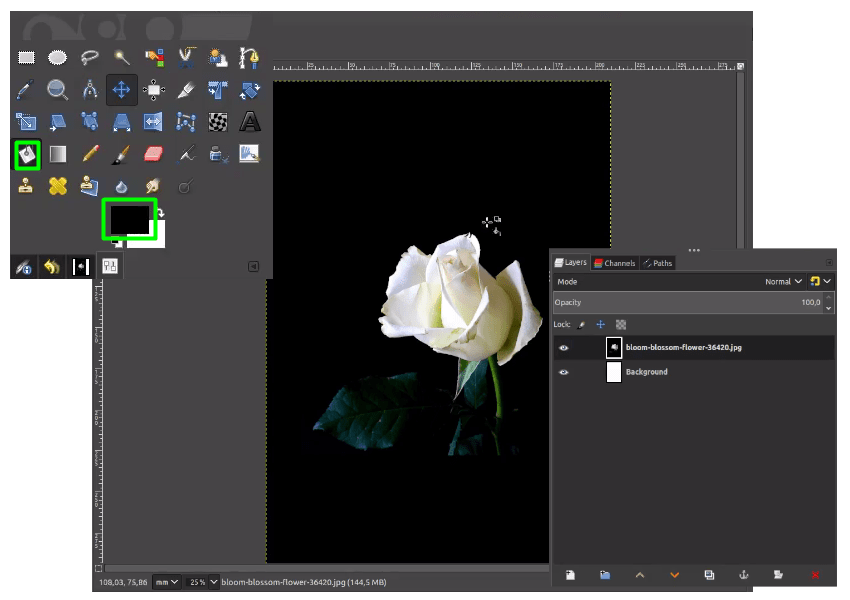
Step 4
Fill the layer with black color with Bucket Fill tool (Shift+B) and click on the canvas.
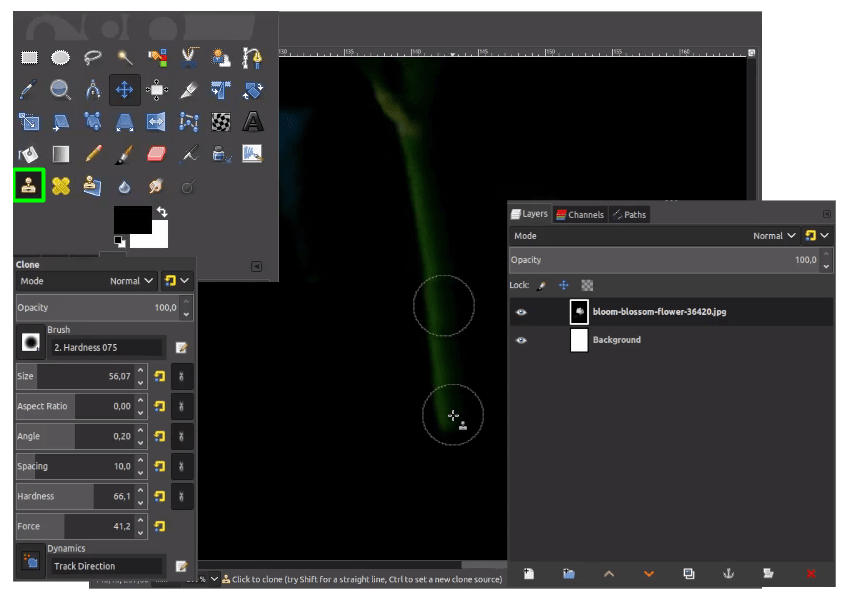
Step 5
Make the stem longer with Clone Tool (C), press Shift then click to the stem for the sample and continue to click it.
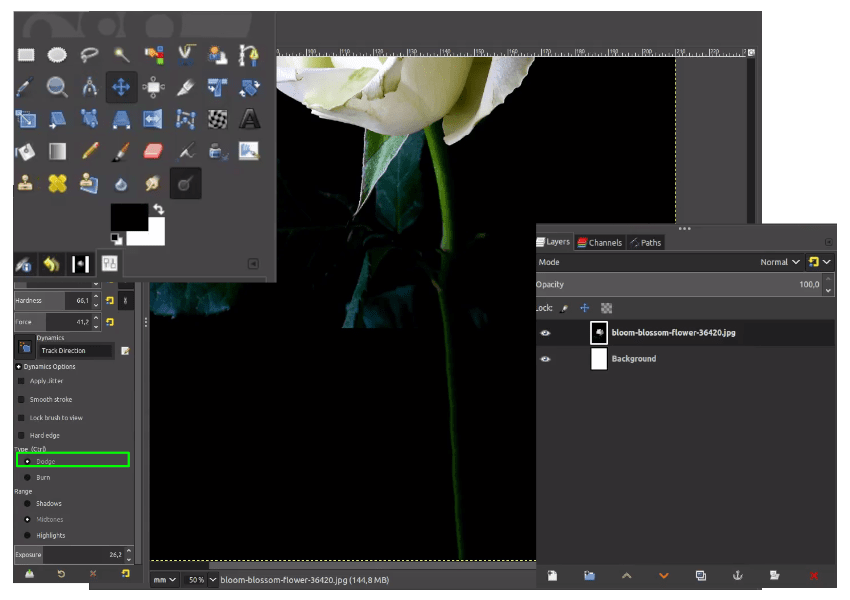
Step 6
Make the stem brighter with Dodge/Burn Tool (Shift+D) Change the type into Dodge and range into Midtones.
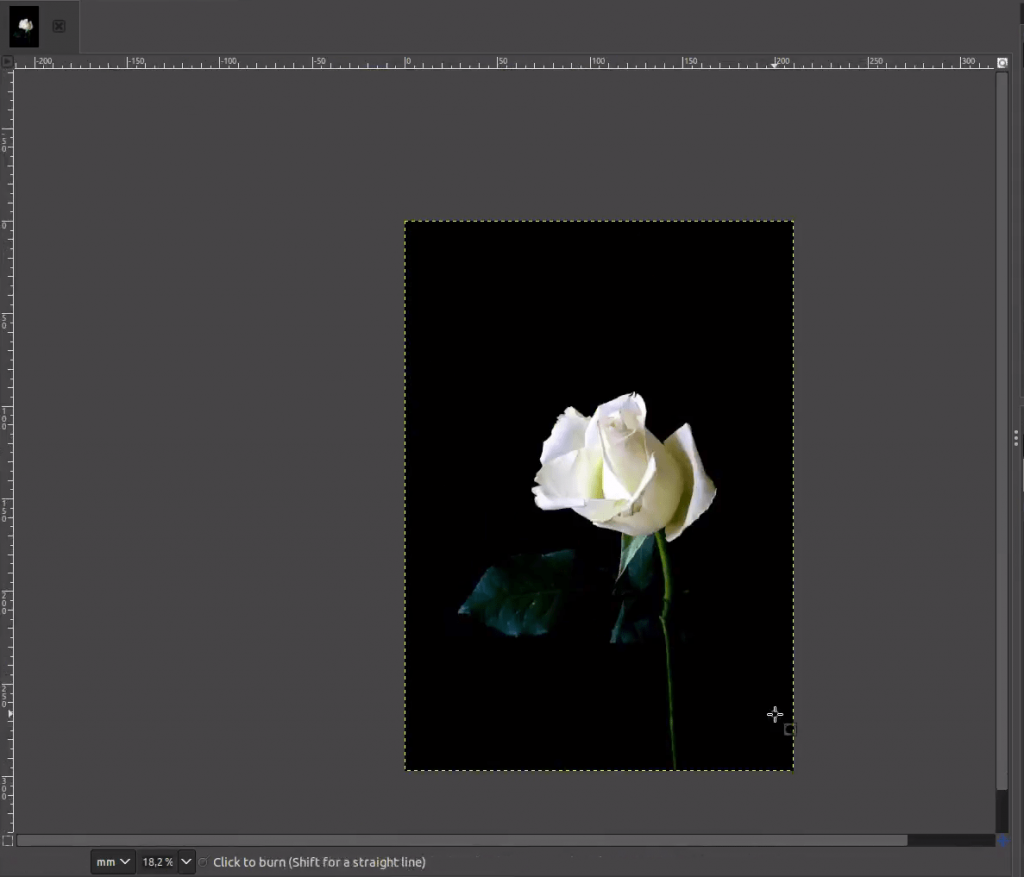
You will get a result like this:
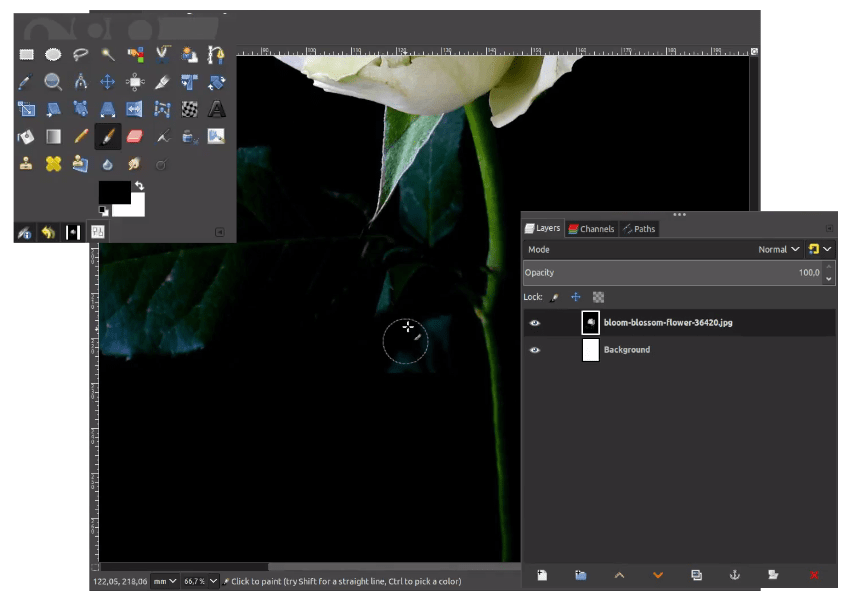
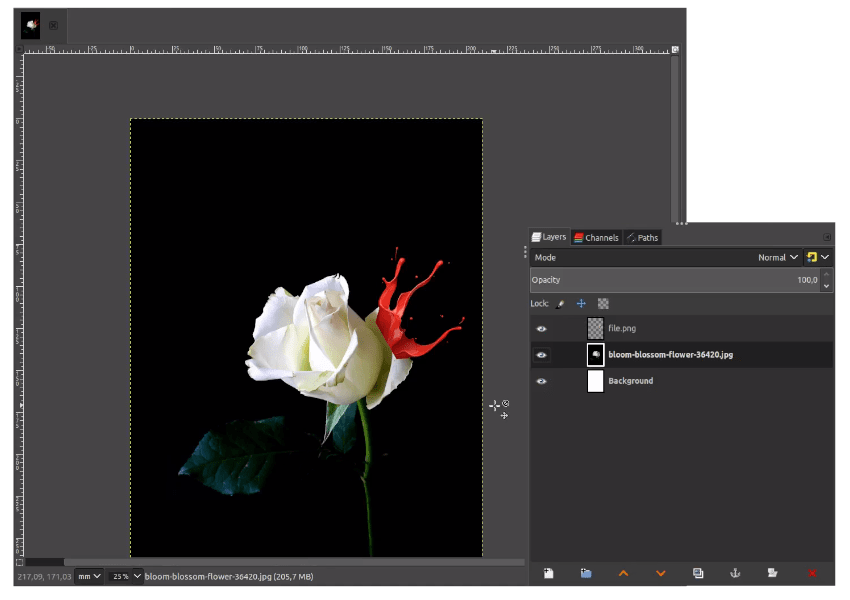
Step 7
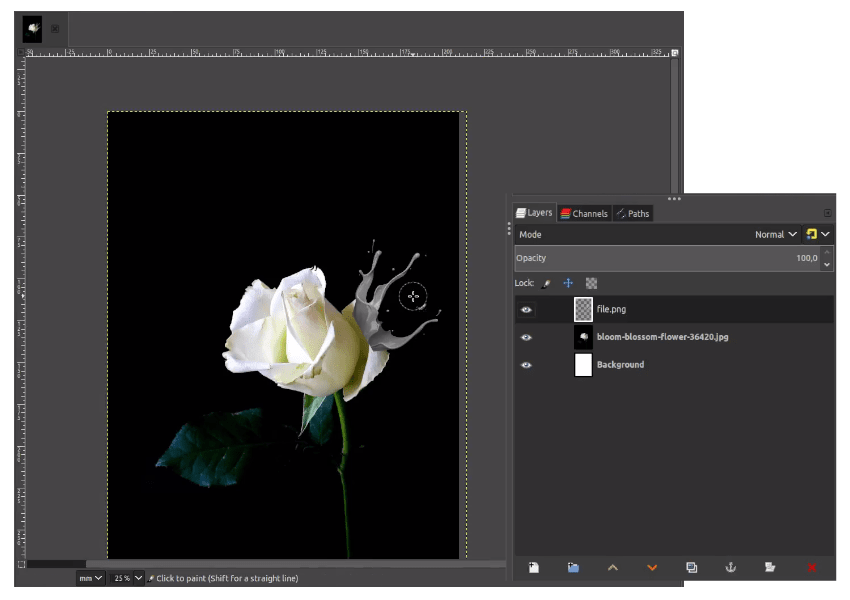
Erase some leaves with black color (because the background completely black) and active Paintbrush tool (P).

Step 8
Add the splash effect in File > Open as layers and choose the splash.
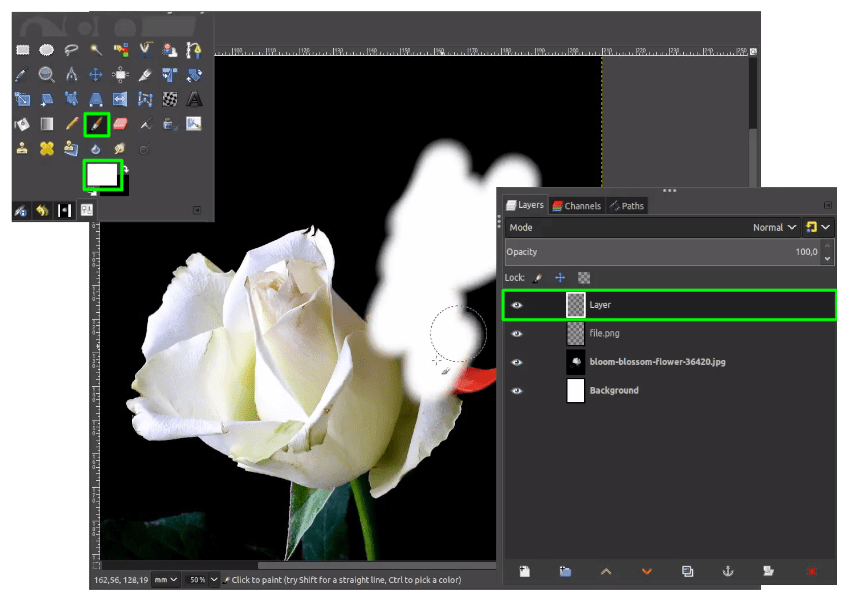
Step 9
Create a new layer then with Paintbrush Tool (P) brush the white color into the new layer.
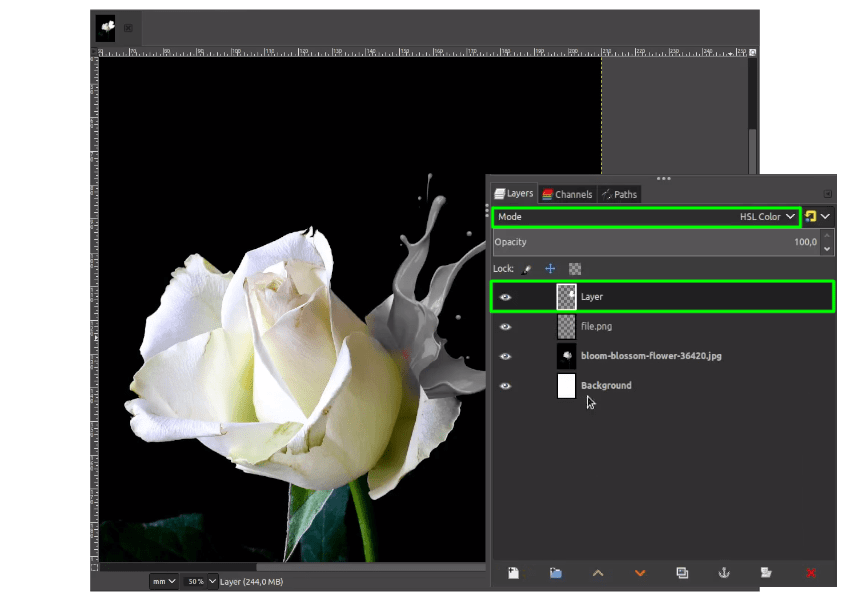
Step 10
Change the layer mode into HSL Color.
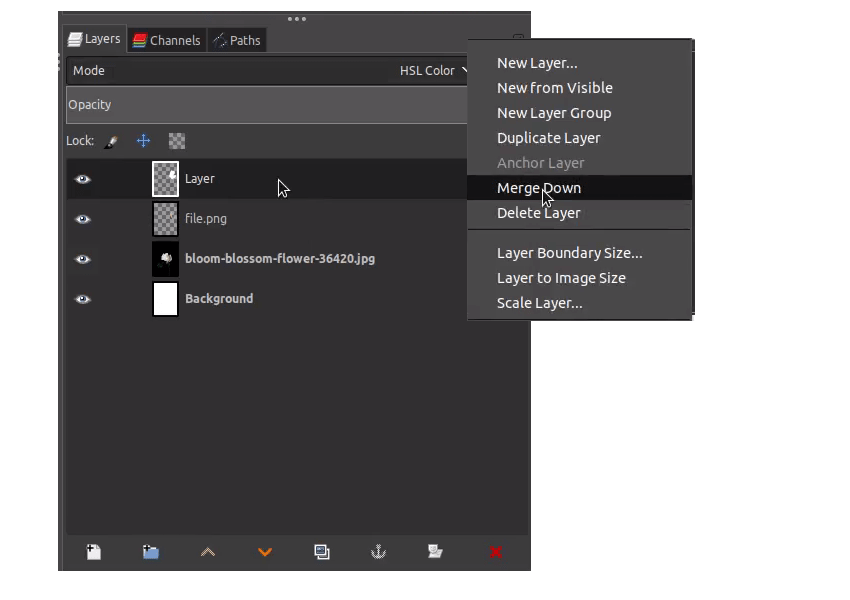
Merge down by right click on the White color Layer > Merge Down.
Note: Make sure the white color one step above the splash.
Layer result:
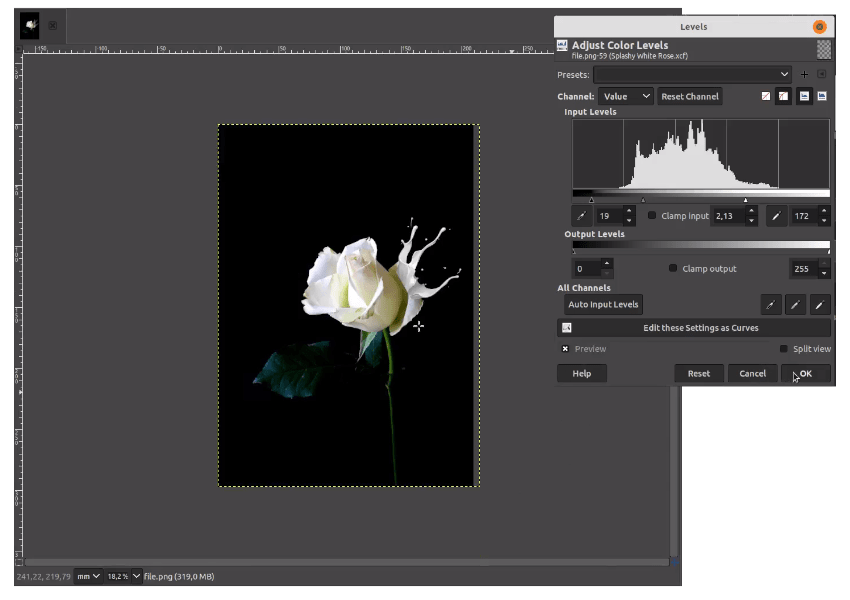
Step 11
Adjust the levels in Colors > Levels. Make it become the same color as the white rose.
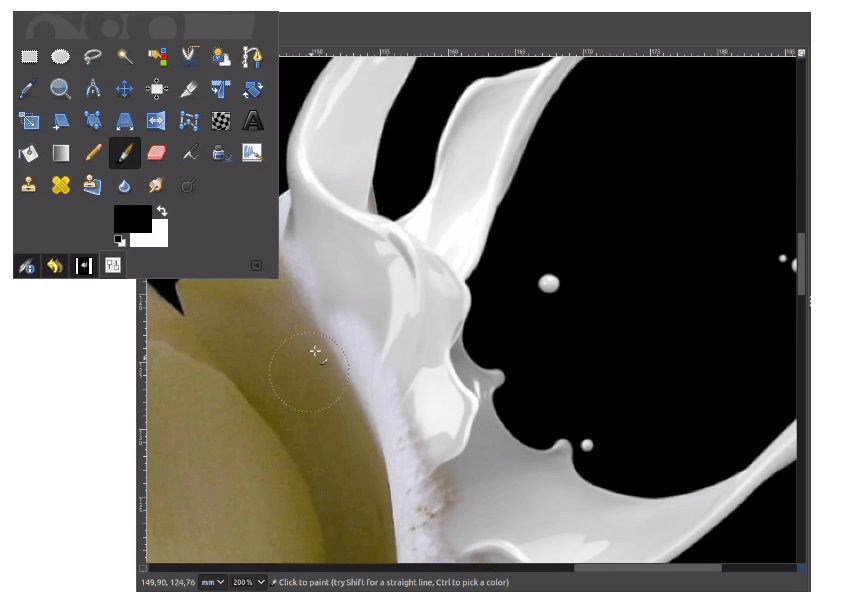
Step 12
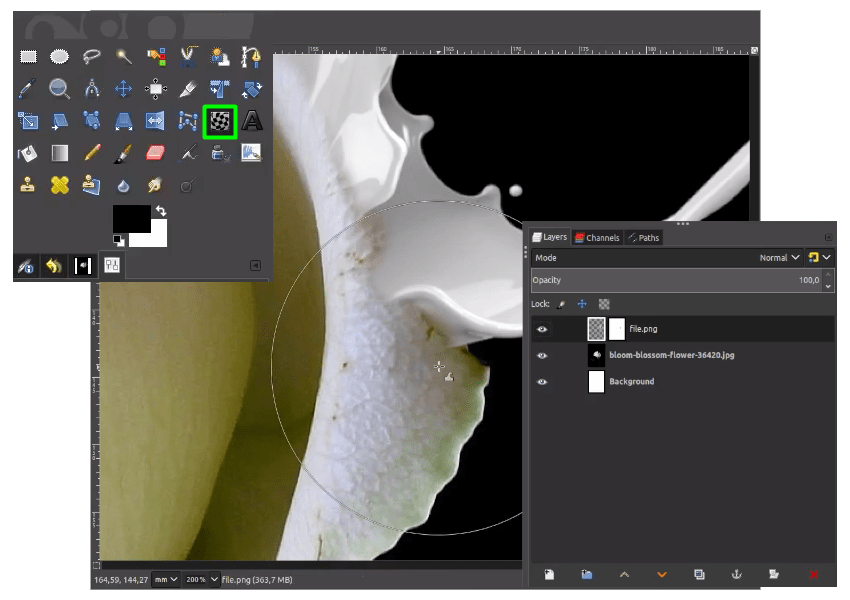
Add layer mask in the splash layer by right click > Add Layer mask > White (full opacity) then click Add.

Brush to the splash with Paintbrush Tool (P).
Move a little bit with Warp Transform (W).
Step 13
Add more splash in File > Open as layer.
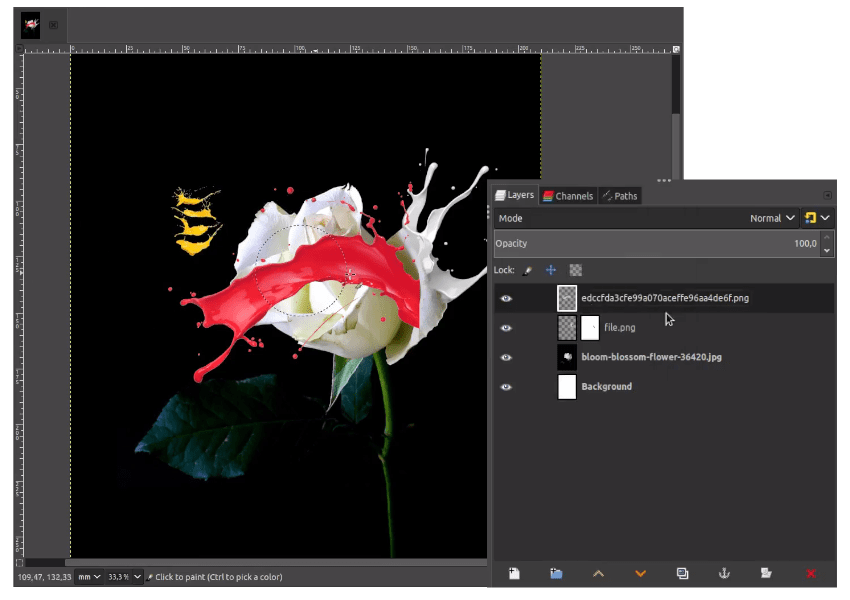
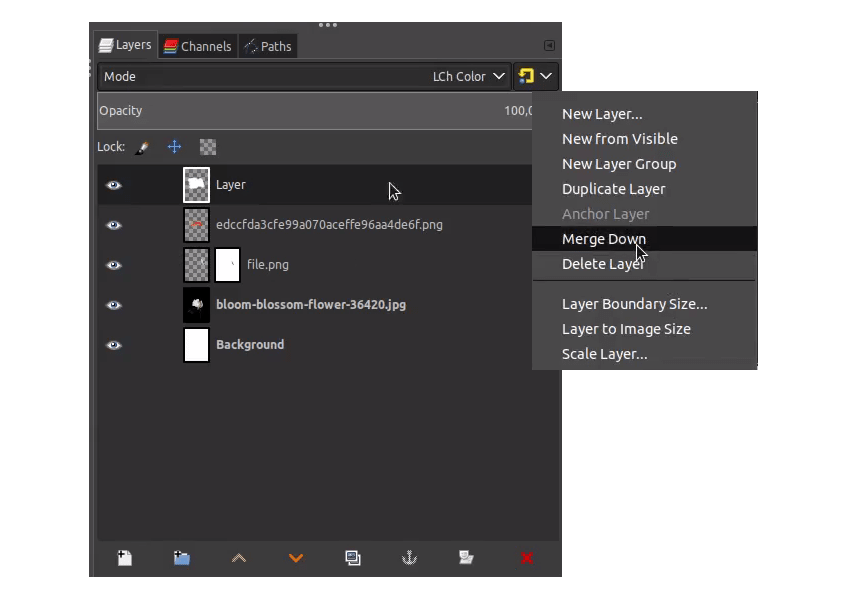
Create a new layer again above the splash, then brush the white color and change the mode into LCh Color.

Merge down the layer by right click on the white color > Merge Down.
Add layer mask again, by right click on the layer > Add Layer Mask > White (full opacity) > Add.
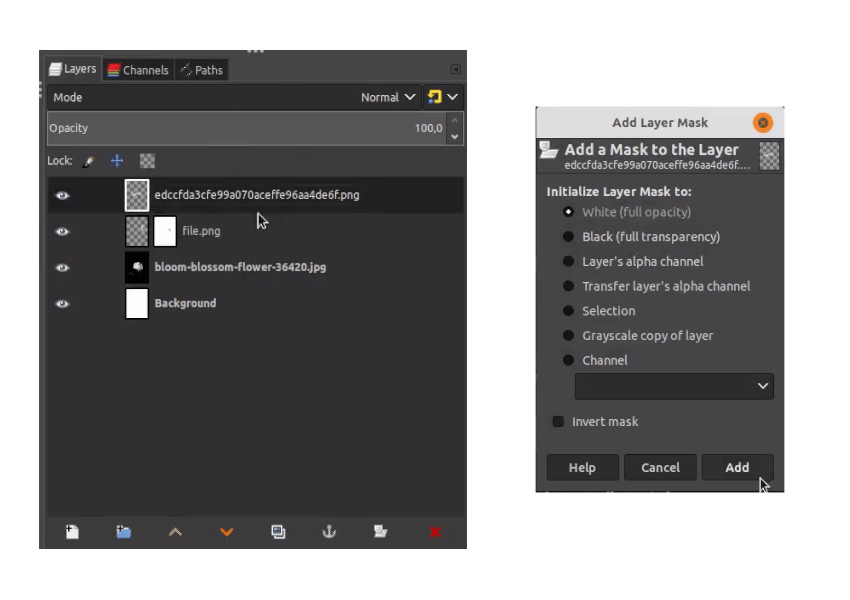
hide some part with Paintbrush Tool (P).
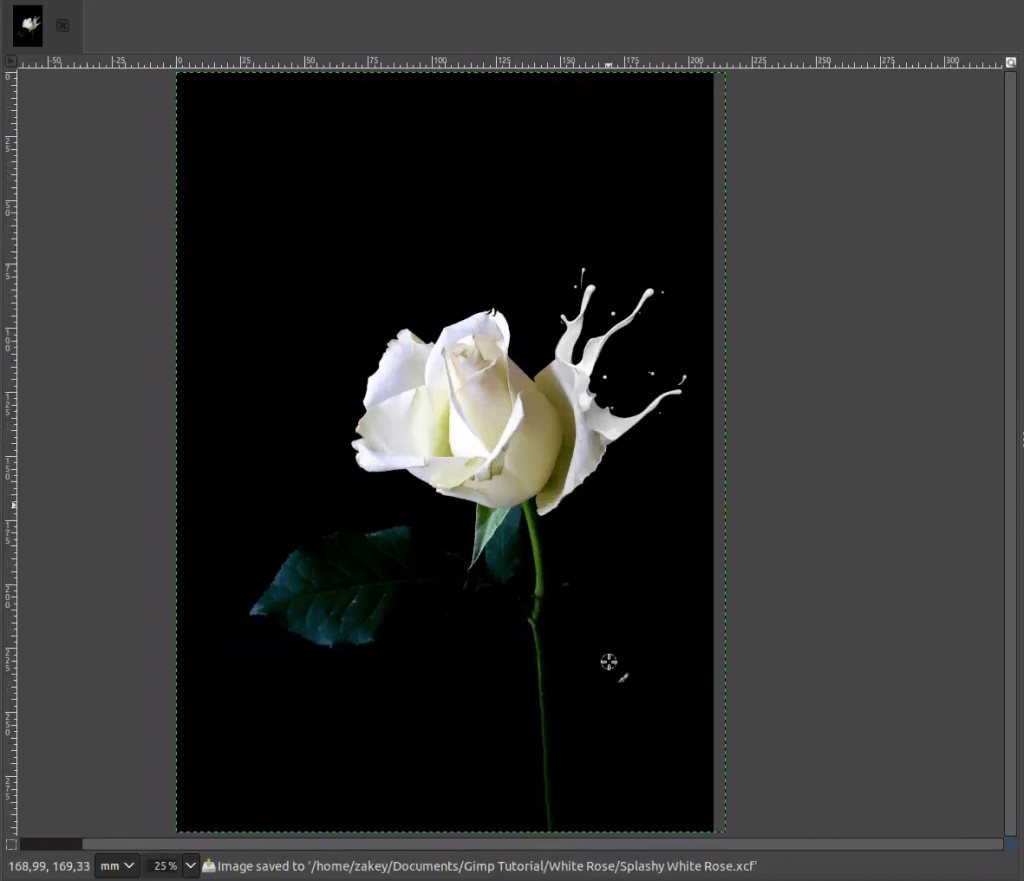
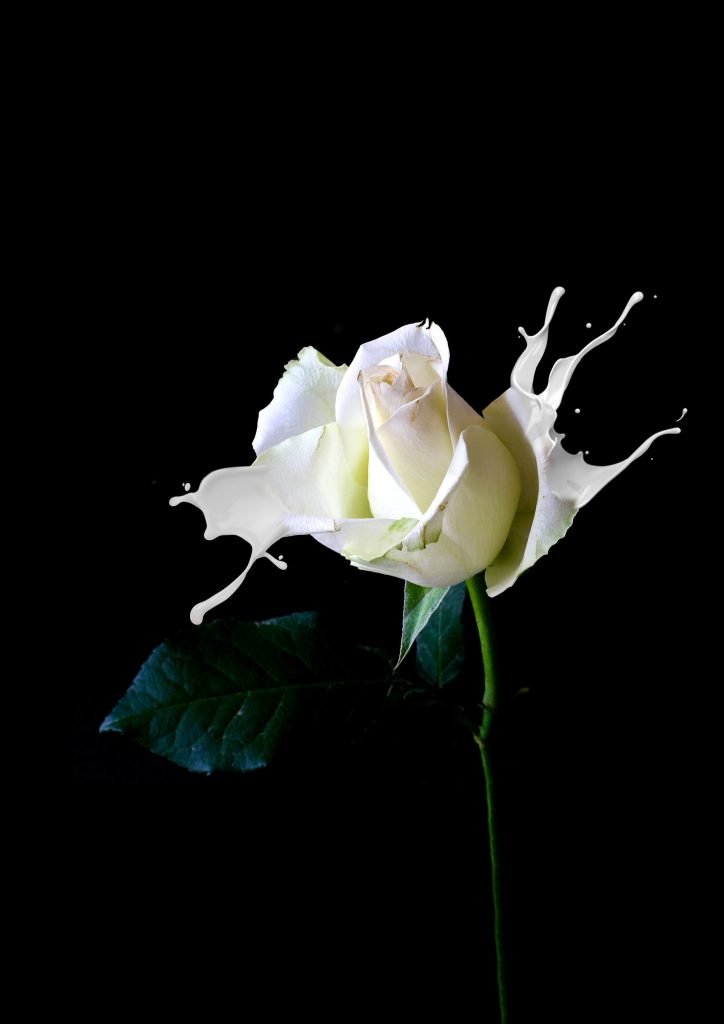
Your Splash Effect is ready!
I hope you learn how to create a splash effect in this tutorial with GIMP. Have fun!


