In this tutorial i will show you how to create simple ui design with the typography contrast using GIMP. lets create something good today!
What you will learn
- How to flip images
- How to resize images with scale tool
- How to add a layer mask
- How to add text
- How to show rulers
- How to select image with Fuzzy Select Tool
Tutorial Steps
Step 1
Create a new document size in File > New then set the width to 1920px and the height 1080px.

Step 2
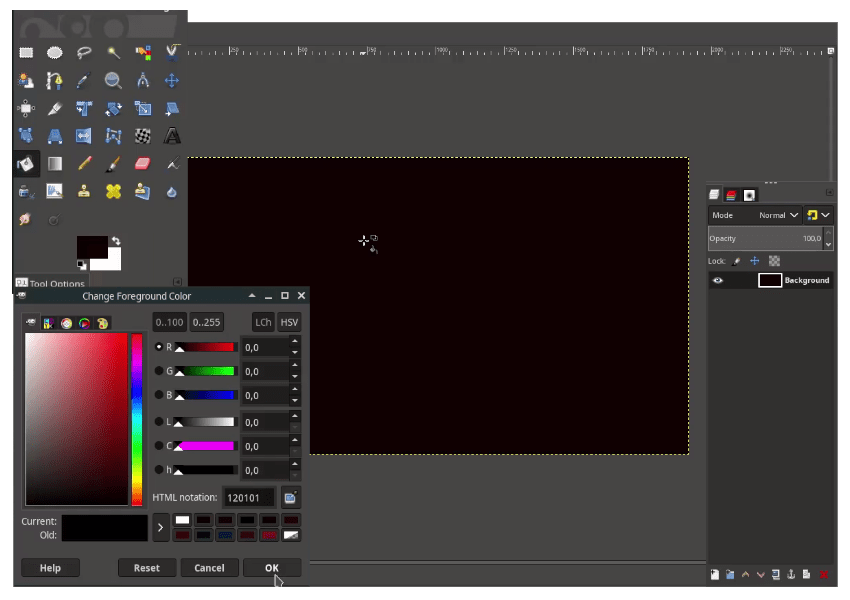
Change the color to black color (#120101) then fill with Bucket Fill Tool (Shift+B).
Step 3
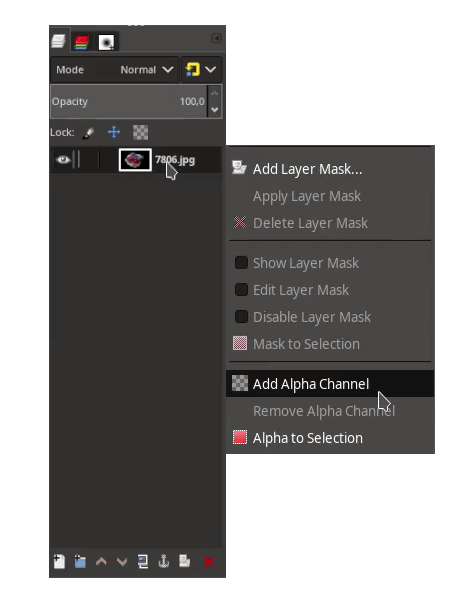
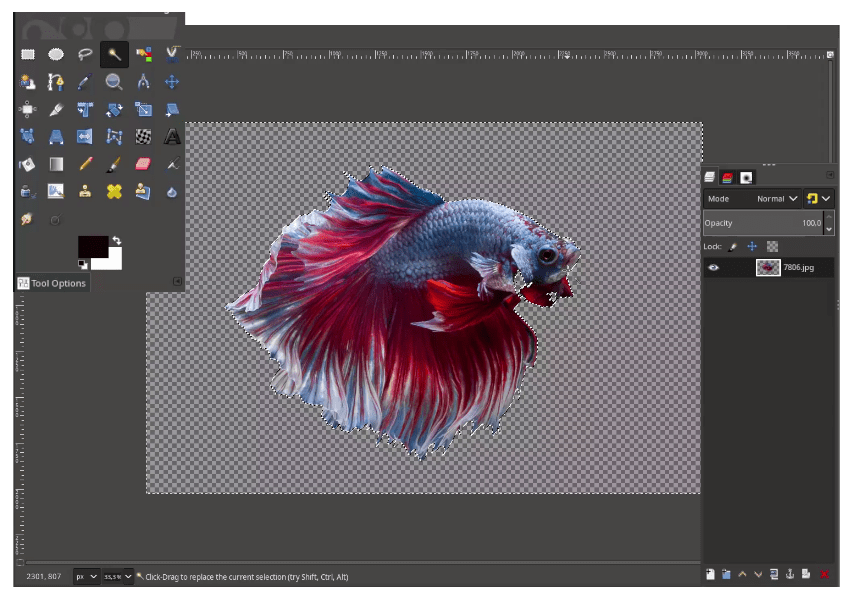
Open the betta fish image in File > Open. Add alpha channel to fish.jpg file by right click > Add Alpha Channel
Note: the reason why we are using add alpha channel because we want to add transparency into .jpg files, so it become png.
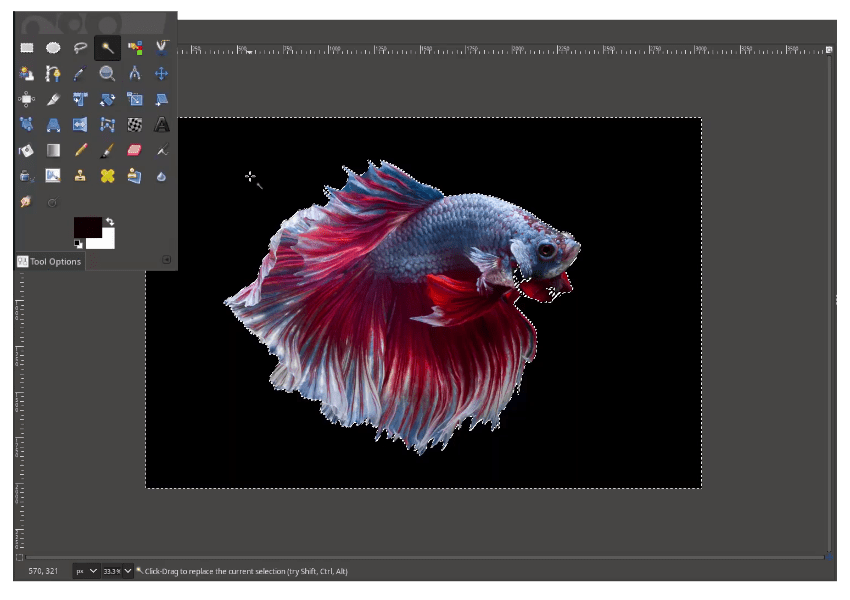
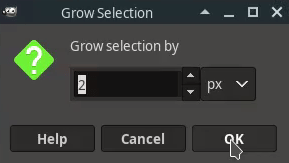
With Fuzzy Select Tool (U), Click on the background. While in selection, expand the selection to make it smoother in Select > Grow.
Grow selection by 2px then hit OK.
Press Delete button on the keyboard. Don’t forget to deselect in Select > None.
Step 4
Bring the fish selection into our previous canvas by dragging the layer and place it to the previous canvas. You can scale it down by pressing Shift+S and Flip it horizontally with Shift+F.

Step 5
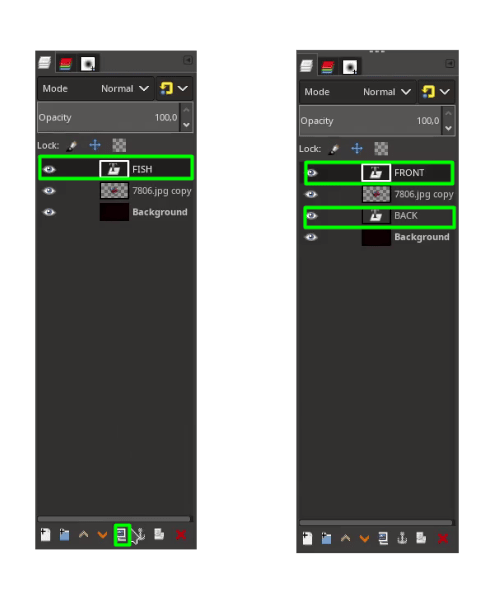
Add a text with Text Tool (T) and move it to the center of the canvas.

Step 6
Duplicate the Fish text layer then rename it to FRONT and BACK. Place the text between the fish layer.
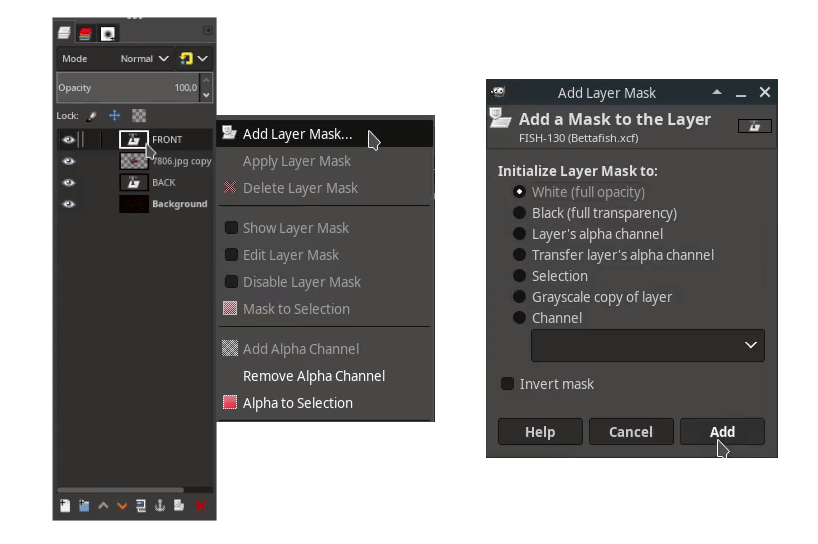
Add a layer mask in FRONT text layer by right click > Add Layer Mask > White (full opacity) > Add.
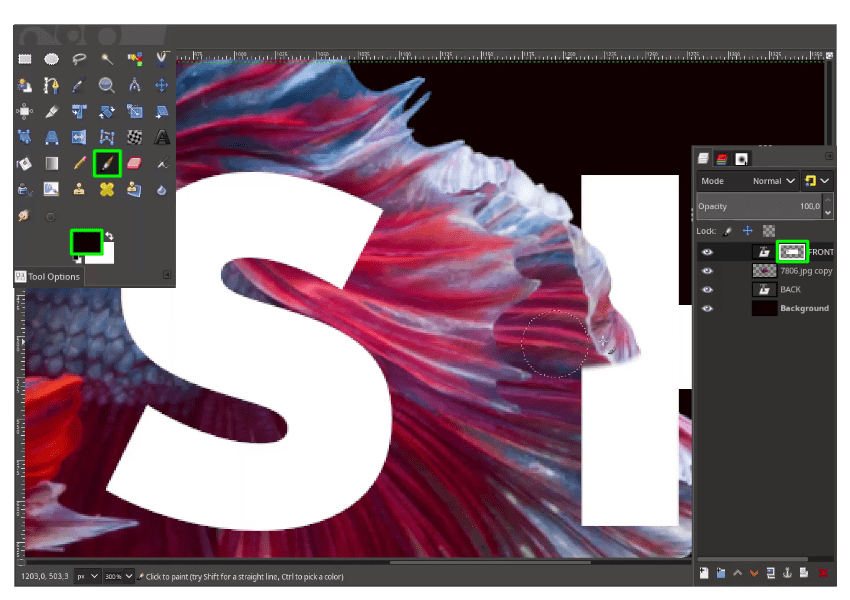
Set the black color as foreground then brush with Paintbrush Tool (P).
Step 7
Duplicate the fish layer, and scale it up by pressing Shift+S.
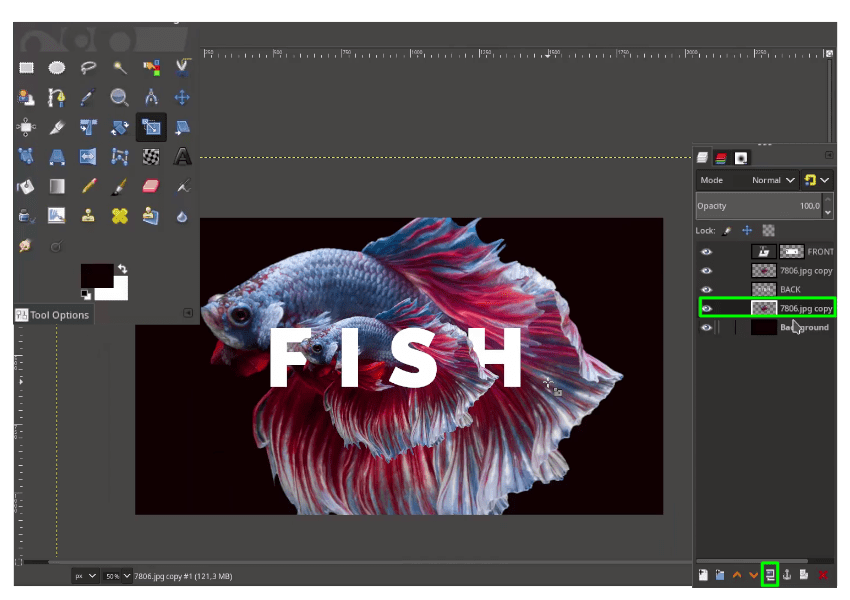
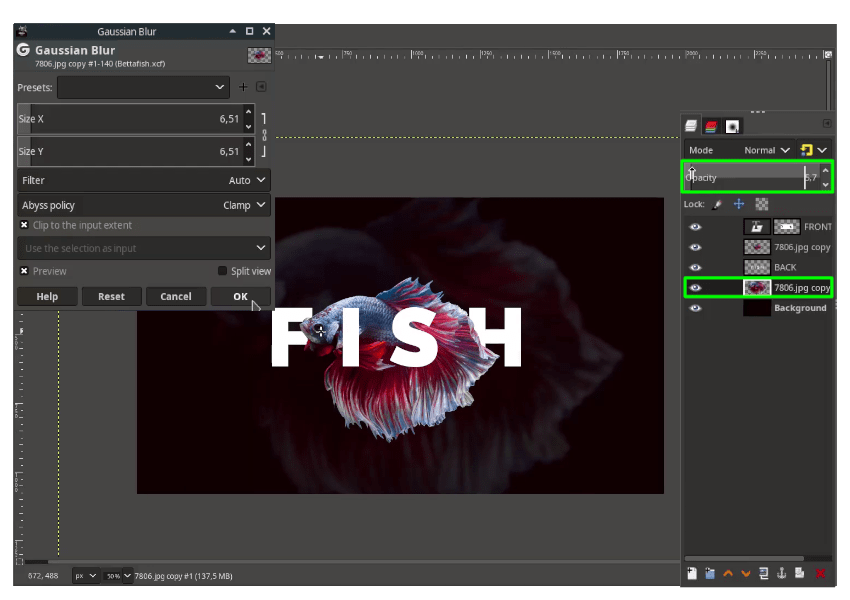
Add a gaussian blur in Filter > Blur > Gaussian Blur also you can reduce the opacity.
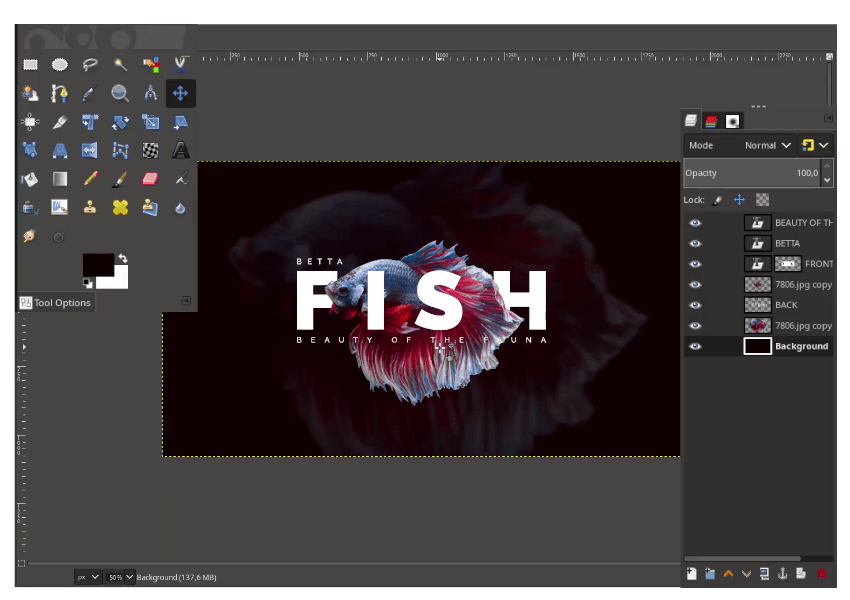
Step 8
Add more text again with Text Tool (T).
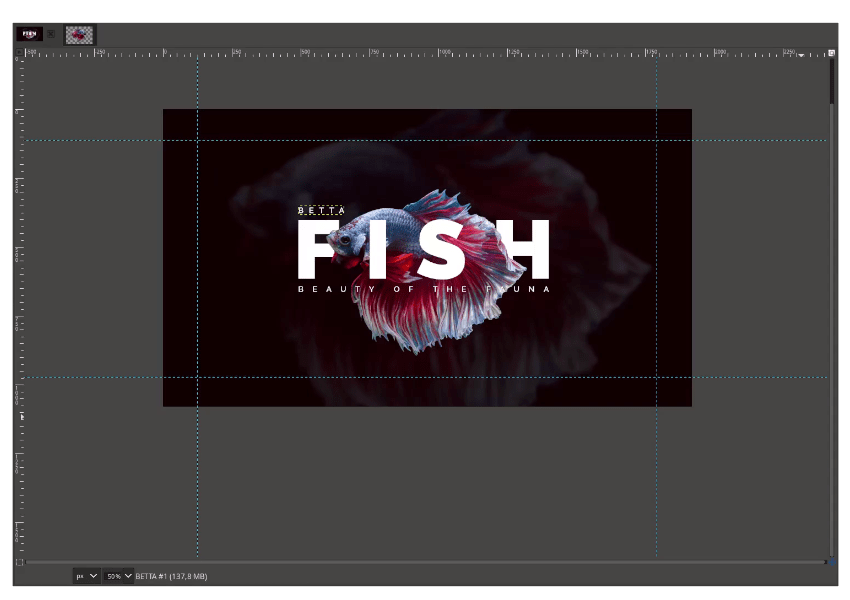
Step 9
Add the ruler by dragging the top ruler and side left.
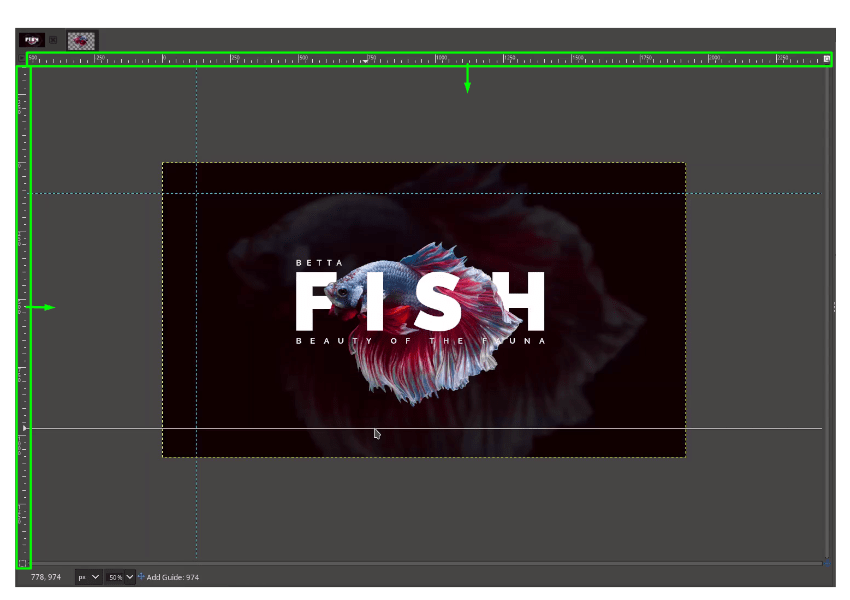
Result:
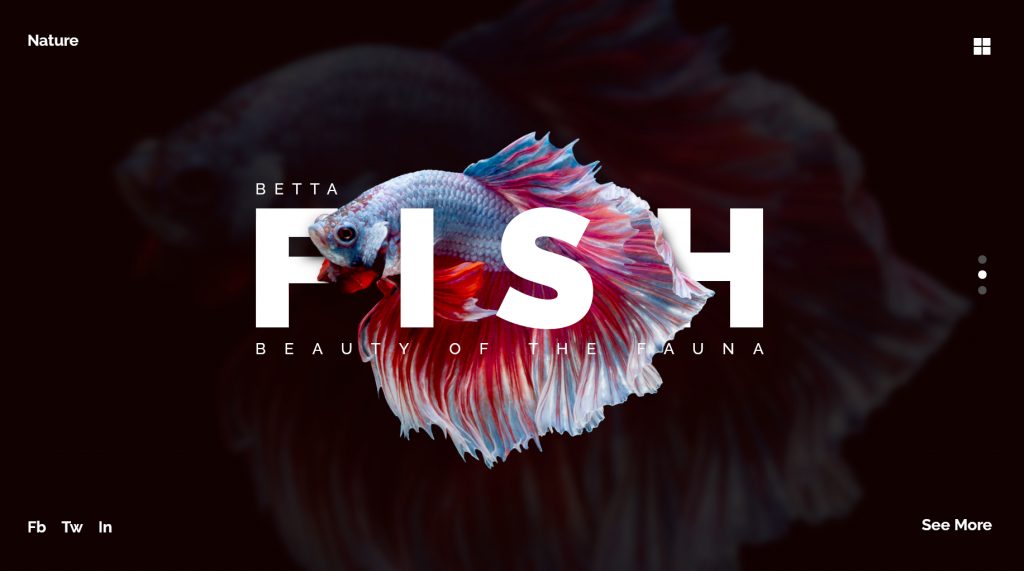
Step 10
And add more elements to the design.

It’s Done!
Great job everyone, you can create a UI Design using GIMP. Please comment below if you have any question or something!
Tutorial Assets
Credits
- Inspired by Fish UI – Vladimir Biondic