Today I will show you how to create cool typography illustrations using a path effect that makes the text easy to warp in Inkscape.
What you will learn
- How to trace bitmap
- How to change the color
- How to add text
- How to use path effects
- How to intersect objects
Tutorial Step
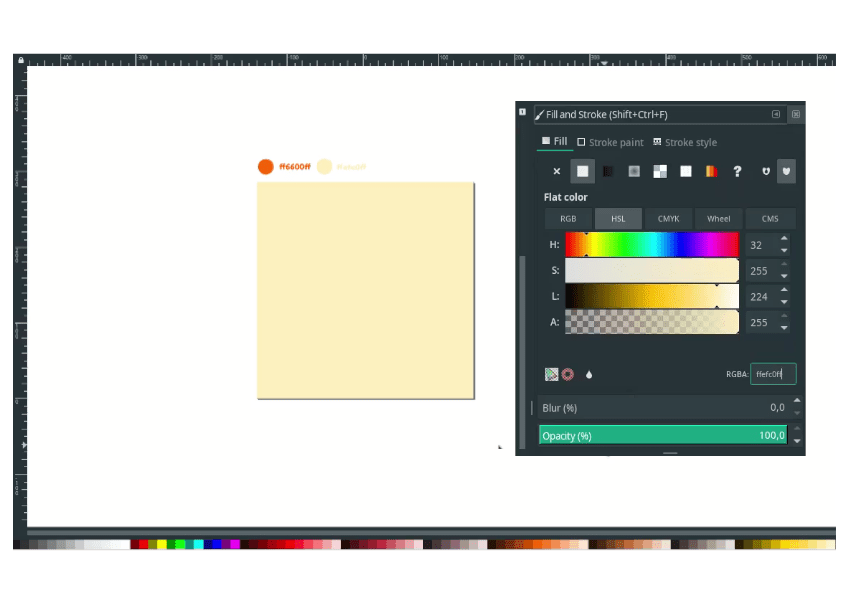
Step 1
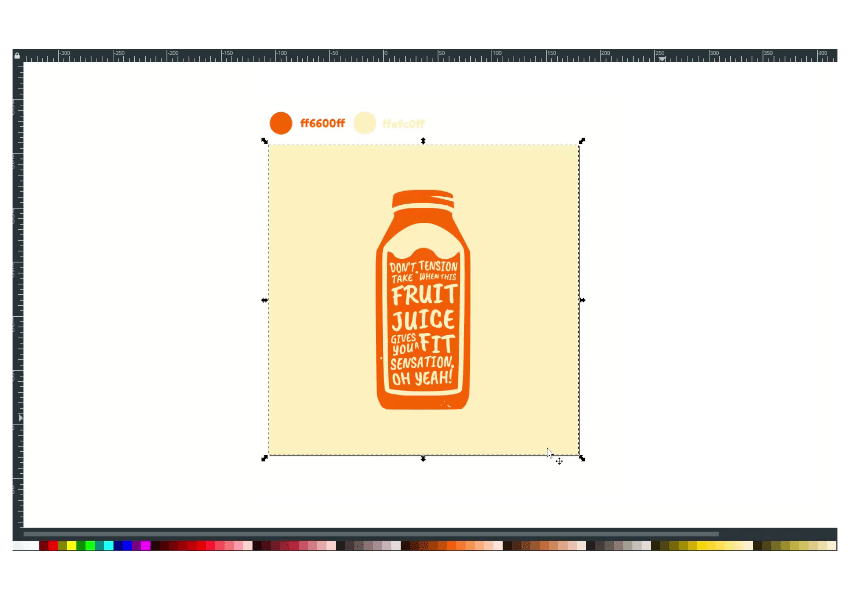
Create a background with the rectangle tool (R).

Then change the color to Papaya Whip (#ffefcfff).
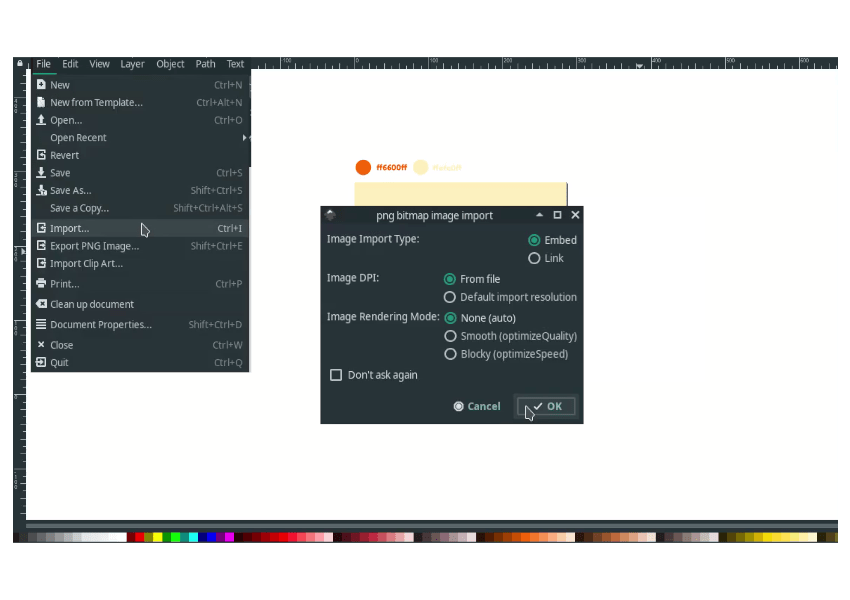
Step 2
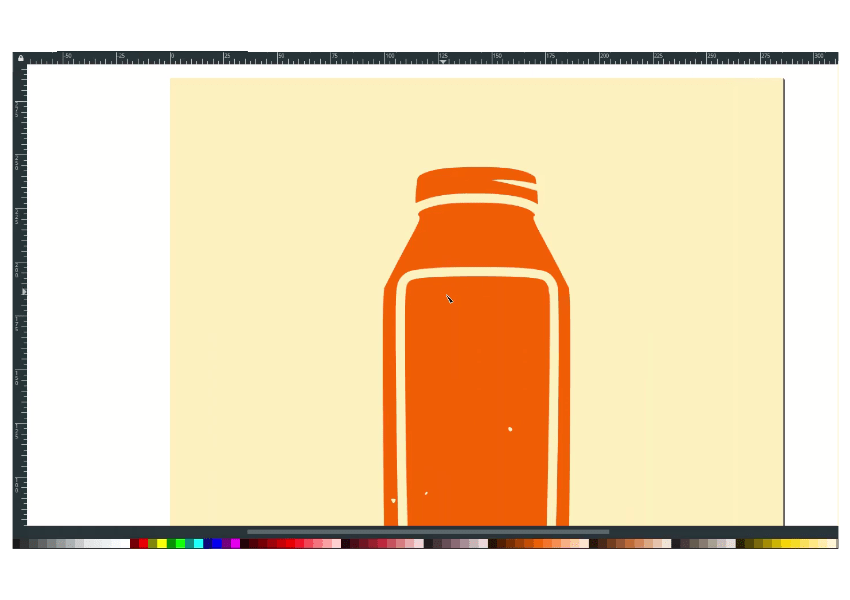
Import the image in File > Import. Choose the juice bottle png, then click ok.
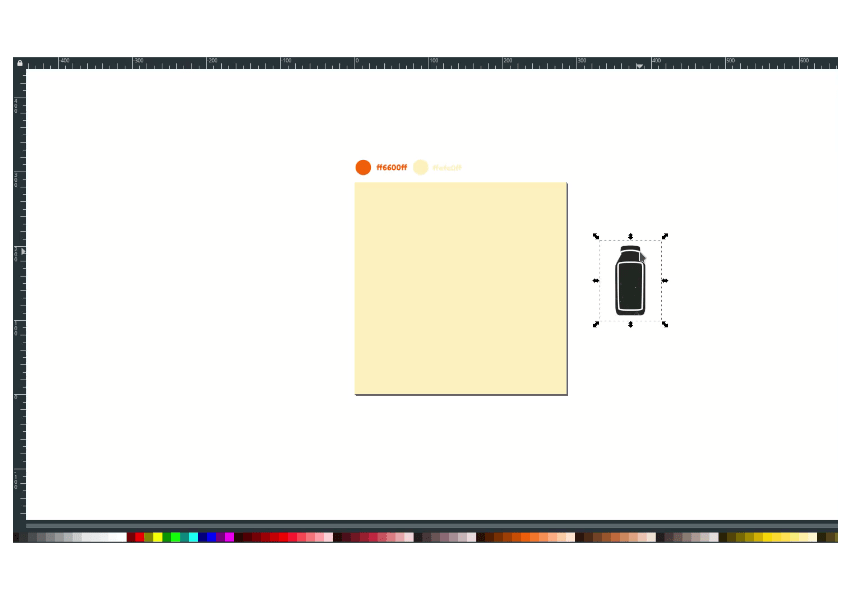
Result:
Step 3
Now trace the png so it will become a vector object in Path > Trace bitmap. Turn on the live preview to see the result and click OK.
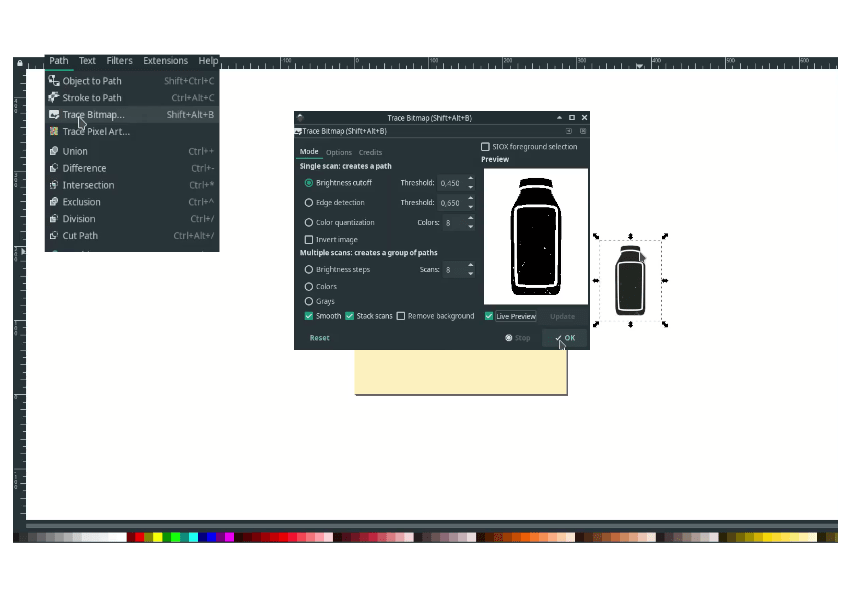
Move the juice bottle. So now you have two, the black color and the grey one.
Tips: to see if the result becomes a vector, press F2 to see the node. If you see the node, then it’s already converted to vectors.
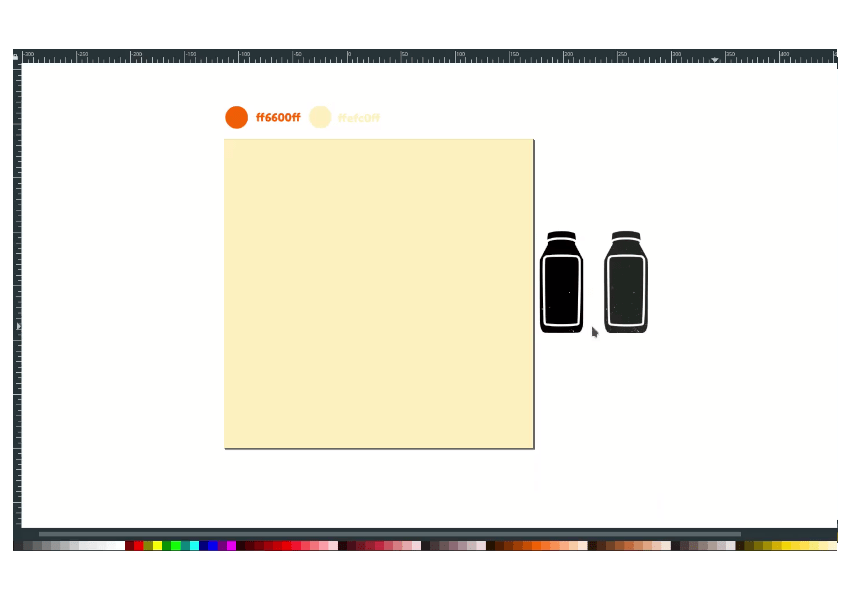
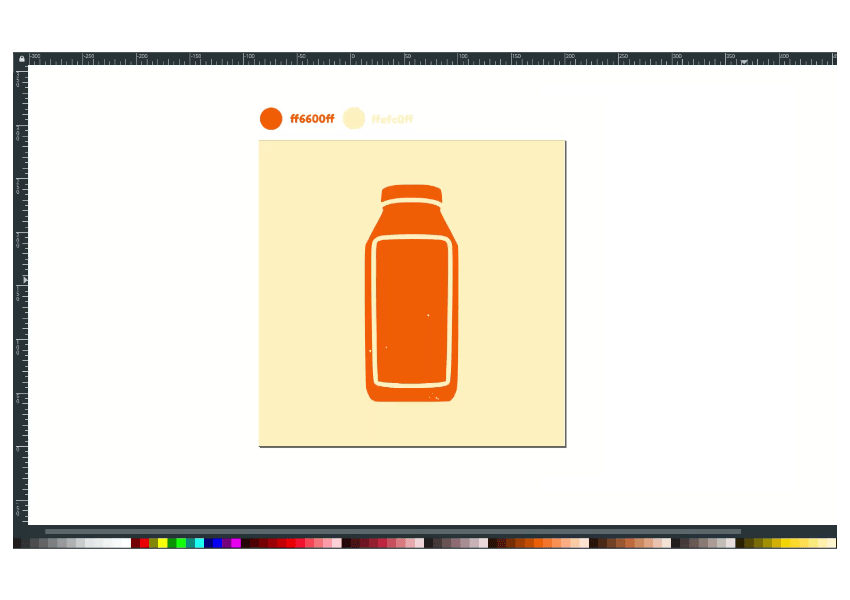
Move the object to the middle of the canvas and scale it up by pressing F1, then hold ctrl+shift while scaling to keep proportional sizes. And change the color to Safety Orange Blaze Orange (#ff6600ff).
Step 4
Create shapes with the bezier tool (B), intersect with the juice bottle by selecting the two objects shift+click, then go to Path > Difference.
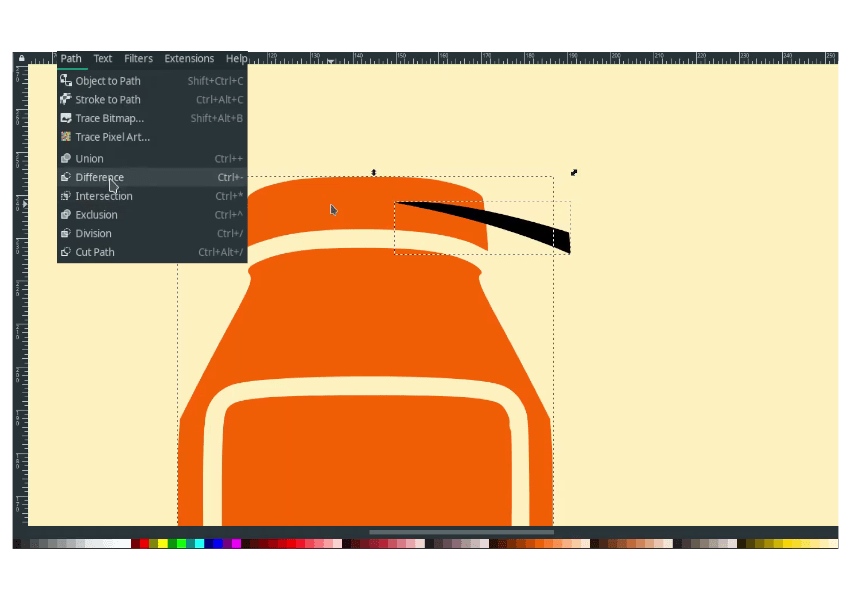
Result:
Add more shapes with bezier tool (B), then intersect it.
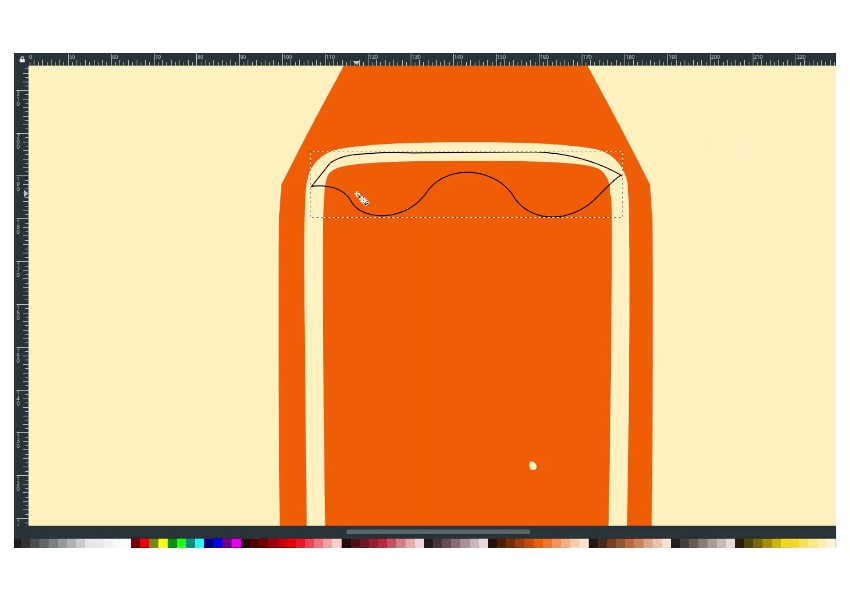
Result:
And move the handle to the top by pressing F2 and drag.
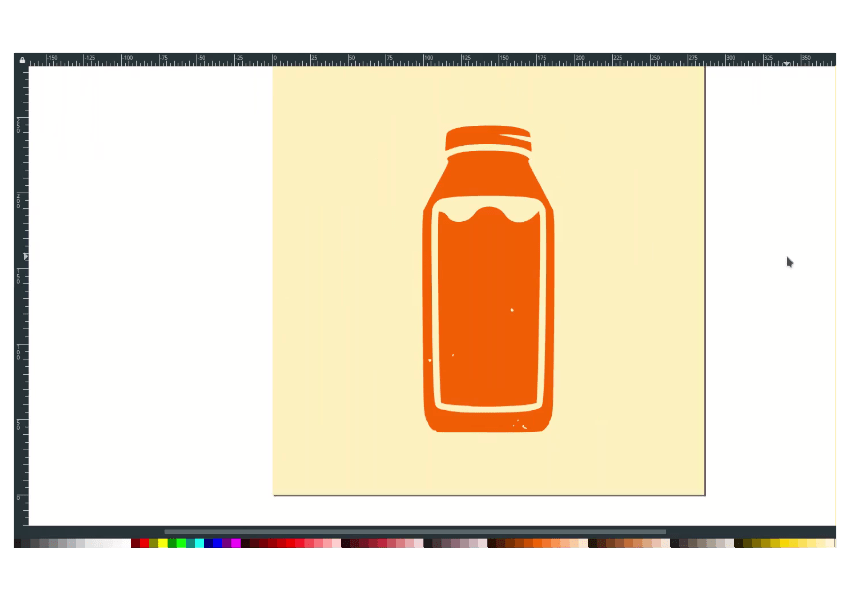
Step 5
Type a text with Text Tool (T) then change the fonts to Caveat Brush.
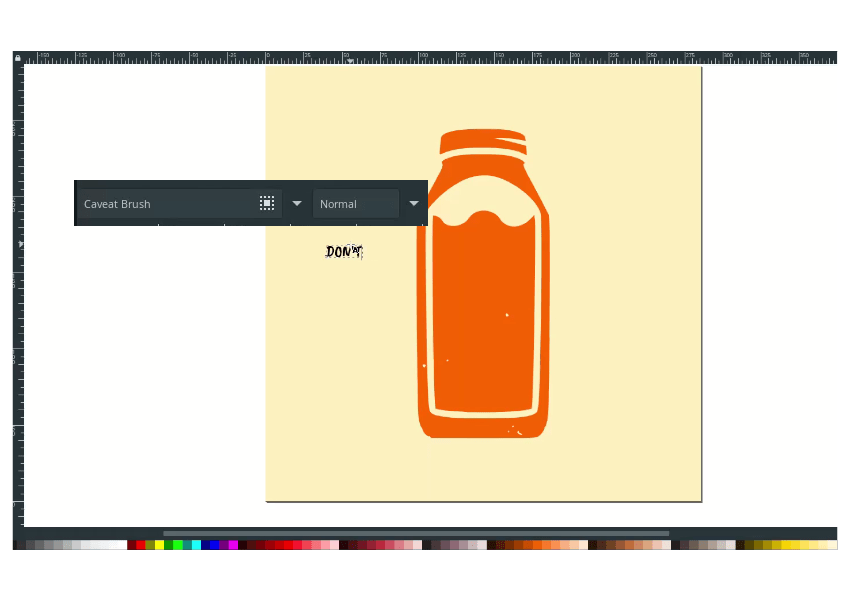
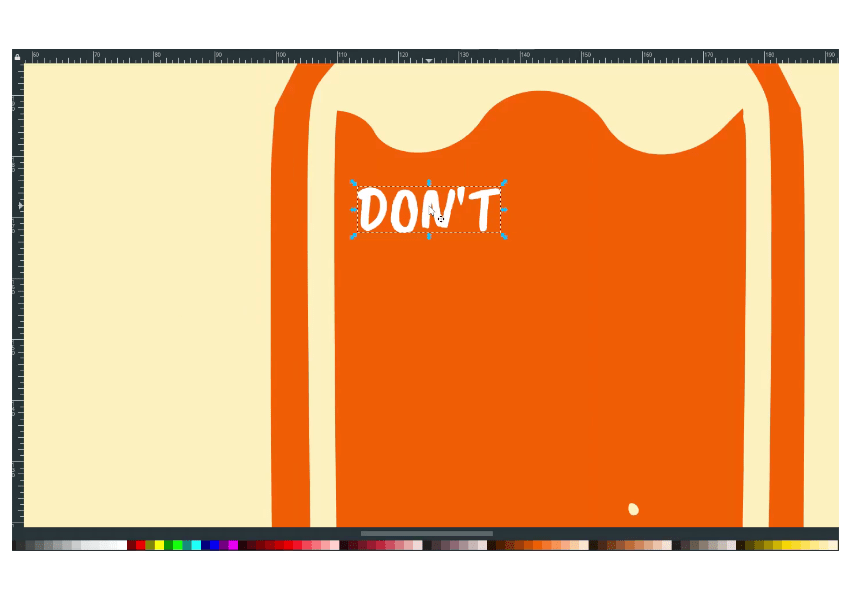
Place the text on the juice bottle, then change the color to white (for now). And convert it to the path in Path > object to the path.
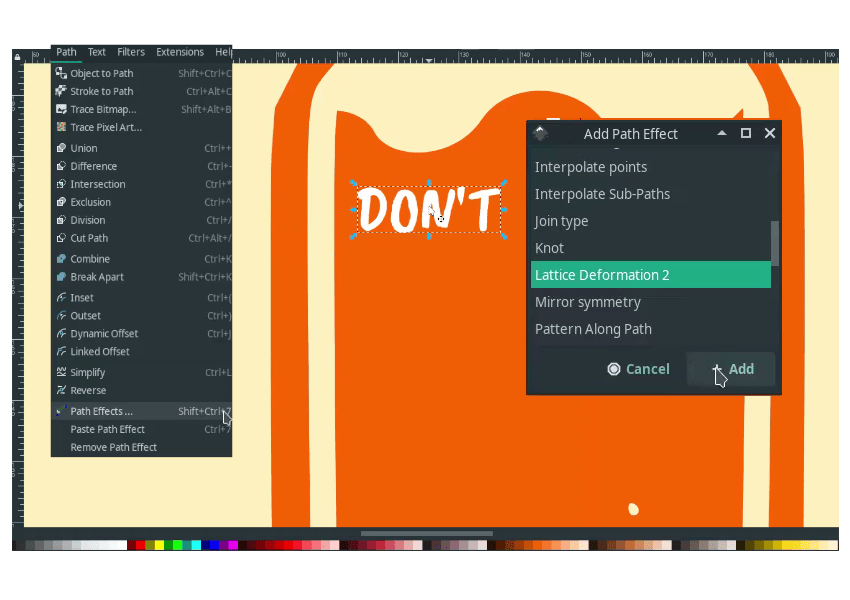
Add a path effects in Path > Path Effects > Lattice Deformation 2.
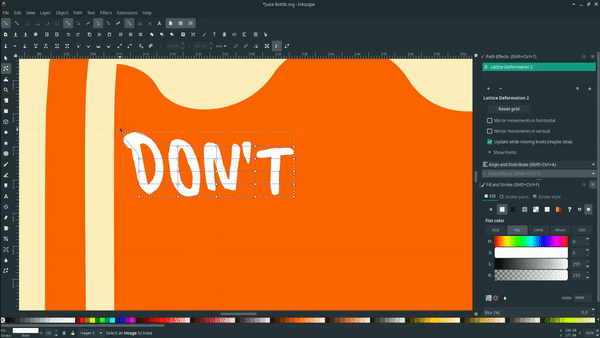
Press F2, then try to move the nodes. Repeat the steps and add more text until it fills the juice bottle.
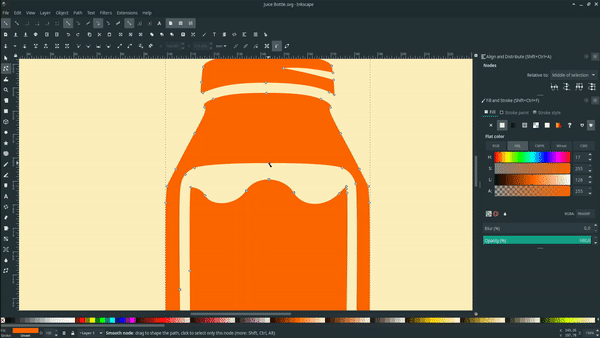
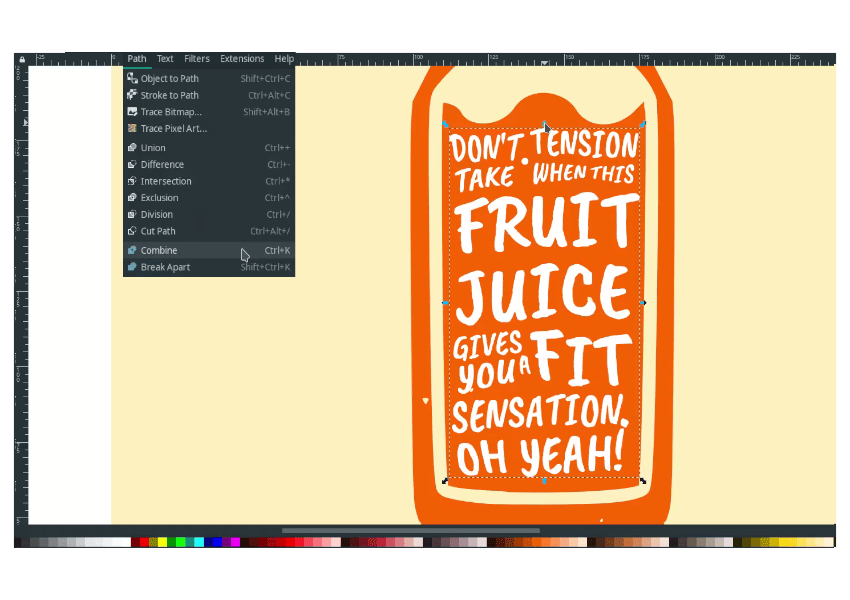
Step 6
Select all the text with shift+click, then apply the path effect by going to Path> Object to Path.
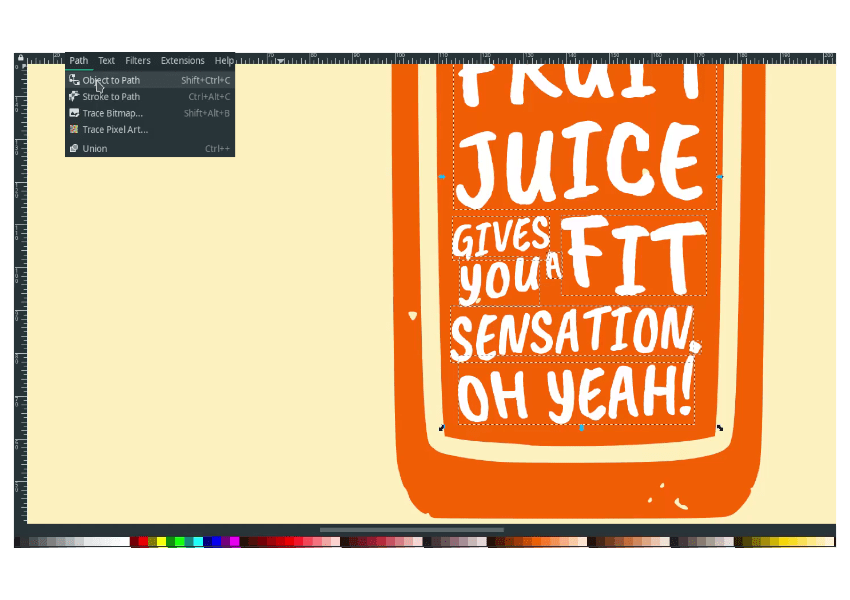
Still in text selected, then combine the path in Path > Combine.
Intersect the text to the juice bottle; select the text and the juice bottle in Path again > Difference.
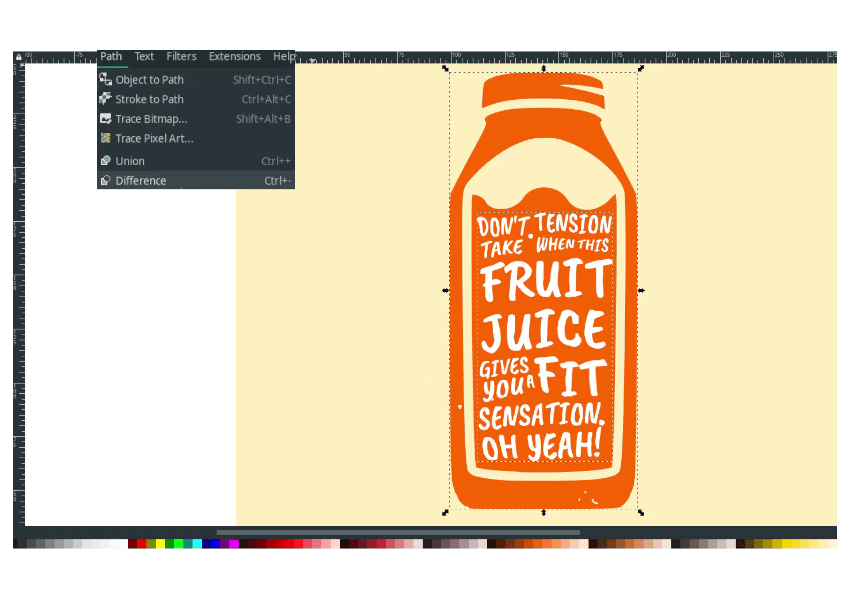
Result:
Step 7
Import the texture then trace the png to vectors (like step 3) then place it the front.
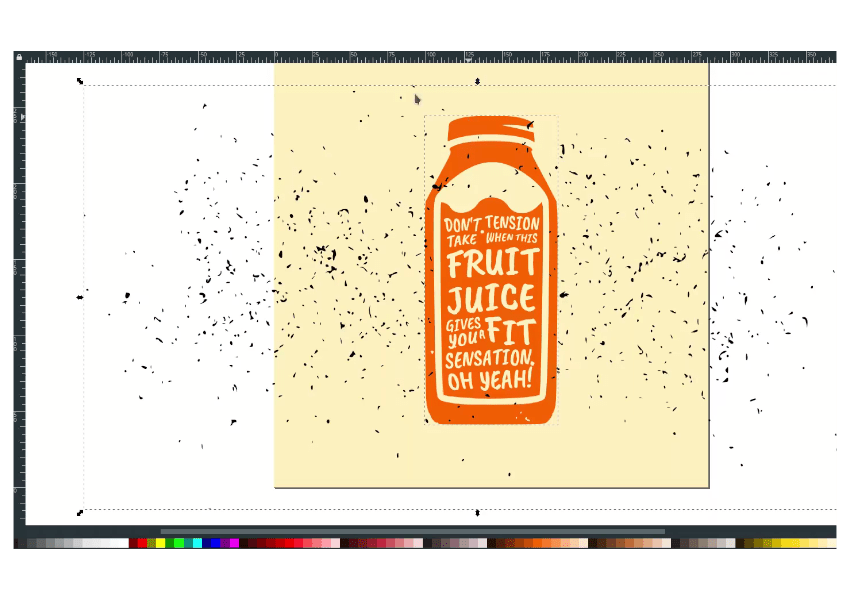
Select the texture with F2 (in the text area only(, then press delete.
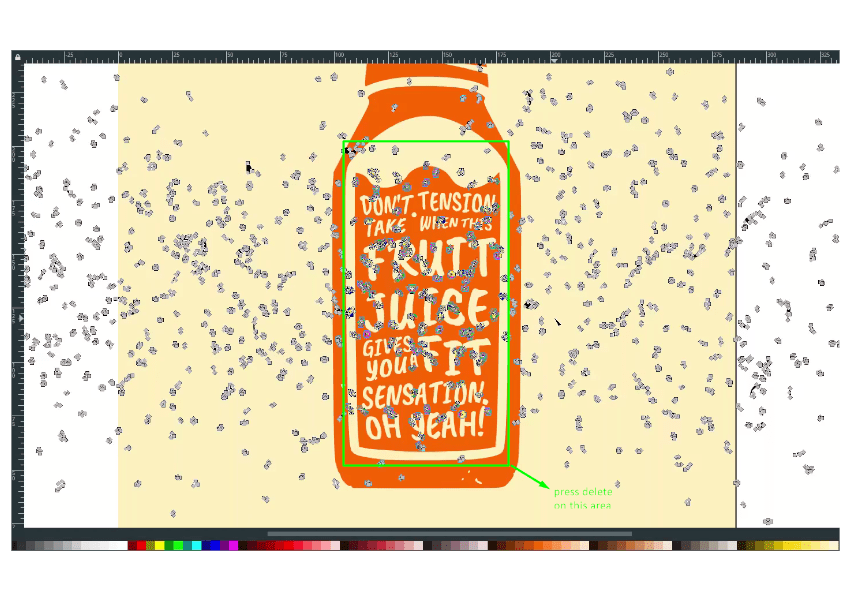
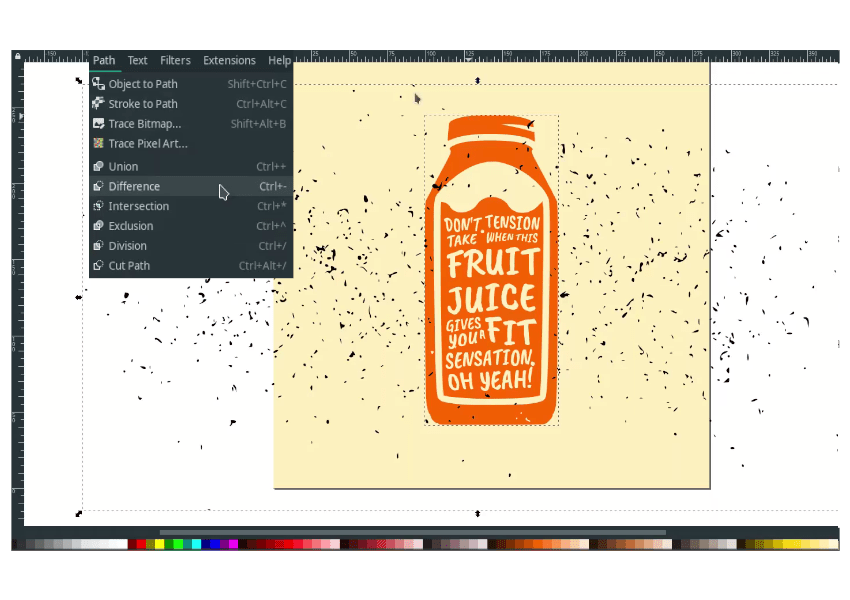
Intersect it by selecting two objects in Path > Difference.
Result:
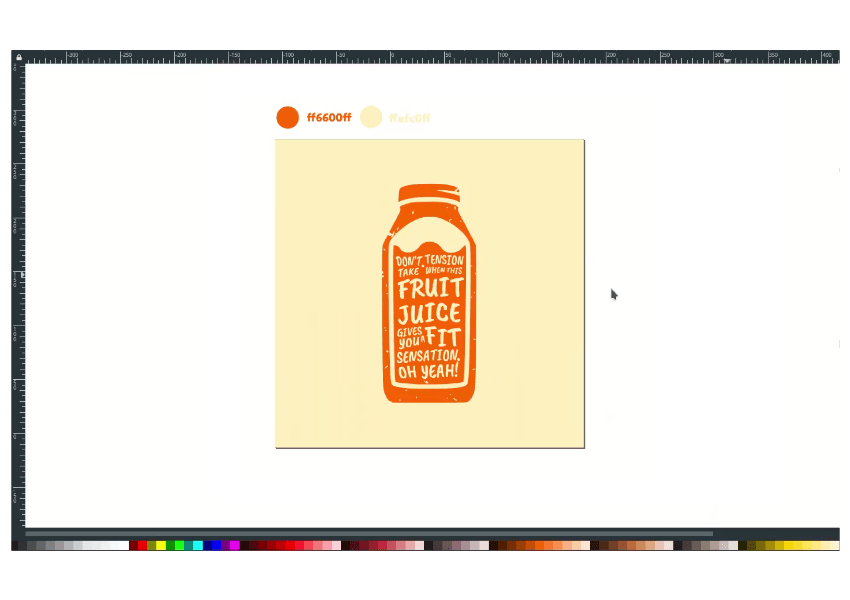
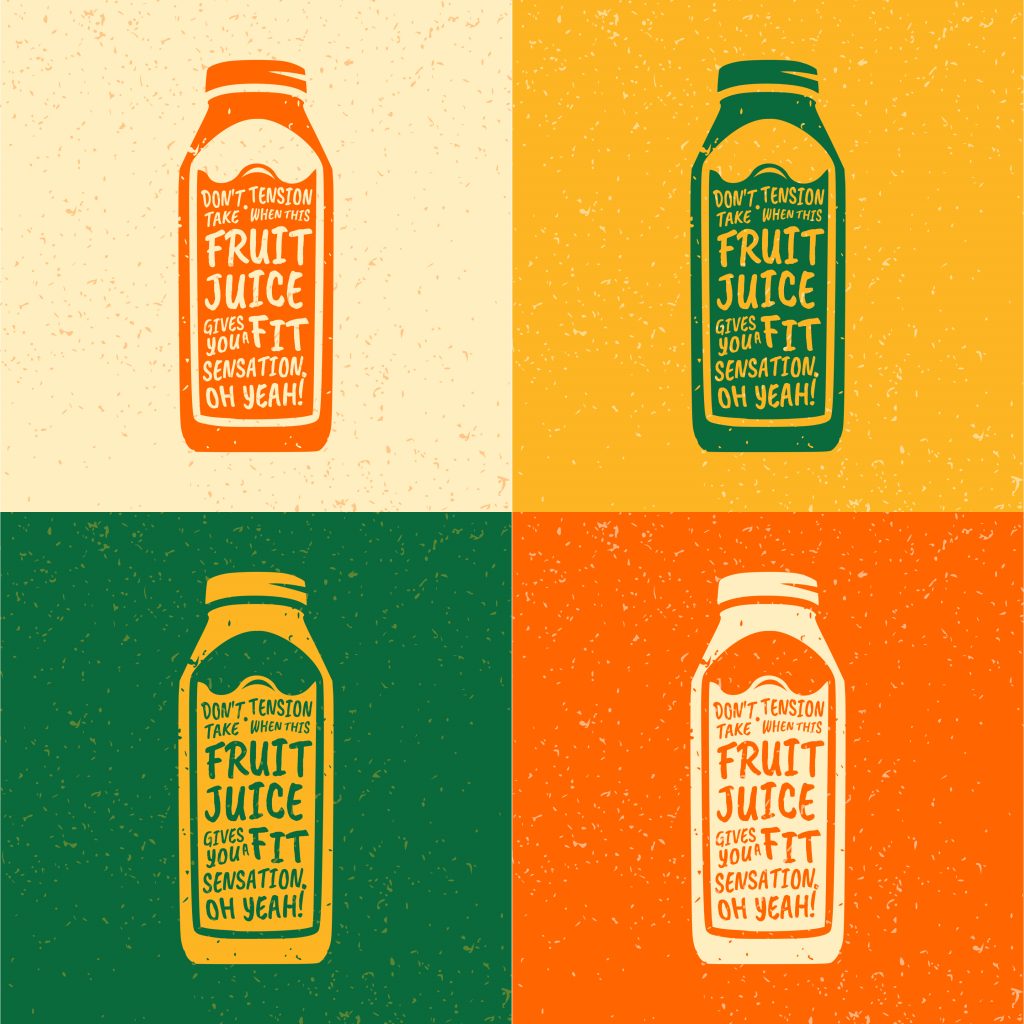
Great!
How is it? easy, right? I hope you learn something new how to create this custom typography on Inkscape. if you want to create a mockup, see this tutorial from Logos By Nick – How To Use PSD Mockups WITHOUT Photoshop. Thank you for reading this tutorial.