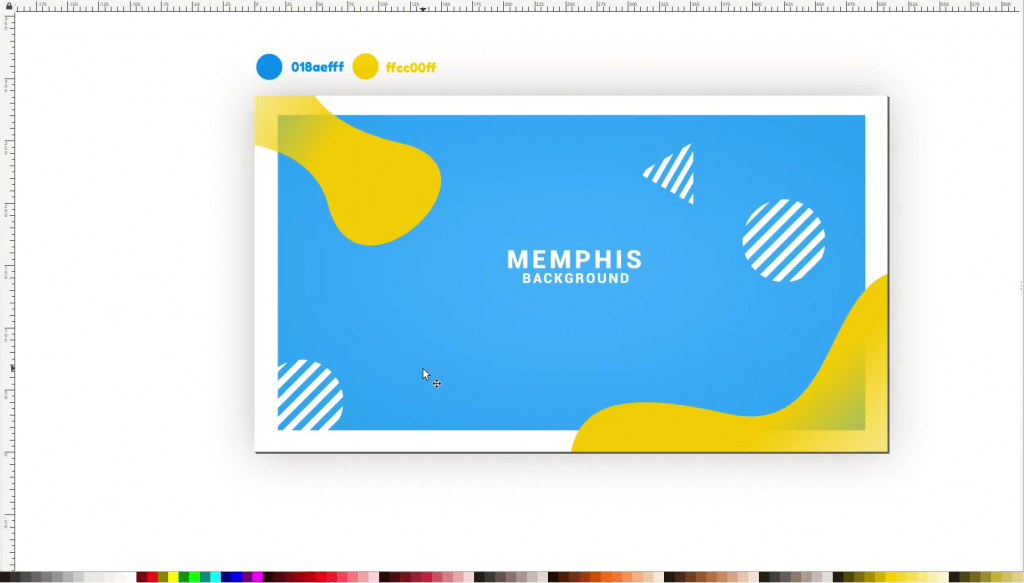
In this tutorial we are going to create modern memphis background effect in Inkscape using bezier tool and some shapes like circle, triangle and zigzag.
What you will learn
- How to create the gradient
- How to duplicate object
- How to blur the object
- How to change the opacity of an object
- How to create a radial gradient
- How to use the bezier tool
- How to use pattern fill
- How to use Rack Gear Extension
- How to change stroke width
- How to Interpolate
- How to use the Transform tool
Tutorial Steps
Step 1
Create a background with a rectangle tool (R) and change to white colors.
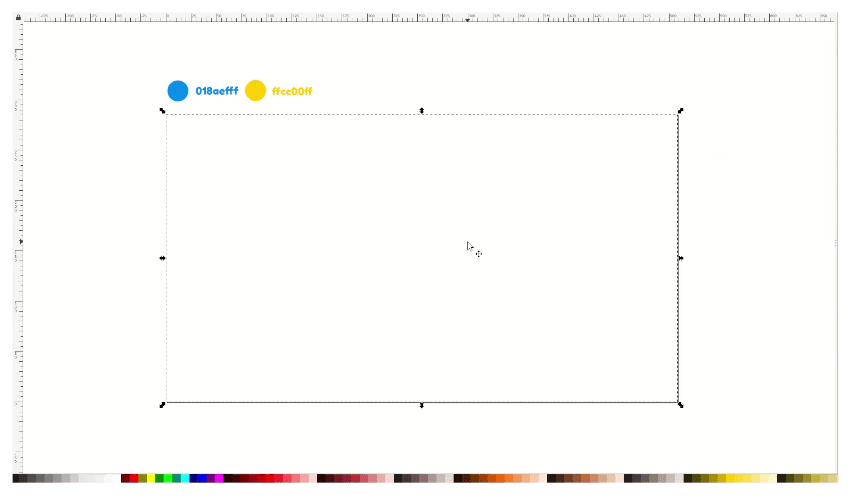
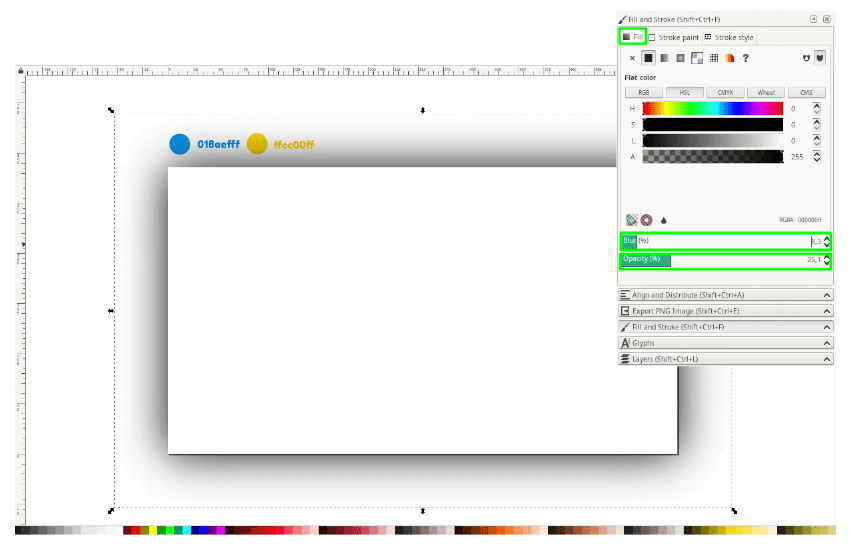
Press Ctrl+D to duplicate and change to black color for the shadow. In the fill tab, increase the blur and reduce the opacity.
Tips: Press Alt+Click twice to select the object behind it.
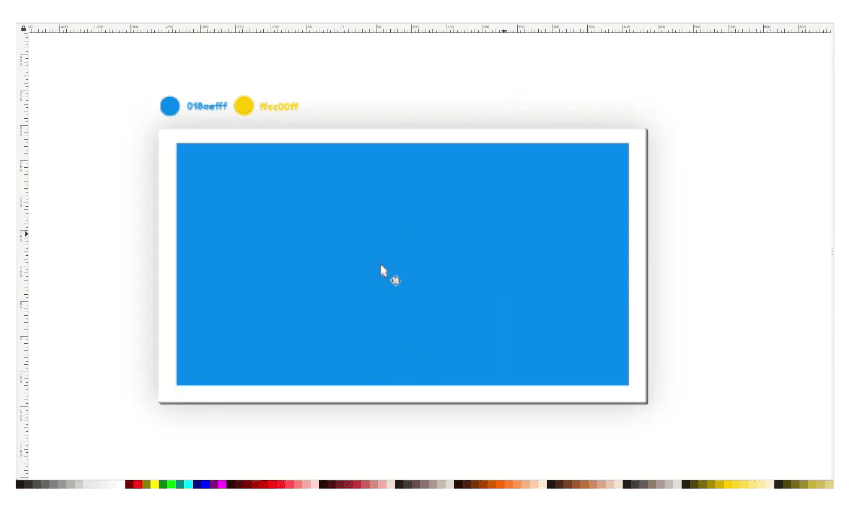
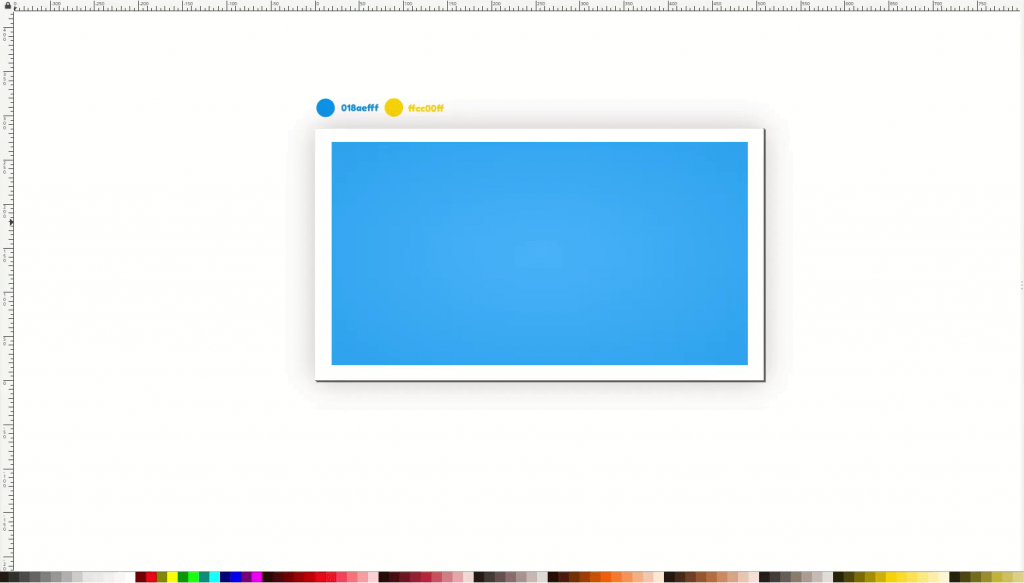
And add more rectangles with the Rectangle tool (R), then change it to the blue color (#018aefff) with the dropper tool (D).
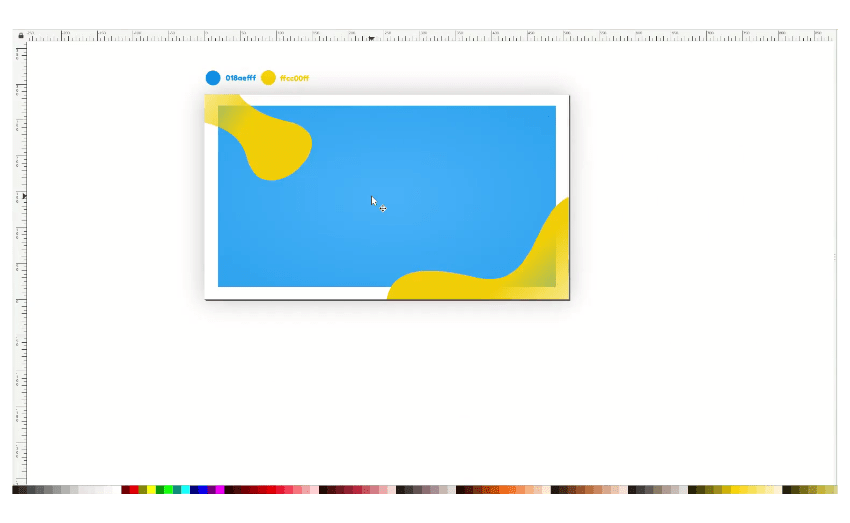
Step 2
Change the color with Gradient Tool (G) and change the gradient mode into Radial in Fill tab.
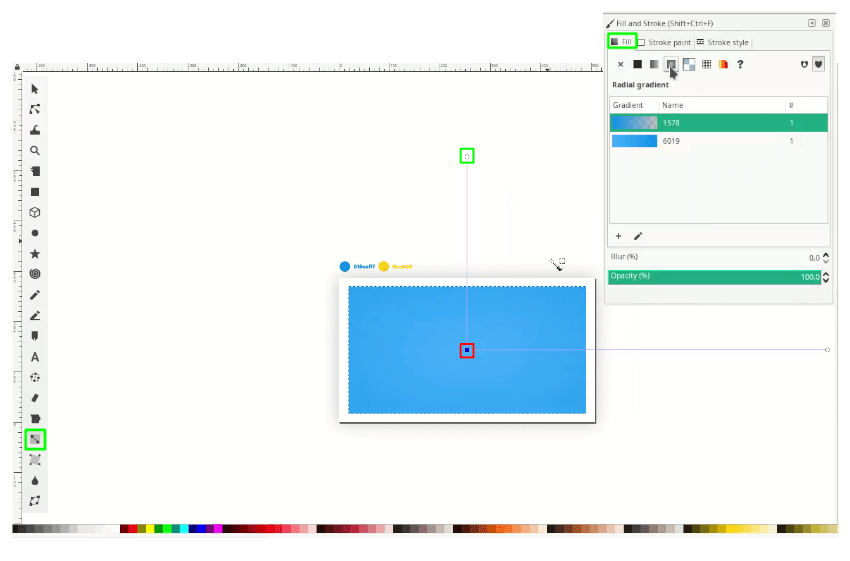
Result:
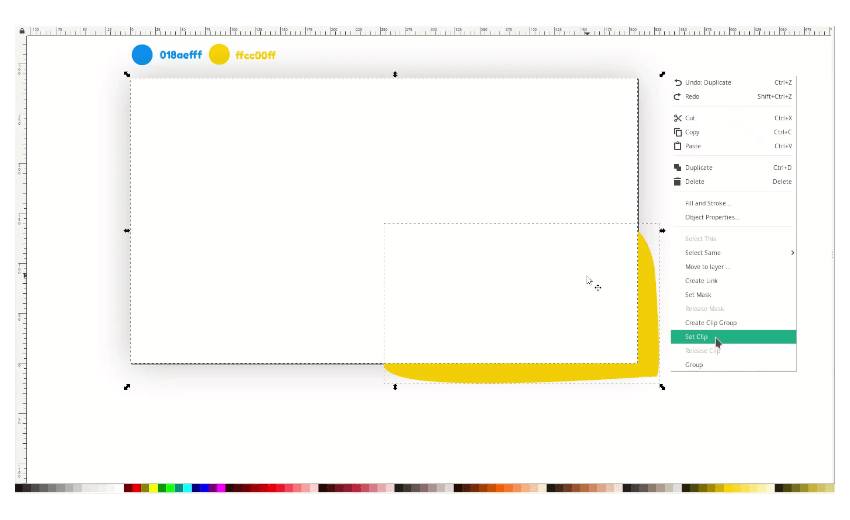
Step 3
Now this time, we are going to create a clipping mask. Create a shape with the Bezier tool (B) and change the color to yellow (#ffcc00ff).

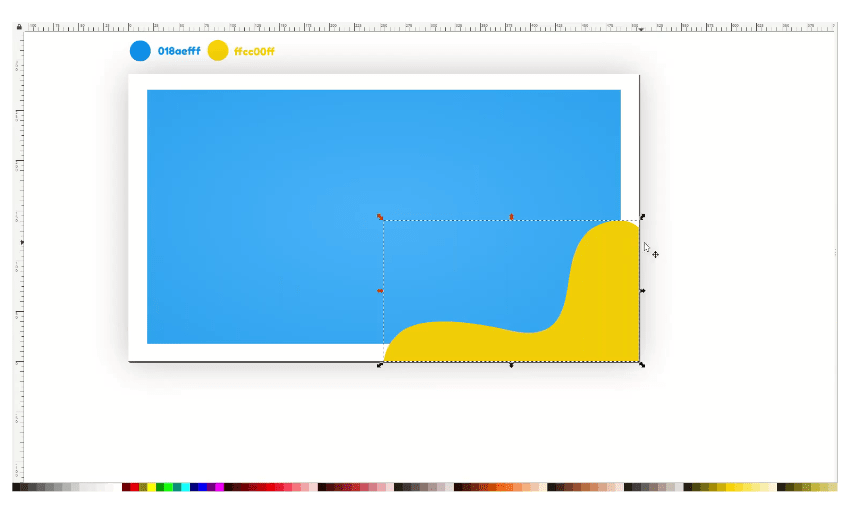
Duplicate the white rectangle with Ctrl+D, then select the rectangle and the fluid shape,
Right-click > Set clip.
Result:
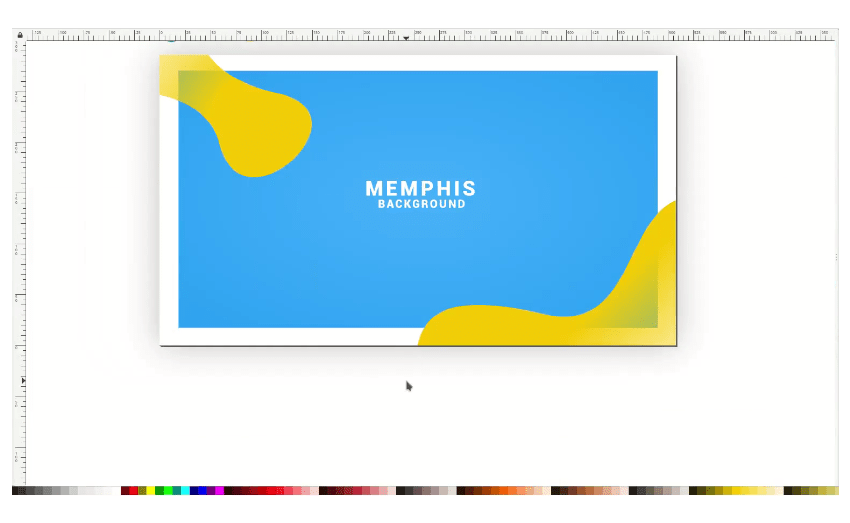
Step 4
We can create the gradient with transparency to the shape with the gradient tool by dragging it.
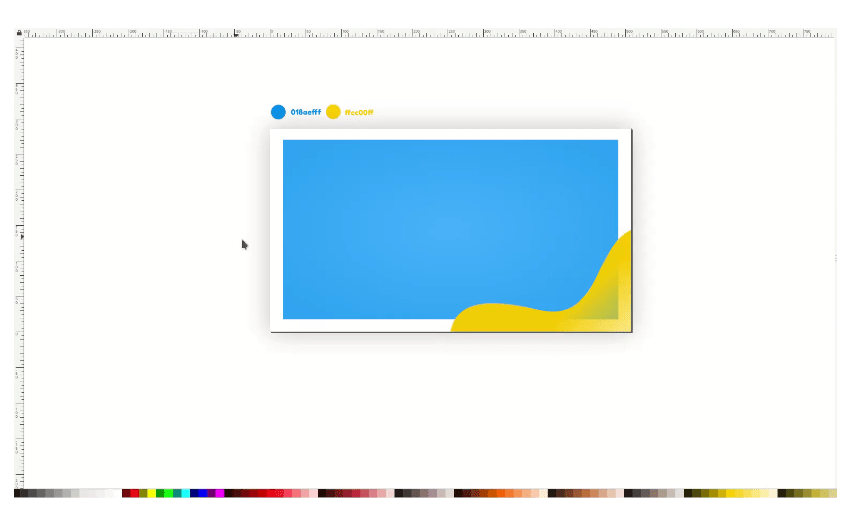
Add more shape with Bezier tool (B) and create the same gradient color.
Add a text with Text tool (T).
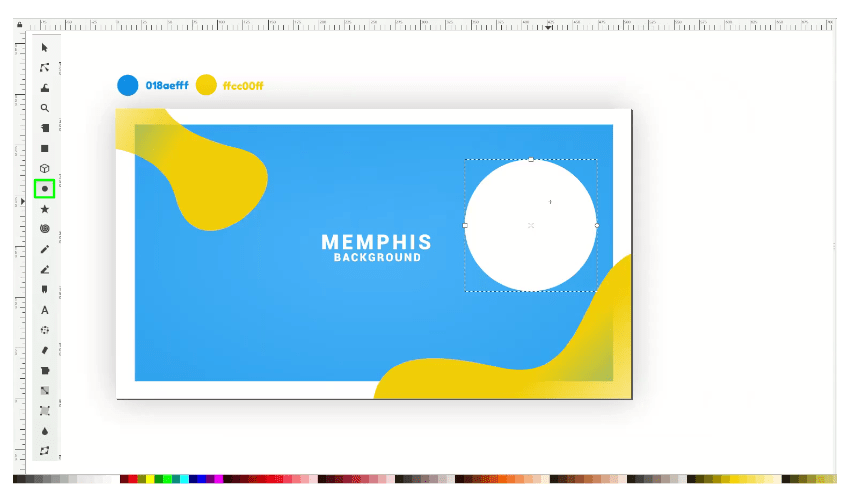
Step 5
Create an ellipse in the canvas with Ellipse tool (E).
Open the fill, and stroke menu, then click the pattern fill and change the modes to Stripe 1:1 white.
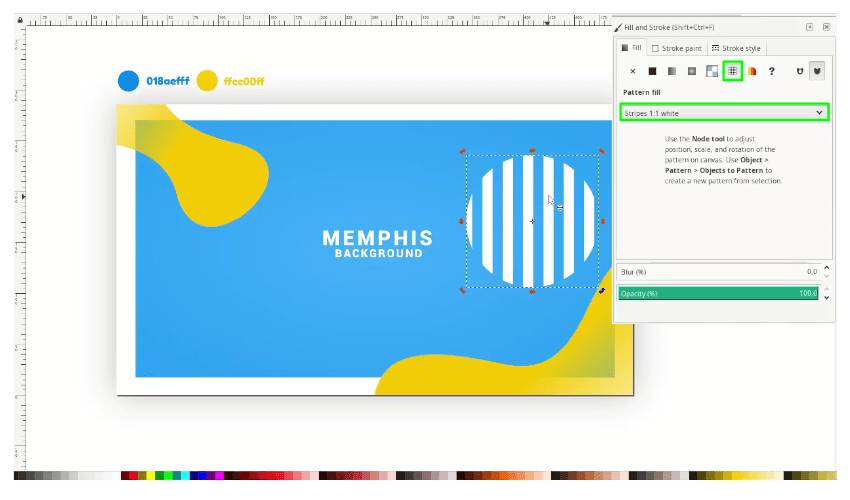
We can add more elements and rotate the shapes.
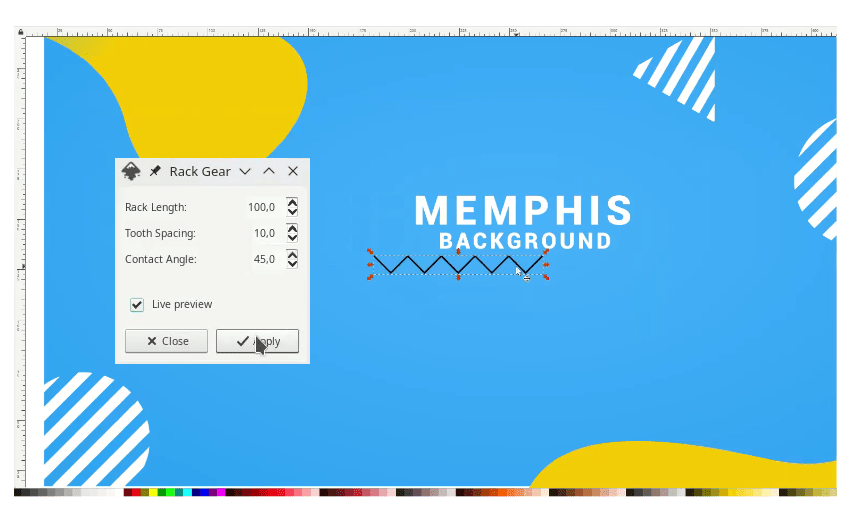
Step 6
Create a zigzag shape with Rack Gear extensions in Extensions > Render > Gear > Rack Gear. Then change the Rack Length to 100, and contact angle 45 degree.
Change the stroke color to white, then increase the stroke width to 20 Pixels.
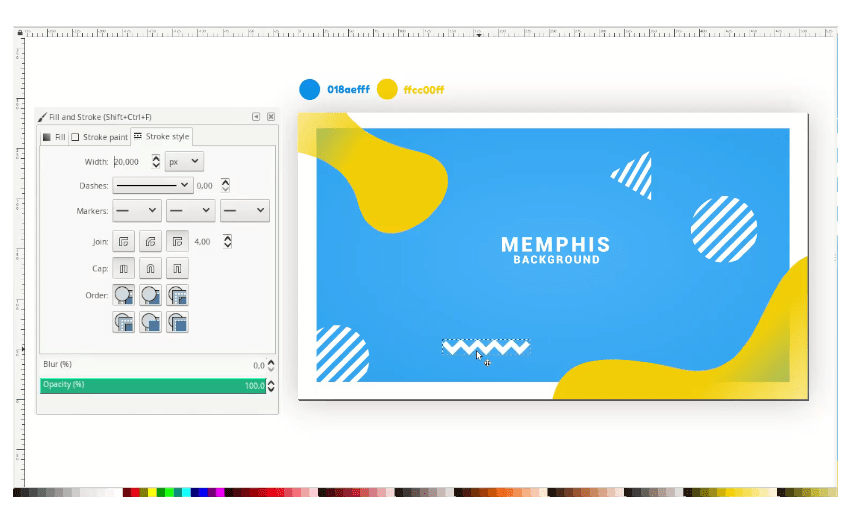
Duplicate and make some placement for the shapes.
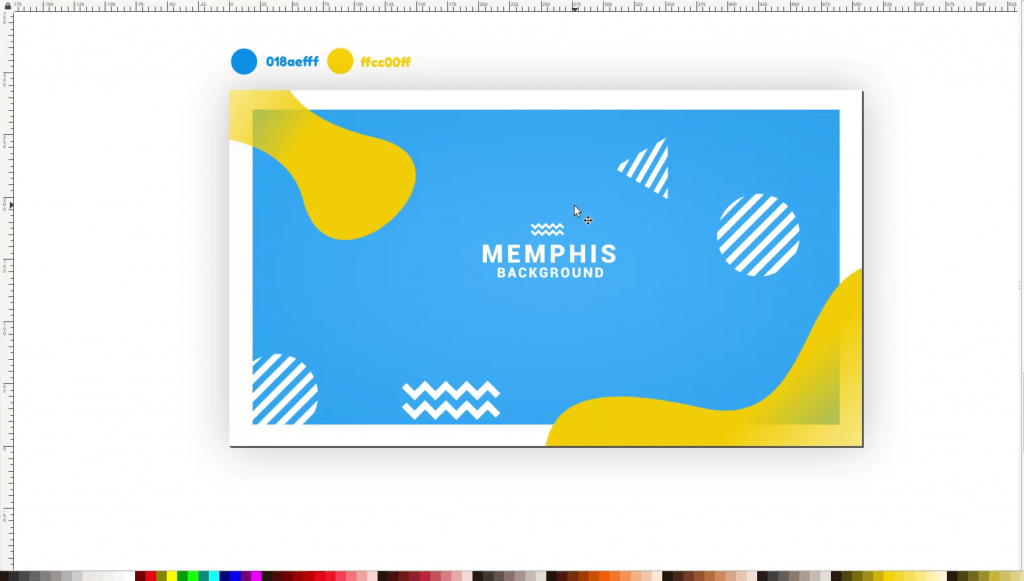
Step 7
Create a new two ellipse with ellipse tool (E) and select the two object by pressing Shift+Click
Then make it Interpolate in Extensions > Generate from path > Interpolate. Active the live preview to see what happened.
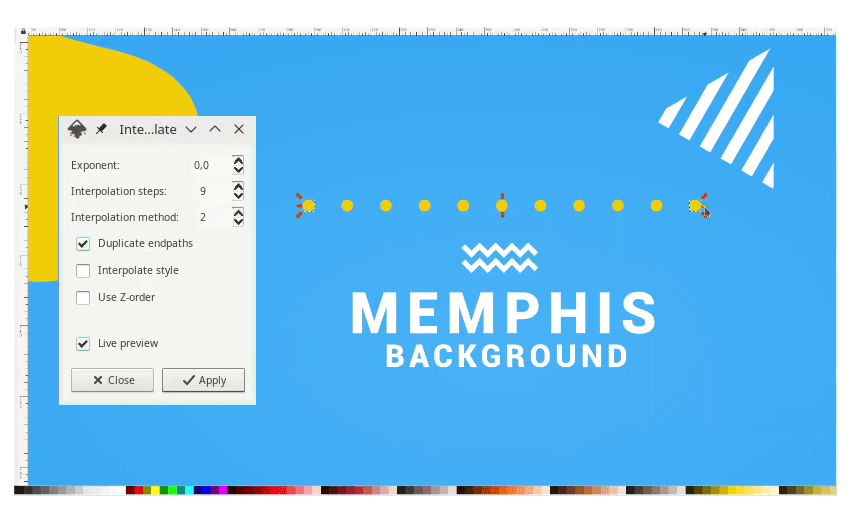
And create a vertical movement to the bottom down (-y) by duplicating Ctrl+D and click apply. Feel free to add more elements.
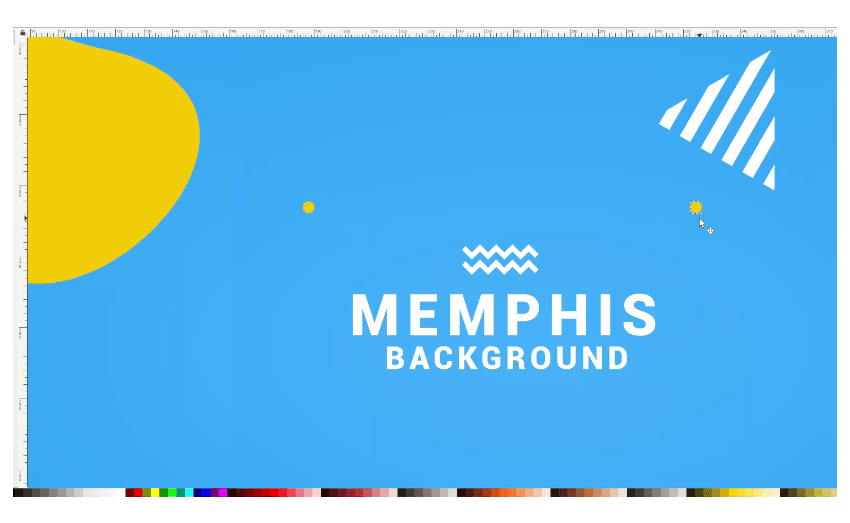
Well done, you made it!
It’s really fun working with shapes, changing the colour to gradient, changing the shape to pattern-filled, and adding more elements like text. Don’t stop learning, and Thank’s for reading.