In today’s tutorial, we’re going to create a custom font on Inkscape using the outstroke and gradient.
How to use Glyphs
Open the start menu and type “Character Map” to view the character with any installed fonts.
Linux
Character Map > Find the Font name > Search for “Private Use Area”
Windows
Character Map > Find the Font name > Group by : Unicode Subrange > “Private Use Character“
Or see this video (Credits to The Artful Owl):
How to use text glyphs in Inkscape for Windows User
What you will learn
- How to add text
- How to use glyphs
- How to use gradient
- How to create an outstroke
- How to use bezier tool
Step 1
Type a text with the text tool (T) and change the font to Ashington. Download the font in the Tutorial Assets Section.

Step 2
Change the letter type with a character map. For example, I want to change the H variation to something new. Copy, then paste it.

Result:
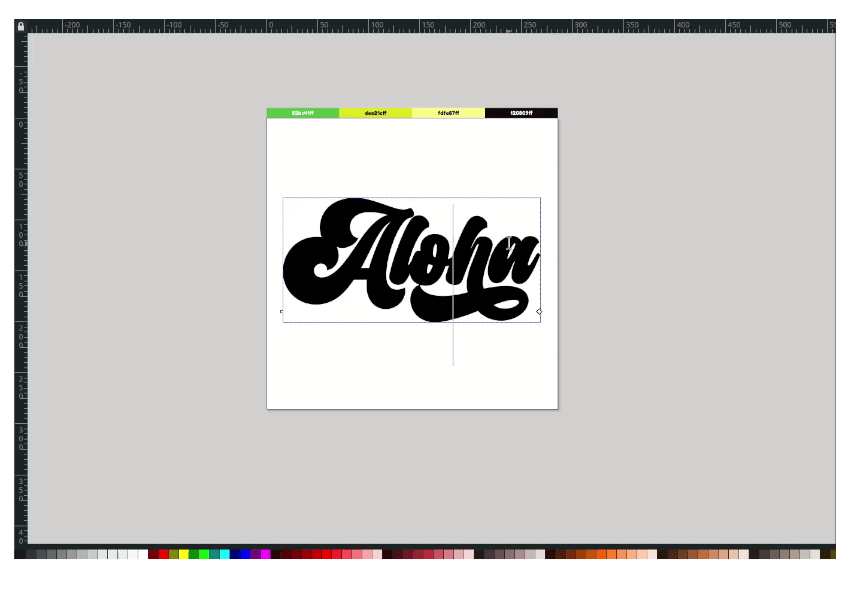
Change the A letter variation.
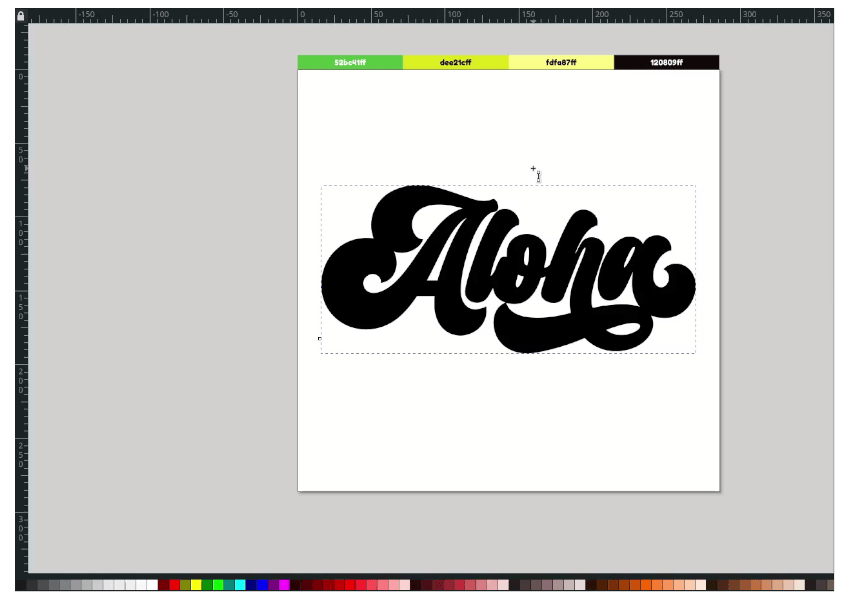
Step 3
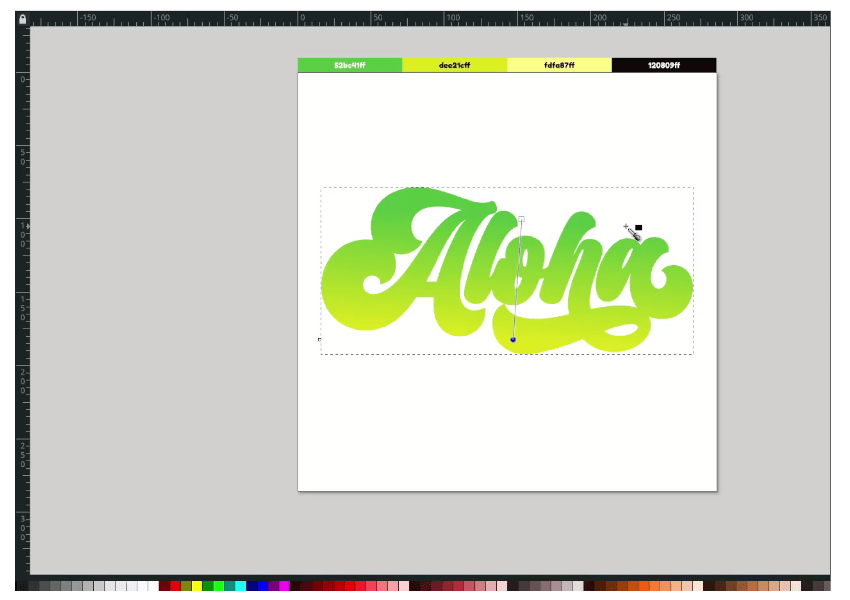
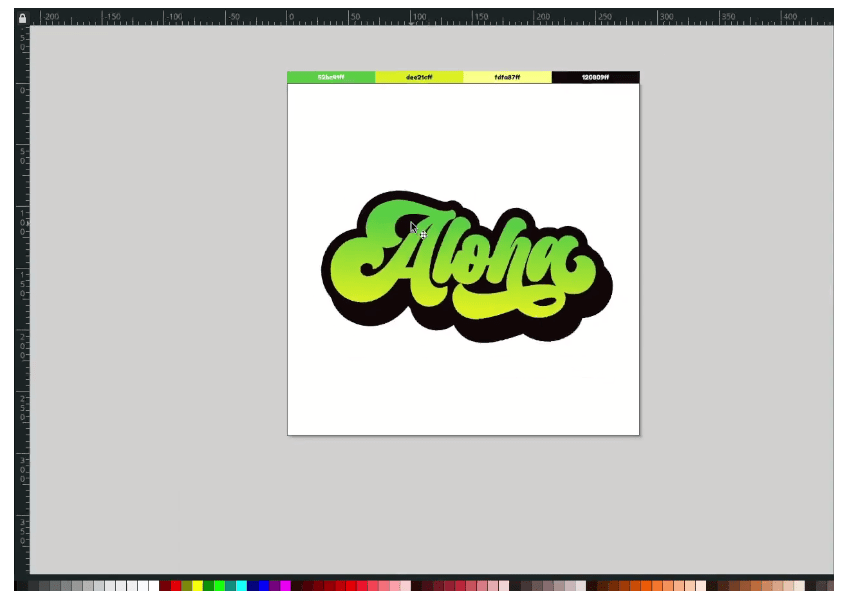
Create a gradient with gradient tool (G). then change the color to Kelly Green (#52bc41ff) and Xanthic (#dee21cff).
Step 4
Duplicate the text with ctrl+d and change the color to black.
Now, create the outset in Path > Outset ( Ctrl+) ).

Press the shortcut for a few times ( Ctrl+) ).
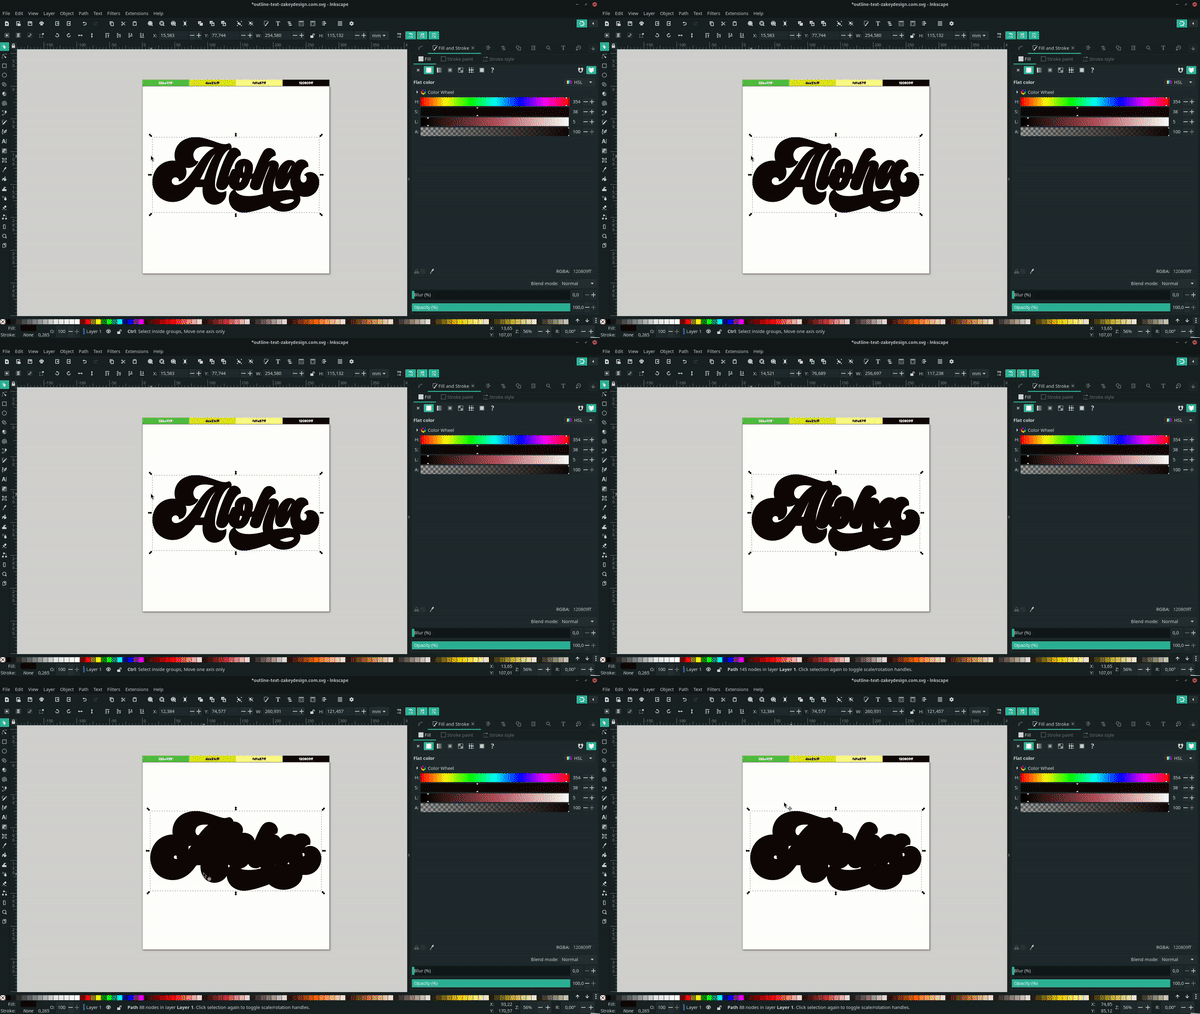
Send the path to the lower back.

Step 5
Duplicate the stroke again with ctrl+d.
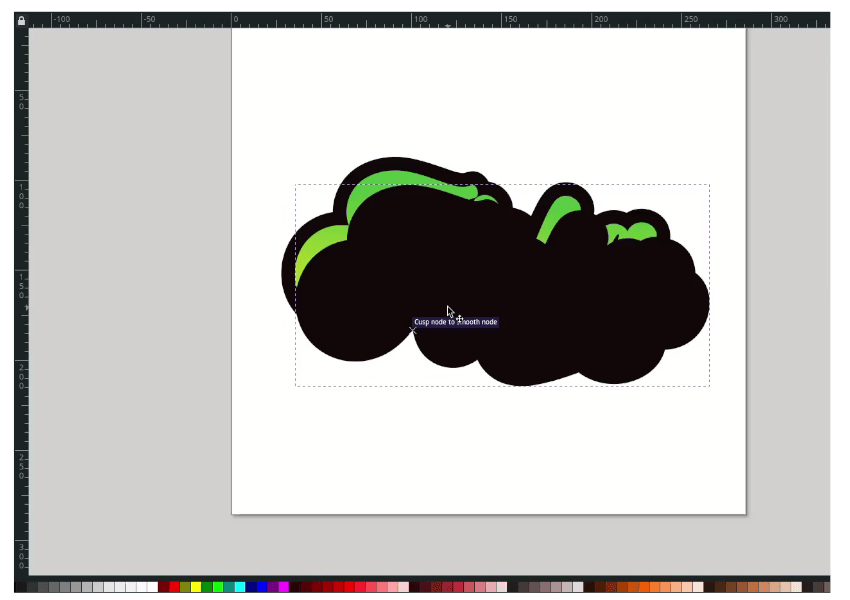
And move with arrow keys on the keyboard to create a small increment movement.
Step 6
Create a shading with bezier tool (B). change the color to Canary (#fdfa87ff).
Tips: Hold shift to lock the corner.
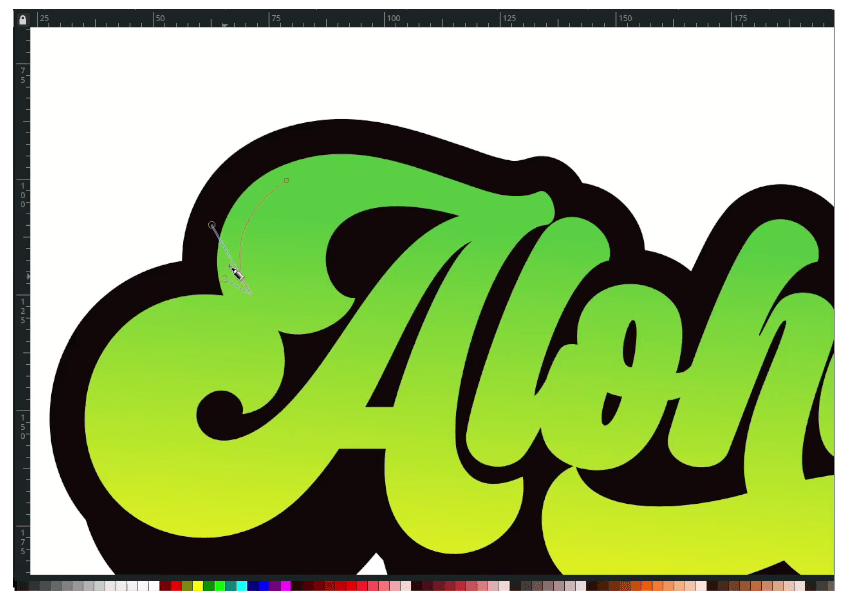
Result:

Done
That’s how to create a custom-type design on Inkscape with stroke and Glyphs in fonts. Thank you for reading.


