Today I will show how to create creative logos using some gradients and opacity to shape and make the logo like watercolor effects.
What you will learn
- How to create a shape with bezier tool
- How to add text
- How to use gradients
- How to simplify paths
Tutorial Steps
Step 1
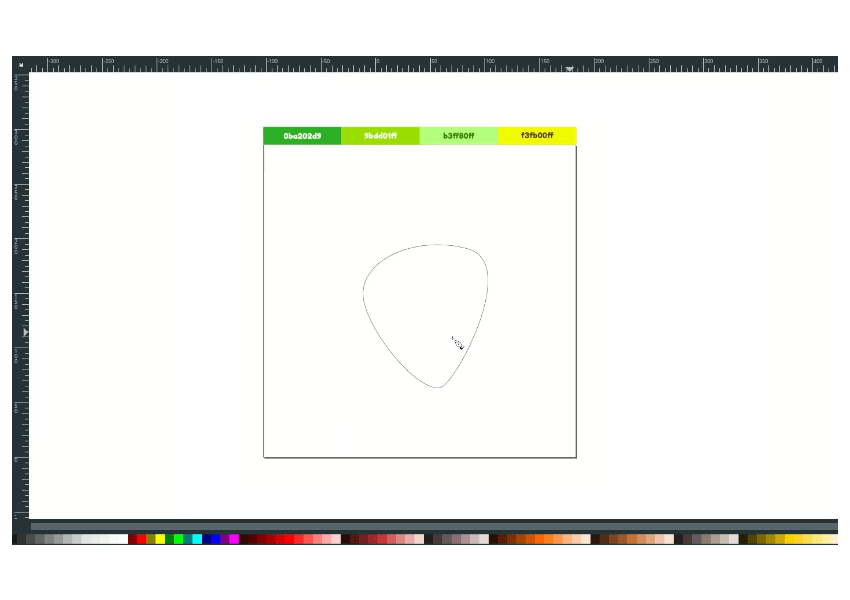
Create a shape like a guitar pick with bezier tools (B).
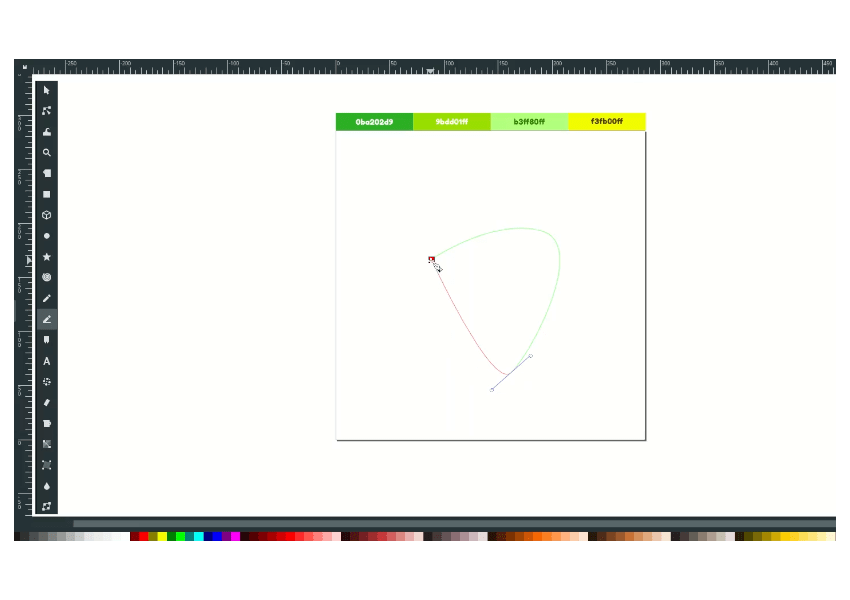
You can drag the handle by clicking the icon the “Make Selected nodes symmetric” icons.
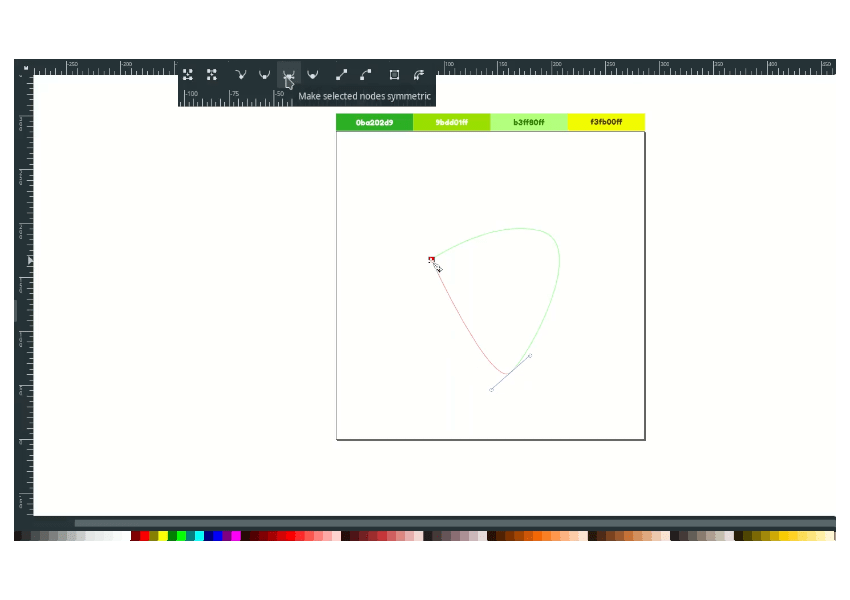
Result:
Step 2
Draw a shape again with bezier tools (B).
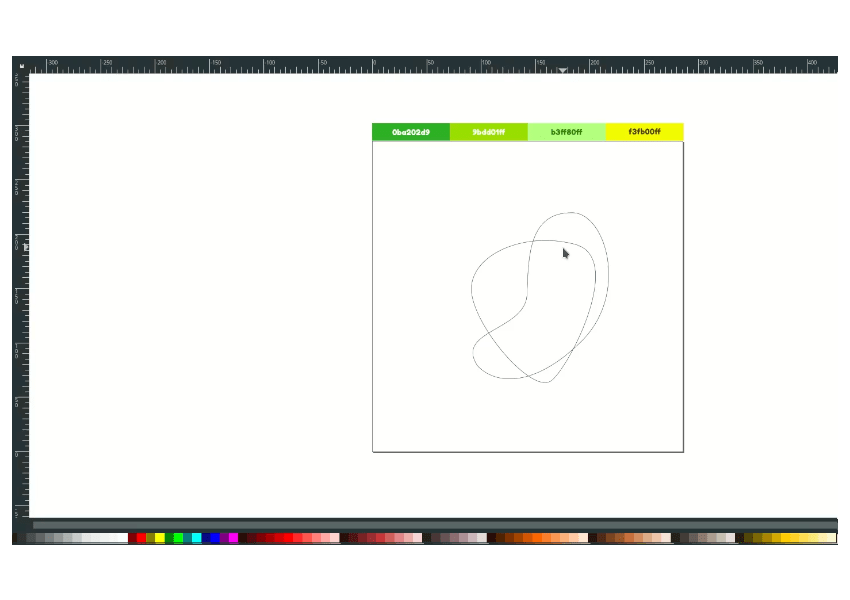
Modify the handle, make it smooth.
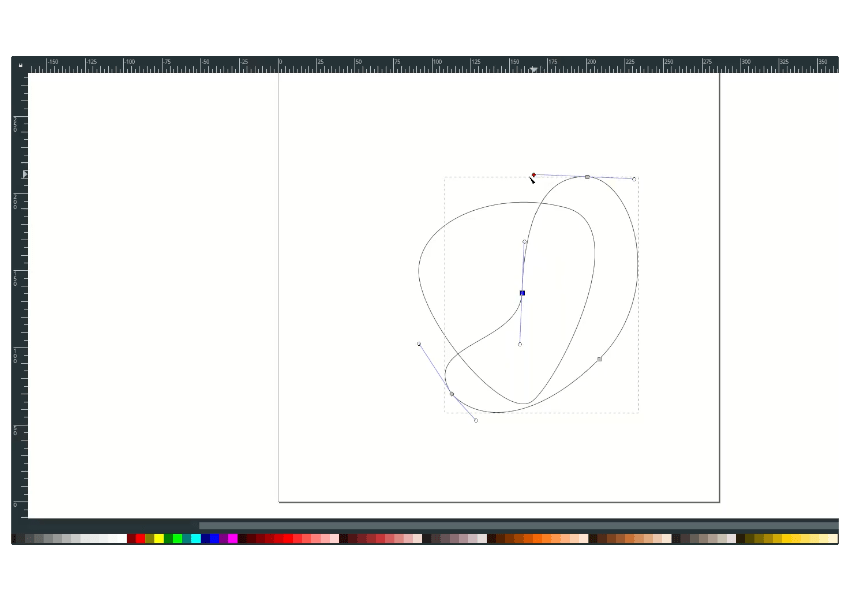
And add more shapes with bezier tools.
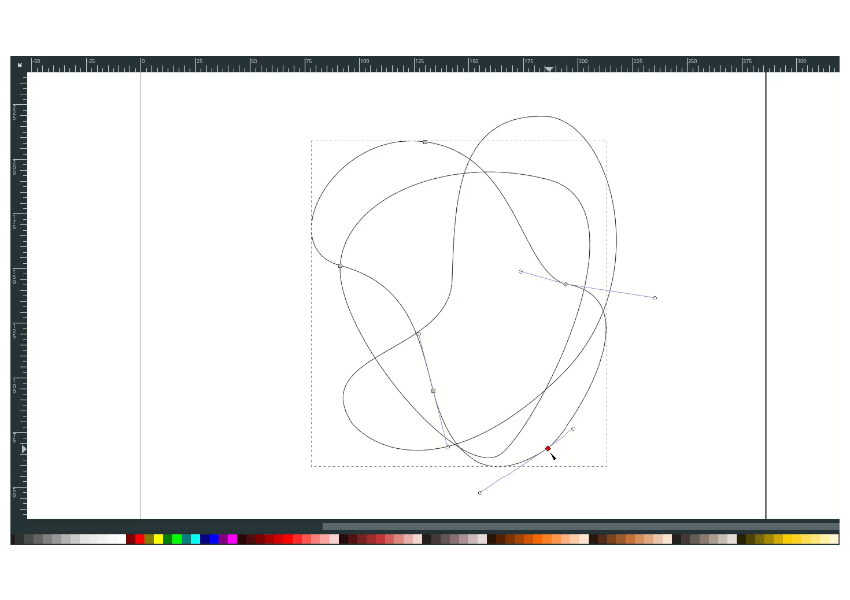
Step 3
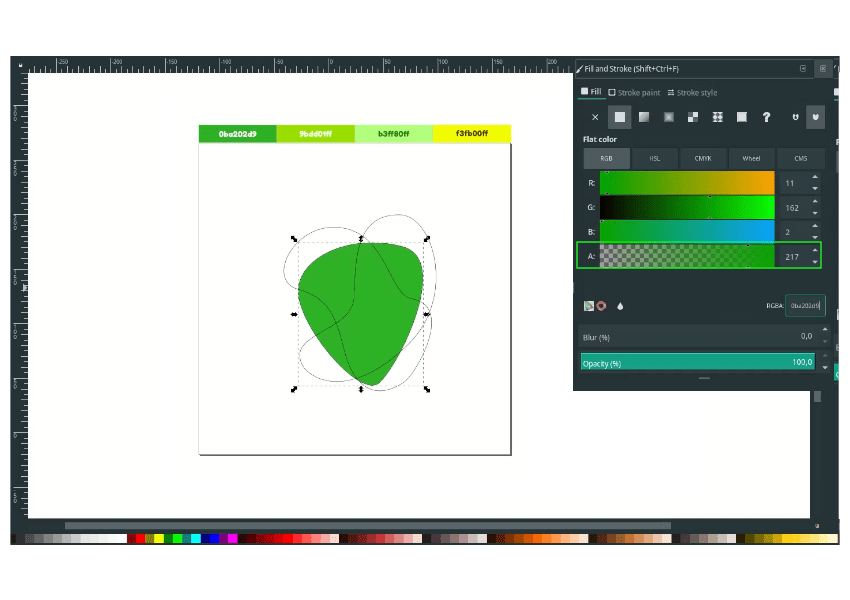
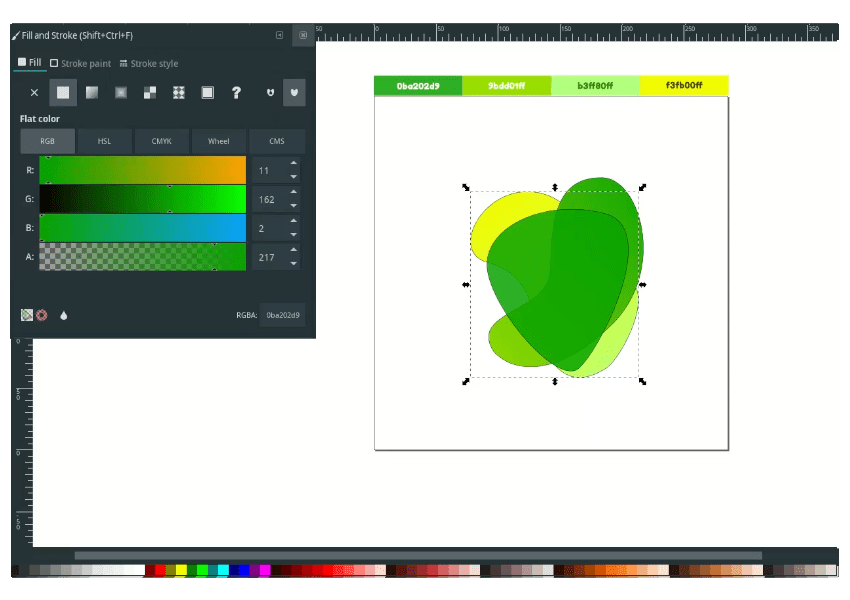
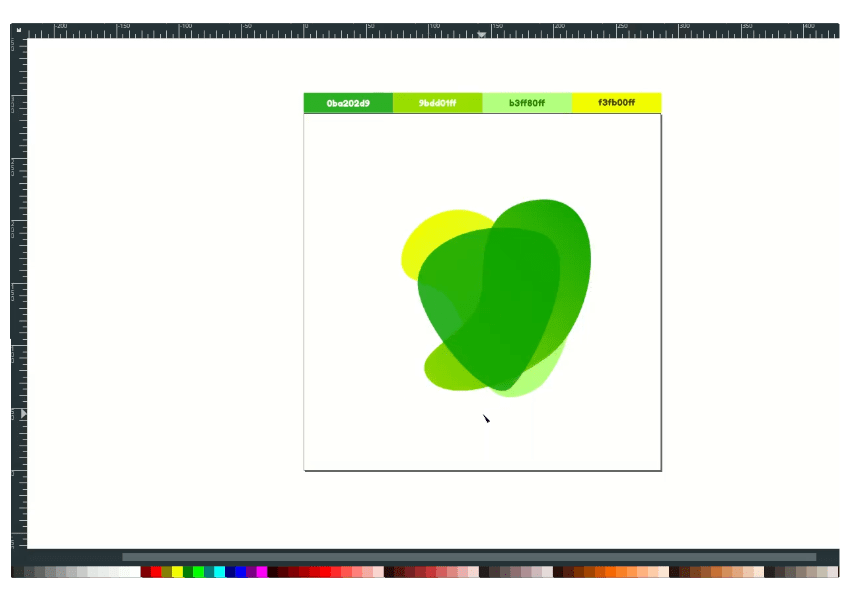
Change the shape’s color (the guitar pick) to Slimy Green (#0ba202d9). And reduce the alpha to 217 to set it less transparent.
Set a gradient color (G) to the shape no.2, the Slimy Green (#0ba202d9) and Sheen Green (#9bdd01ff).
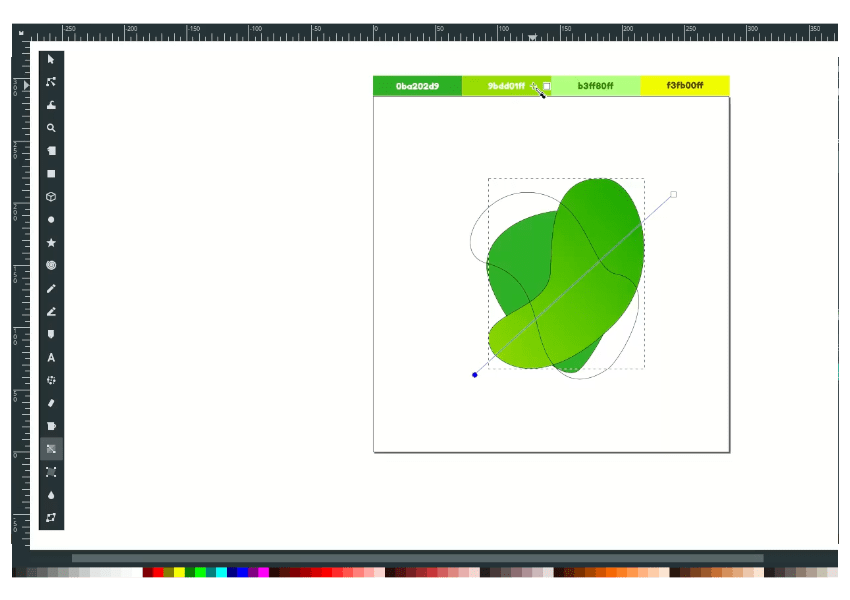
Send it to lower back.
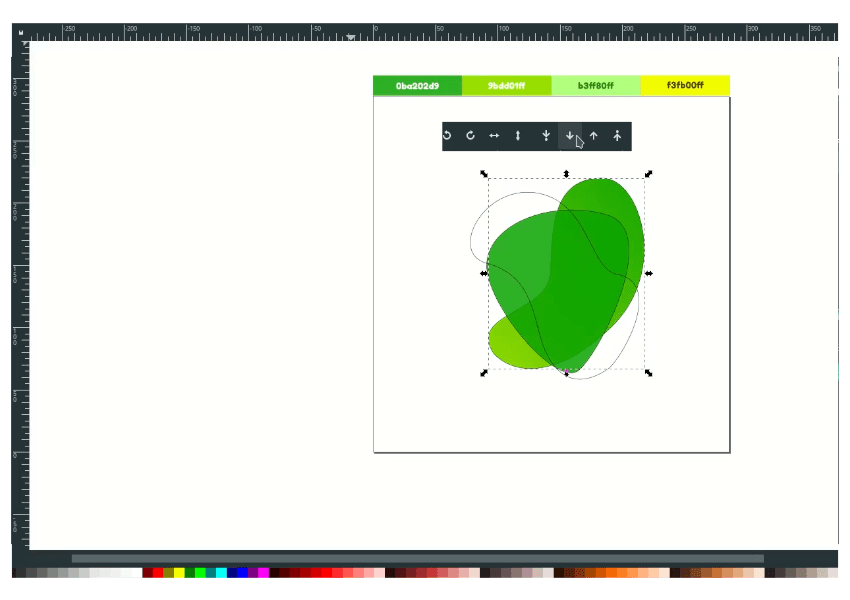
and set a gradient color (G) again to the shape no.3, the Inchworm (#b3ff80ff) and Lemon Glacier (#f3fb00ff). Send it to the lower back.
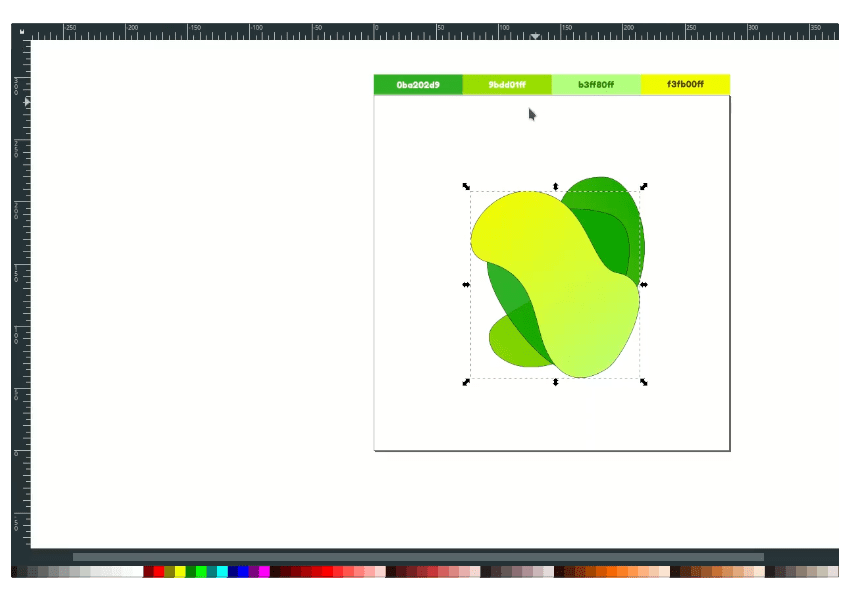
Result:
Step 5
Select all the shapes, on the left corner right click > remove strokes.
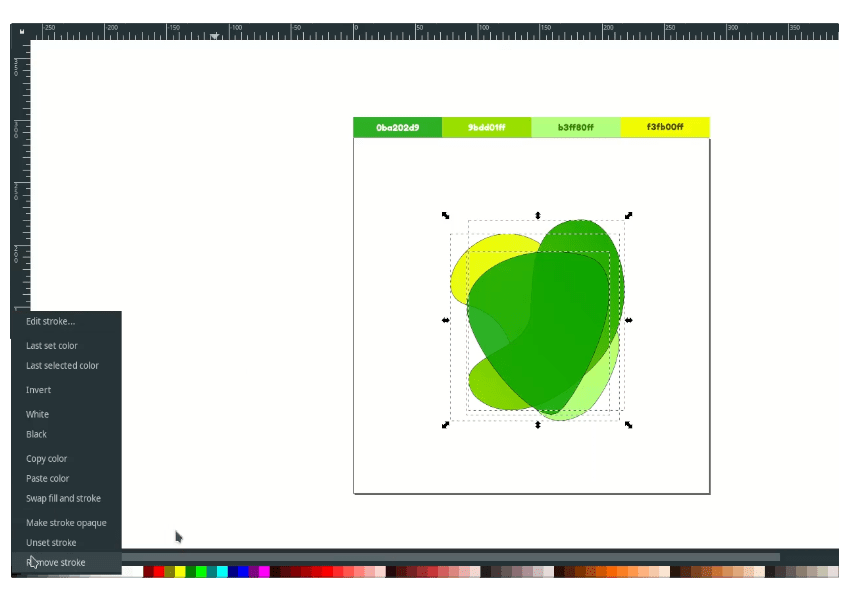
Result:
Step 6
Now this time, add a text (T) and type a letter, then change the font to Chivo.
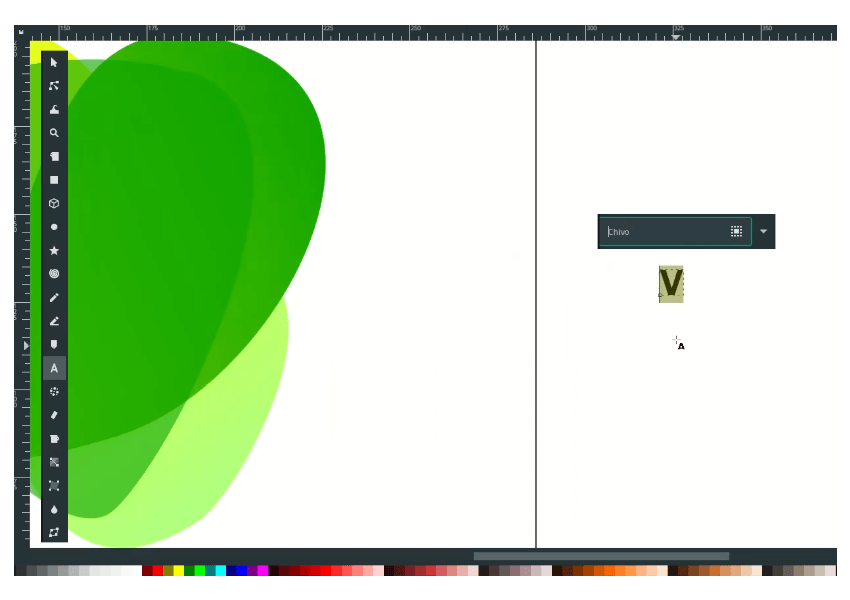
Change the color to white and place it in the middle of the shapes.
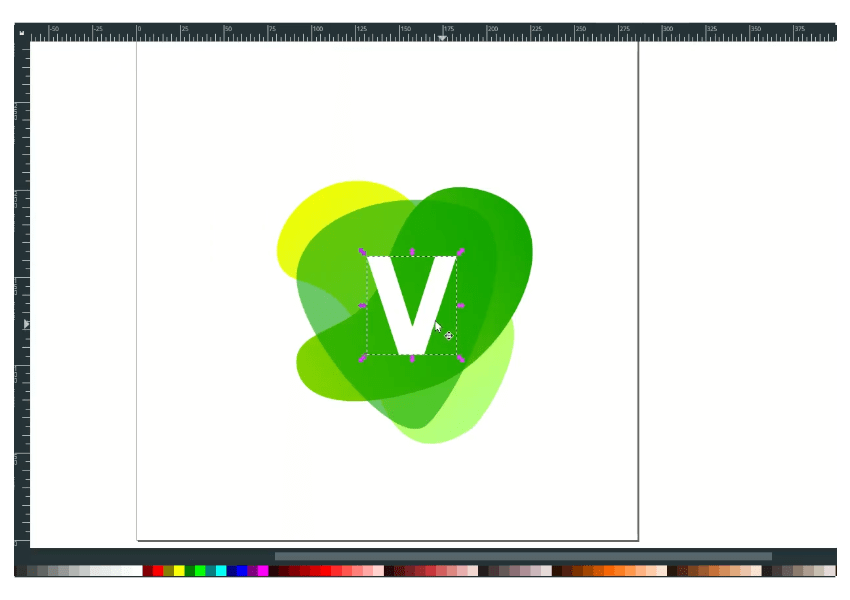
Step 7
I will customize the text, but first, Convert the text in Path> Object to Path.
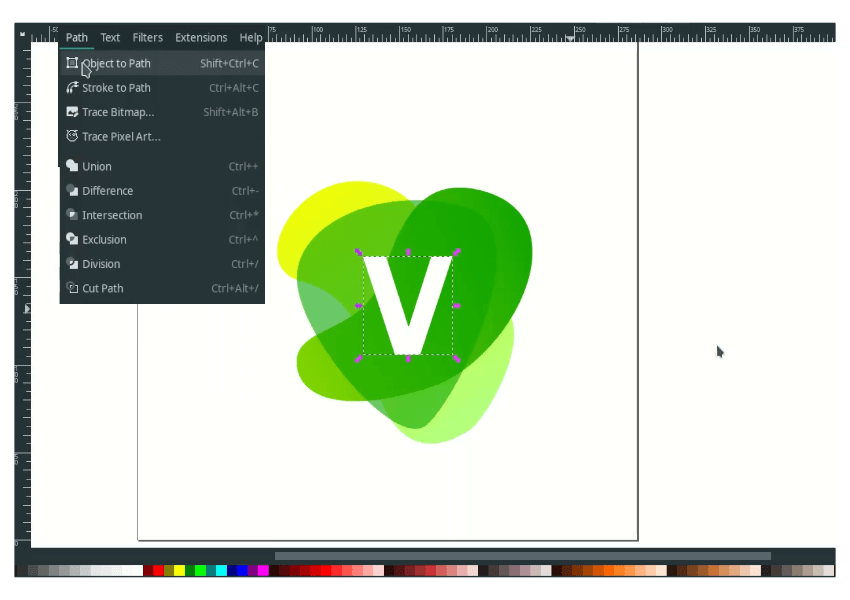
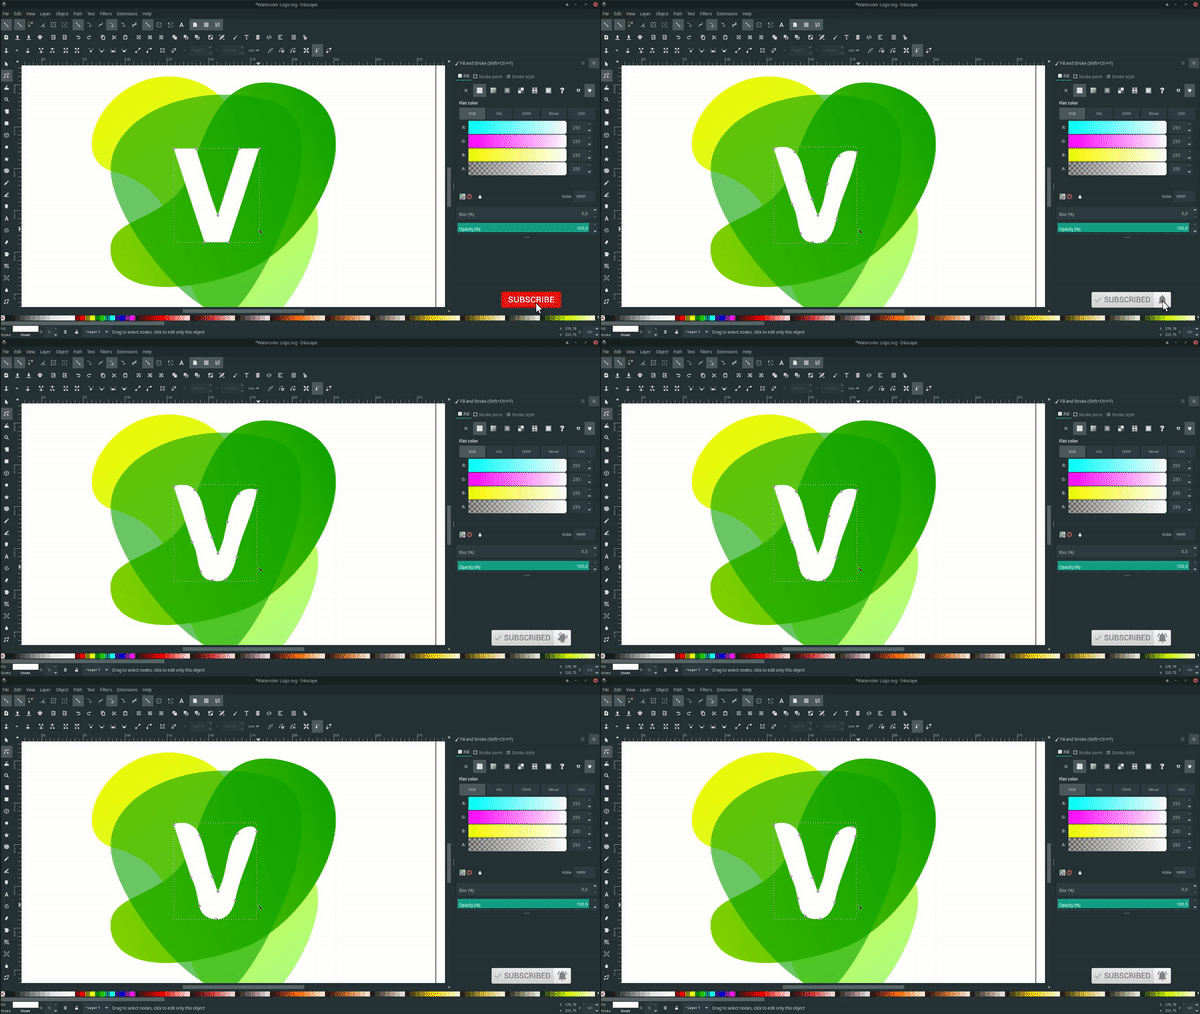
Simplify the letters in Path > Simplify. Now this will create a wobbly effect on the letters. What the simplify does is reduce the number of nodes in a path.
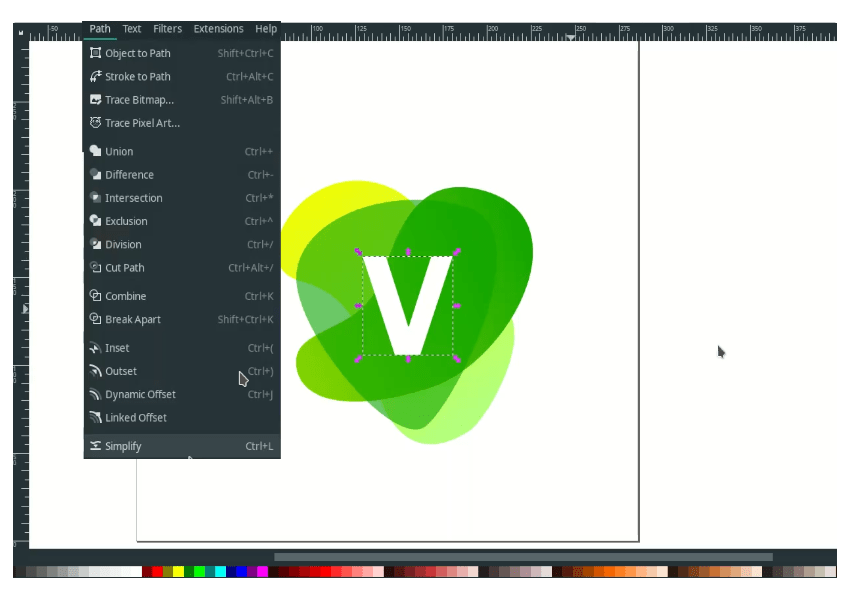
Press the shortcut for a few times (Ctrl+L).
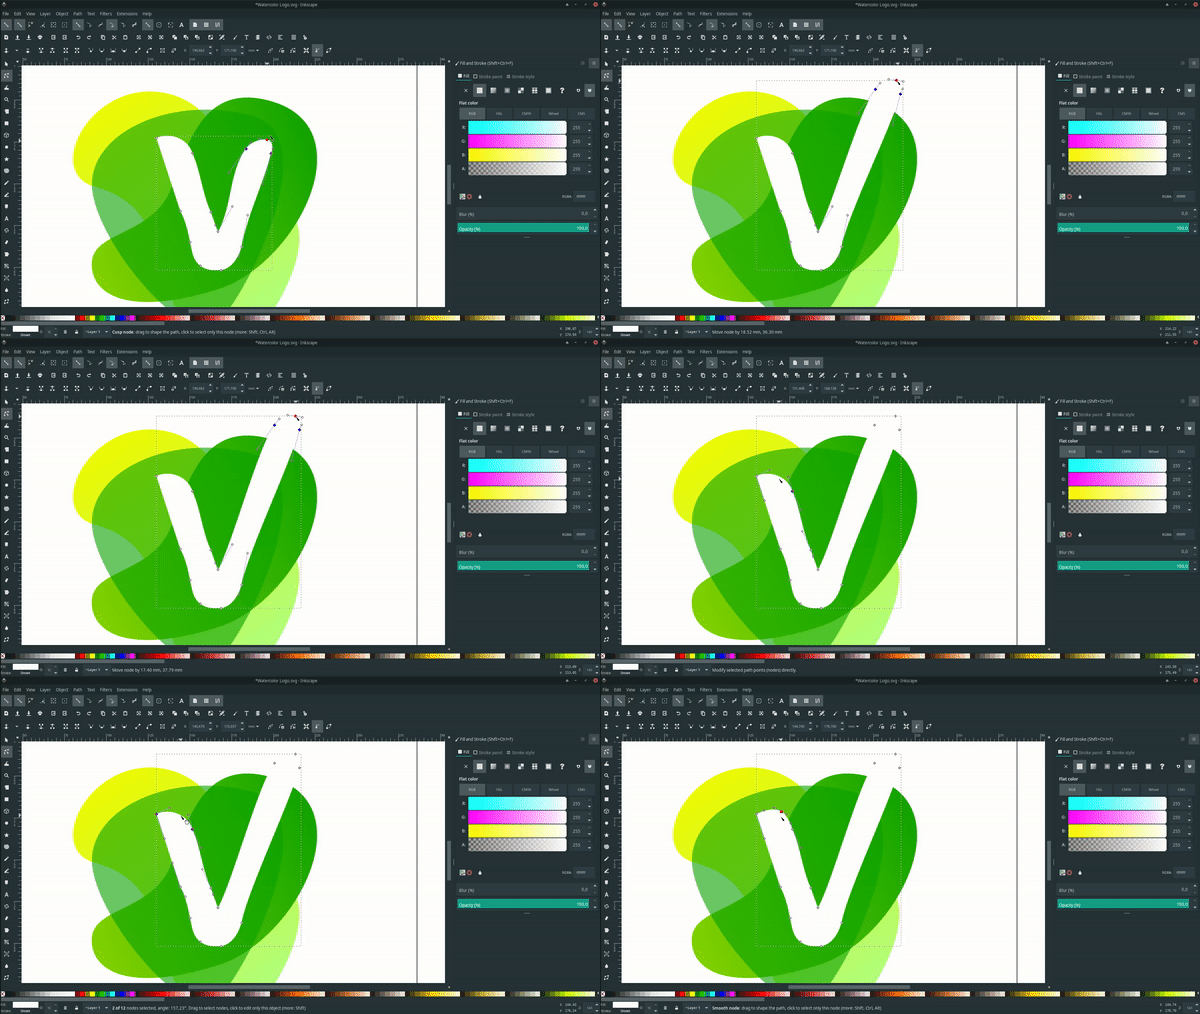
Select the node by pressing F2, shift-click each node, and then drag it.
Result:
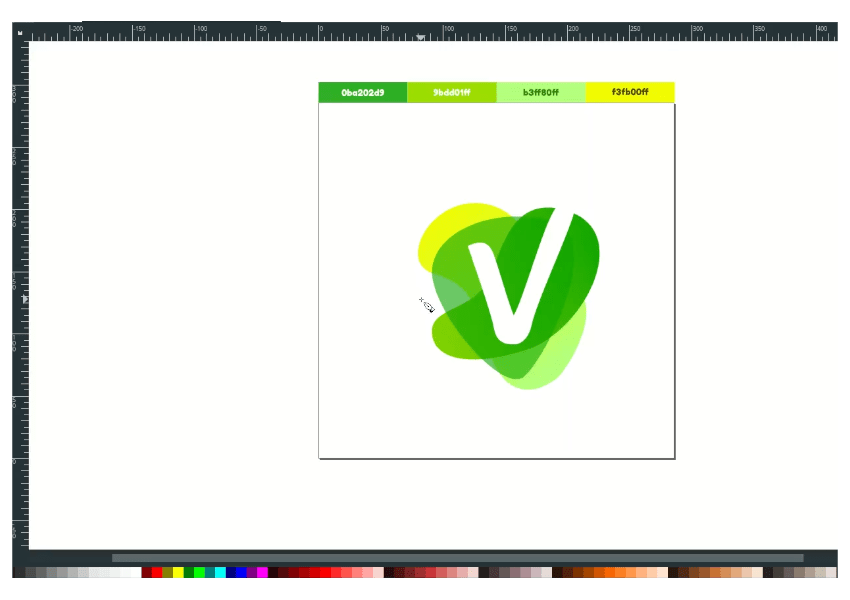
Step 8
Add a splash effect with bezier tools (B).
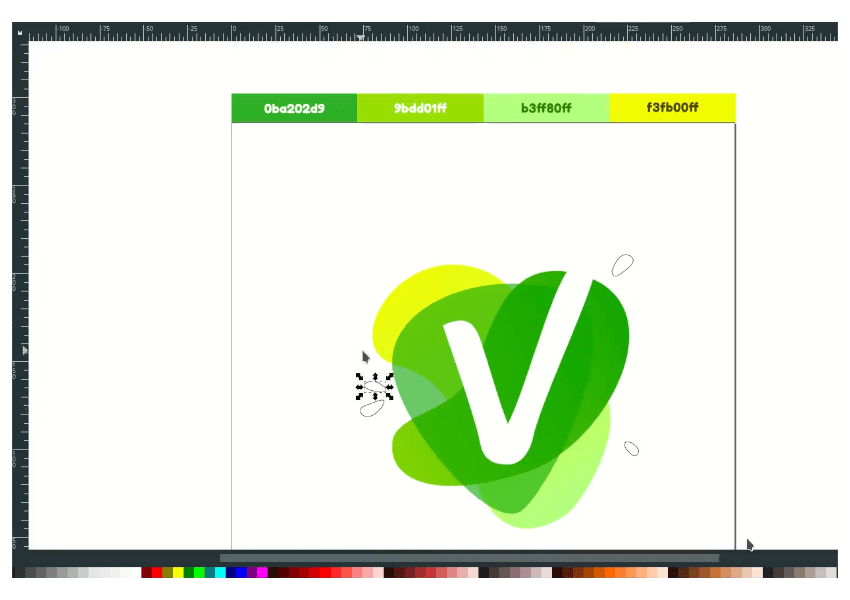
Then give the color to the shapes.
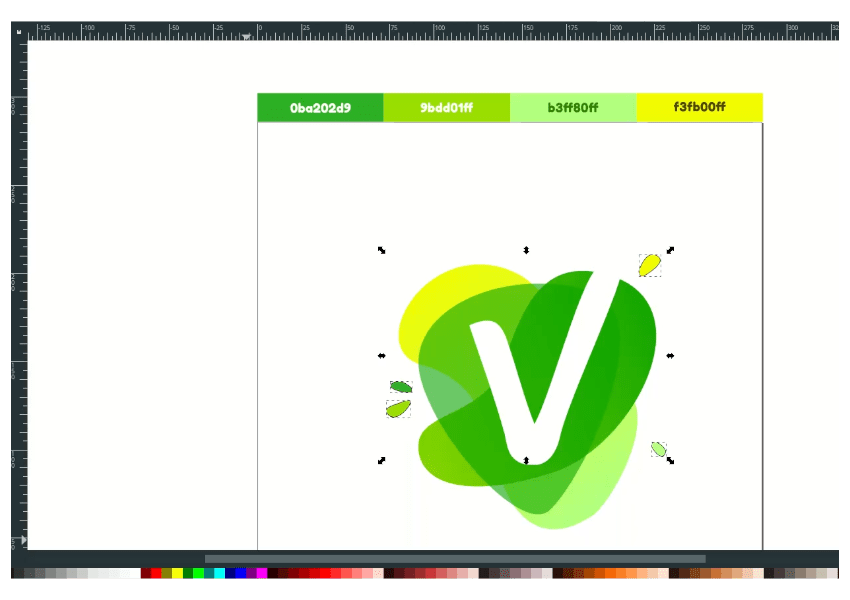
Well Done!
Thanks for reading, i see you in next tutorial!

Tutorial Assets
Credits
- Inspired by Roma Korolev – Green Watercolor F


