In this tutorial we will learn how to create an emblem logo which are really popular and dope logo with inkscape.
What you will learn
- How to use shape tools
- How to add stroke
- How to create a circle
- How to add text
Tutorial Steps
Step 1
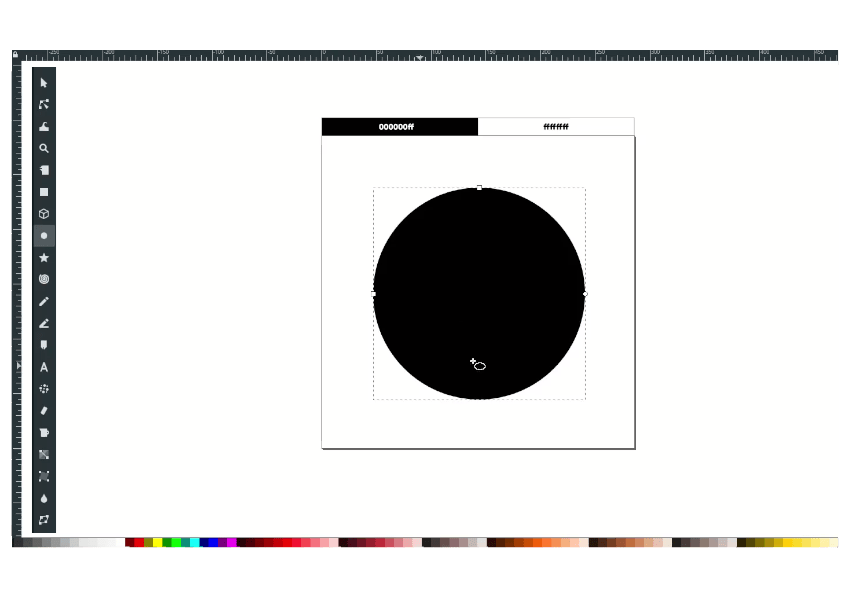
Create a circle with the circle tool; hold ctrl while creating the circle to create a proportional process.
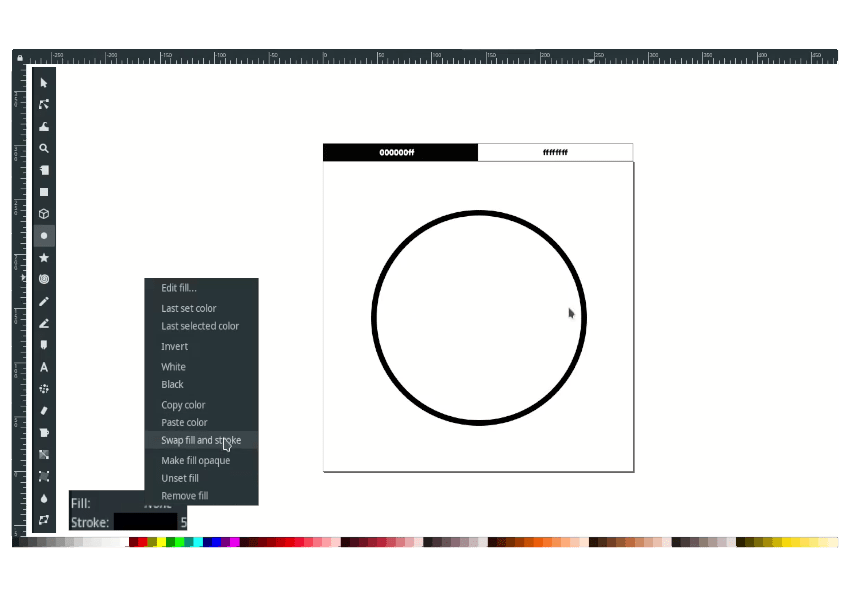
Create a stroke-only circle by swapping fill and stroke in the bottom left corner > right-click > Swap fill and stroke, or you can choose Unset fill.
Step 2
Duplicate the circle by pressing Ctrl+D, hold ctrl while creating the circle to create a proportional process.
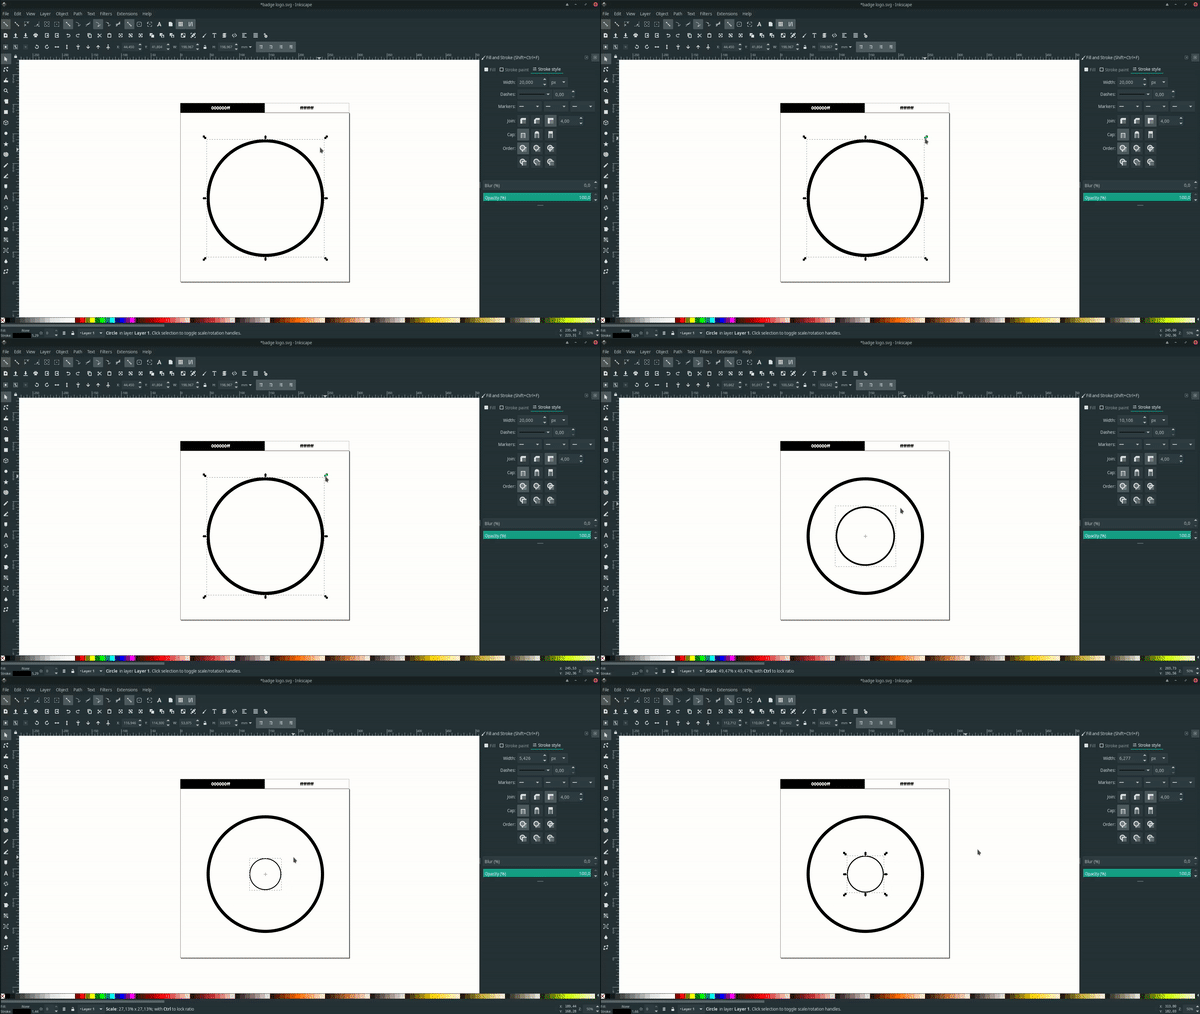
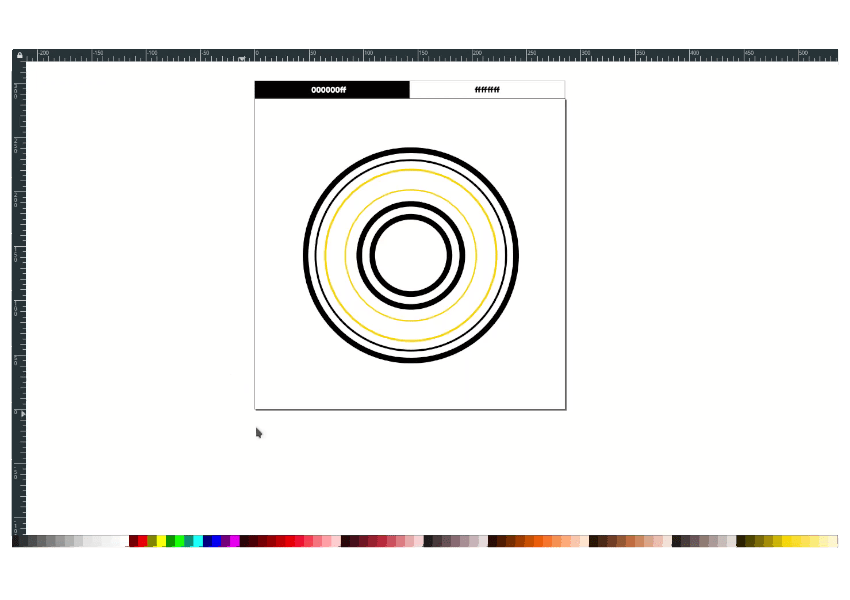
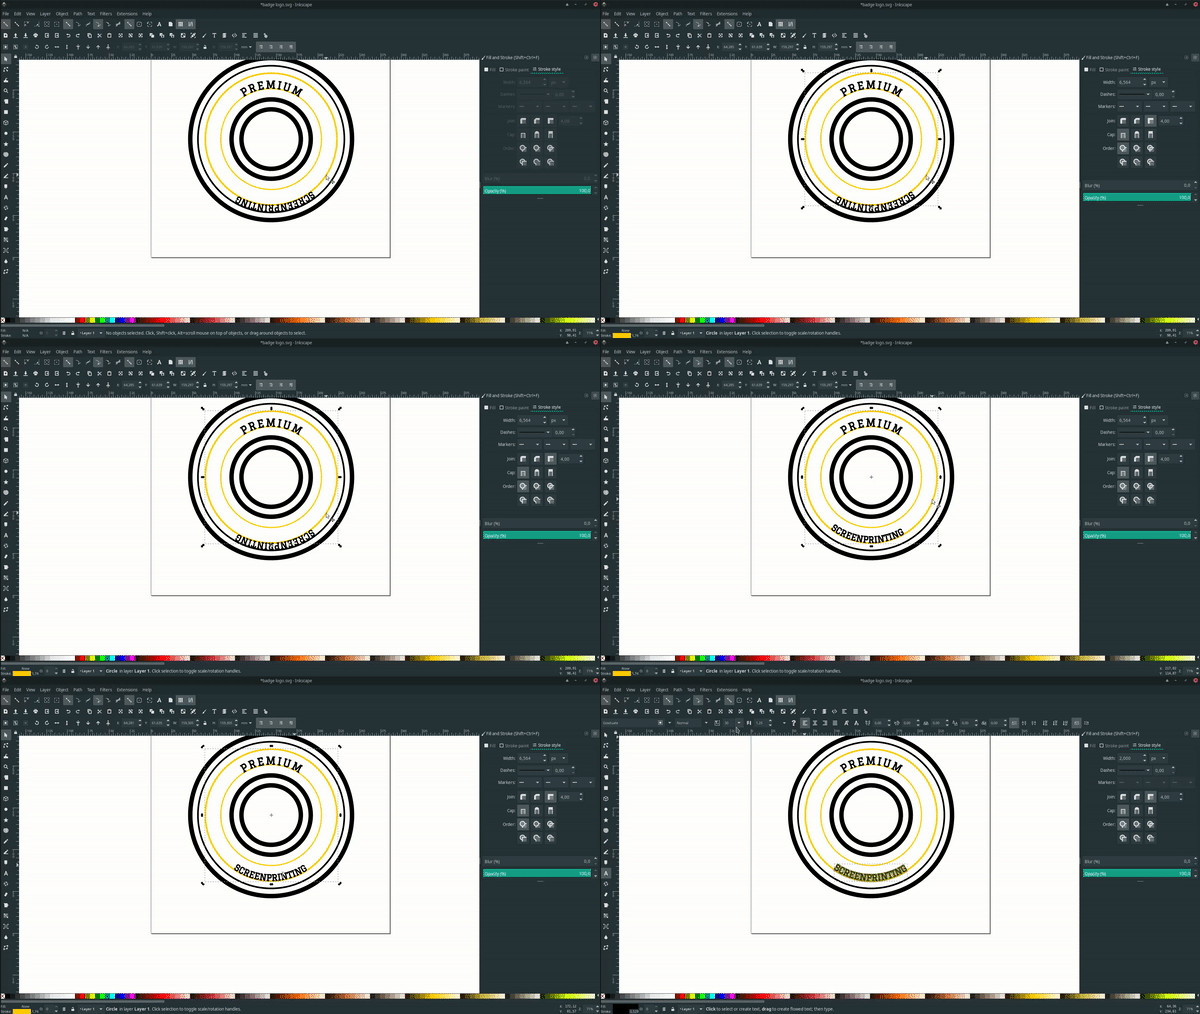
Repeat the steps like this image:
Step 3
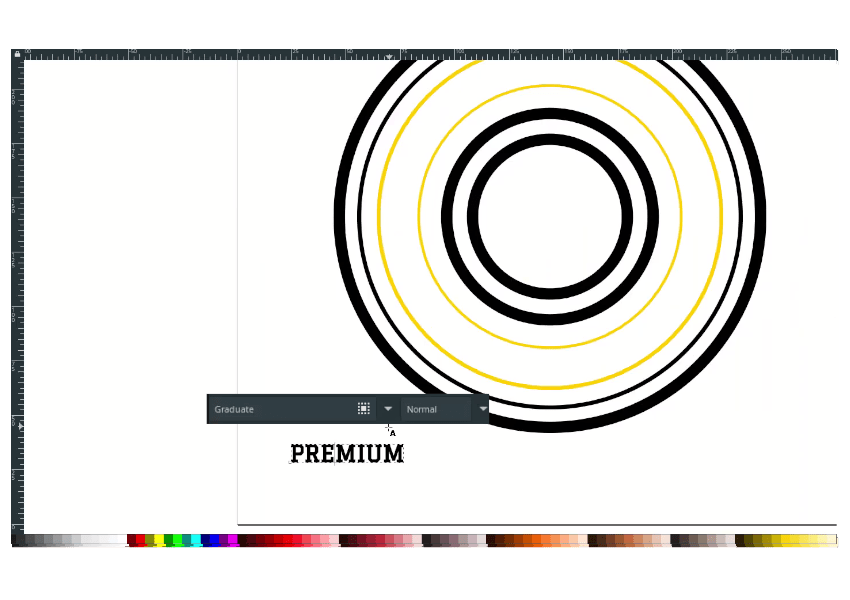
Add a text with T, change the font to Graduate.
Step 4
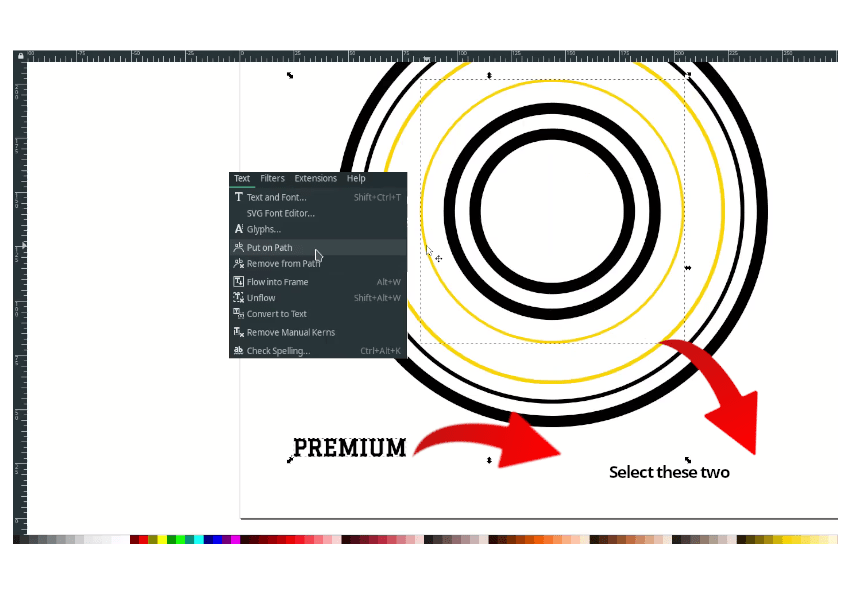
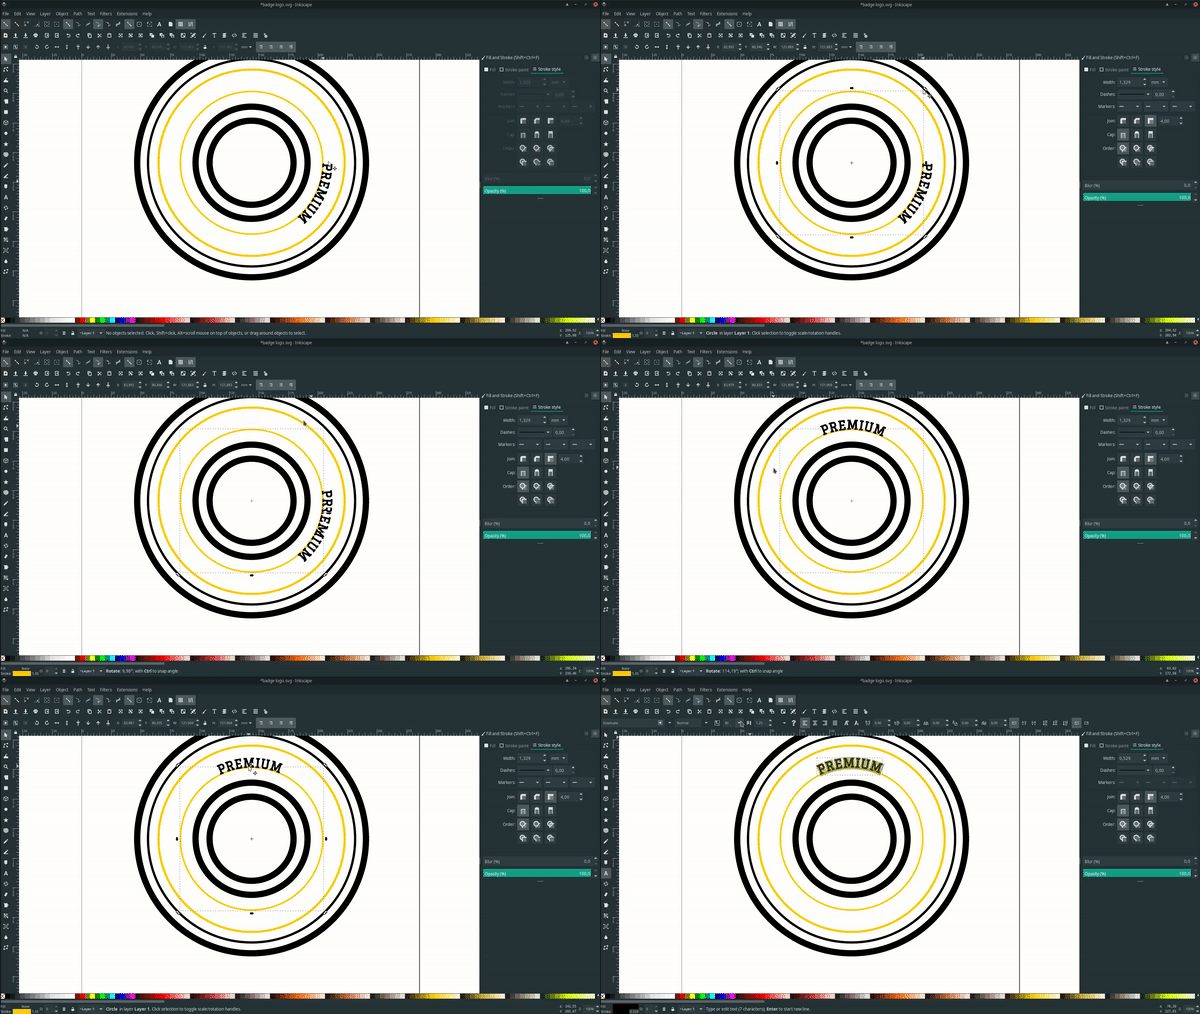
Select the text and inner yellow circle (the closest one to the black color), then in Text menu > Put on Path.
You can try to rate the text positions.
Step 5
Add more text by pressing T and typing a word. select the outer yellow circle and the text, Then in Text menu again > Put on path.
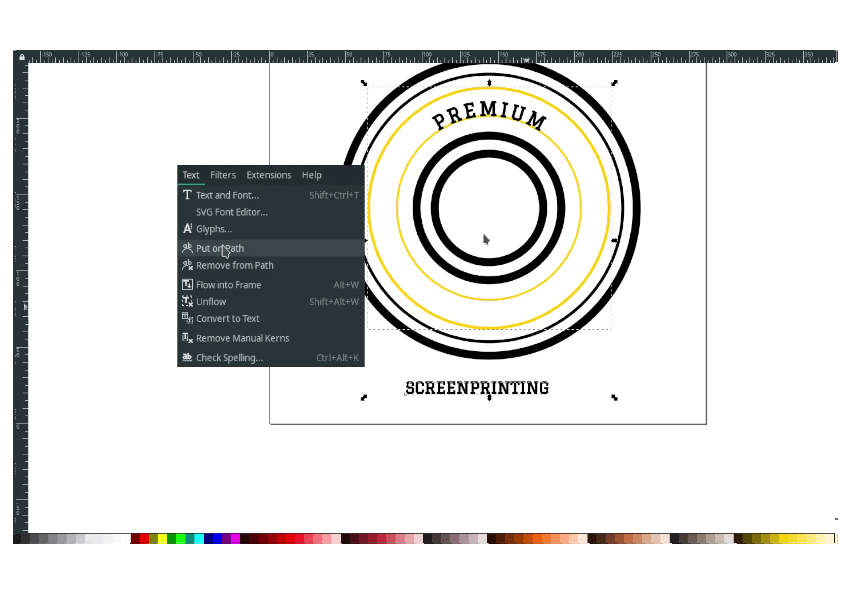
Click on the yellow circle (inline with the “screenprinting” text) and press V to flip the text vertically.
Step 6
Create a circle, then duplicate with Ctrl+D to the right sides.
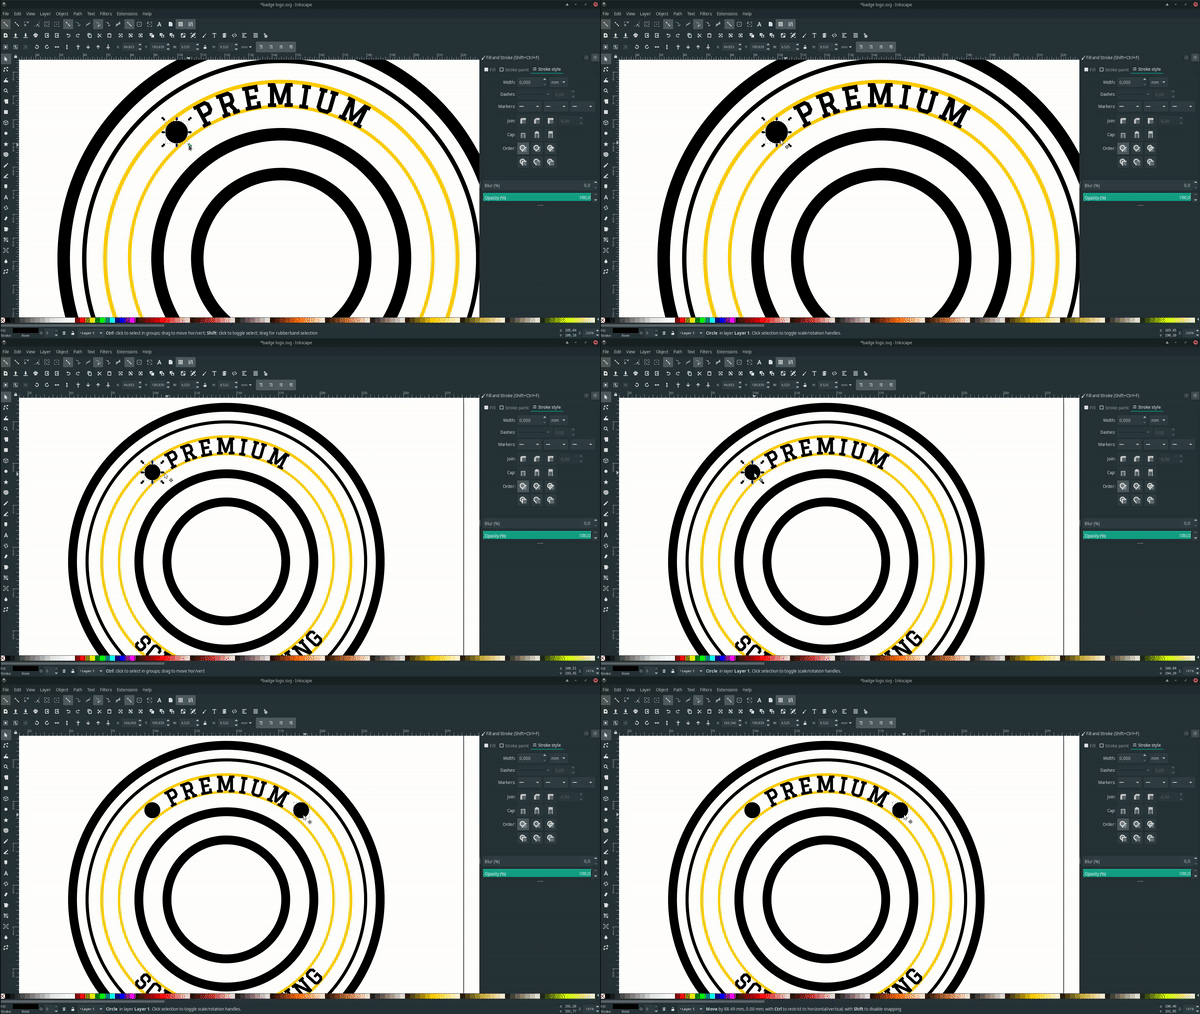
And create a circle again, duplicate the inner circle with ctrl+D, then hold Ctrl while making the circle to create a proportional process.
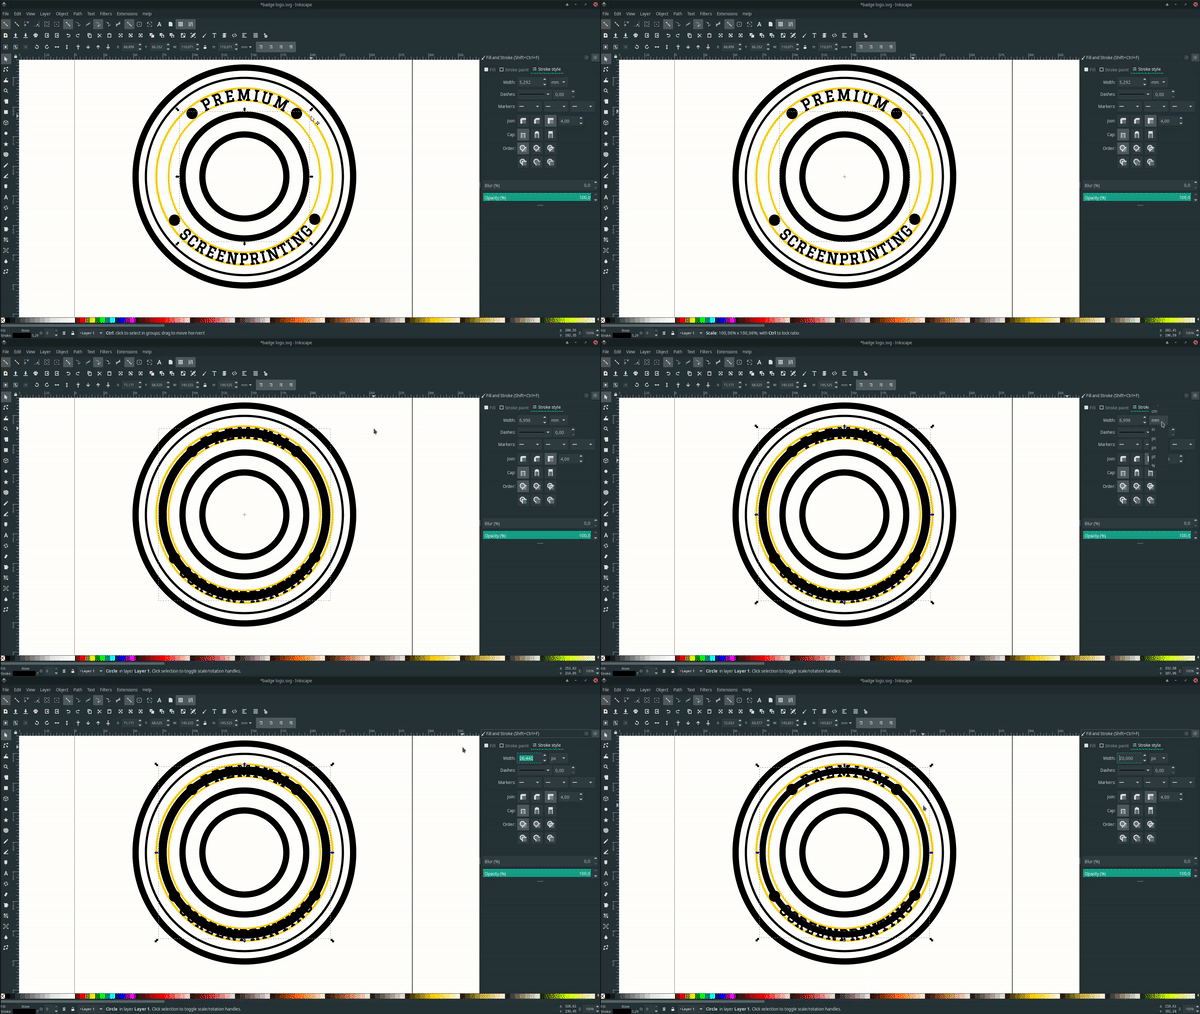
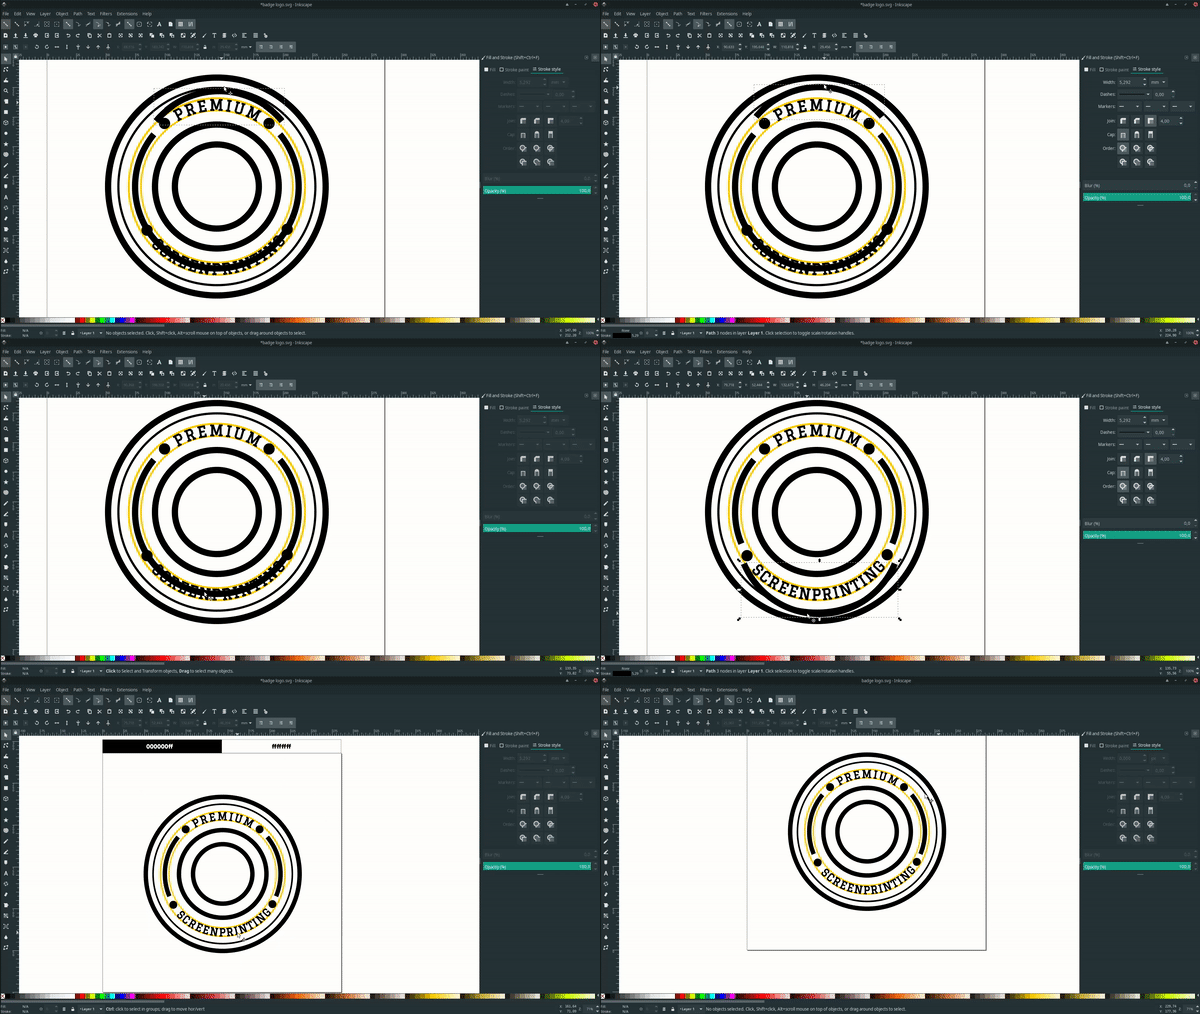
Then create a shape with the Bezier tool (B), draw some rectangle shapes, then select the two objects (the rectangle and the last duplicated circle) Path > Cut Path.
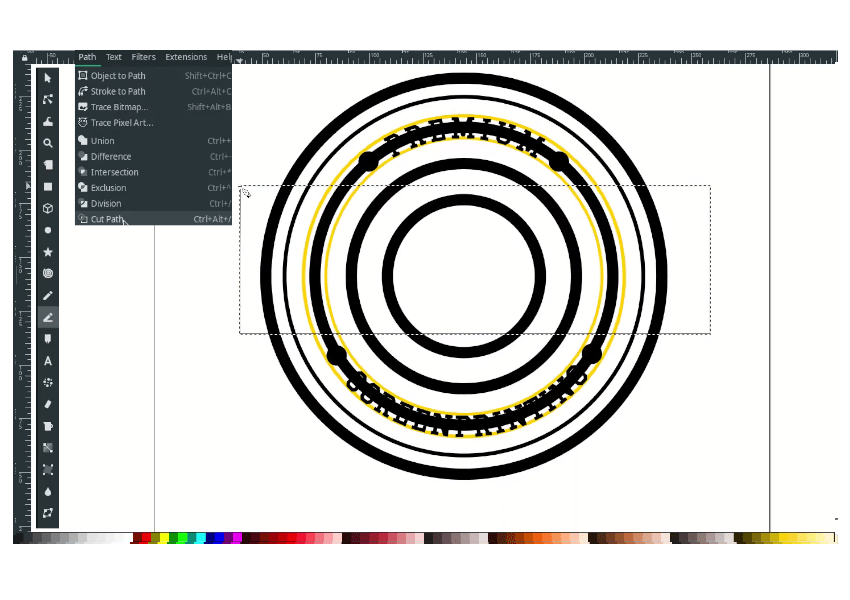
Result:
Step 7
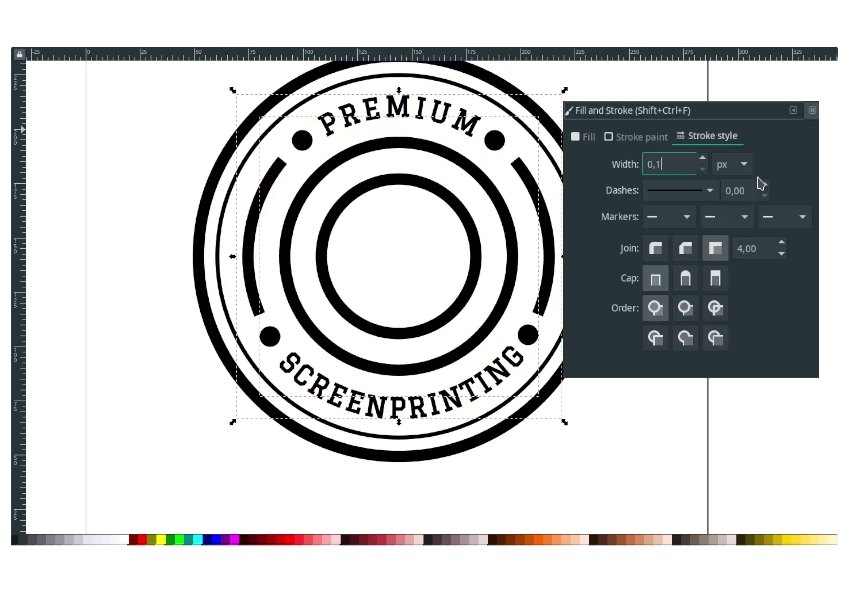
Select the yellow circle, and change the stroke width to 0.1 px. You can rotate if you want to change the positions.
Step 8
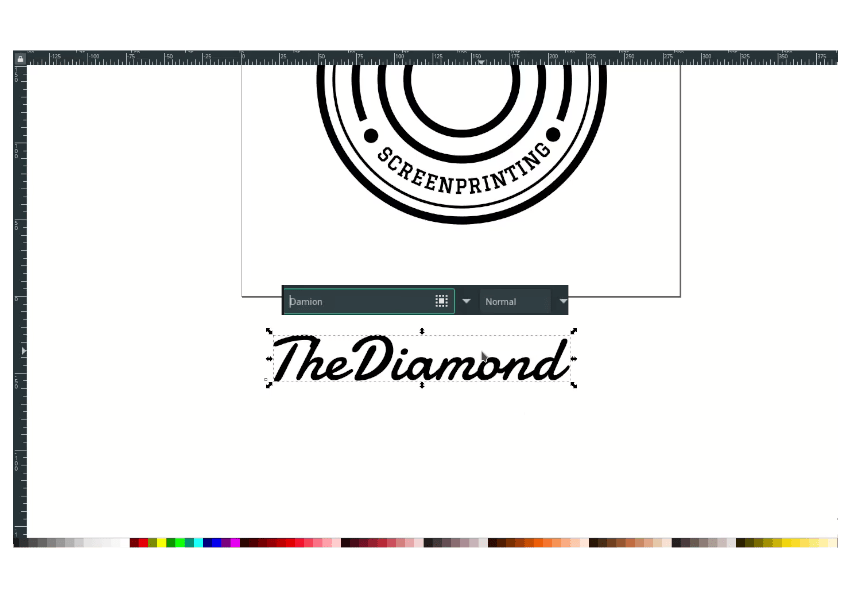
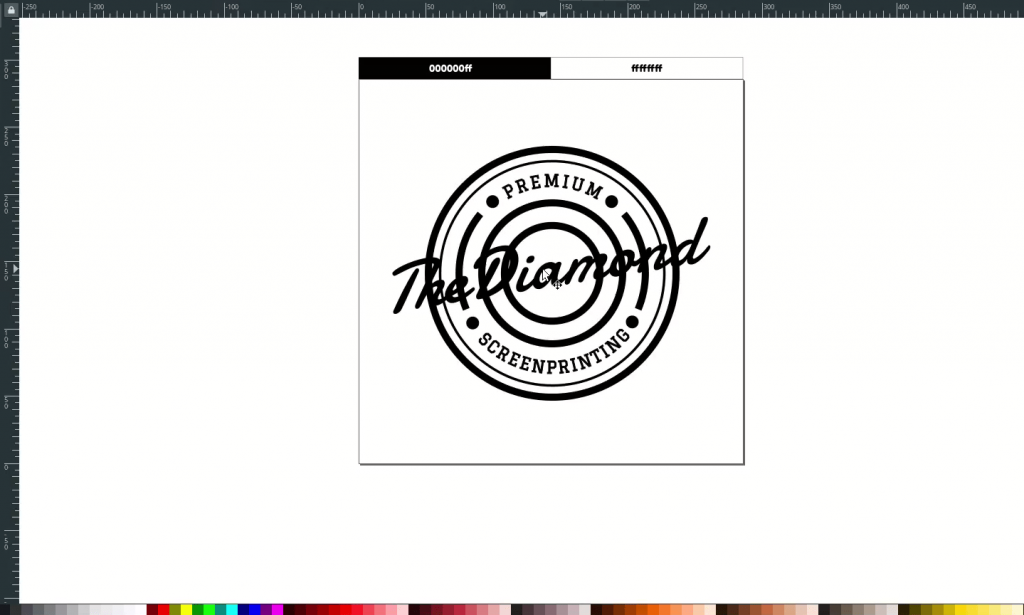
Type a text, then change the font to Damion.
Adjust the kerning by selecting the Text.

Create a skew effect by clicking the text once and drag to the top. See this gif:
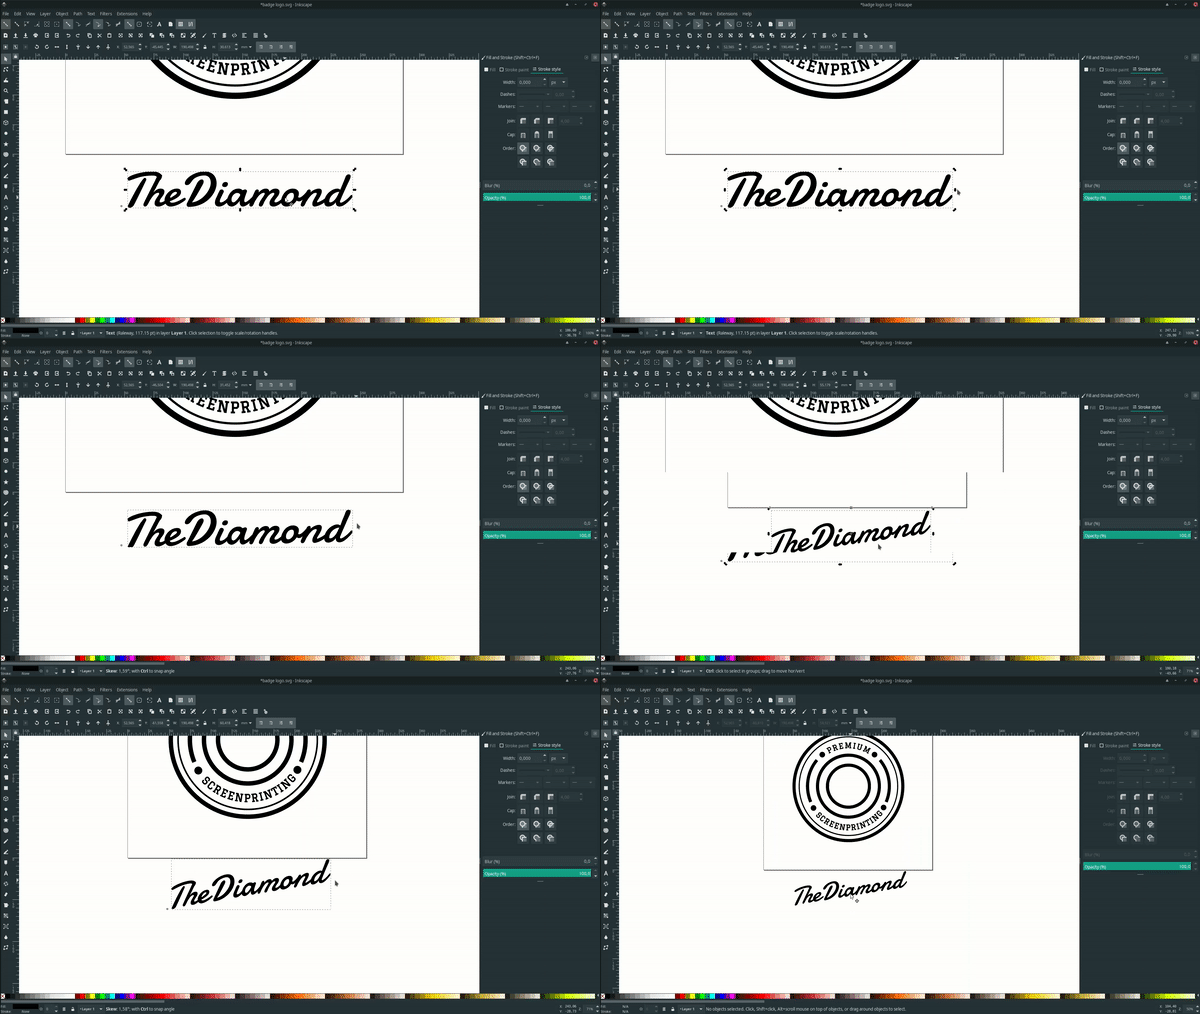
Result:
Step 9
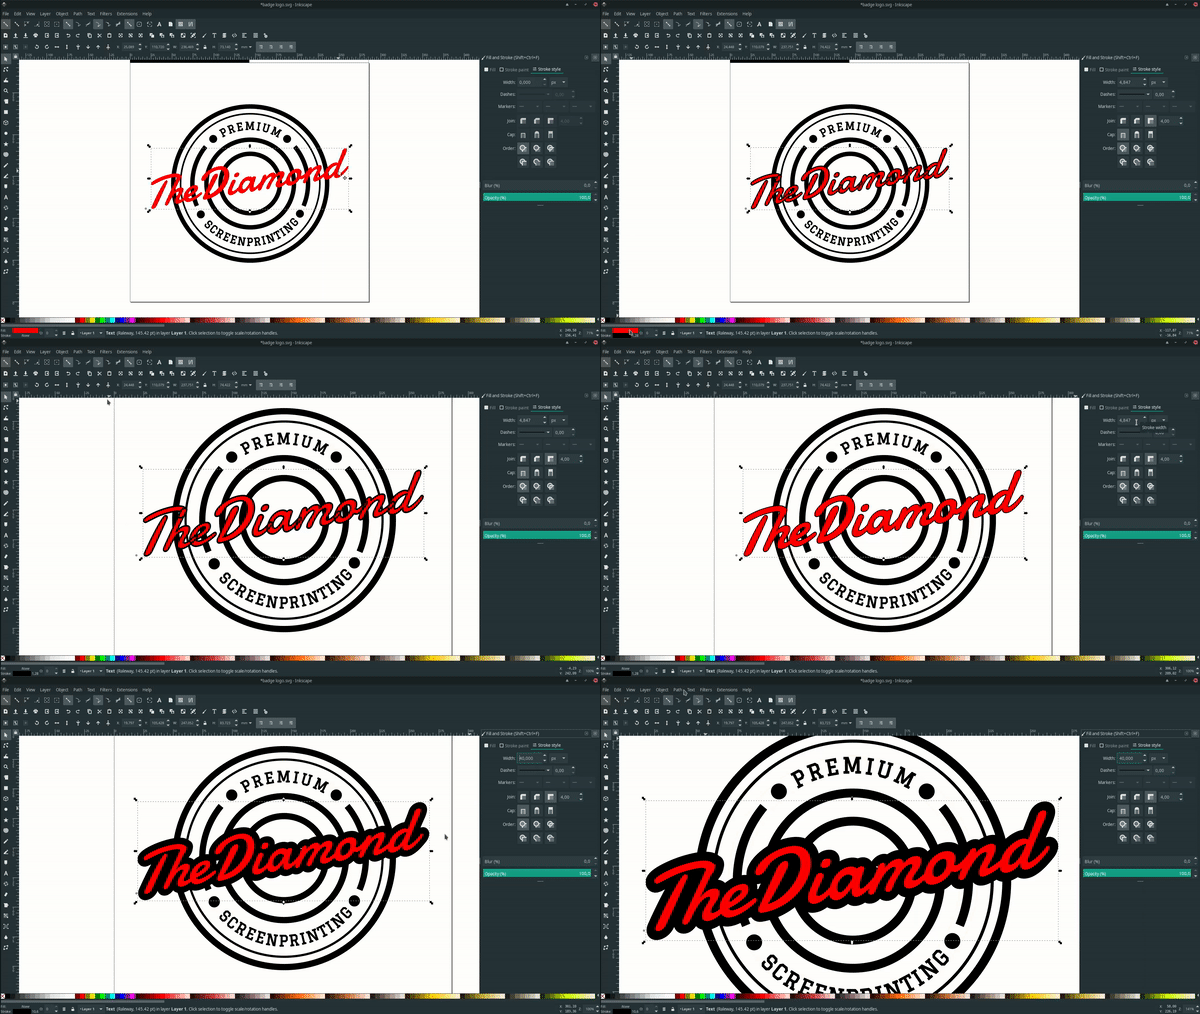
Now we are going to create the outstrokes. Duplicate the text and change the text color to black.

Remove the fill, make sure in stroke only, Add the strokes, and increase the stroke width to 40px. And click outset ( Ctrl+) ) a few times. send the object to lower back.
Delete the white gap by pressing F2 to enter the edit mode, select the outstrokes, and press the delete button.
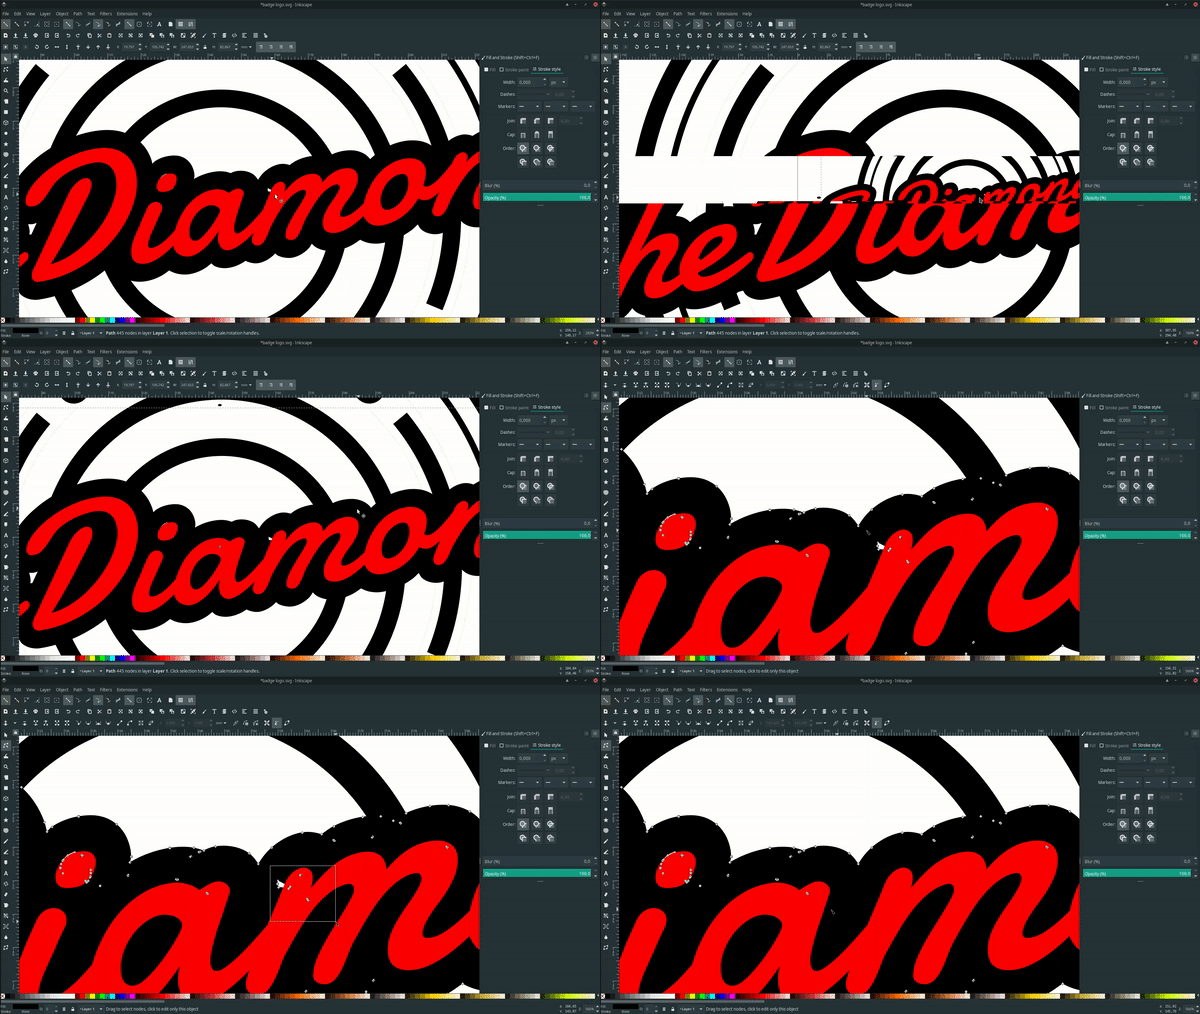
Result:

Step 10
Duplicate the outstrokes, then move in right bottom a bit.
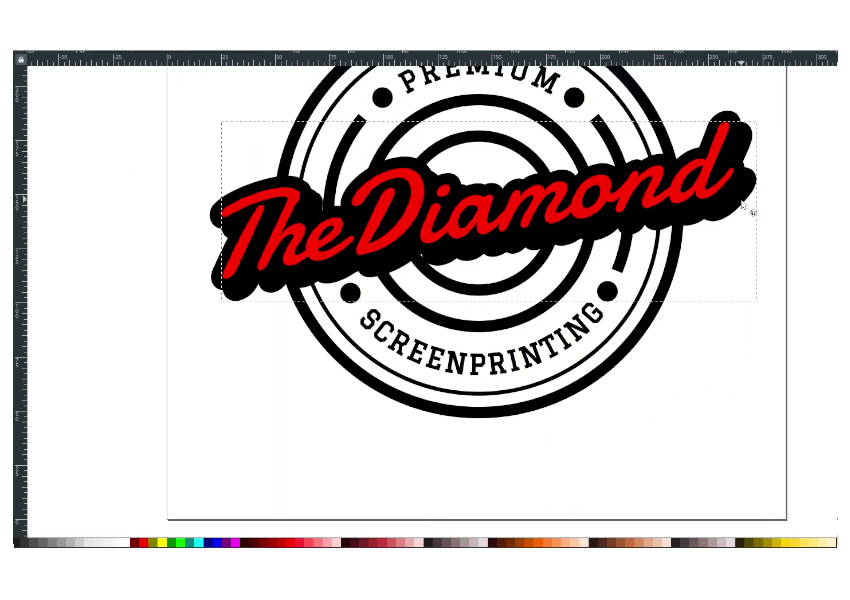
Connect with Bezier tool (B), then unite in Path > Union.

Result:

Step 11
Duplicate the outstroke for the last time with Ctrl+D,
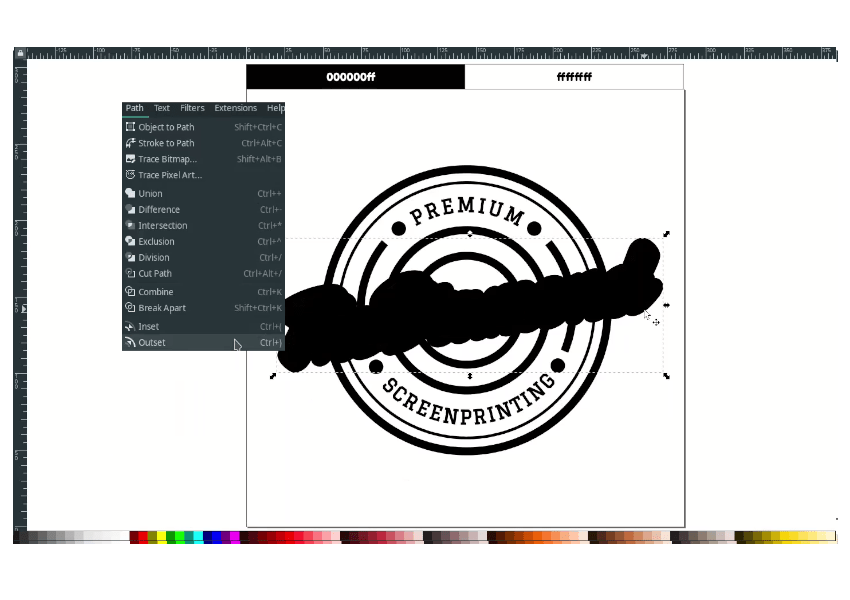
Change the selected color to white.

Result:
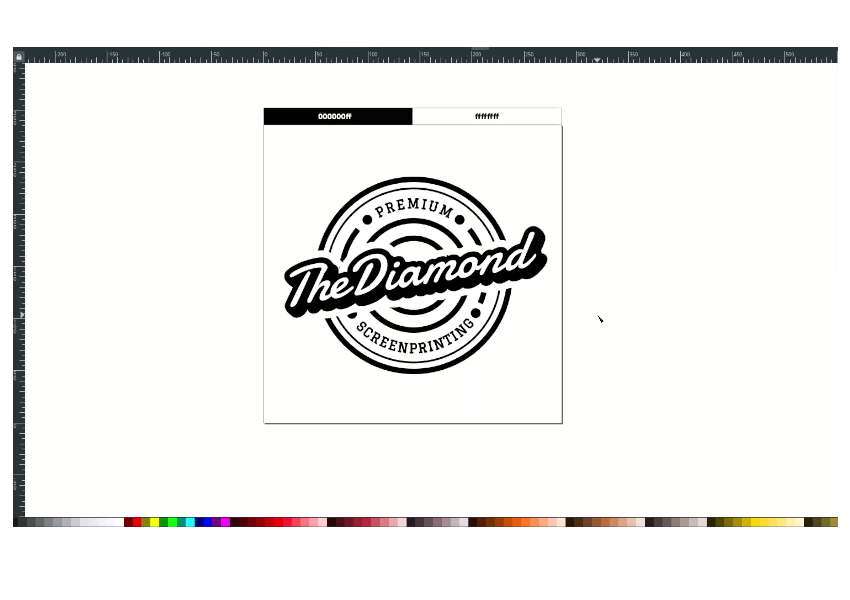
Well Done!
I hope you learn something new in this tutorial; thanks for reading.
