In this tutorial, we will designing a tea poster with GIMP. You will learn about many things like using layer mask, using clone tool and adding the glow effect.
What you will learn
- Using layer mask
- Separate object with float
- Scaling, Flipping and Rotating Objects
- Using Clone Tool
- Adding the glow effect
Step 1
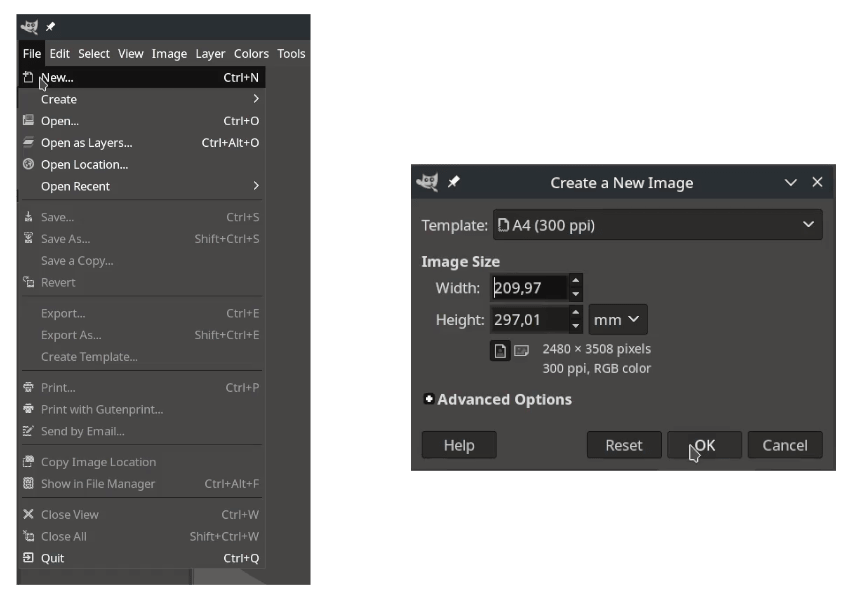
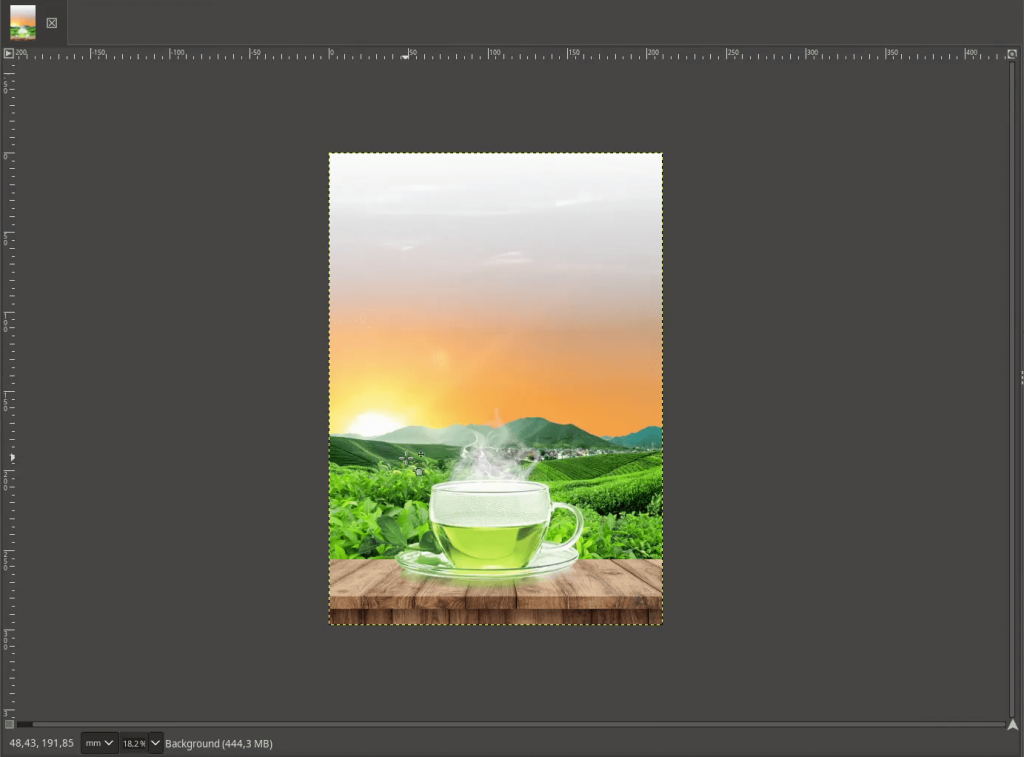
Create new document size with A4 template in File > New.
Step 2
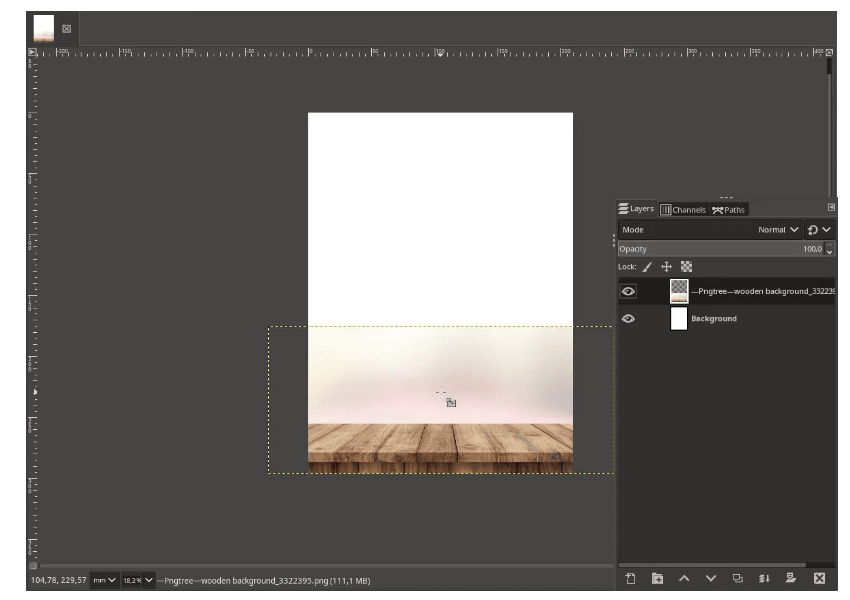
Import the wooden table image in File > Open as Layer and choose the picture. You can press Shift+S to scale and hold Ctrl+Shift while scaling to make it a proportional scale.
Step 3
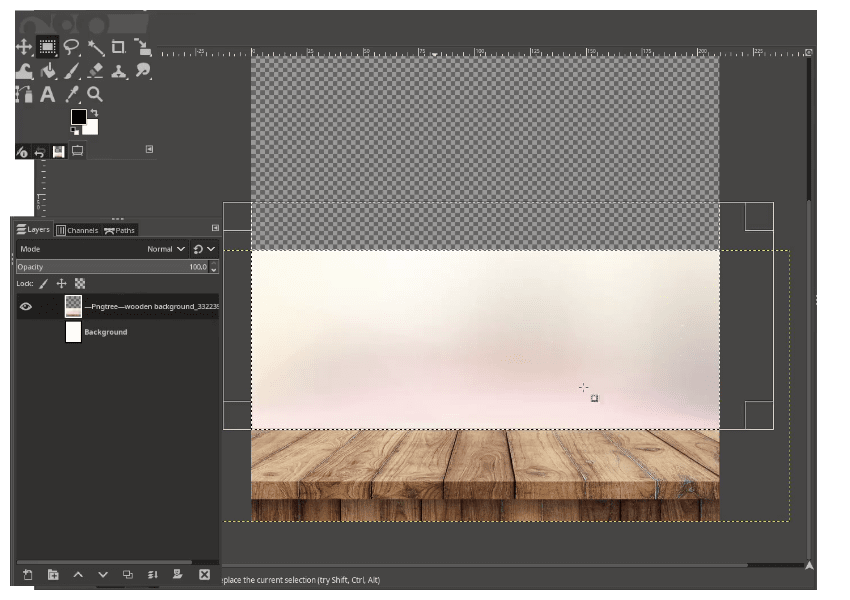
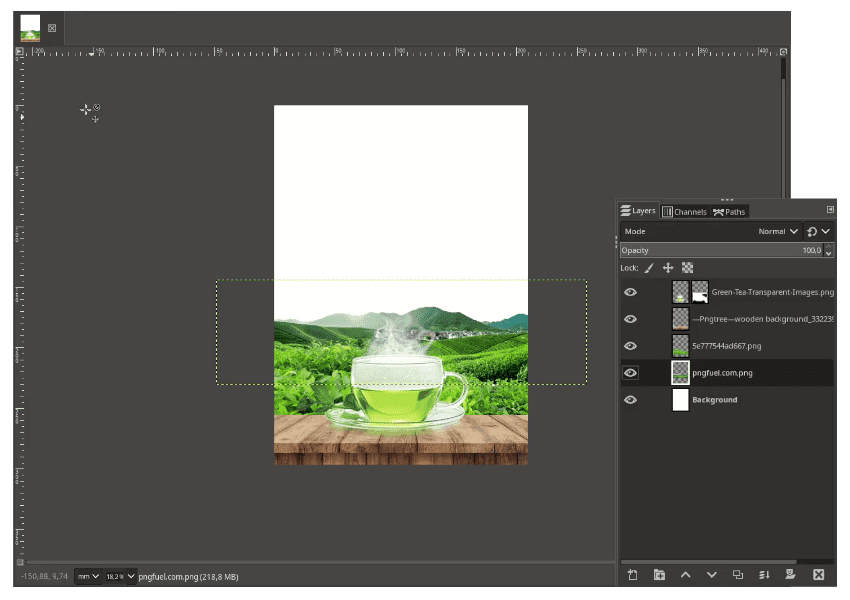
Next, we are going to remove the white background in the wooden table layer. First, turn off the Background Layer visibility by clicking the eye icon to see the transparency, then with Rectangle Select (R), select the white background, and press the Delete button to remove the white background.
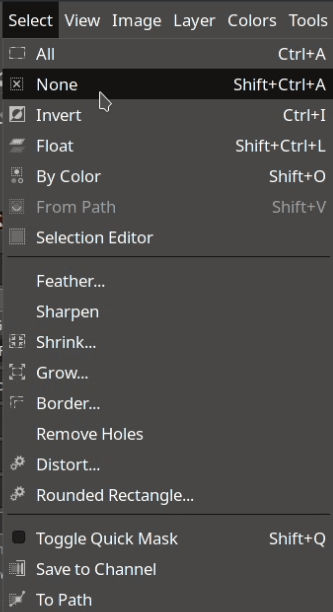
Deselect the selection Select > None (Ctrl+Shift+A).
It should be like this and turn on the Background Layer visibility again.

Step 4
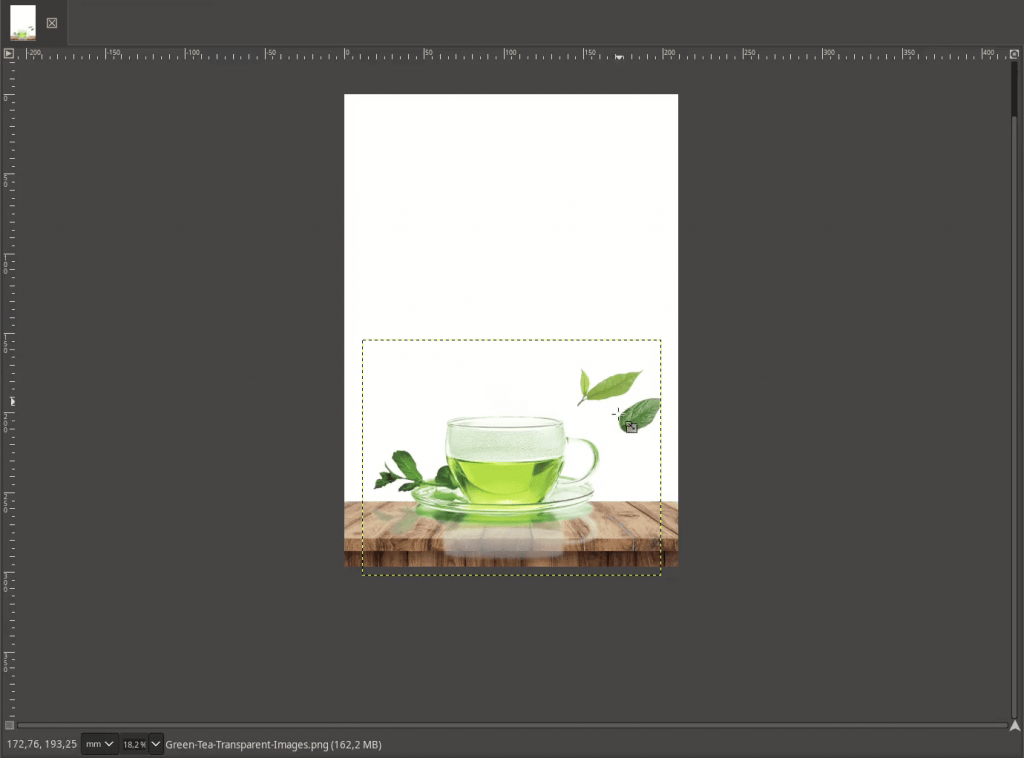
Import the tea png in File > Open as Layers and choose the Tea png. Scale it down with Shift+S and Move it down to the table with Move Tool (M).
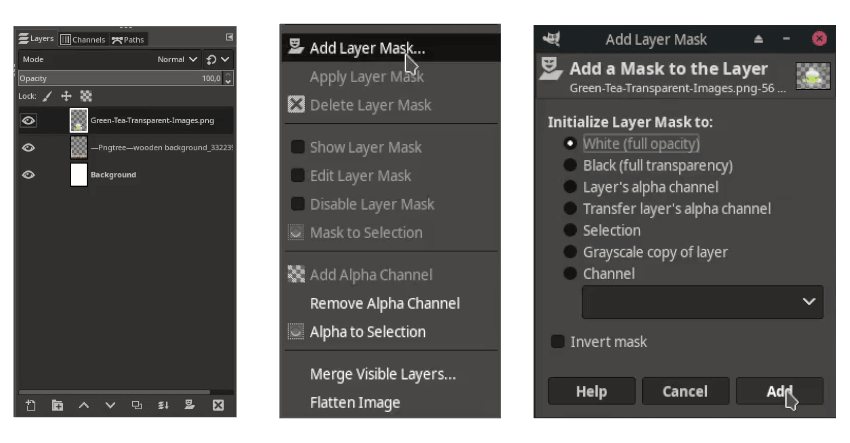
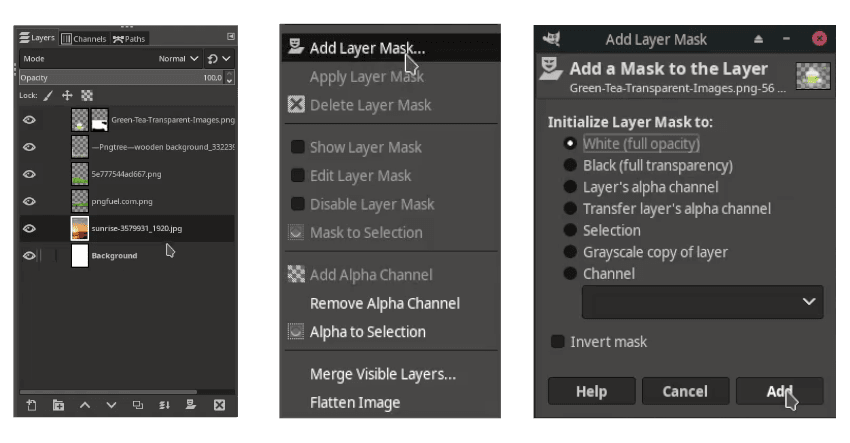
Add layer mask in the Tea Layer, Right Click > Add Layer Mask > White (full opacity), then click Add.
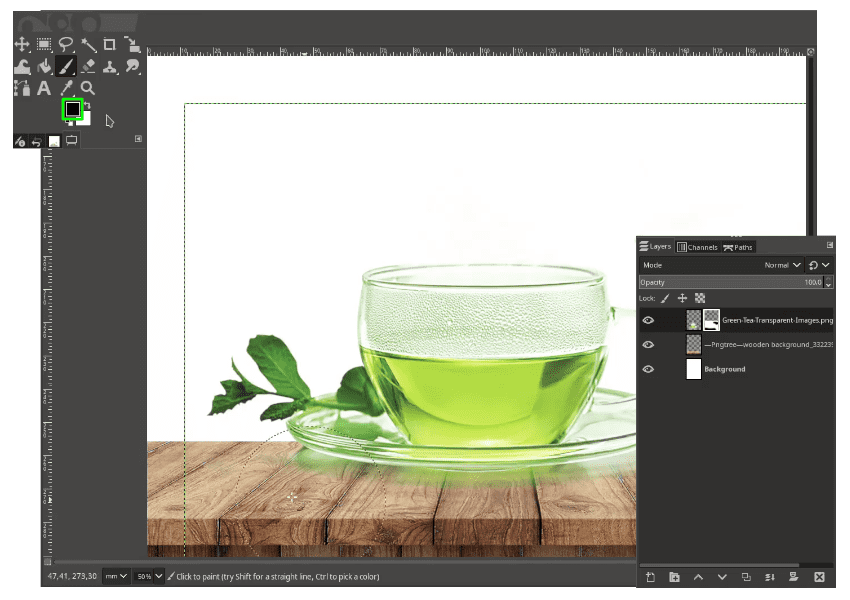
With Paintbrush Tool (P) change the swatches color in black to mask the part that we don’t need.
Step 5
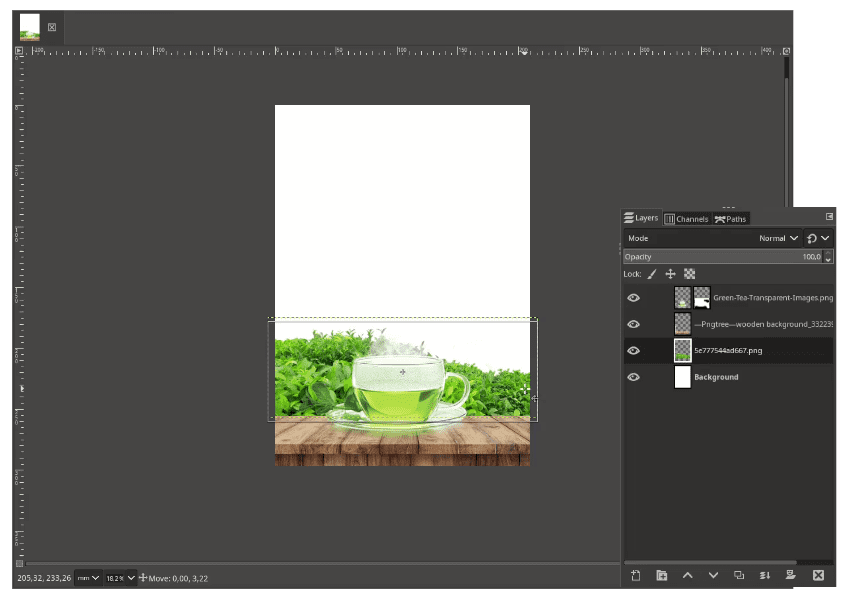
Add the Green Leaves in File > Open as Layers and move the layer below the wooden table.
Note: If the Convert dialog bar appear, choose Convert.
Step 6
Add again the Green Hill Landscape png in File > Open as Layers then move the layer below the Green Leaves.
Step 7
Add the sunset picture in File > Open as Layers then move the layer below the Green Hill landscape png.

Step 8
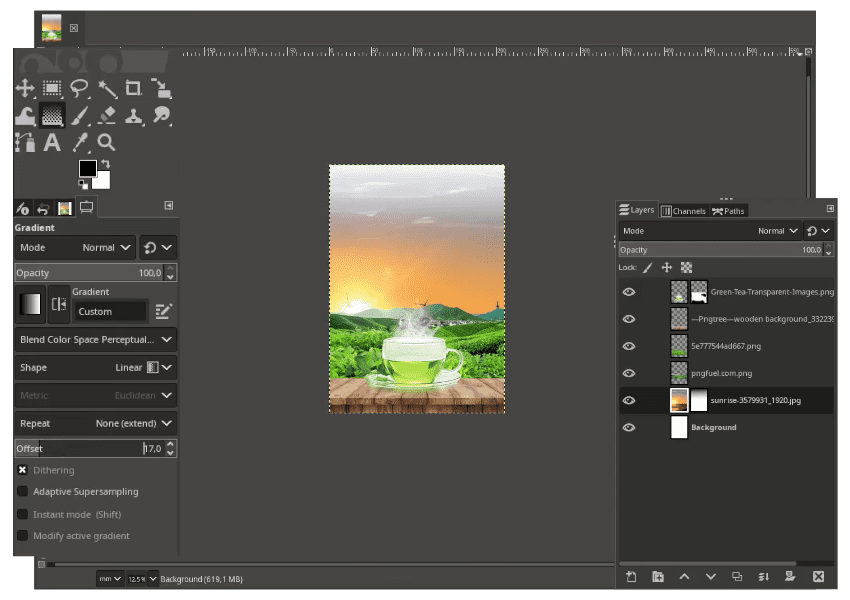
Add layer mask in the Sunrise Layer, Right Click > Add Layer Mask > White (full opacity), then click Add.
With Gradient Tool (G) and black color as the foreground, drag it from top to bottom.
Step 9
In this part, we are going to use the Clone Tool (C). Clone Tool function is to take a sample part of an image and place it to the part where your mouse clicked. It’s different with Add Layer Mask to hide part of images. Press Ctrl, then Click to take the sample of the picture, then click on the windmill.
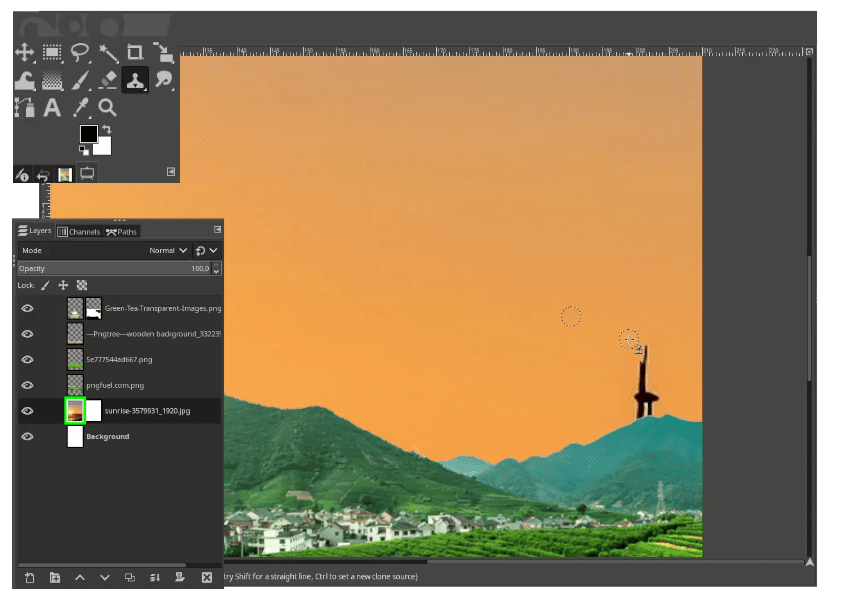
Result:
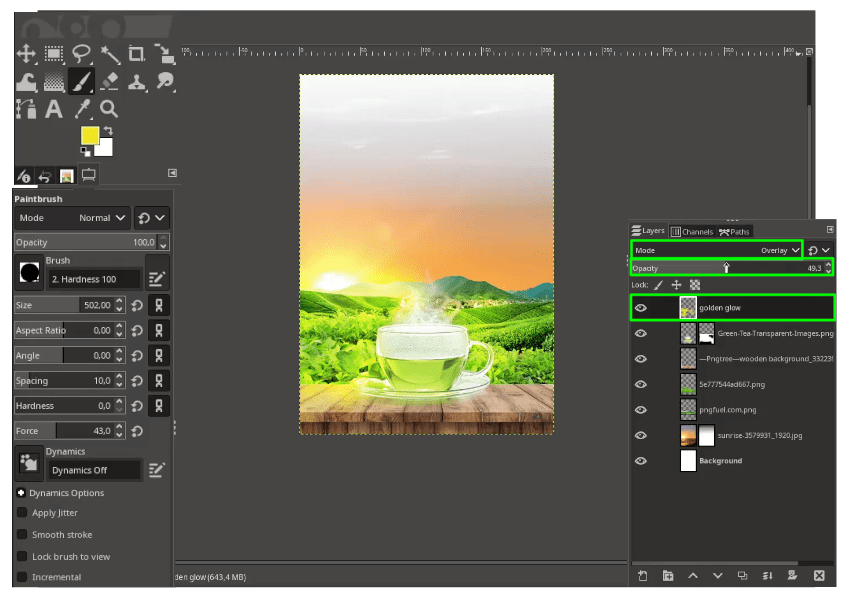
Step 10
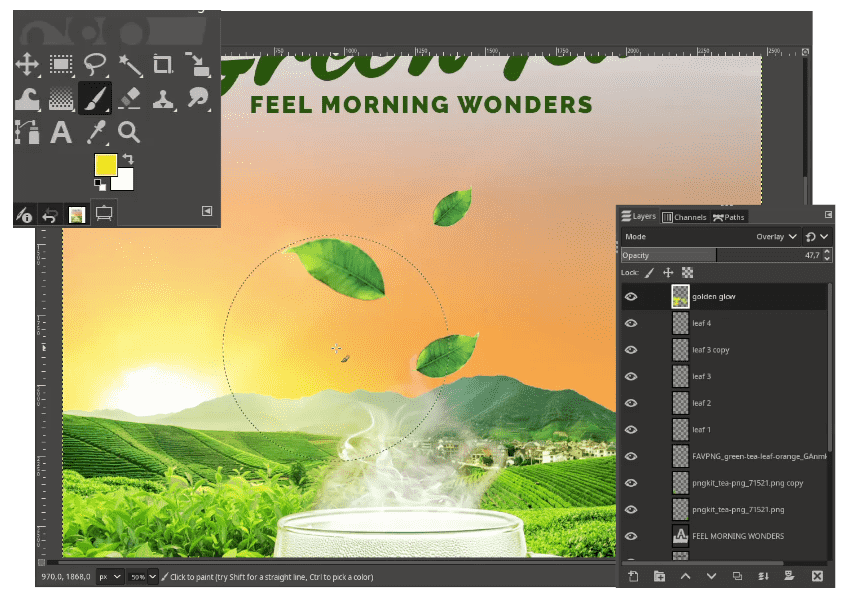
Create a new layer for the Golden Glow and change the Layer Mode to Overlay. Active the Paintbrush Tool (P) and brush to the area with some yellow color (#fada1b), then reduce the opacity.
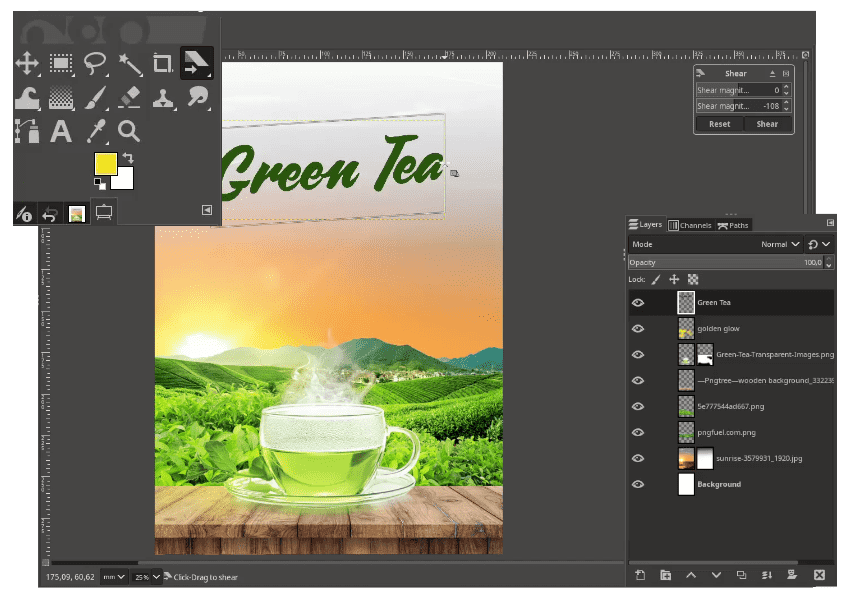
Step 11
Add some Text with Text Tool (T) and give some green color (#264e09). Press Shift+H to make it Shear.
Step 12
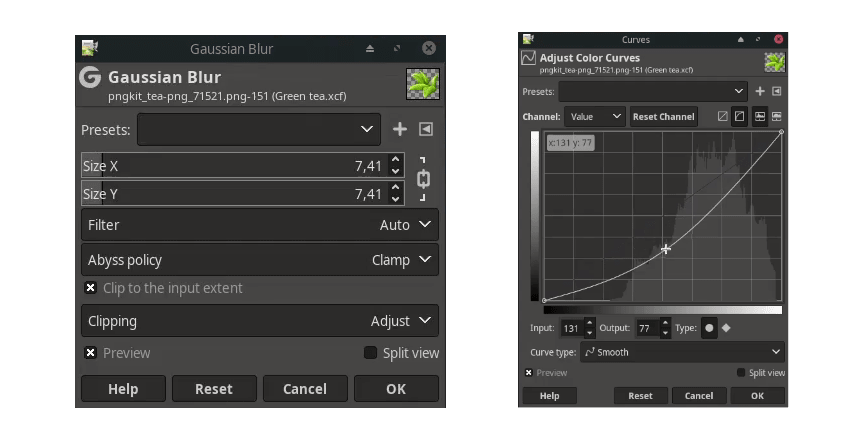
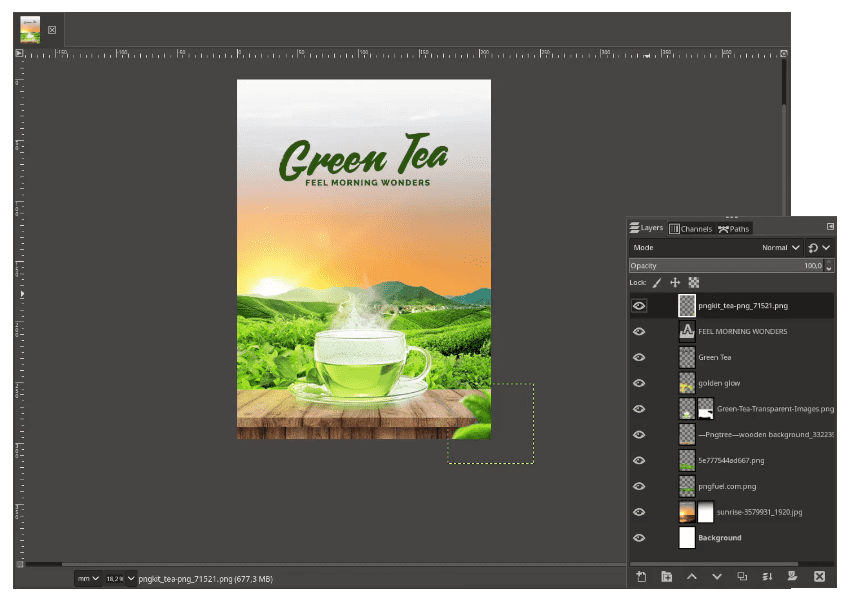
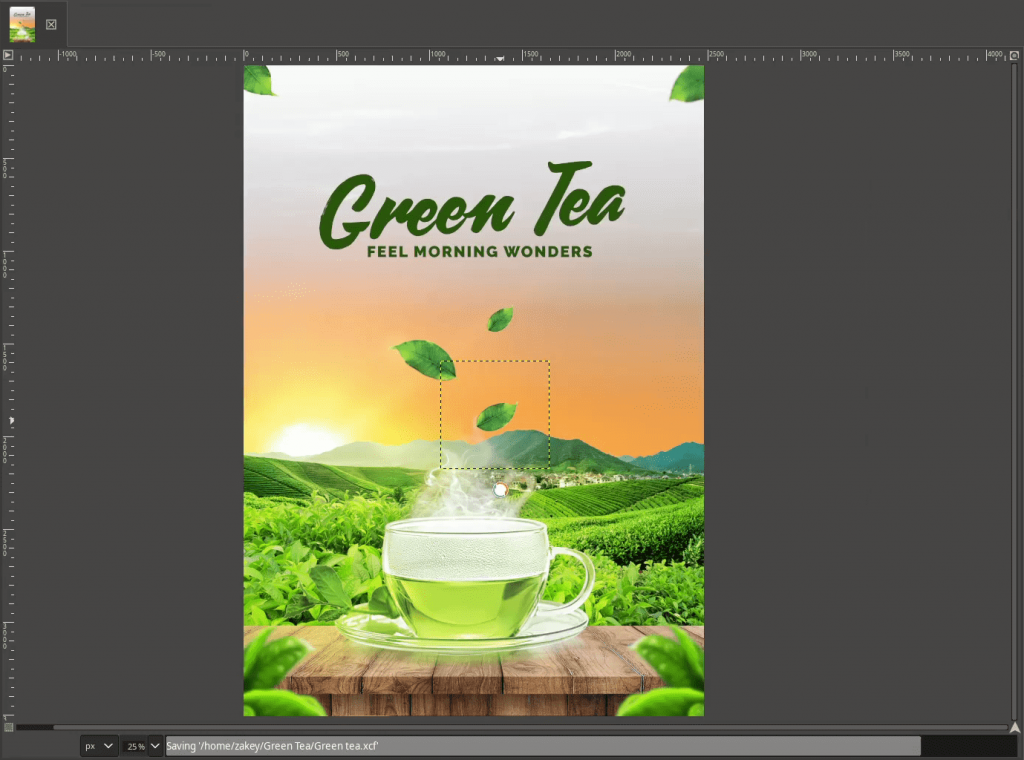
Add green tea leaves png again for the corner of the canvas in File > Open as Layers. Give some gaussian blur a little in Filter > Blur > Gaussian Blur and adjust the Curves in Color > Curves.
Step 13
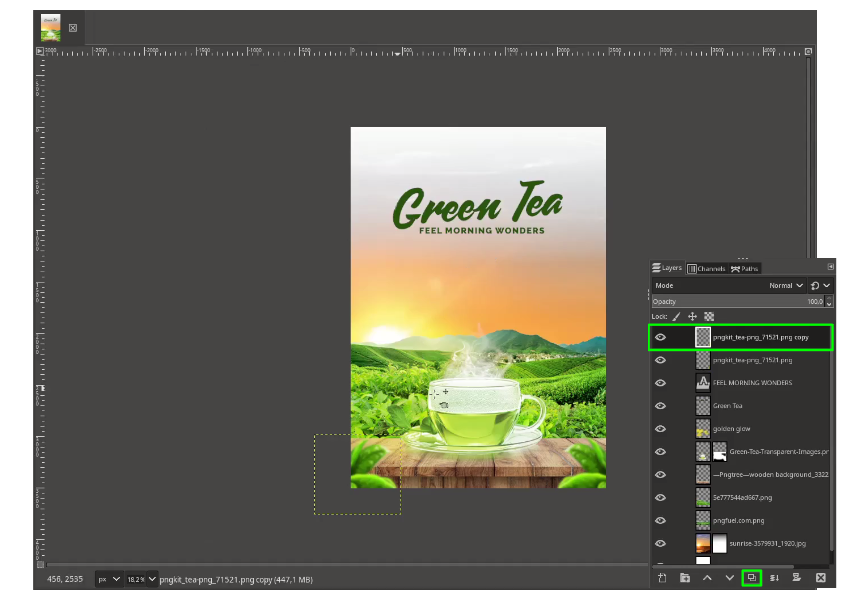
Duplicate the Green Tea Leaves layer, and flip by pressing Shift+F then click on the object.
Step 14
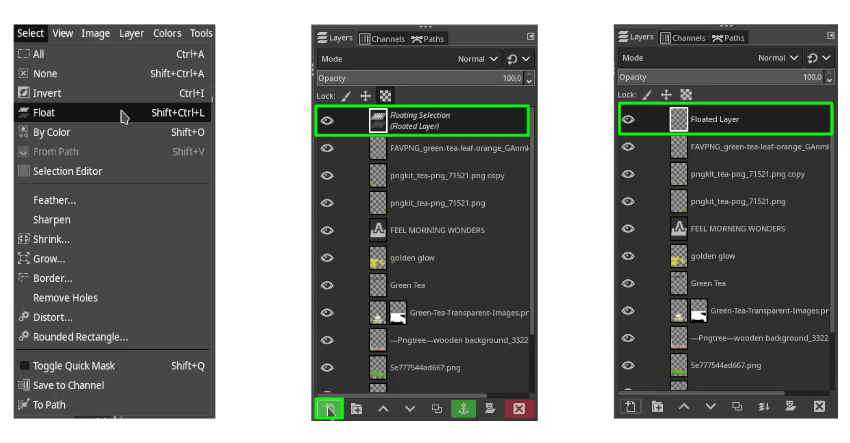
Open the Green Tea Leaves again for the particle and select with Rectangle Select (R).
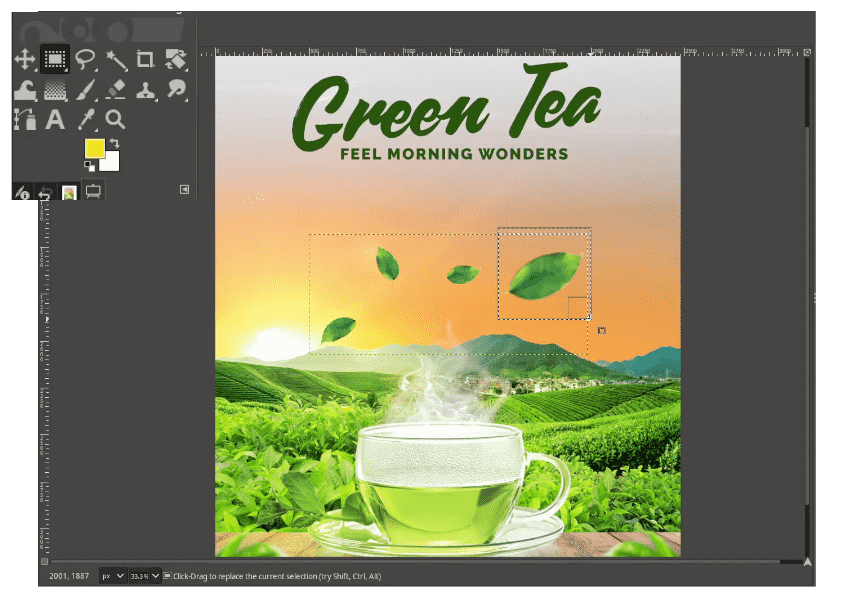
While in the selection, go to Select > Float. Then in the layer, Click Create a new layer. Do the same for each leaves part, then make a nice placement—Press Shift+R rotate the leaves.
Step 15
Make the leaf affected to the golden glow by Right Click > Alpha to selection.
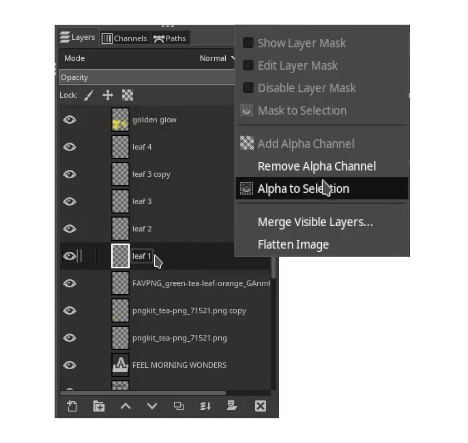
While in selection, with Paintbrush Tool (P) Brush the leaf and make sure you work in the Golden Glow Layer. So the glow affecting only the leaves.
Step 16
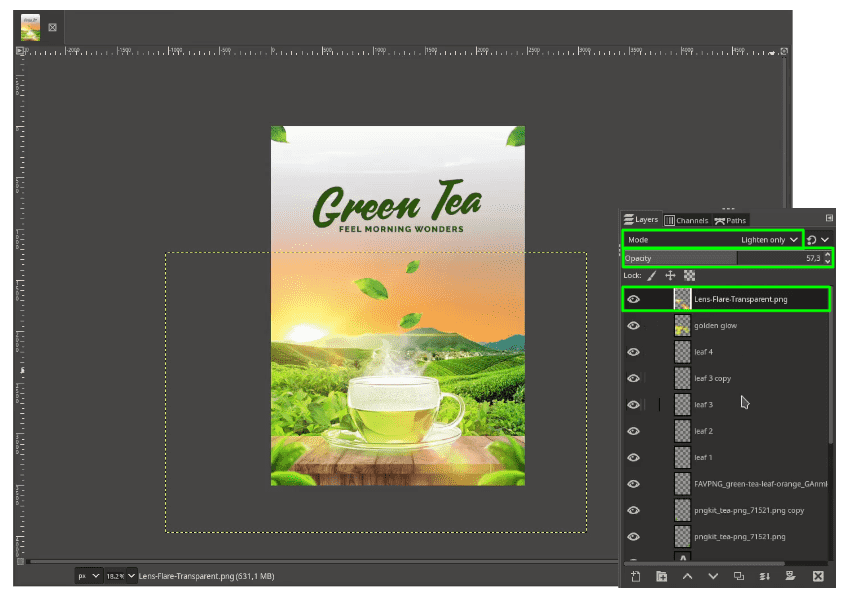
Final step, add the Lens Flare png in File > Open as Layers. Press Shift+F then click to flip and change the Layer Mode to Lighten Only then reduce the Opacity.
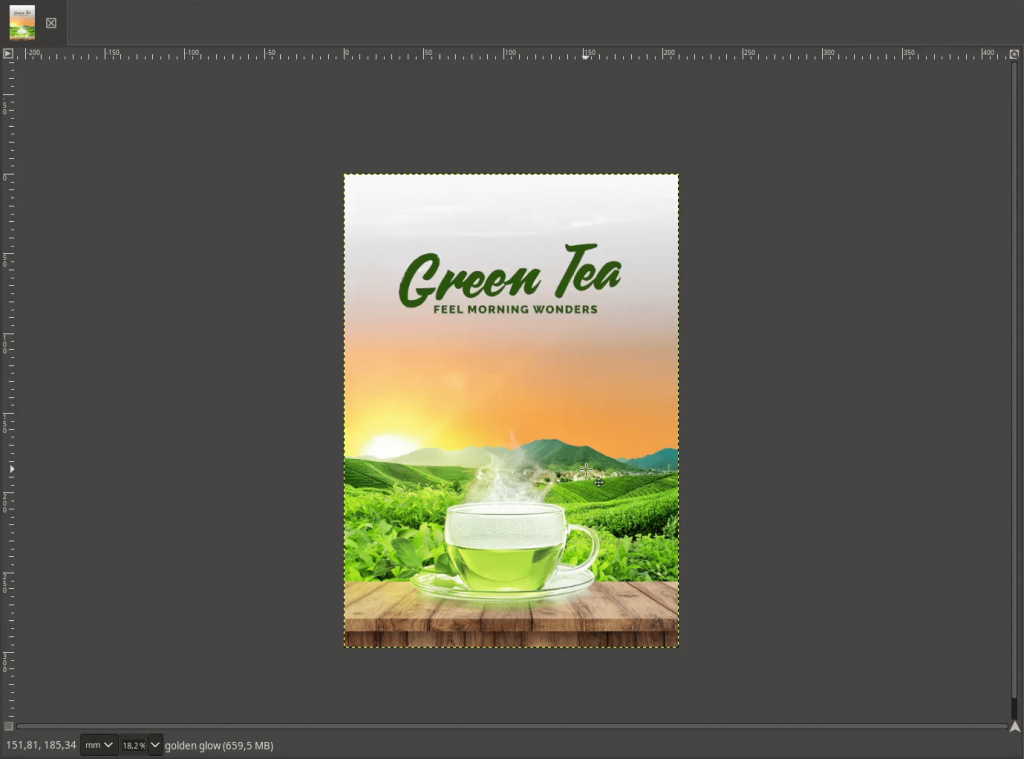
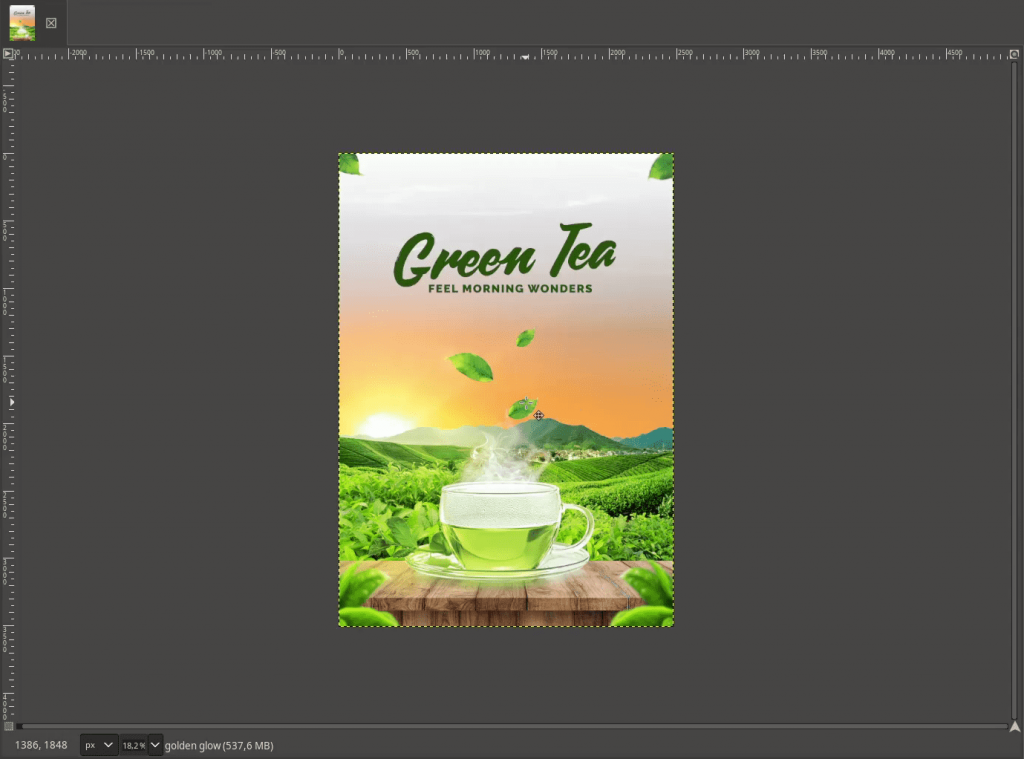
Your Poster is Ready!
Nicely done, you’ve created a peaceful poster design for a tea. Just remember, when something using Glow Effect, the area must affect the light by giving the effect of the light to correct the color with the glow.

Tutorial Assets
- Wooden Table
- Green Tea
- Green Leaves
- Green Hill Landscape
- Sunrise
- Tea Leaf
- Lens Flare
- Green Leaf (Particle)
- Carosello Font
- Raleway Font
Credits
- 72 Catchy Creative Tea Slogan and Taglines
- Muhammad Syafiq Azman in Facebook Post