Welcome back everyone! today i will show you how to create custom type design in inkscape. lets create something good today!
What you will learn
- How to use the text tool
- How to shear
- How to unite objects
- How to use the bezier tool
- How to unite objects
Tutorial Steps
Step 1
Create a new background with Rectangle Tool (R) and change the color to yellow with Dropper Tool (D).

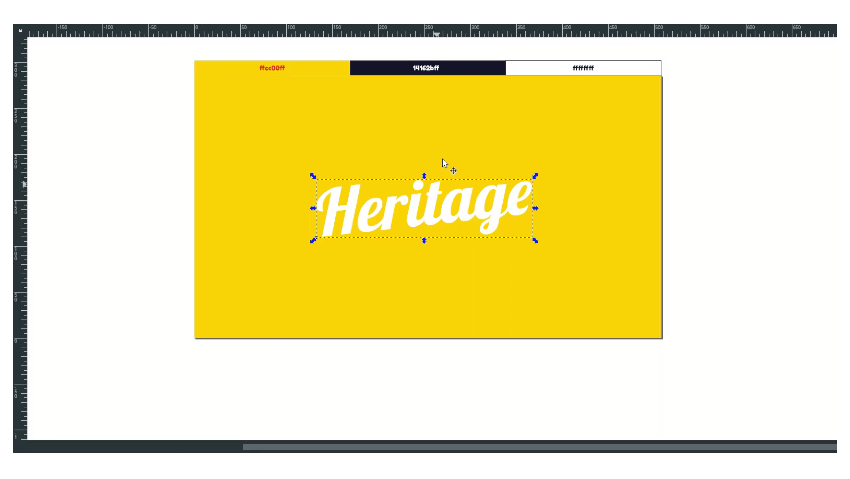
Step 2
Type a text with a Text Tool (T), then change the font to Lobster. Click twice to shear the image and drag it up.
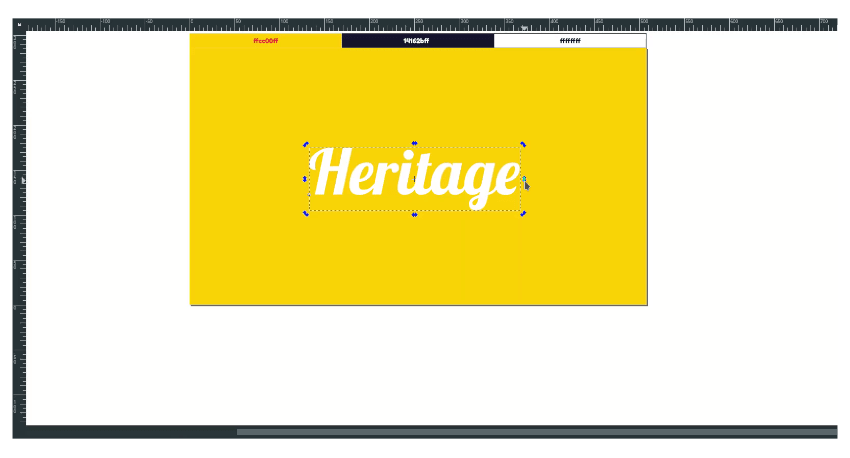
Result:
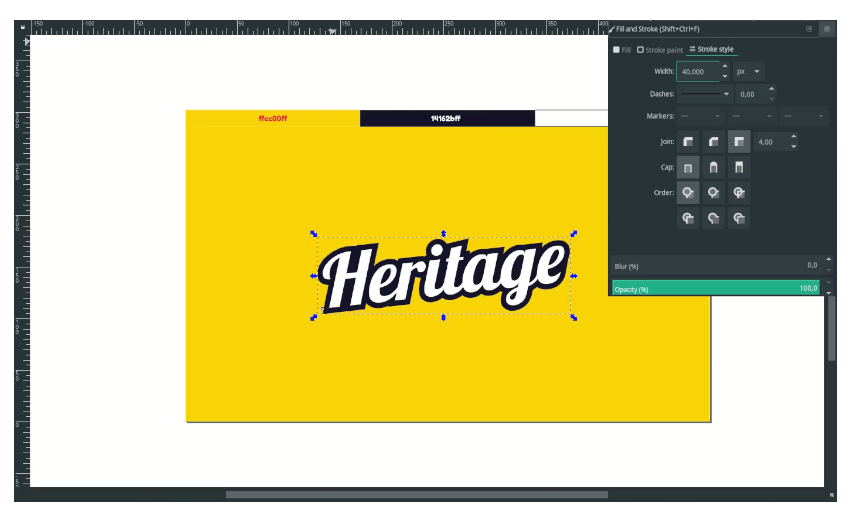
Step 3
Create a stroke to the text by duplicating the text, changing the stroke to black color, and sending it to the lower back.
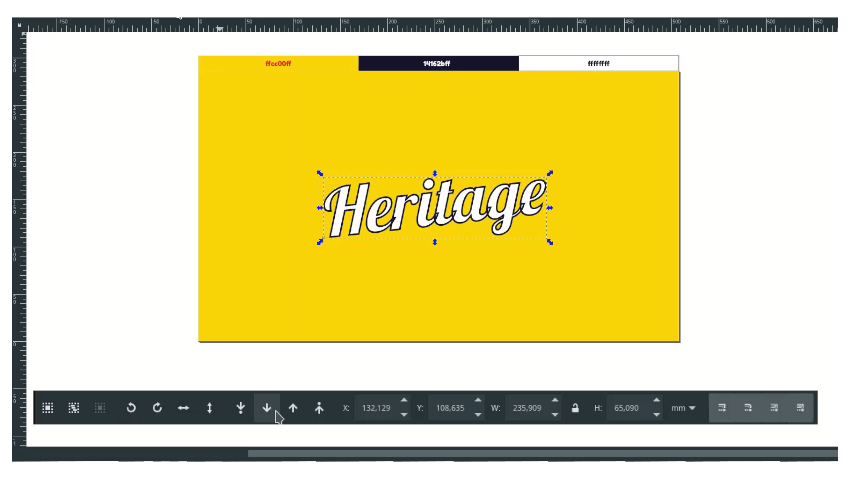
Increase the stroke width to 40px.
Tips: Alt+Click twice to select the object behind it.
Step 4
Duplicate the stroke by pressing Ctrl+D and move a little to the bottom corner.

Now extrude the effect with Bezier Tool (B), then connect the shapes. And change the color to the same with stroke color and remove the stroke.
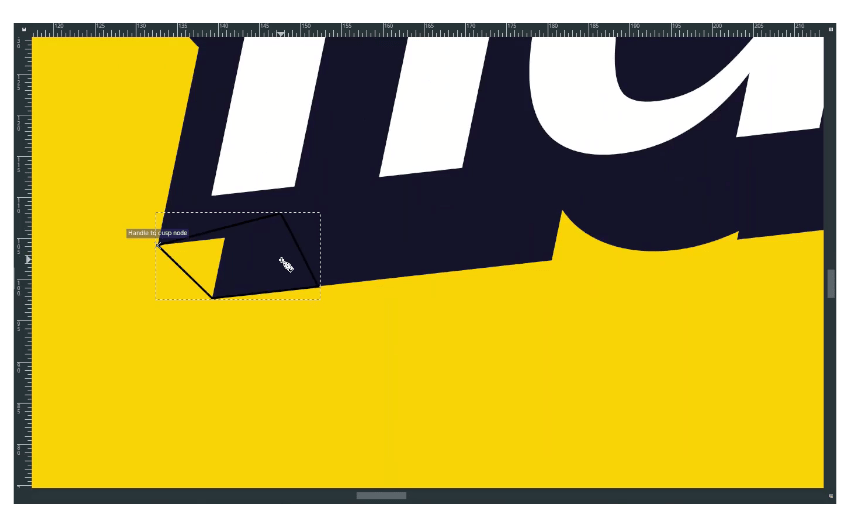
Select three parts: The stroke, the shape, and duplicated stroke. And go to Path > Union. Add more shape and connect.
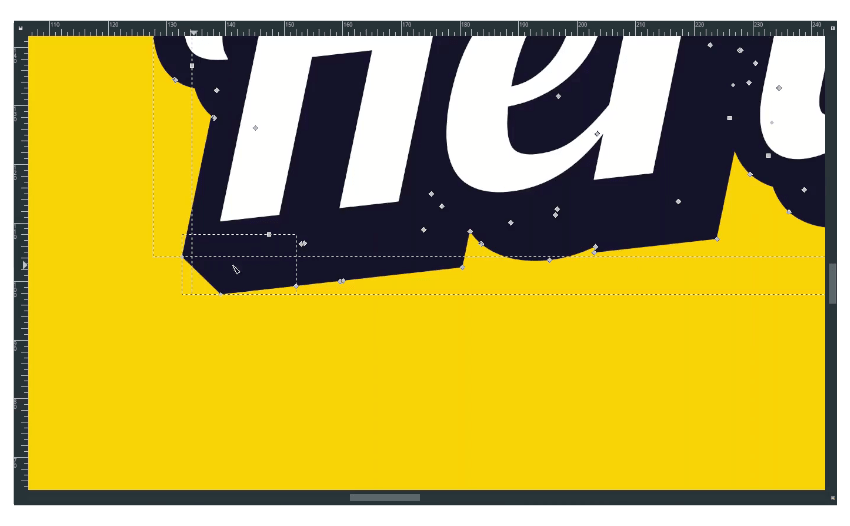
Result:
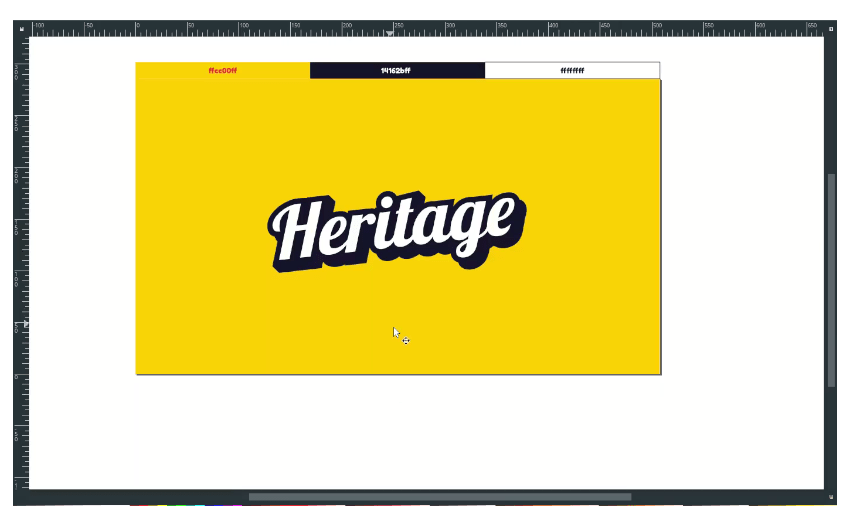
Step 5
The last thing makes the shadow effect: duplicate the stroke, move it a little, reduce the opacity, and then send it to the lower back.

And, It’s done!
Simple, clean, and straightforward. I hope you learn how to shear objects, duplicate, and connecting stroke with a bezier tool.