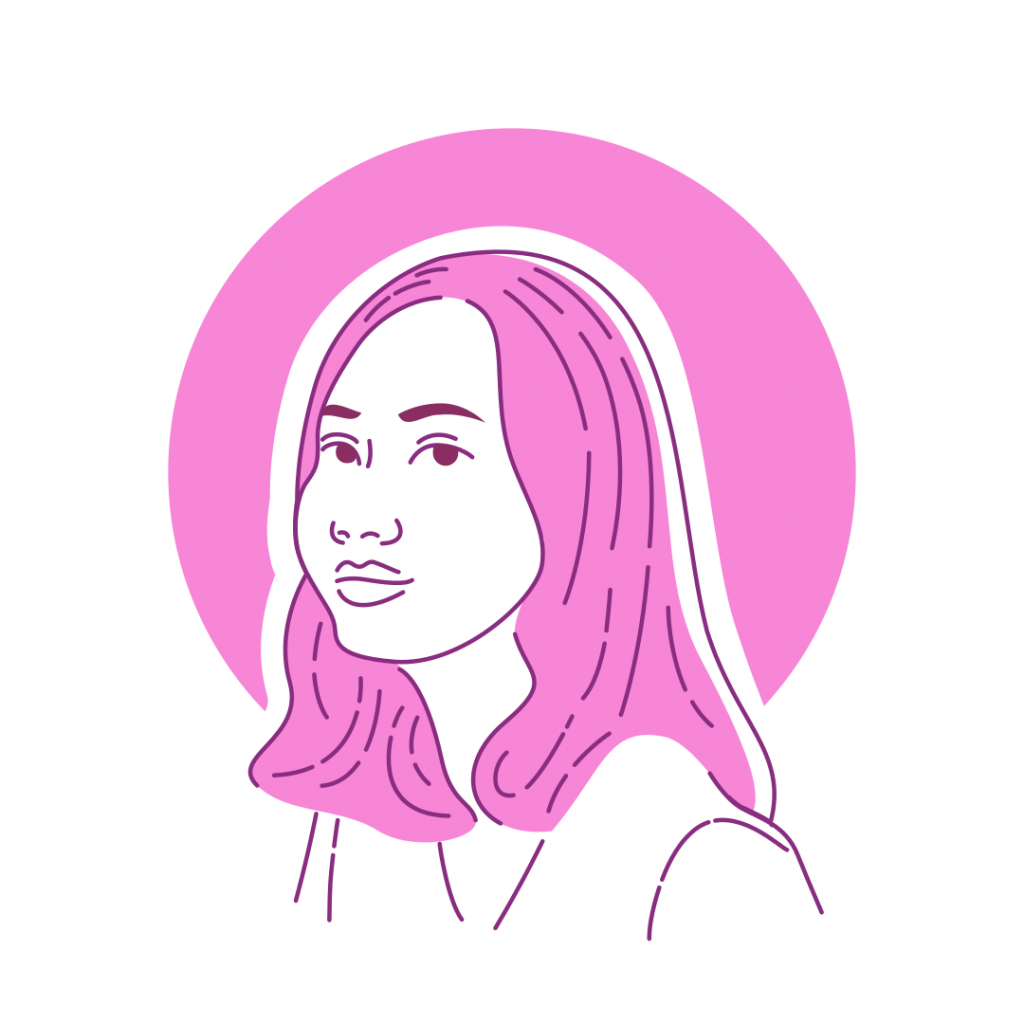
In this tutorial, we will create a flat line avatar design from the photo with Inkscape 1.0. This style was inspired from Flat line Avatar from Fiverr; you can see similar avatar designs like this. It’s easy to make it, first import the photo, then trace it with the bezier tool, and while using the bezier tool, follow the face shape and the half body and increase the stroke width.
What you will learn
- How to move, scaling, duplicate and rotate object
- How to make Cutted Line Effect
- How to use Interpolate
- How to select same objects
- How to use dropper tools
- How to lock the corner with bezier tool
- How to create new layer
- How to lock the Layer
- How to use Path Effects
- How to make a Clipping Mask
Tutorial Steps
Step 1
Import the image in File > Import and click OK.
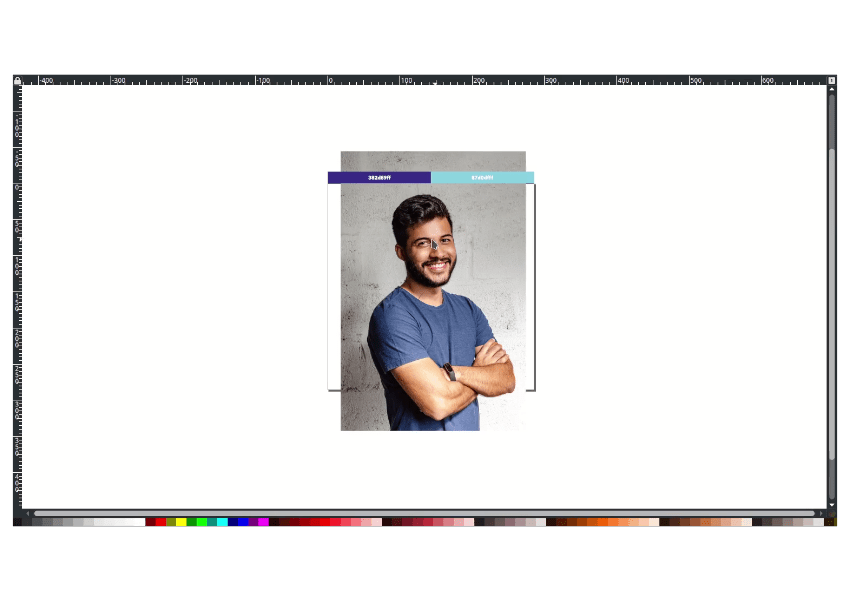
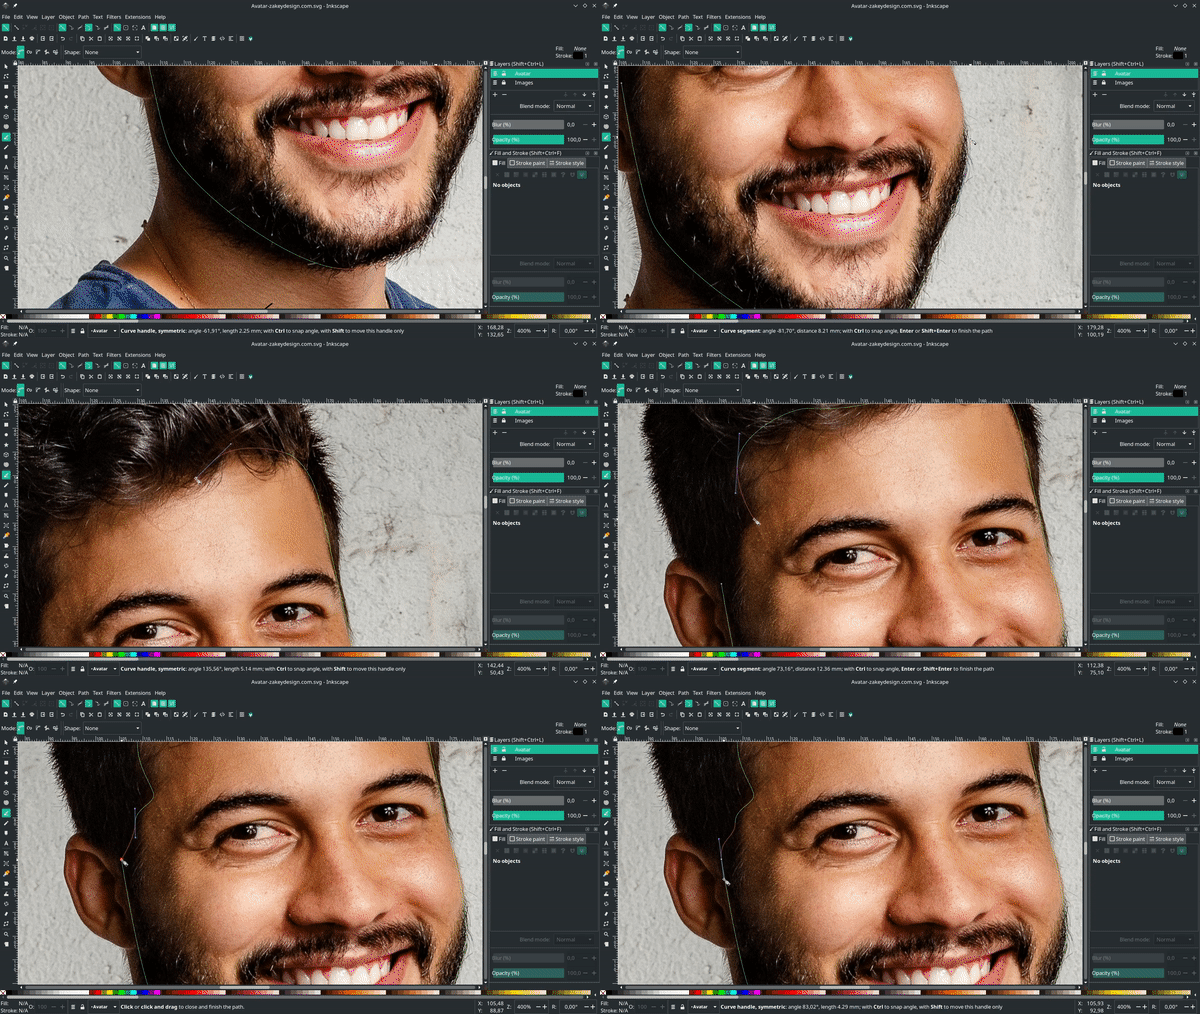
Create a new layer and rename the layer to Avatar, then lock the images layer because we will create the Avatar in Avatar Layers. With bezier tool (B), click and drag to the face shape.
Step 2
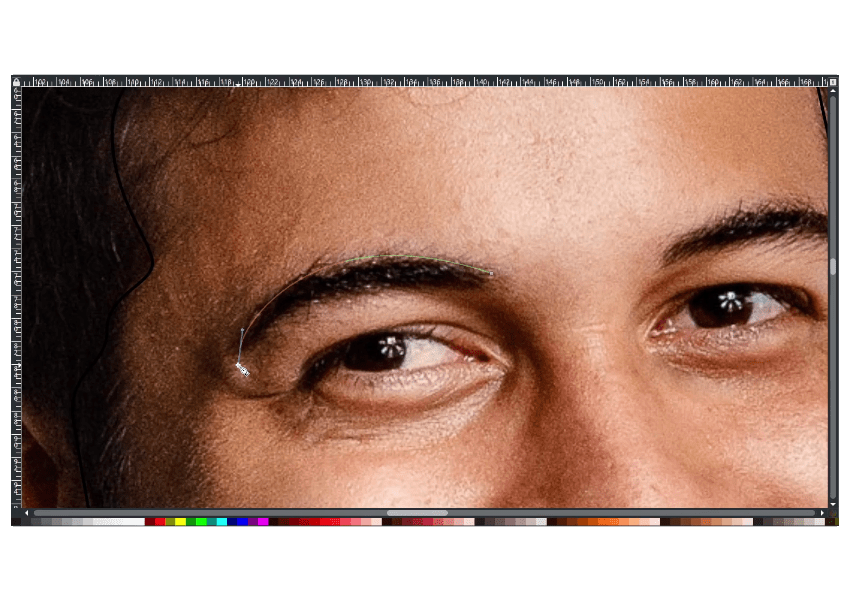
Make a selection to the eyebrows with a bezier tool (B).
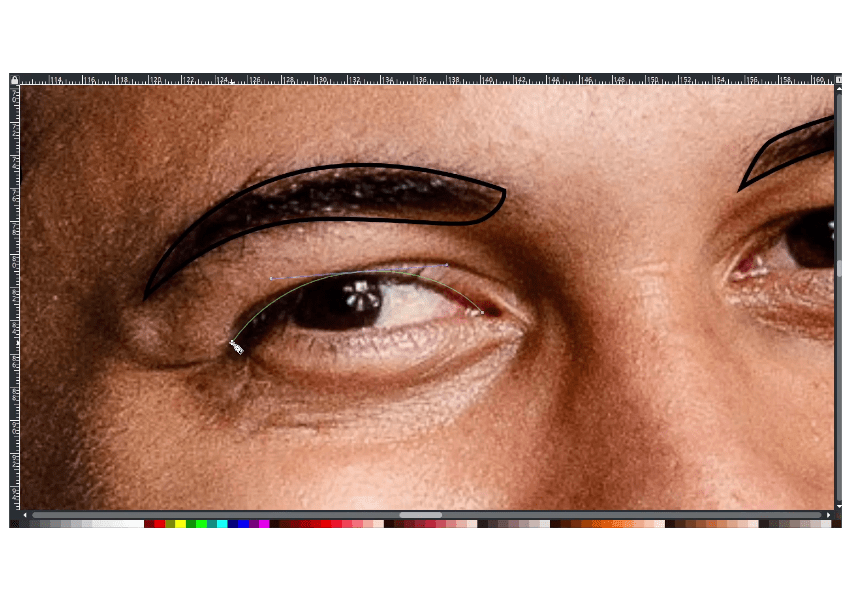
Next, to the eyes. Right-click on the mouse to release the bezier tool.
And the pupil.

Step 3
Use the bezier tool again to complete the nose part.

Result:
Continue to the hair, ears, neck and the body.

Step 4
To see the result, you can turn off the image layers.
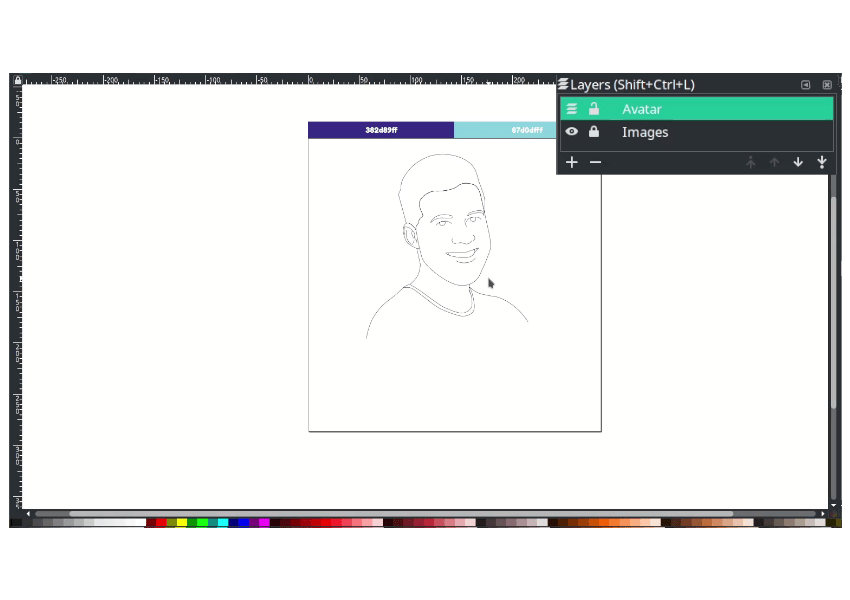
Step 5
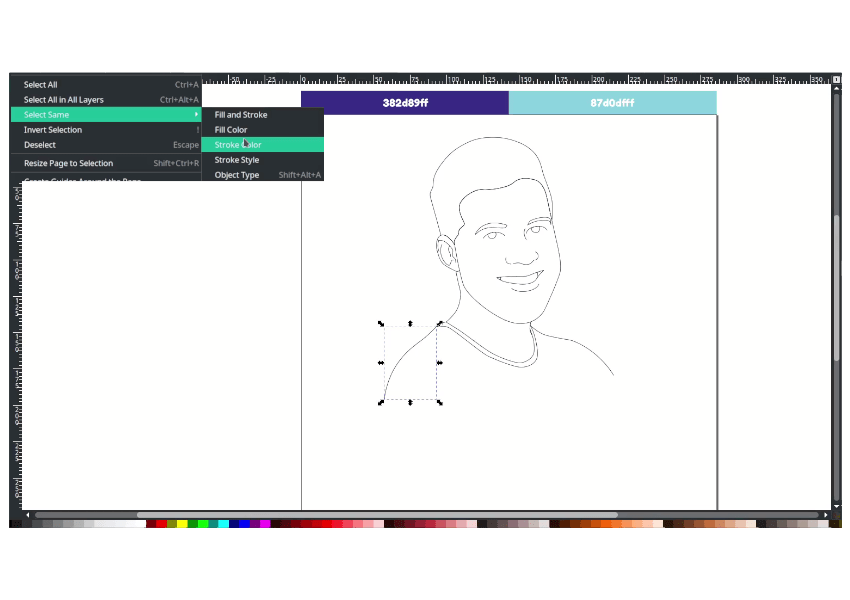
Next, we will change the stroke color by selecting the stroke in Edit > Select Same > Stroke Color. And change the stroke color to Cosmic Cobalt (#382d89ff) in the Stroke Paint Tab (Ctrl+Shift+F).
Tips: if you use the dropper tool, hold Shift and click the color. It will automatically set the stroke color where your mouse click.
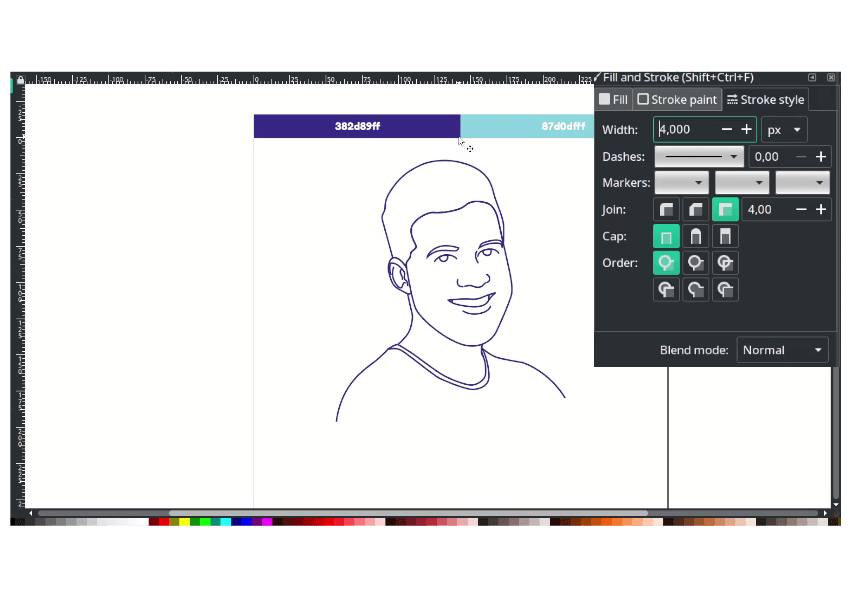
In the Fill and stroke menu, head up to stroke style and change the width to 4px.
Step 6
Click the eyebrows, and in the bottom left corner, change the stroke to fill by right click > Swap fill and stroke.
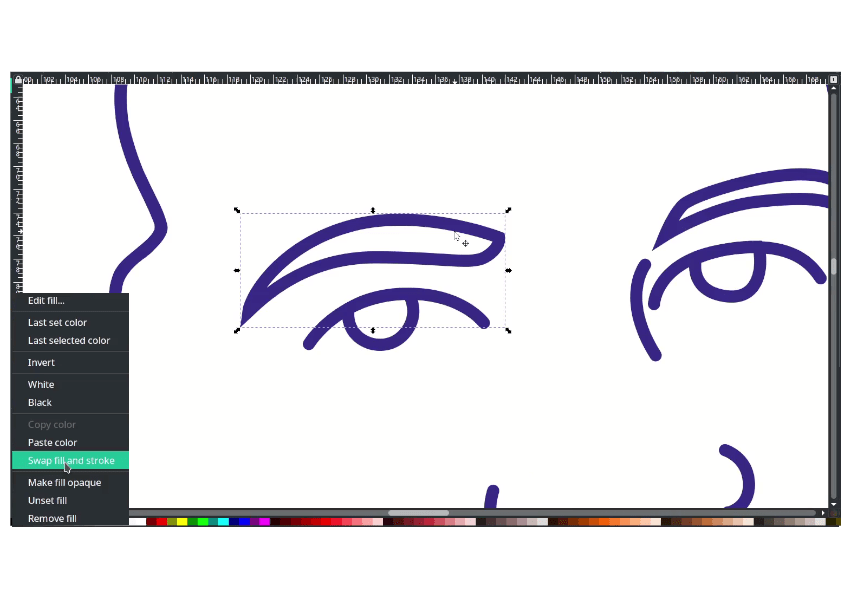
Result:
Do the same to the side eyebrows.

Result:

Step 7
Swap the hair stroke to the fill-in bottom left corner, then change the color to Middle Blue (#87d0dff). And send it to the lower back.
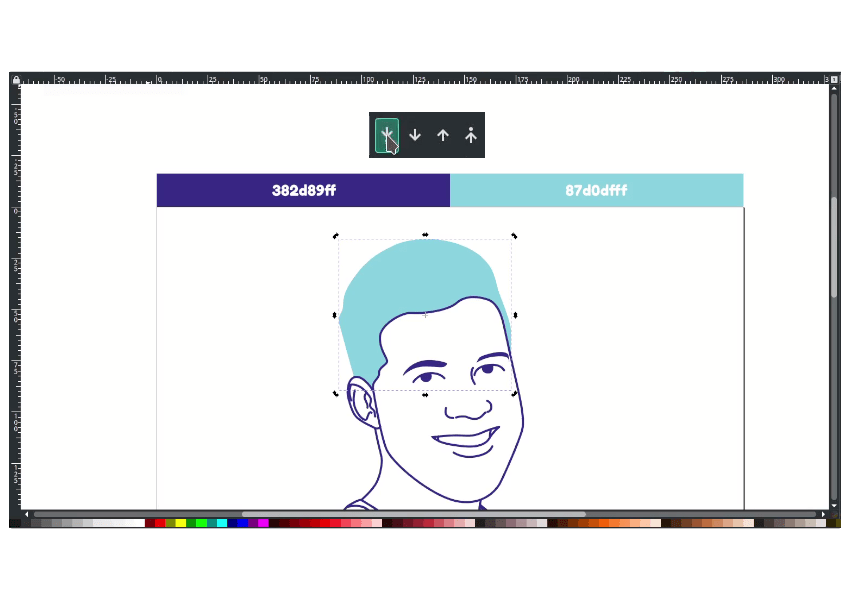
Step 8
Create a shape for the beard with the bezier tool (B), then change the beard color to the hair with no strokes.

Duplicate the hair by pressing ctrl+d.
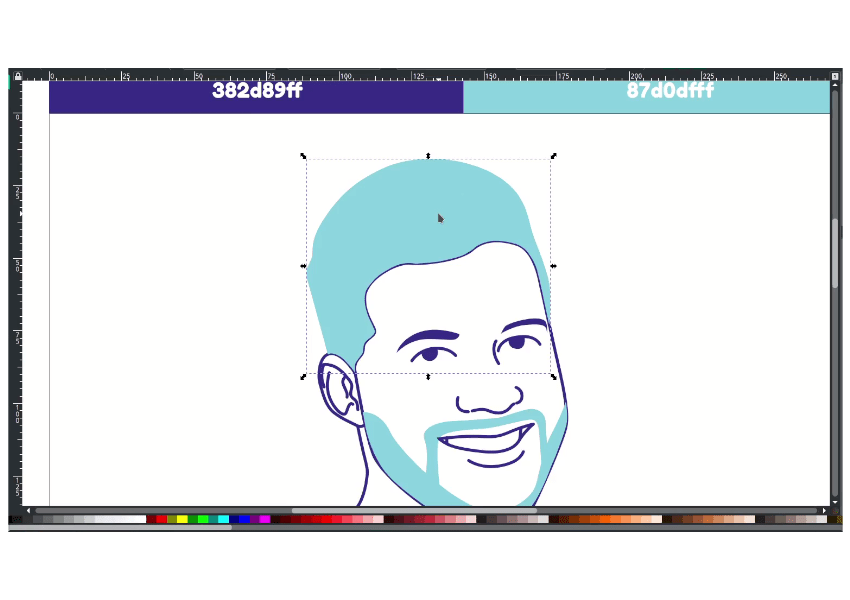
Swap to stroke only, then change the stroke width to 4px.

Step 9
Create a shape with bezier tool (B)
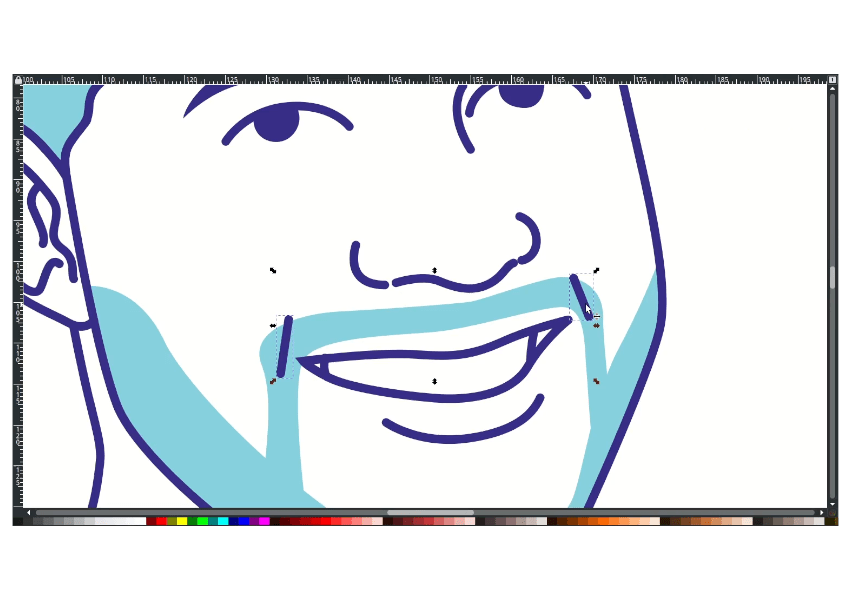
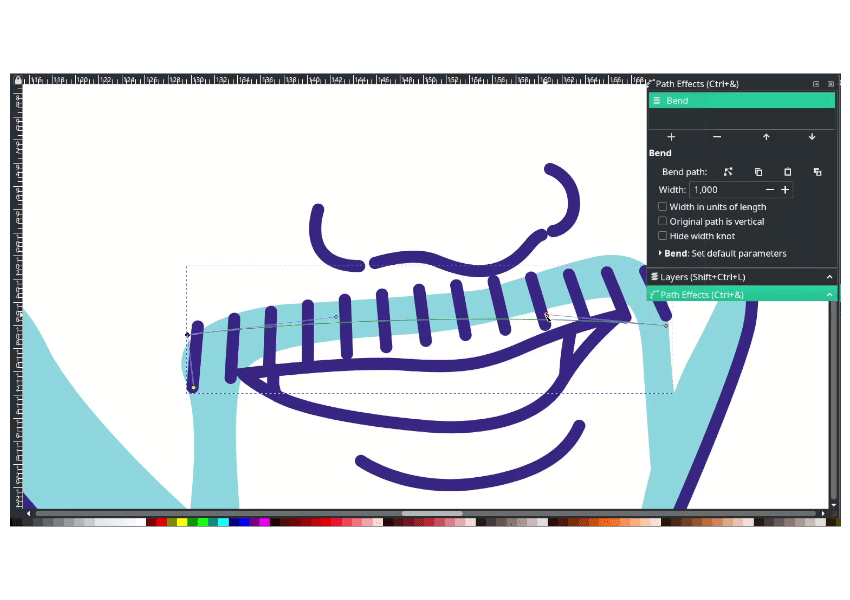
Create a step with interpolation in Extensions > Generate from path > Interpolate. Active the live preview, make the interpolation steps to 11.
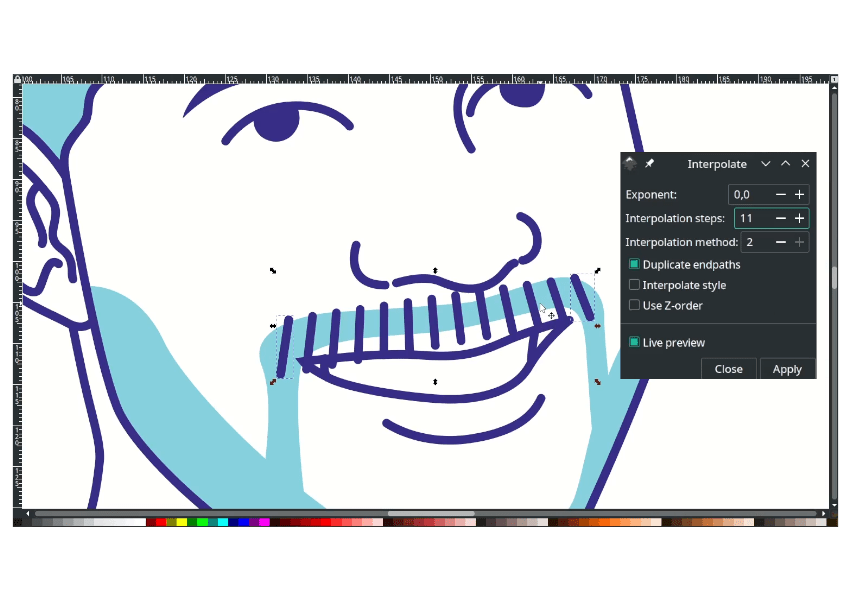
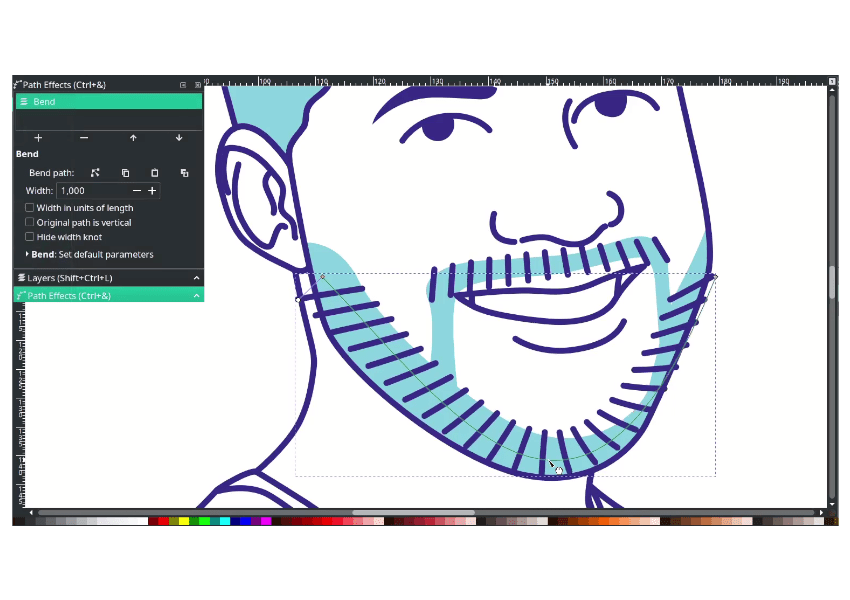
You can bend it with path effect in Path > Path effect > Bend. Then press F2, click, and drag to move.
Do the same steps for the beard parts.
Step 10
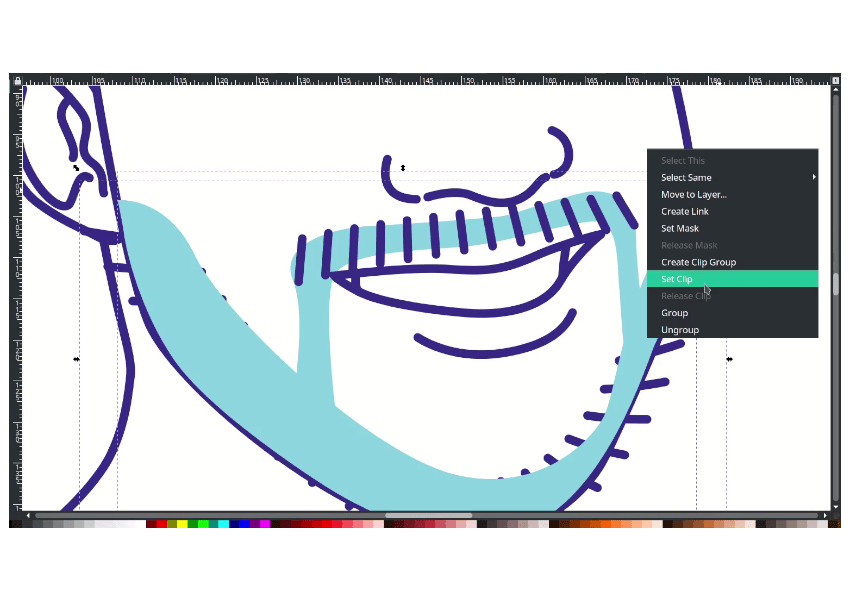
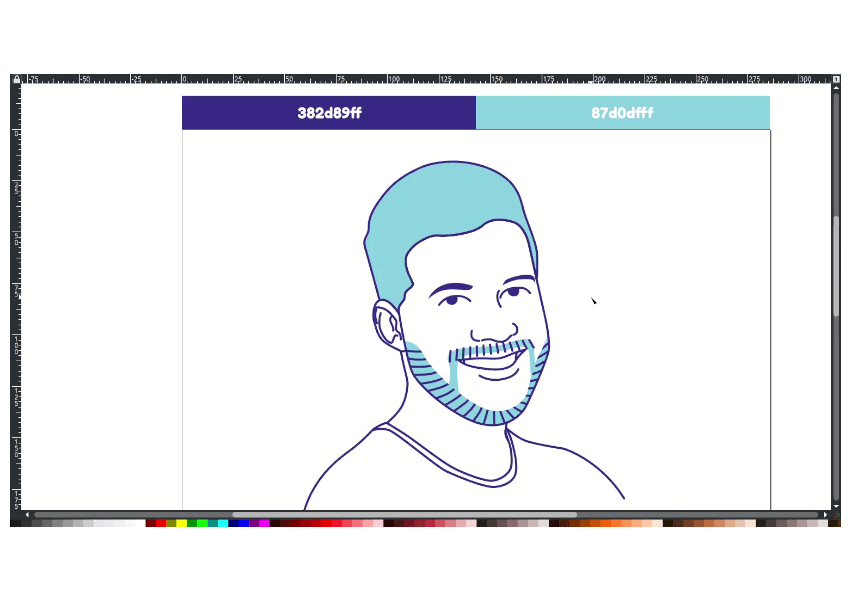
Duplicate the beard shape (the light blue color) and make a clipping mask by right click > set clip.
Result:
Step 11
Press F2, then click the beard shapes.

Drag and move until there are no rounded corners. Do the same thing for other shapes in the beard.
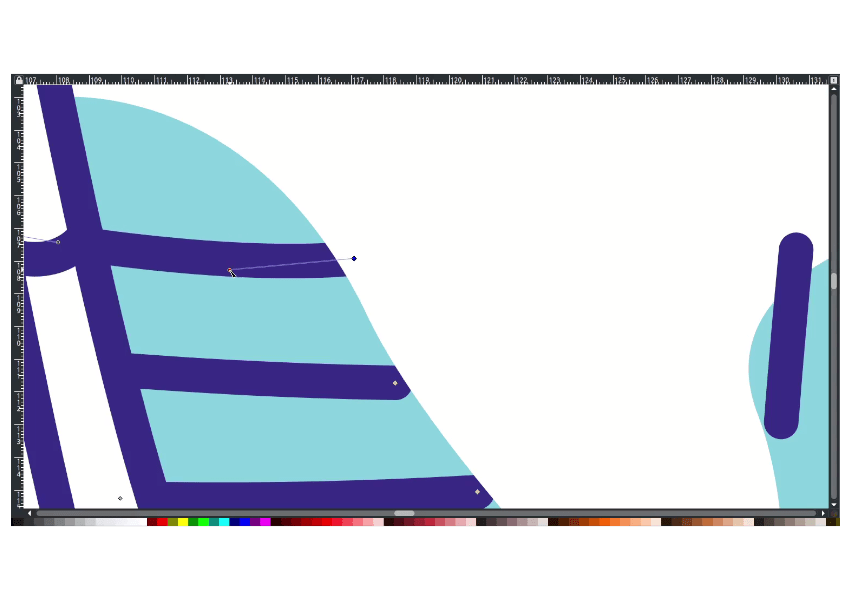
Result:
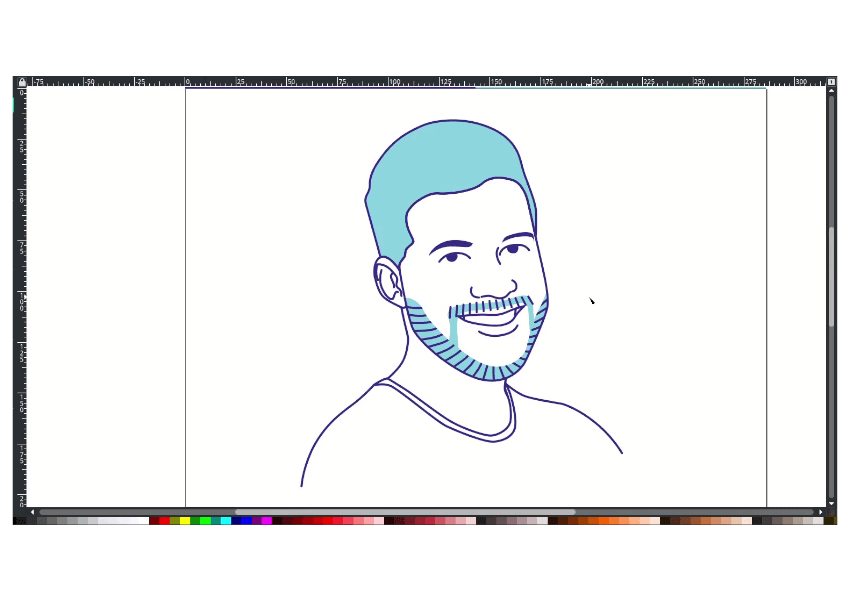
Step 12
Now, create the cut effect by pressing F2 and double click on the shapes.

Select the two nodes and choose delete segments.
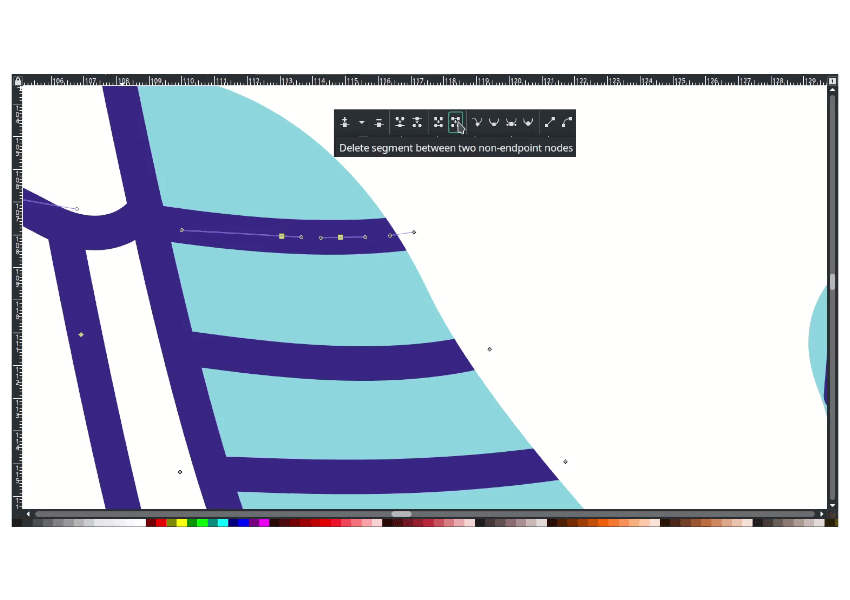
Result:
Do the same for another shape in the beard.
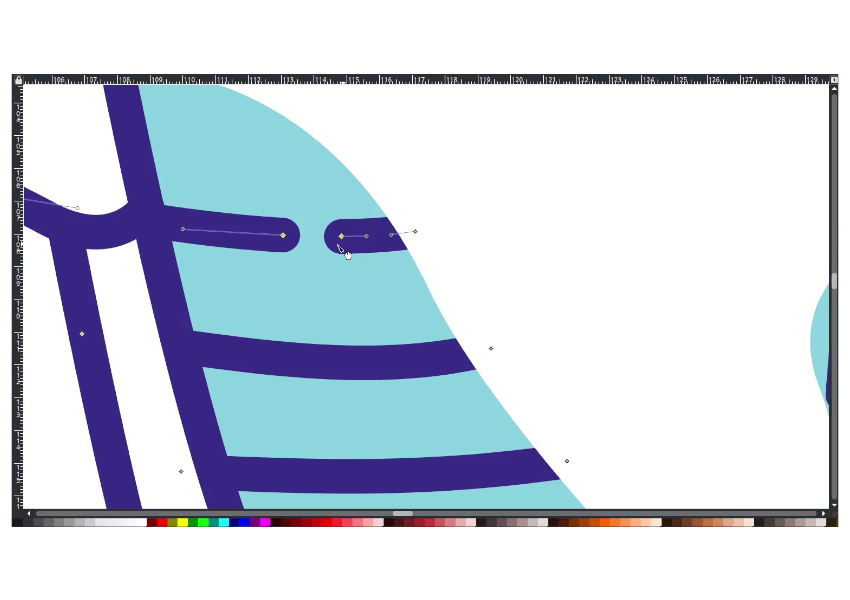
Result:
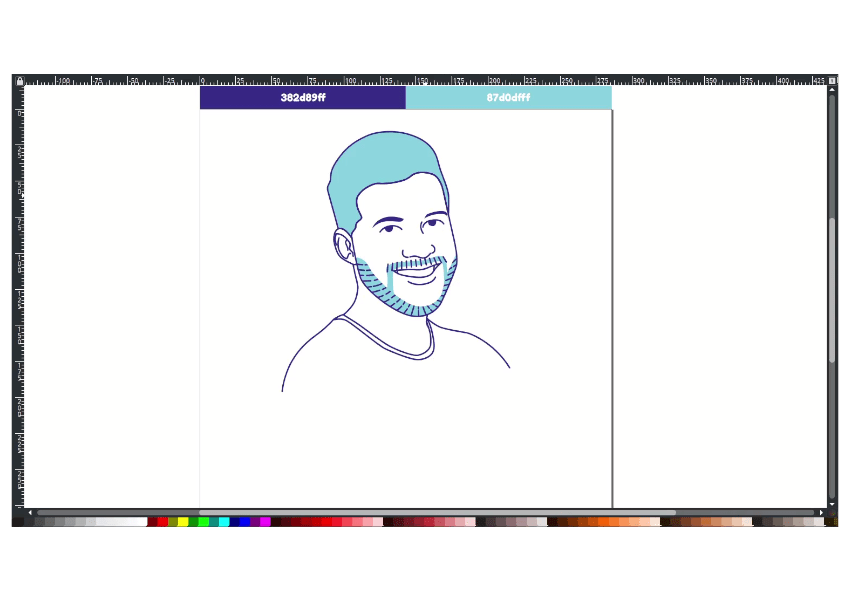
Step 13
Add more shape to the hair with bezier tool (B).
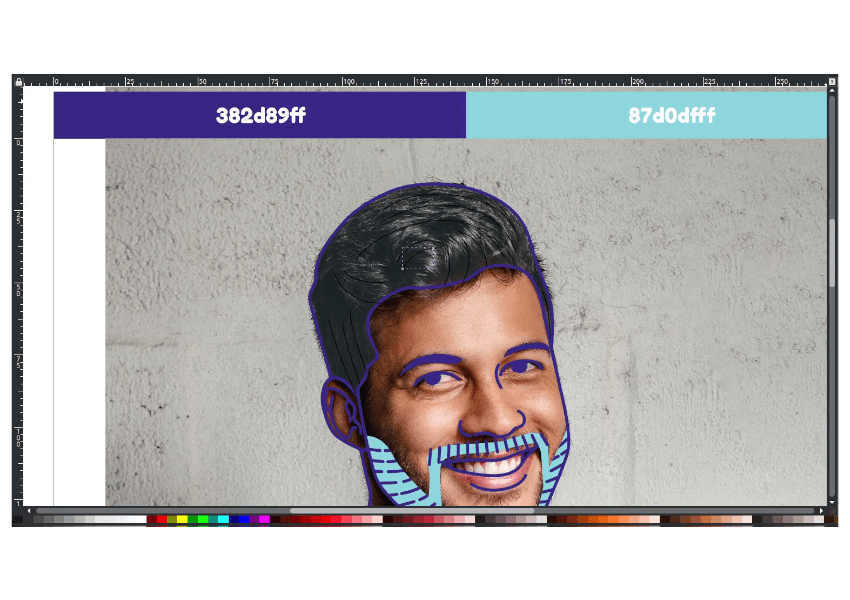
Result:
Change the color and stroke width
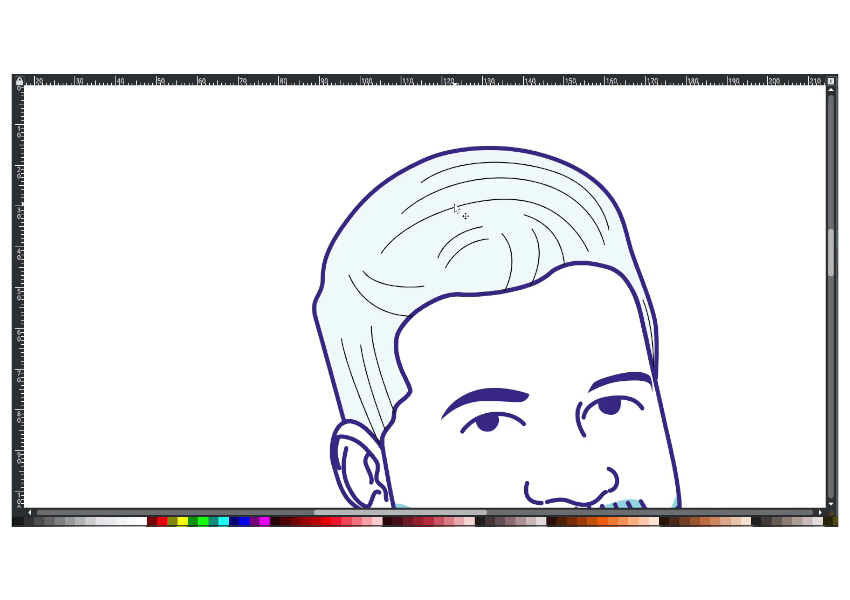
Result:
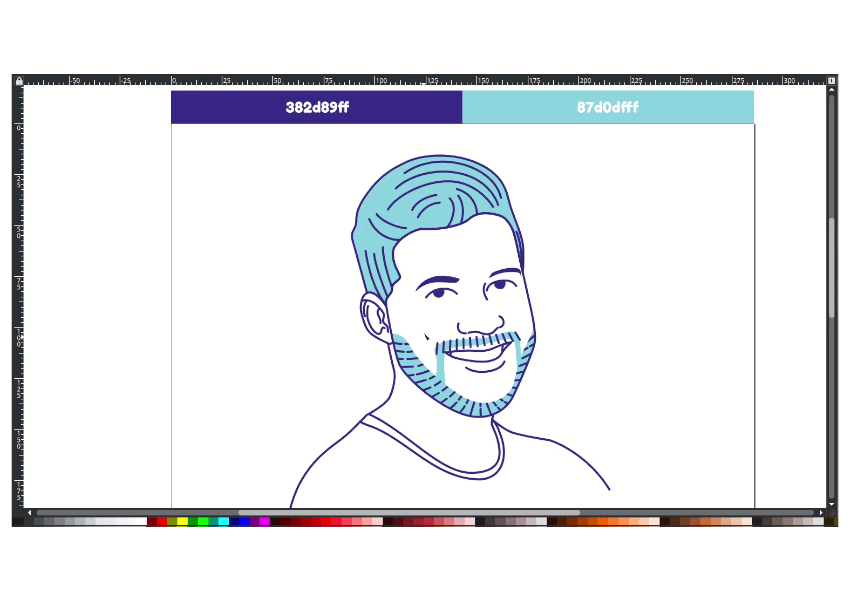
Step 14
With bezier tool, create shape in front of the hair strokes.
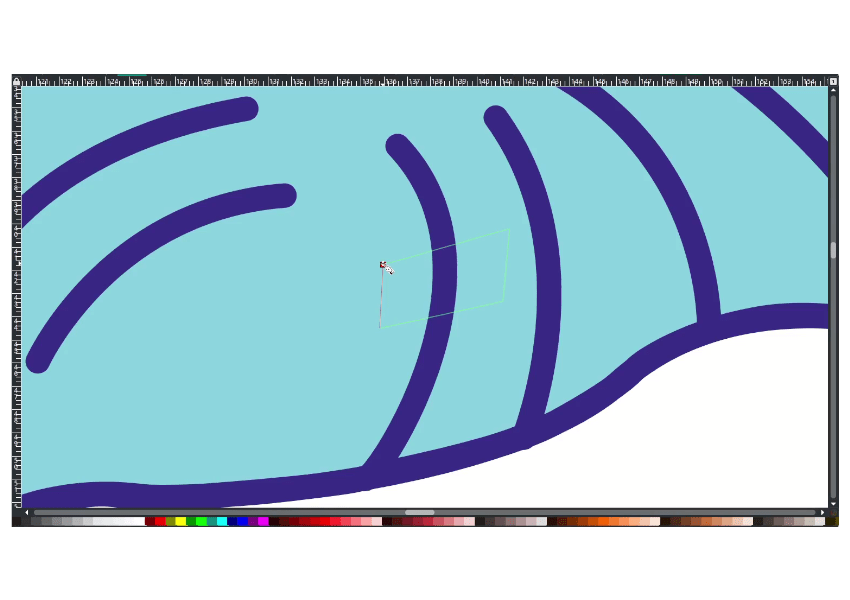
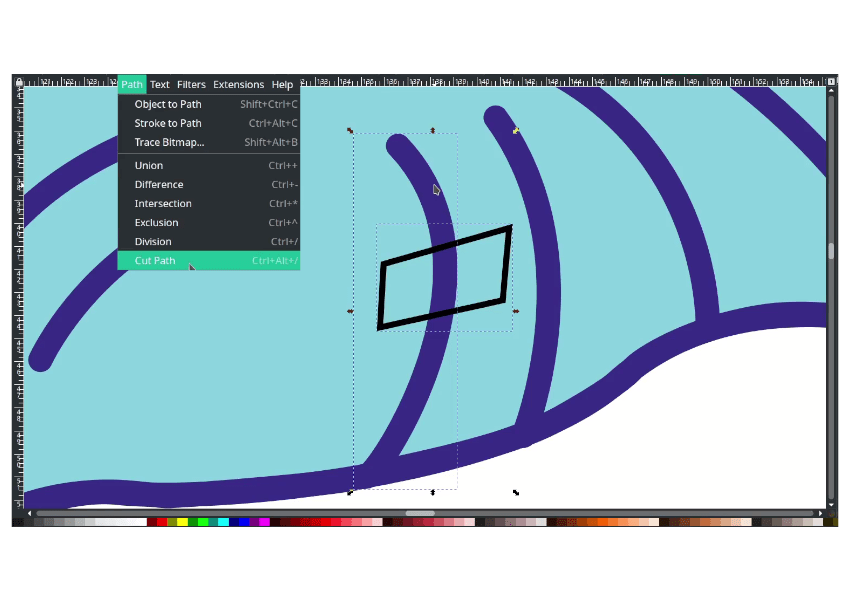
Select the two paths and in Path > Cut Path. It is the same result as step number 12, but with a different method
Grab the cut shape, then delete it.
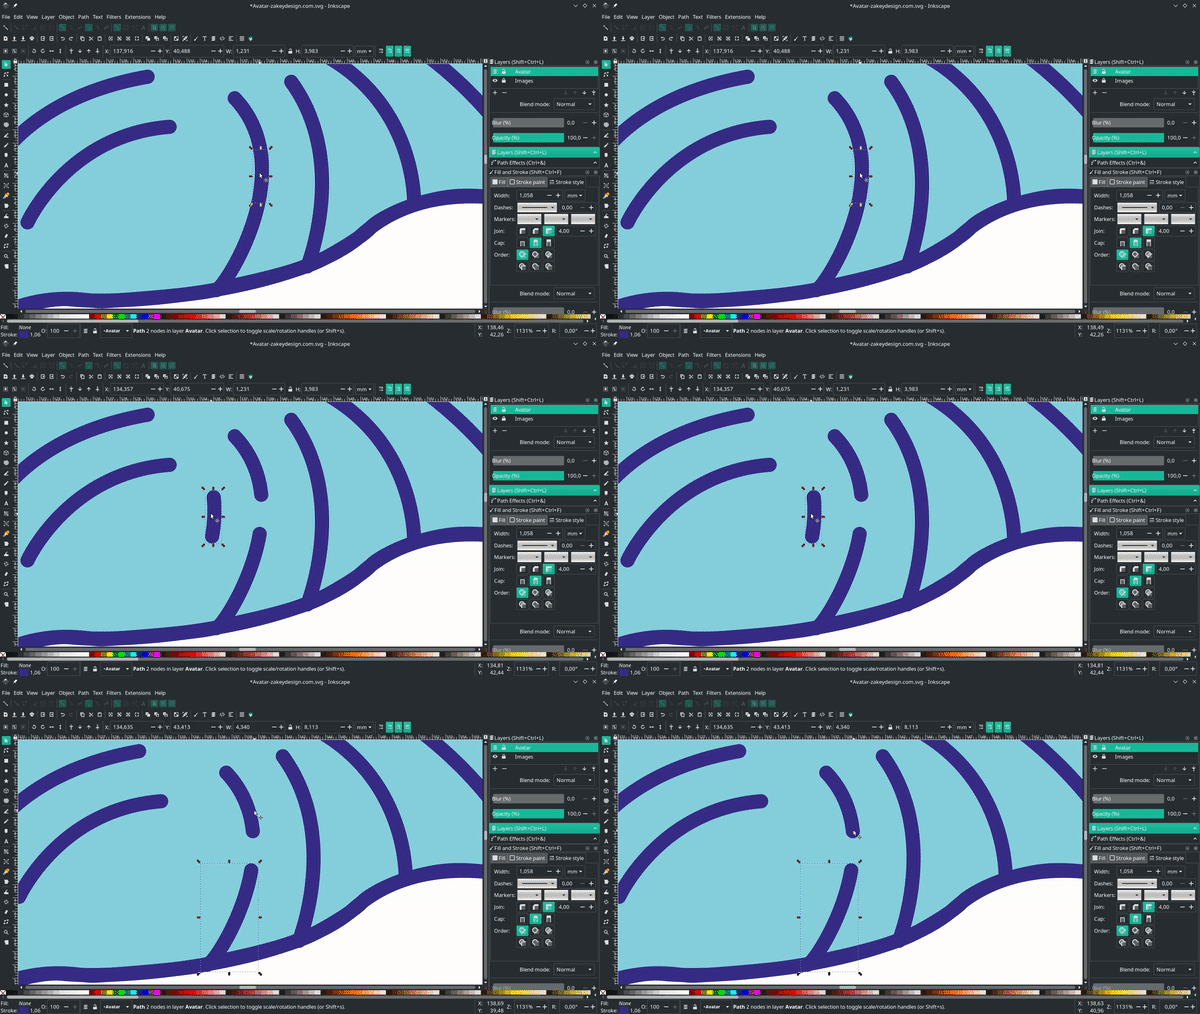
Result:
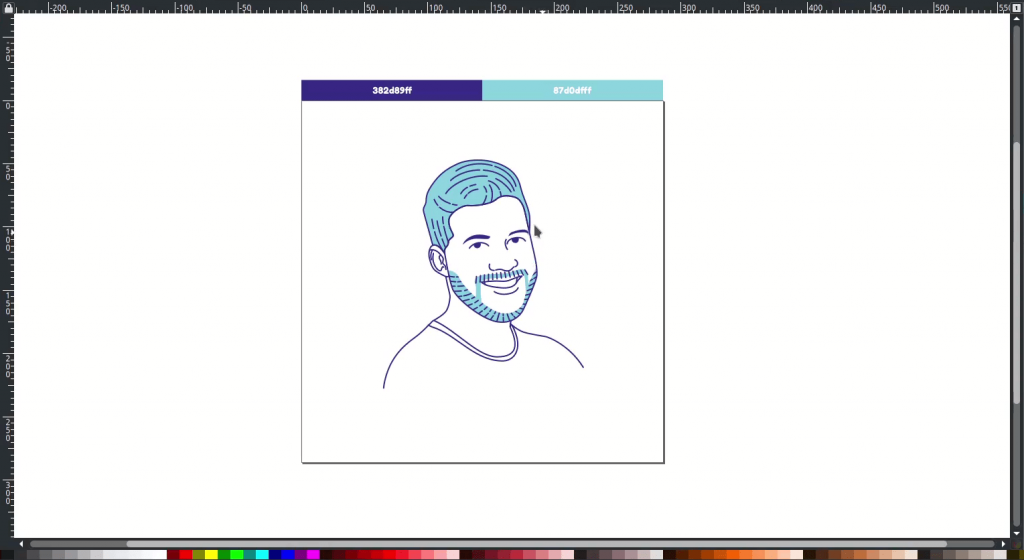
Done
That’s it; I hope you learn something new about creating this avatar style on Inkscape. Thanks for reading; see you in the following posts.

Tutorial Assets
Credits
- Inspired by : Flat Line Avatar from Fiverr


