There are many ways how to create a flat illustration. One of them is using the tracing technique with Inkscape using the bezier tool. In this tutorial you will learn how to use the bezier tool, locking the corner with the bezier tool to follow the reference images.
What you will learn
- Adding Layer and Lock Layer
- Using Bezier tool
- Locking corner with Bezier tool
- Smoothing Lines
- Duplicating Object
- Intersecting Path
Step 1
Import the image in File > Import. Scale it down by pressing ctrl+shift.
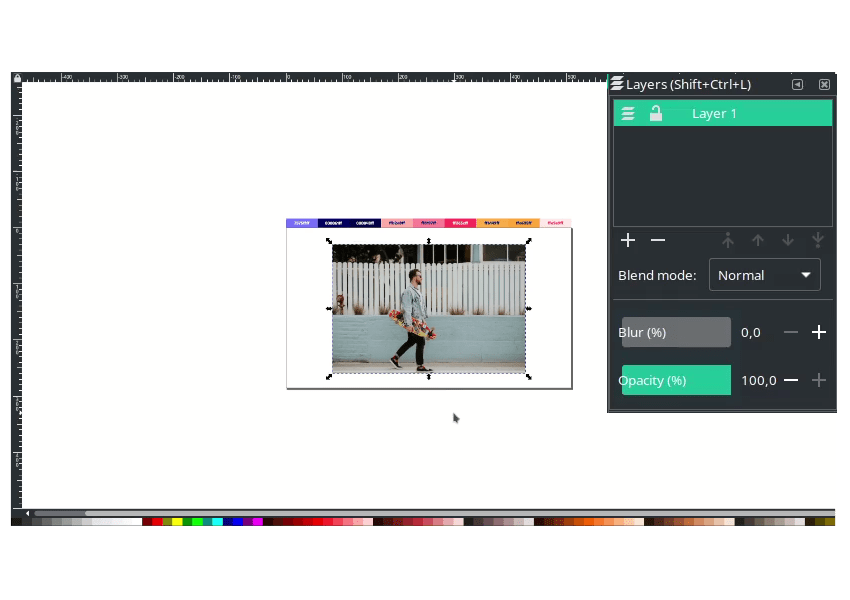
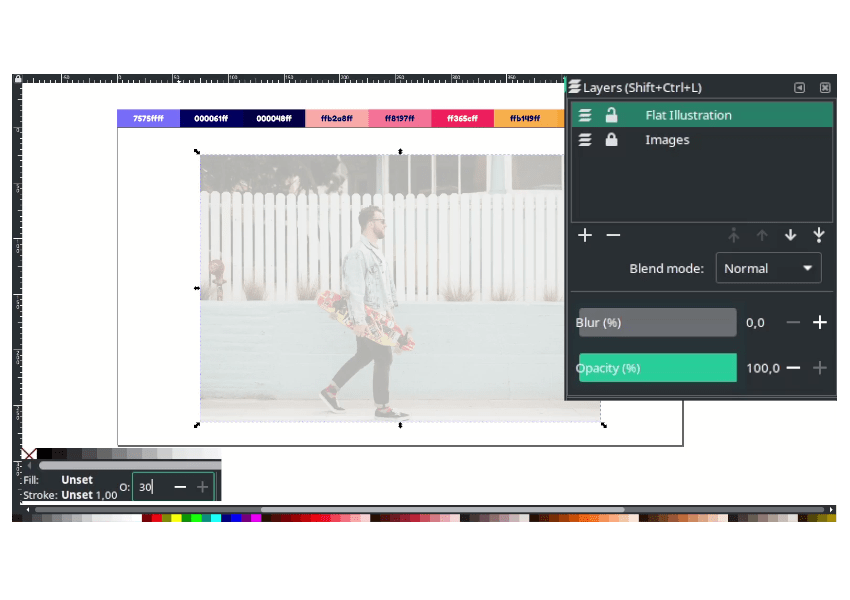
Create a new layer for the flat illustration layer, and double-click to rename the layer. Lock the image layer as a reference when drawing. You can reduce the image opacity to 30.
Step 2
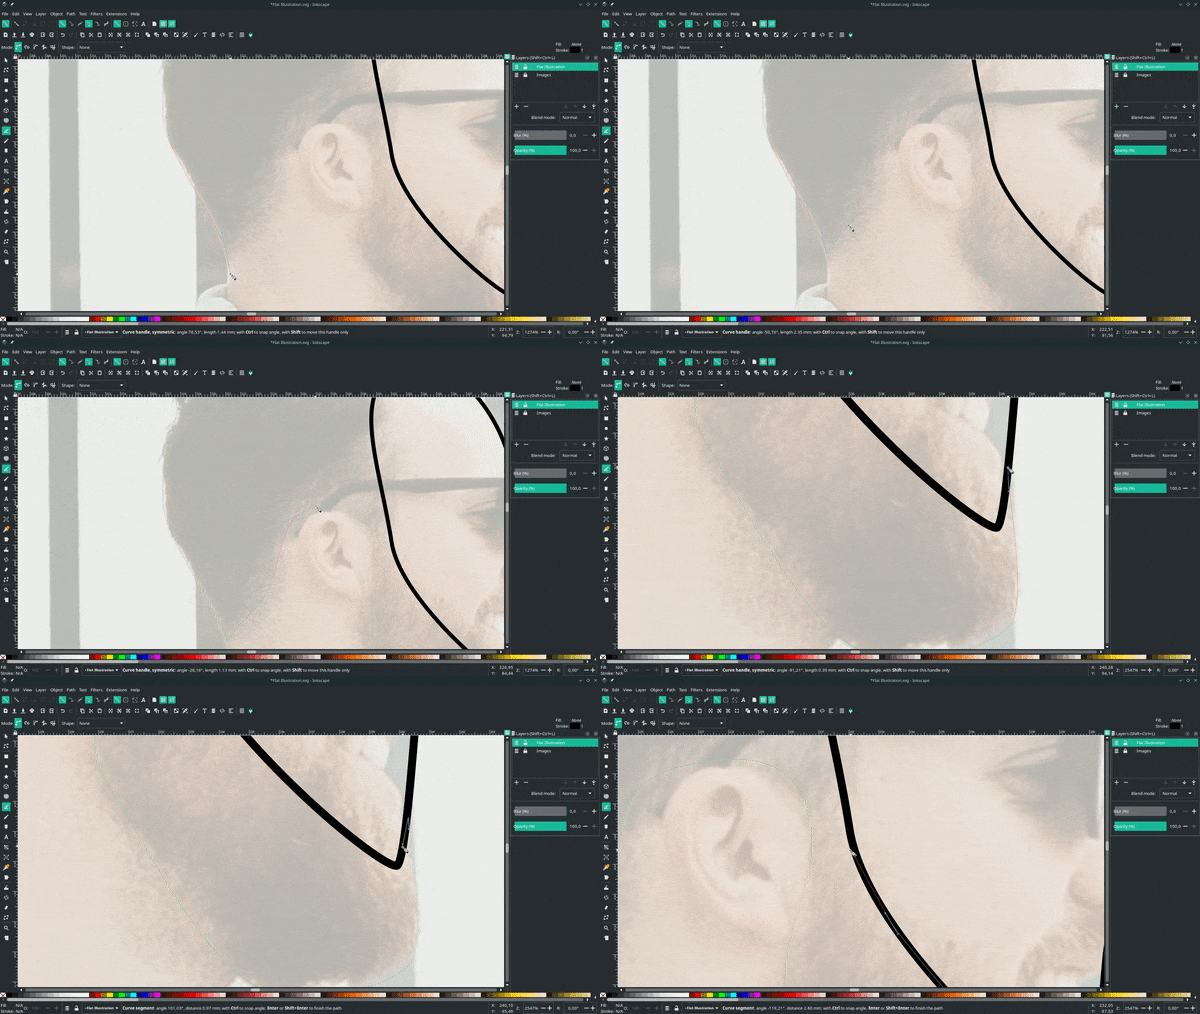
Now, press B to activate the Bezier tool and start drawing the head shape by clicking and dragging.

You can hold Shift to lock the corner, and then release it.
Result:
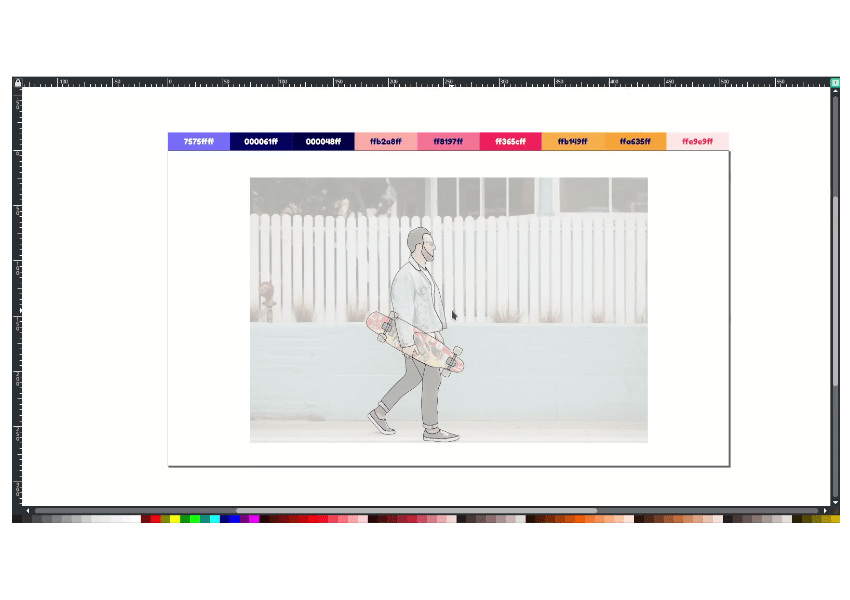
Continue to all body parts.

Result:
Step 3
Press D to activate the Dropper tool, and you can change the color for each shape in the Fill and Stroke tab (Shift + Ctrl + F).

Remove all the strokes by selecting all paths, and on the bottom left corner, right-click and select “Remove Stroke”.
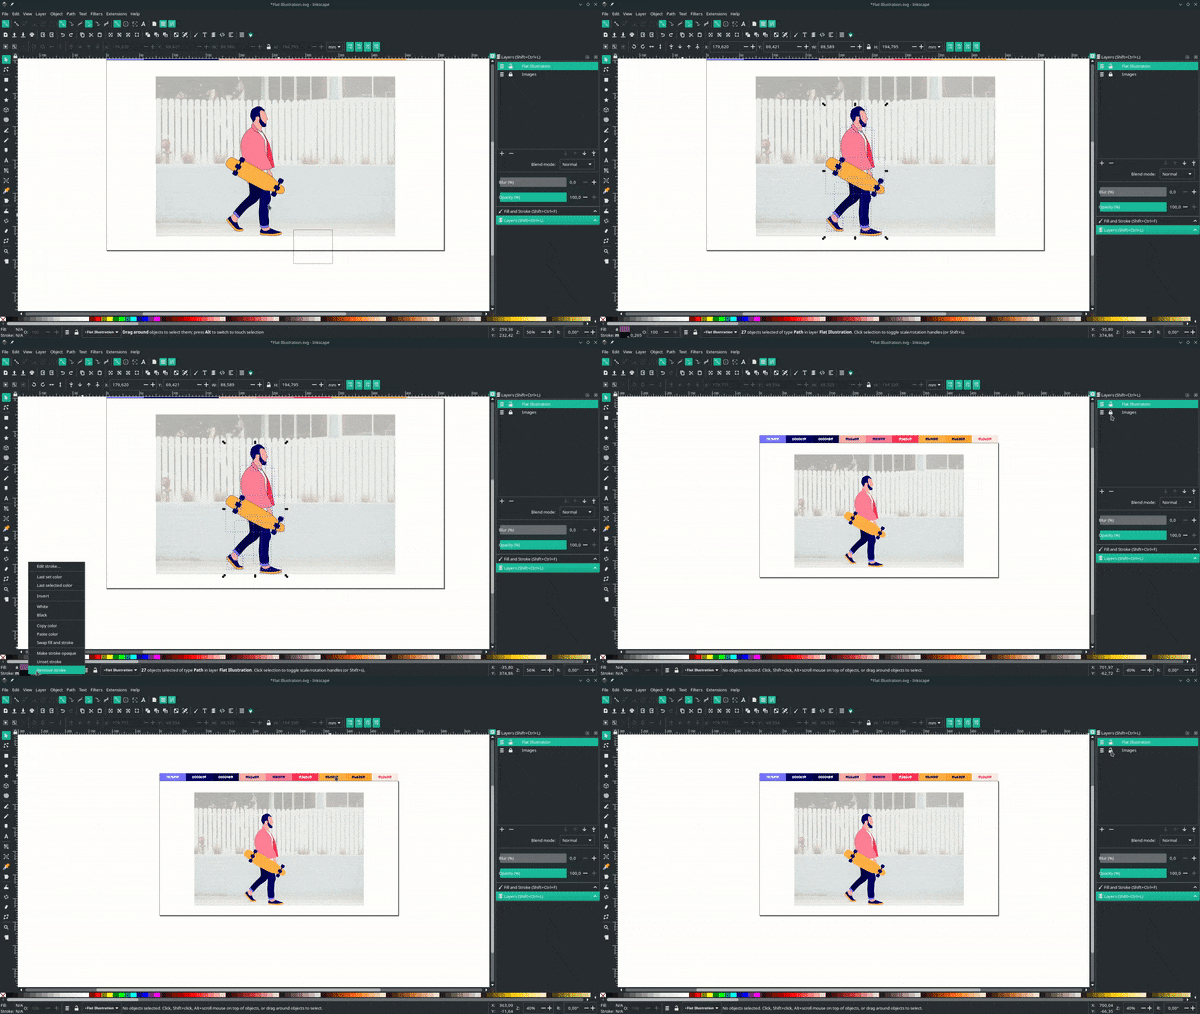
Result:

Step 4
Refine all the shapes by removing some nodes.
Note: Remember, the fewer the nodes, the smoother the shape.
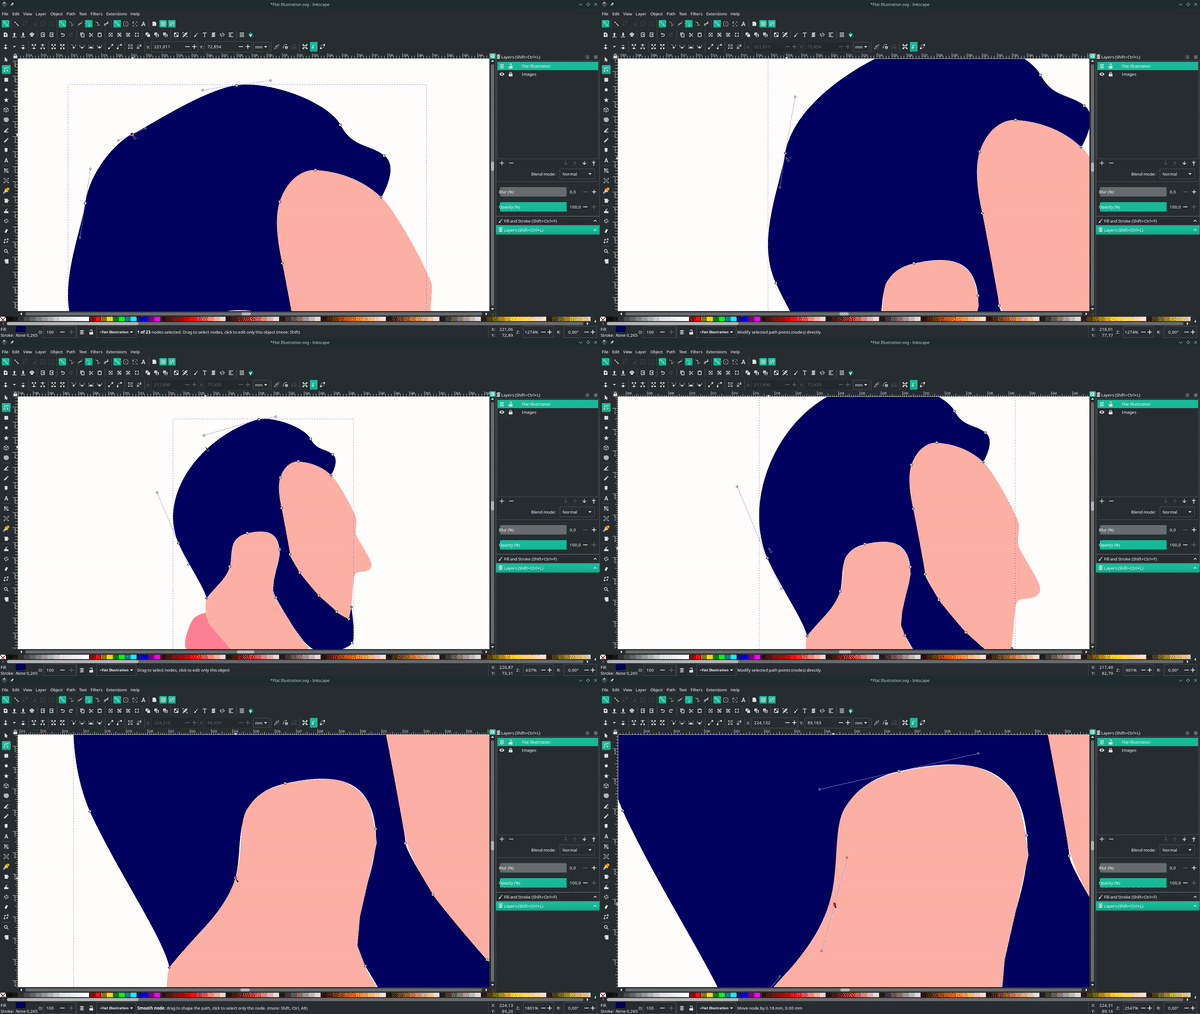
Continue to refine the shapes.
Step 5
Next, create a shading with bezier tool (B).

Give a color with dropper tool (D).
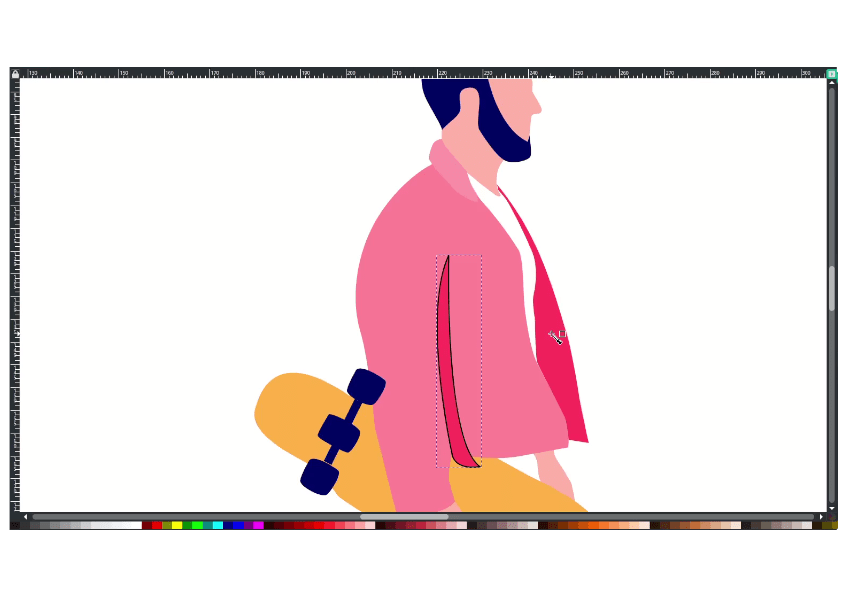
Duplicate the shirt with Ctrl+D, then select the two shapes, and go to Path > Intersection.
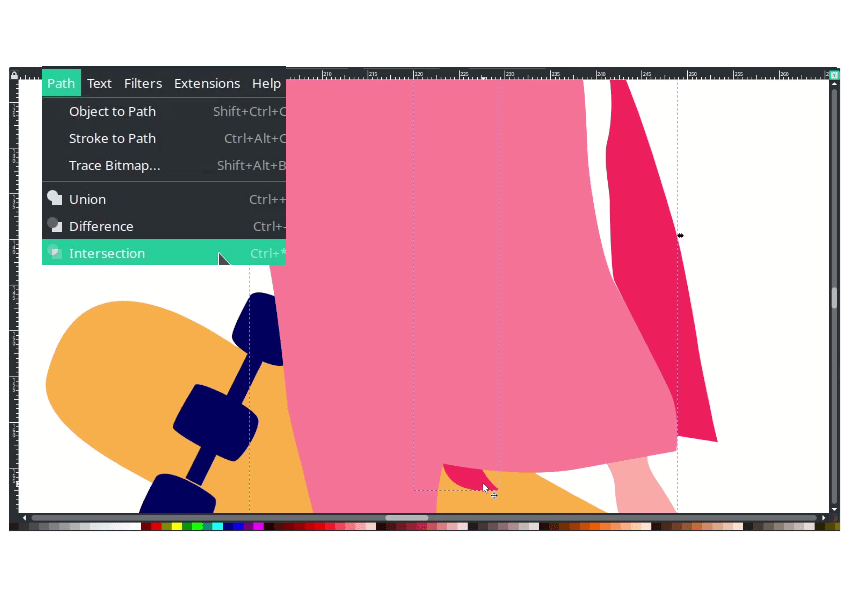
Result:

Step 6
For the last step, create a background effect with the Bezier tool (B) and draw abstract shapes.
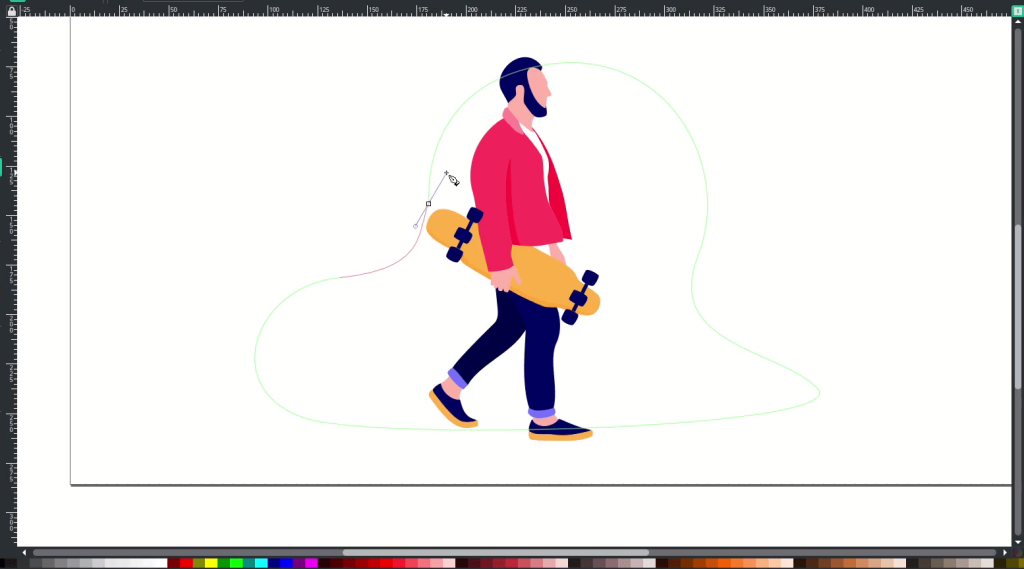
Give a color to Misty Rose (#ffe9e9ff).
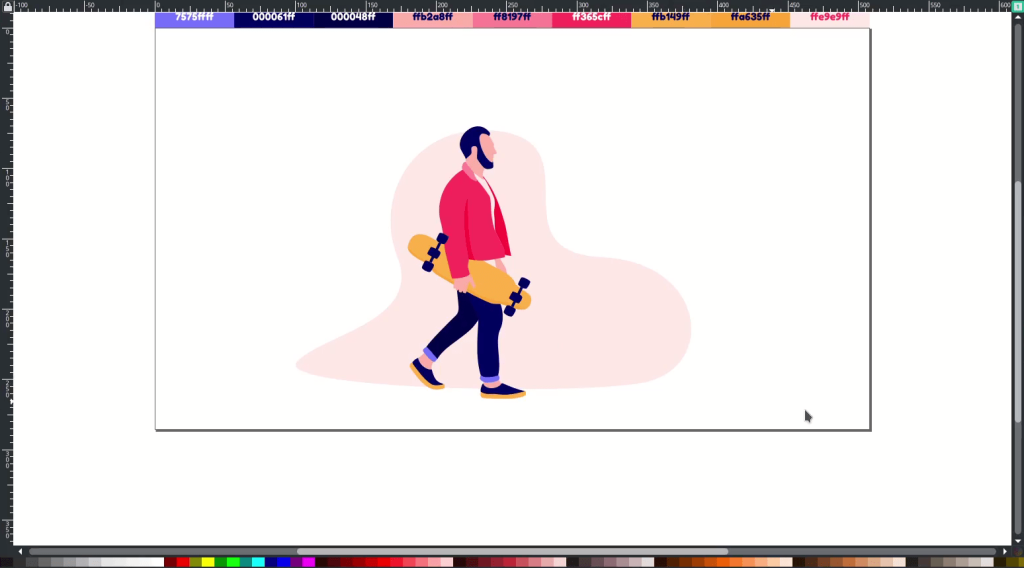
Add more variation.
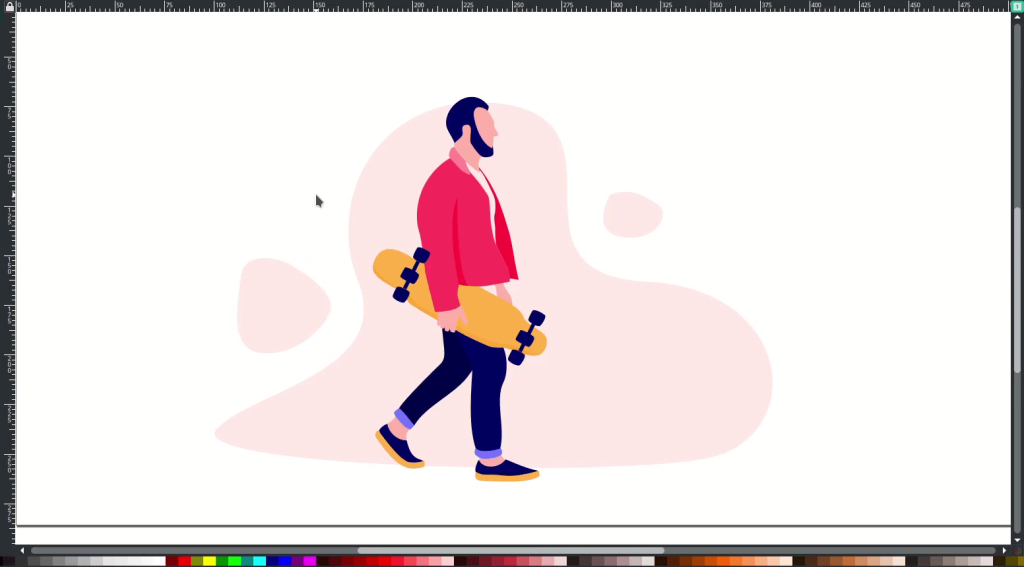
And the last, you can add some line elements with bezier tool (B).
Done
This is really good for practicing with the Bezier tool. Keep tracing!


