In this tutorial, I’m going to show you how to create flat landscape illustrations using gradient and bezier tools in Inkscape.
What you will learn
- How to use bezier tool
- How to use gradient tool
- How to use clipping mask
- How to add text
- How to create grain effects
Tutorial Steps
Step 1
Set the document size in File > Document Properties. set the size to 1920×1080 px (Landscape).

Create a shape with bezier tool (B).
Tips: hold shift, then release while dragging to lock the corner.

Step 2
Create a gradien with gradient tool (G) then drag to the shape.

Change the color to Permanent Geranium Lake (#e51f52ff) and Melon (#fcac9fff). Also, remove the stroke in the left corner right click > remove strokes.

Step 3
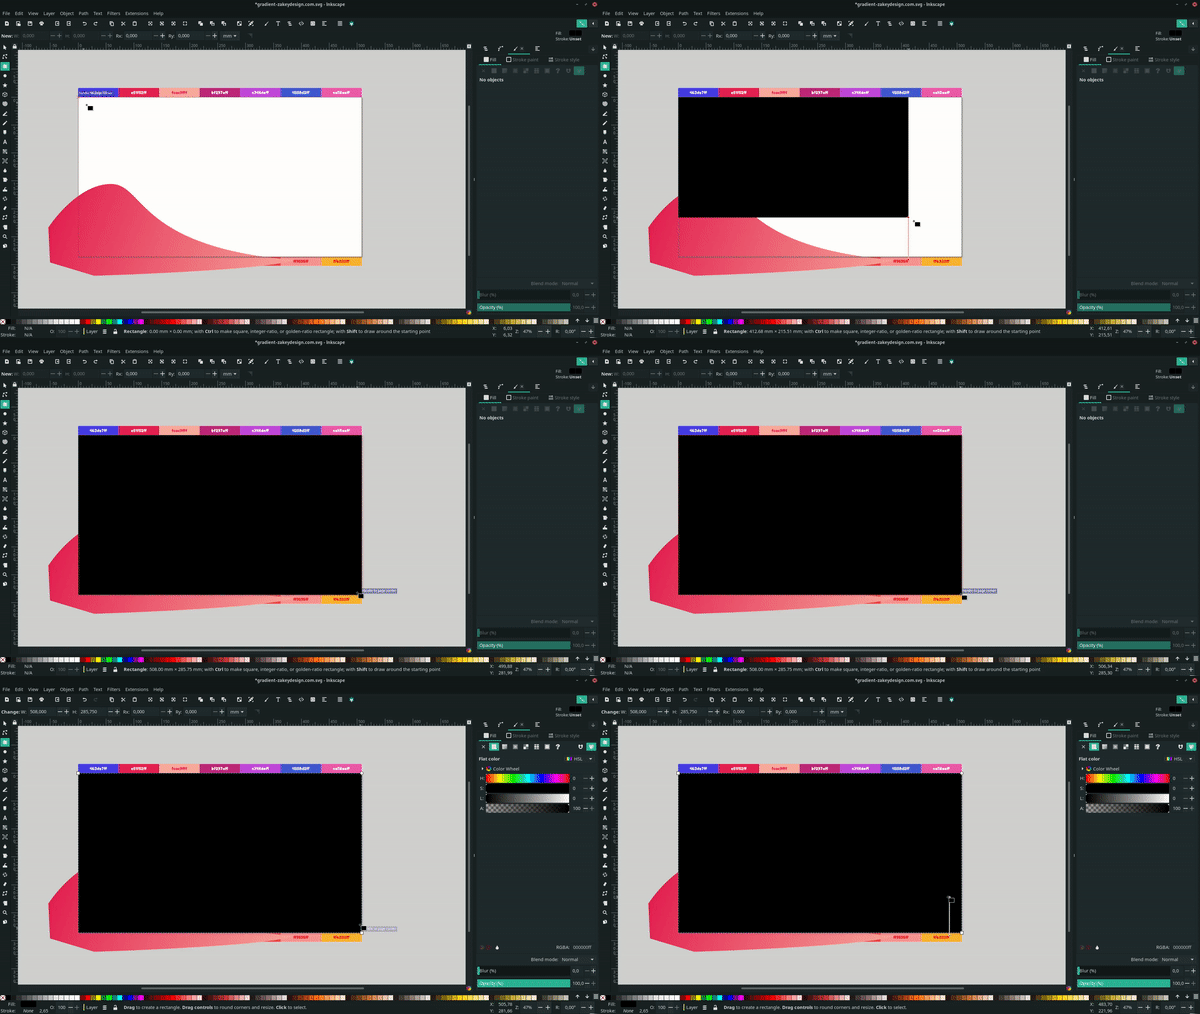
Now create the background with the rectangle tool. Make sure to turn on the “toggle snapping” in the top right corner. So when you drag, it will automatically snap from corner to corner.
Tips: When creating a background, turn on toggle snapping for easier to snap corner to corner.

Move the rectangle to the bottom, and change the color to Blue RYB (#463de7ff).

Step 4
Next, create a clipping mask by duplicating the rectangle first with ctrl+d, then clicking the rectangle and the shape (by holding shift then click) and right click > set clip.

Add more shapes and give the gradient colors.
Result:

Step 5
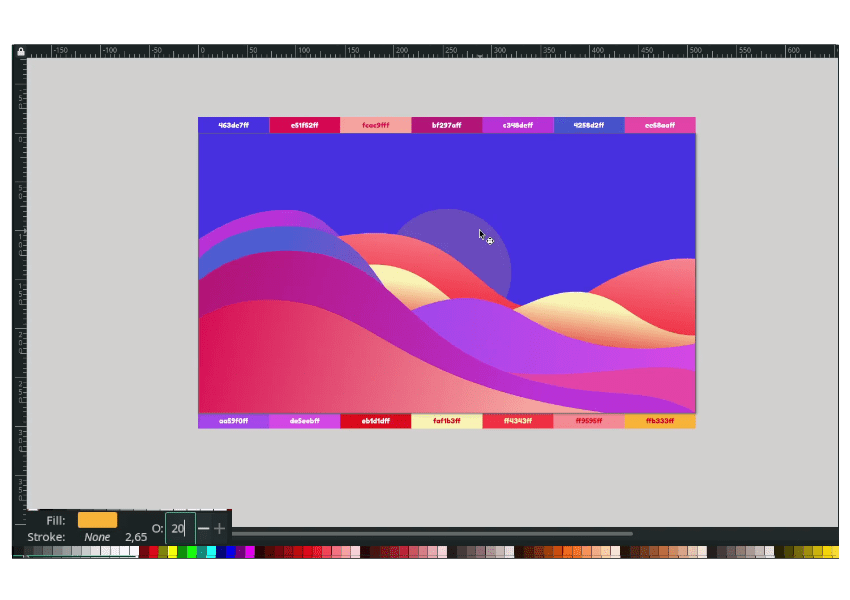
Create a circle with ellipse tool (E) then change the color to Honey Yello (#ffb333ff).

Then send to the lower back, and change the opacity to 20.

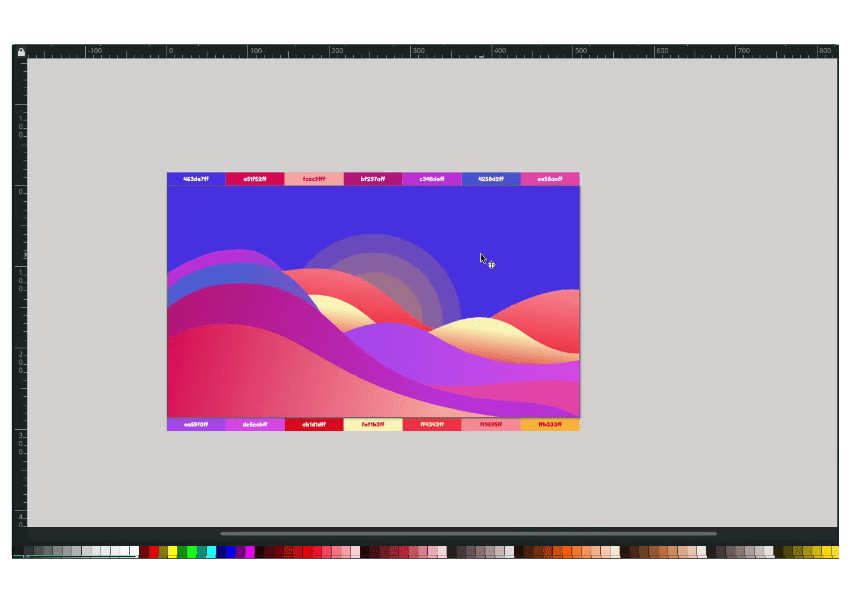
Add more circles by duplicating the circle shape with ctrl d and scaling it with ctrl+shift to scale proportionally.

Step 6
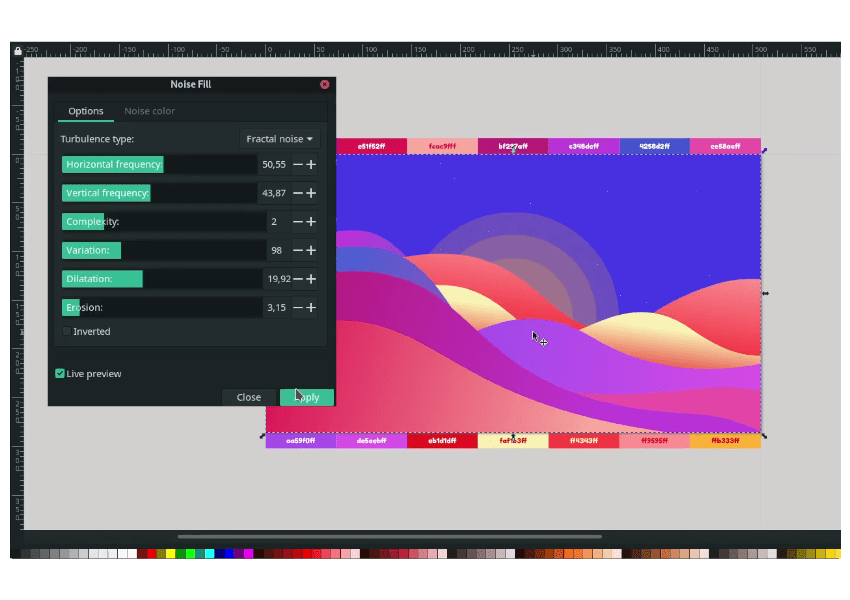
Create a noise effect (or grain effect) for the background in Filters > Overlays > Noise Fill. And feel free to adjust the settings. You can add more element like text.

Finished!
Not really hard, isn’t it? The key is the bezier tool; once you understand it, you can easily make a drawing or trace an Image with it. Always practice and practice.


