In this tutorial, I will show you how to create a 3d text effect with Interpolate on Inkscape and add shading to give more dynamic looks for the final results.
What you will learn
- How to create outstroke with outset
- How to use path effect
- How to add multiple pages
- How to use Interpolate extension on Inkscape
Step 1
Type a text with text tool (T), change the font to Bowlby One SC.
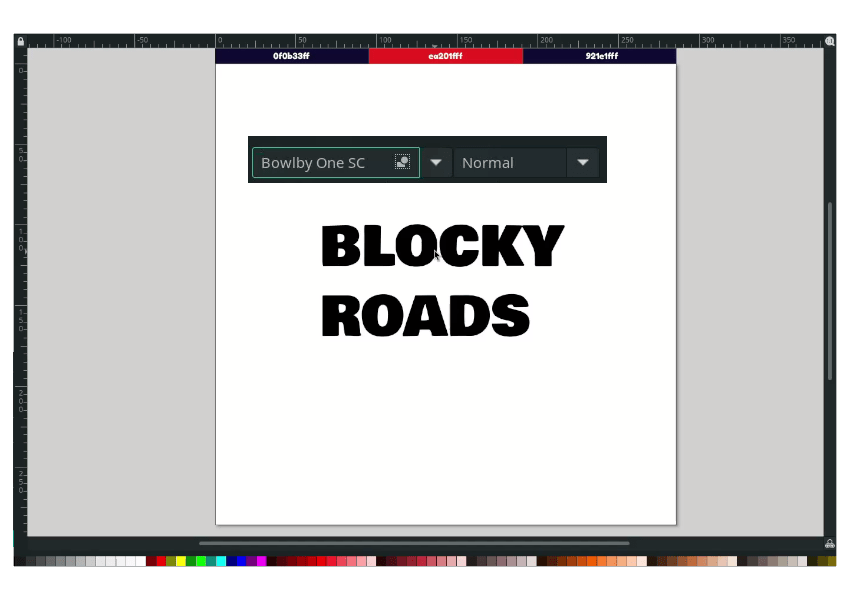
Convert the text to Path in Path > Object to Path

Step 2
Next, add the Perspective/Envelope in Path > Path Effects > click the (+) > Perspective/Envelope. Press F2 to enter the edit mode and drag the text like below:

Apply the path effect by converting to the Path in Path> Object to Path.
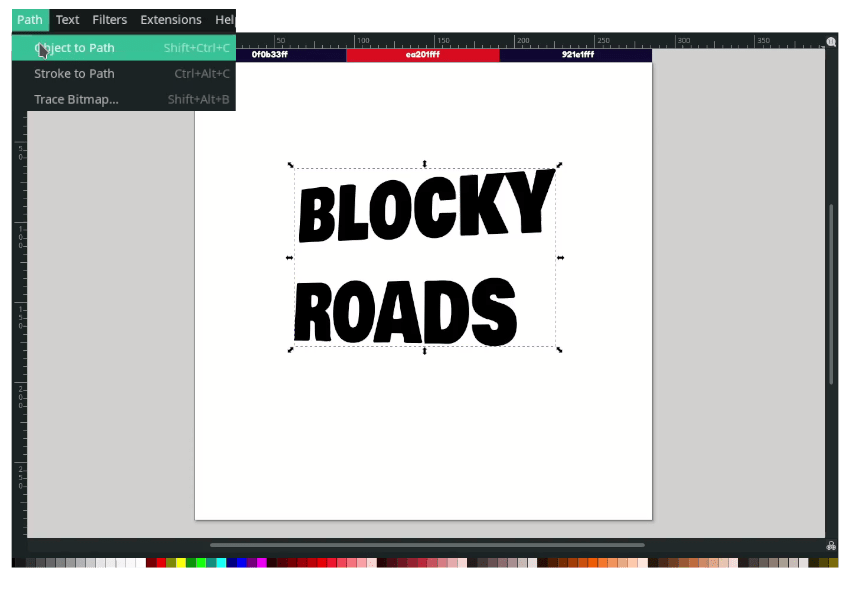
Ungroup the text by right click > ungroup.
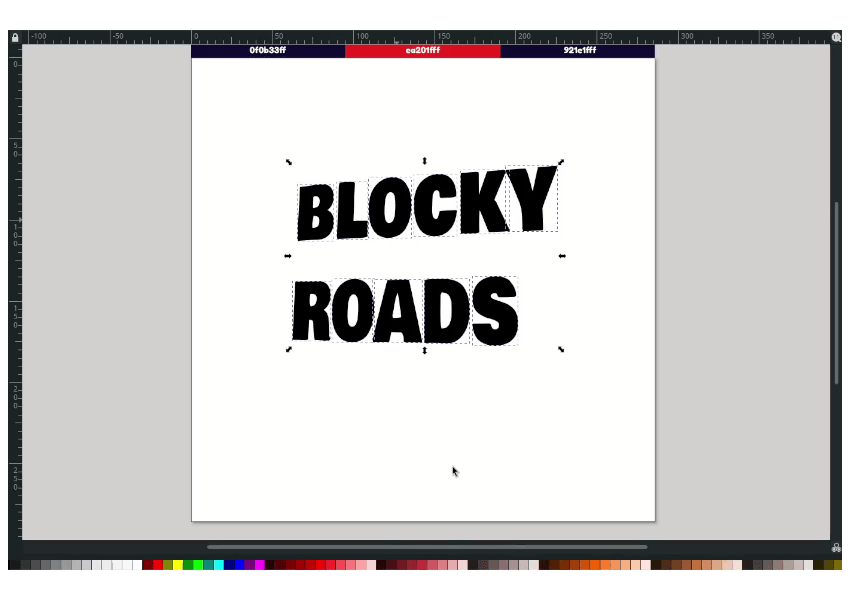
Step 3
Arrange the text like the below:

Step 4
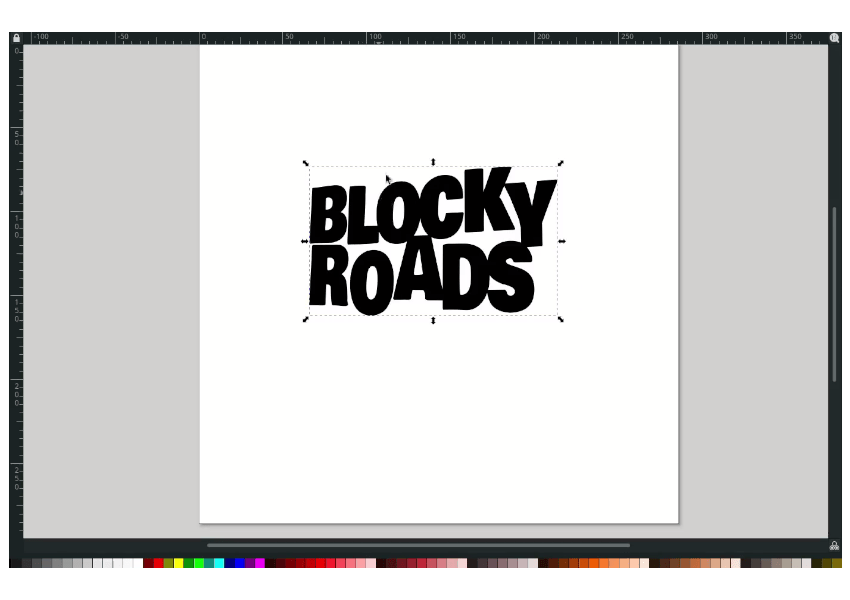
Unite the text by selecting all then go to Path > Union.
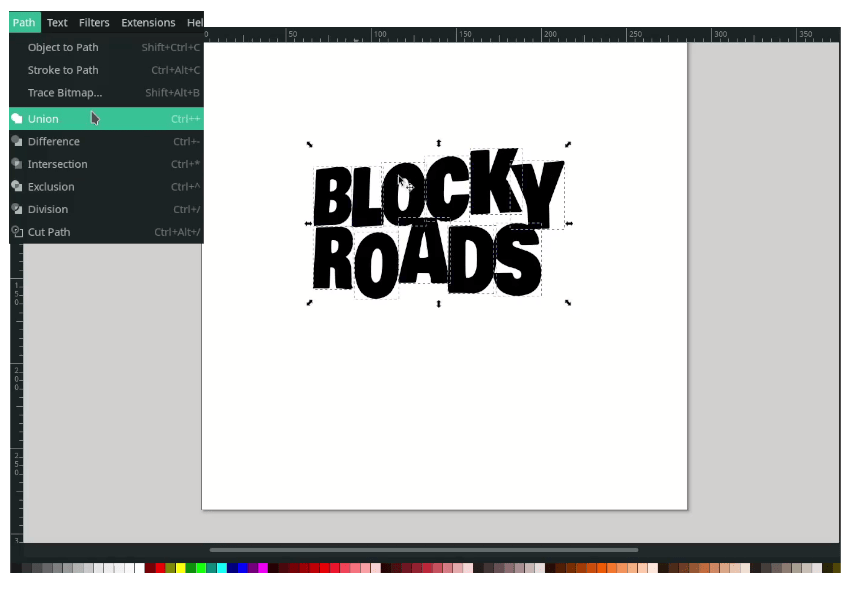
Result:
Step 5
Duplicate the text with Ctrl+D, then move to the lower back. Also, you can change the color to any (for example: red) for easier to see the difference.

Step 6
Select the text (the black and the red), then go to Extensions > Generate from path > Interpolate. set the steps and apply.
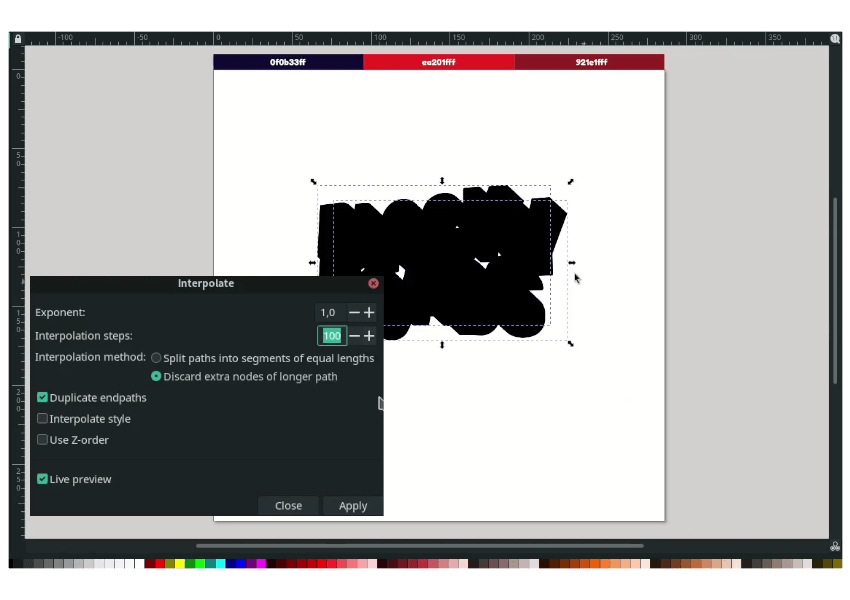
Send to the bottom, then remove the red color. Change the front path color to white. and the Extrude to red.
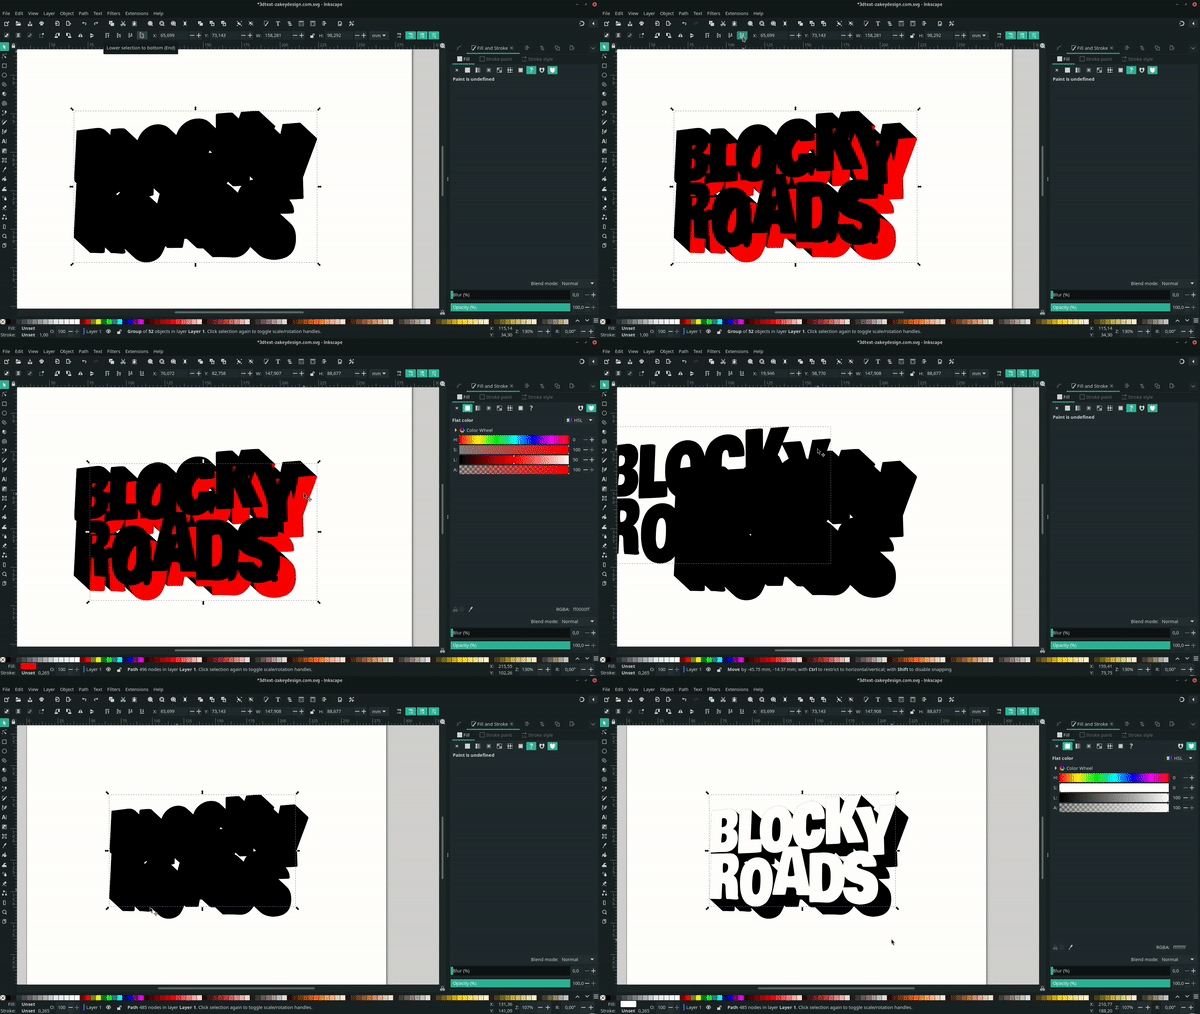
Result:

Step 7
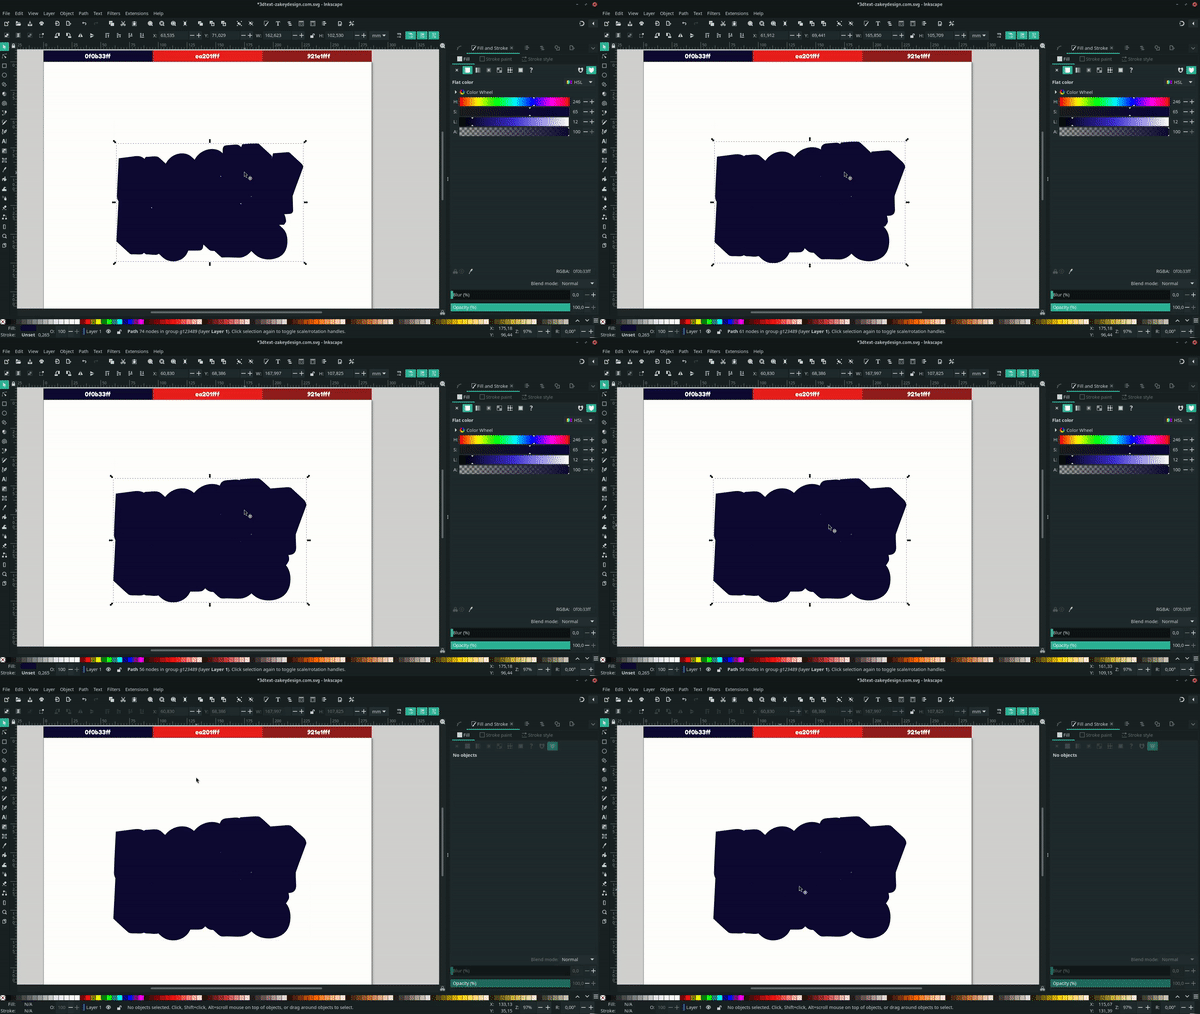
Duplicate the extrude with ctrl+d then change the color to dark blue.

Combine the extrude only in Path > Combine.
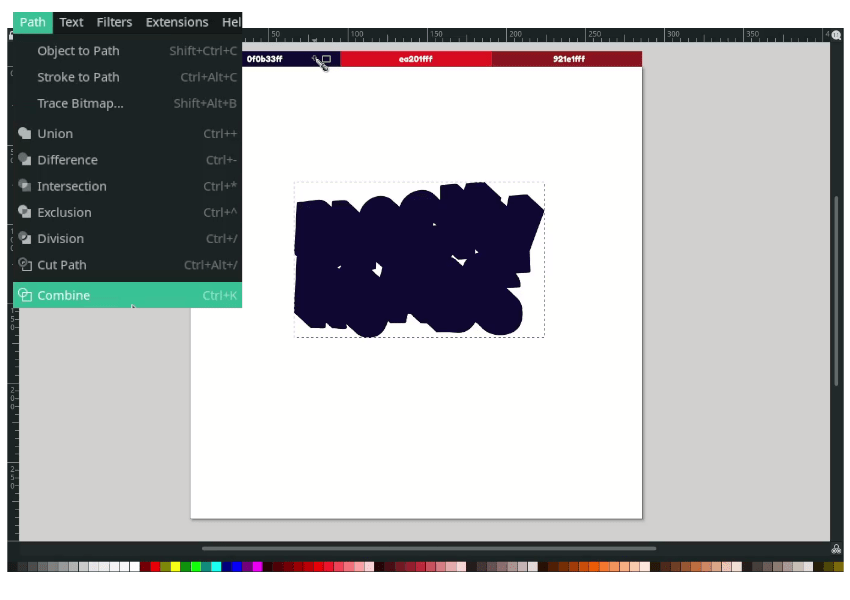
Press ctrl+) to increase the stroke width and send to the lower back. And you can add some shading.
Final Result
That’s how you can create the 3d text with interpolation in Inkscape. Thank you for reading.
