In this tutorial, we will create a gradient geometric design with Gradient Tool in Inkscape and shape it with patterns.
What you will learn
- How to create a rounded rectangle
- How to change color with the dropper tool
- How to make intersection
- How to round a corner with path effects
- How to do gradient
- How to keep stroke width when scaling object
Tutorial Steps
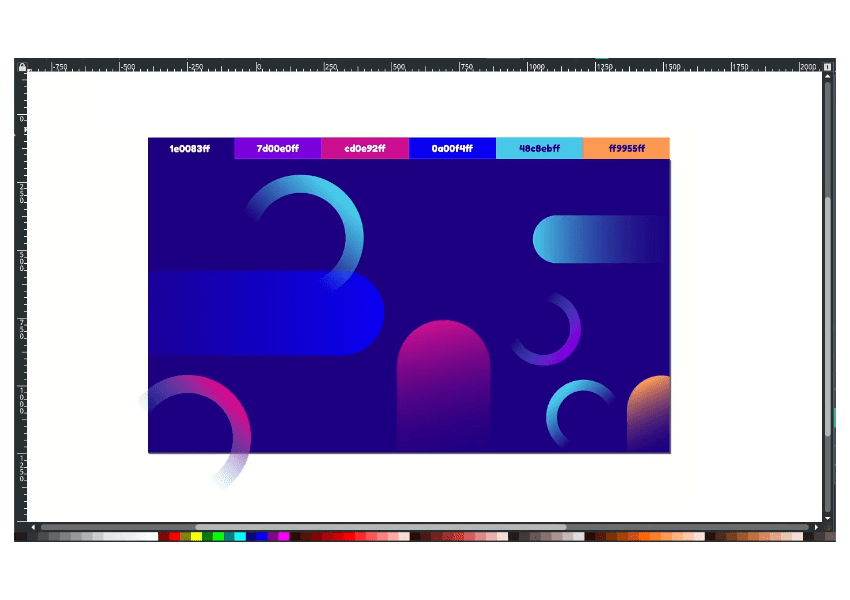
Step 1
Create a background with the rectangle tool and with dropper tool (D) change the color to Navy Blue (#1e0083ff).

Step 2
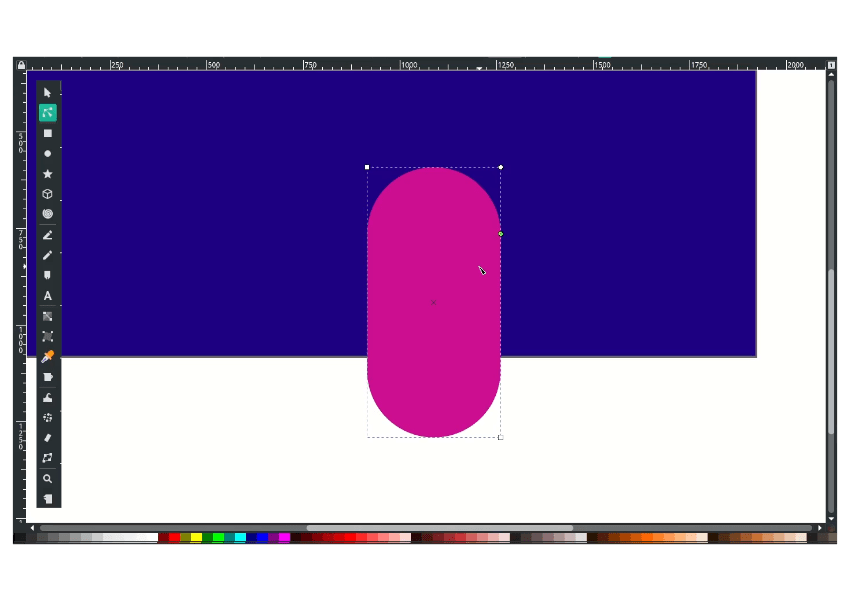
Draw a rectangle with Rectangle tool (R) and change the color to Medium Violet Red (#cd0e92ff).

With edit path by nodes (N)/(F2), click on the rectangle handle and drag down.

Result:
Step 3
Create a gradient with transparency with Gradient tool (G).
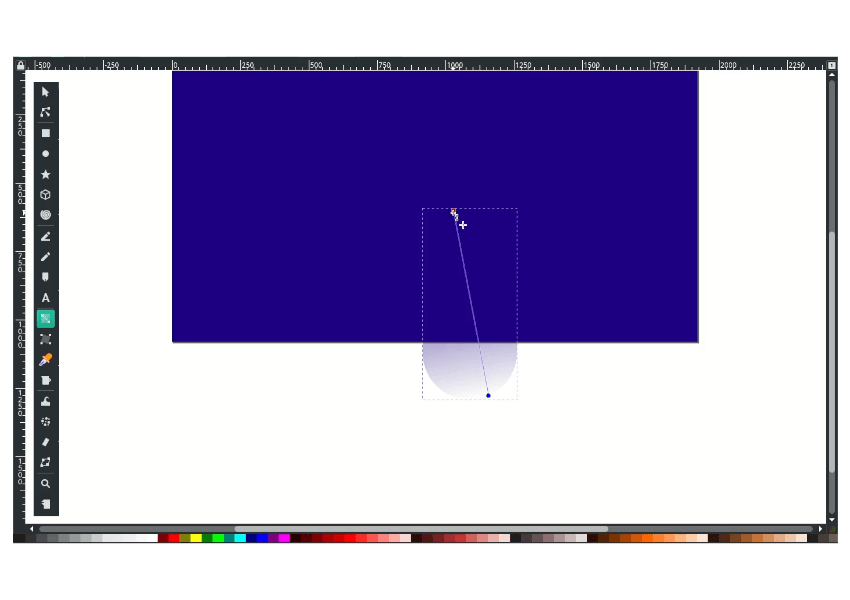
Make sure to remove the fill on the bottom node by right click > remove fill.
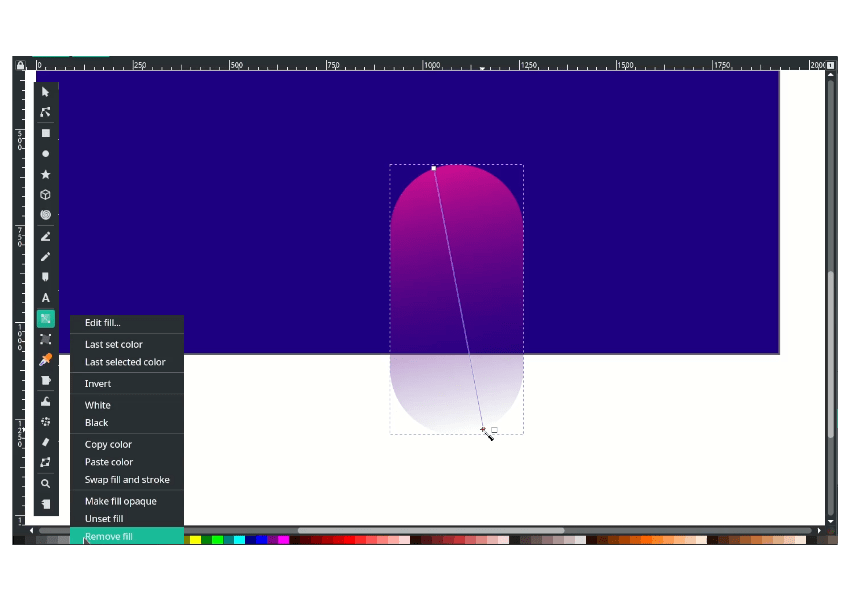
Result:

And add more shapes.

Step 4
Make the Path fit with the background by duplicating the background with CTRL+D, then select the two objects (background and the rounded rectangle) in Path > Intersection.
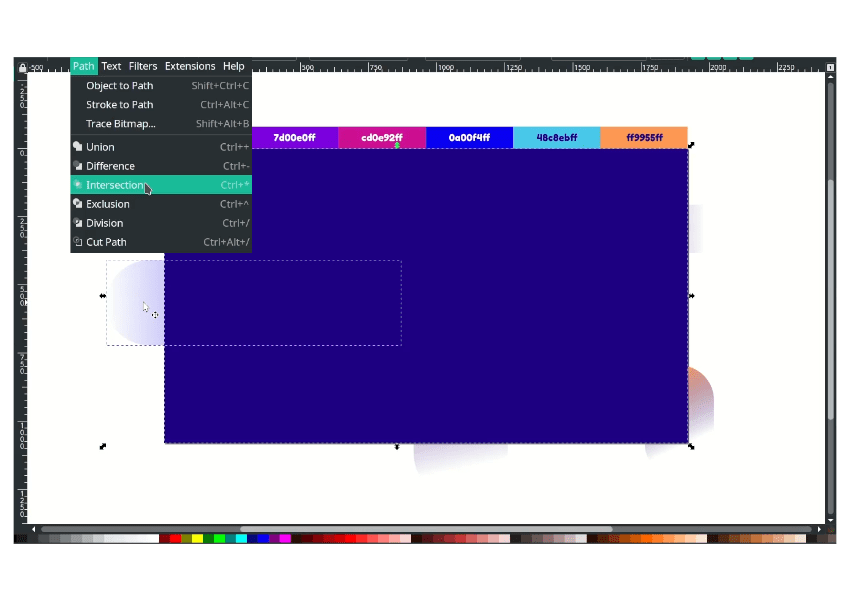
Repeat the steps for all shapes.

Step 5
Next, create a circle with Ellipse Tool (E) and change the color to Vivid Sky Blue (#48c8ebff). Swap the fill color to stroke in the left corner, right-click on fill > Swap fill and stroke.

In fill and stroke menu (Shift+Ctrl+F), Change the stroke width to 250px.

Click on the Stroke paint tab, change to Linear gradient, and you can adjust the handle to move the gradient effect.
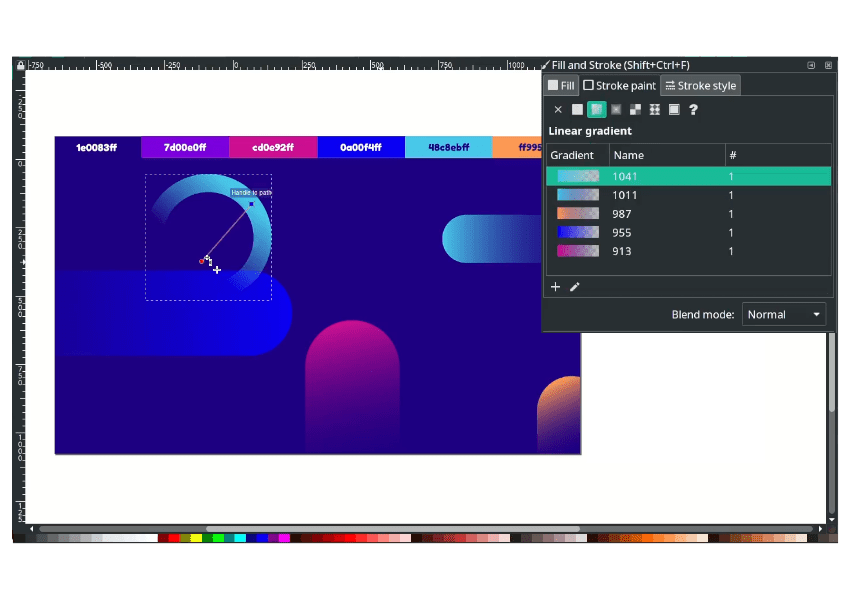
Repeat the steps and add more shapes.
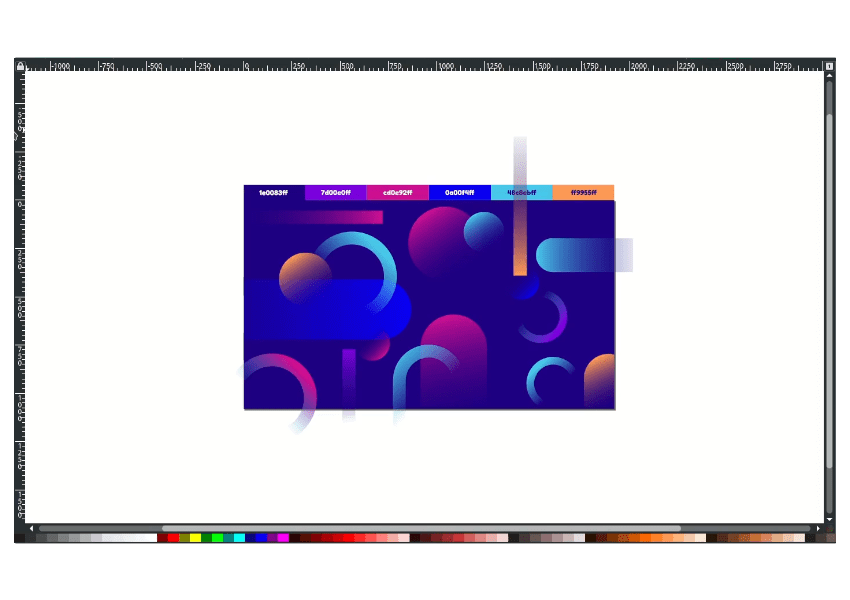
Step 6
Create a circle with a transparency gradient change the top node color to Atomic Tangerine (#ff9955ff).

Add more shape and change the color.
Step 7
Now we are going to give the pattern fill to the shapes, create a circle then in Fill and Stroke menu, cNow we will give the pattern fill to the shapes, create a circle, and change the pattern fill to Stripes 1:1 White in the Fill and Stroke menu.
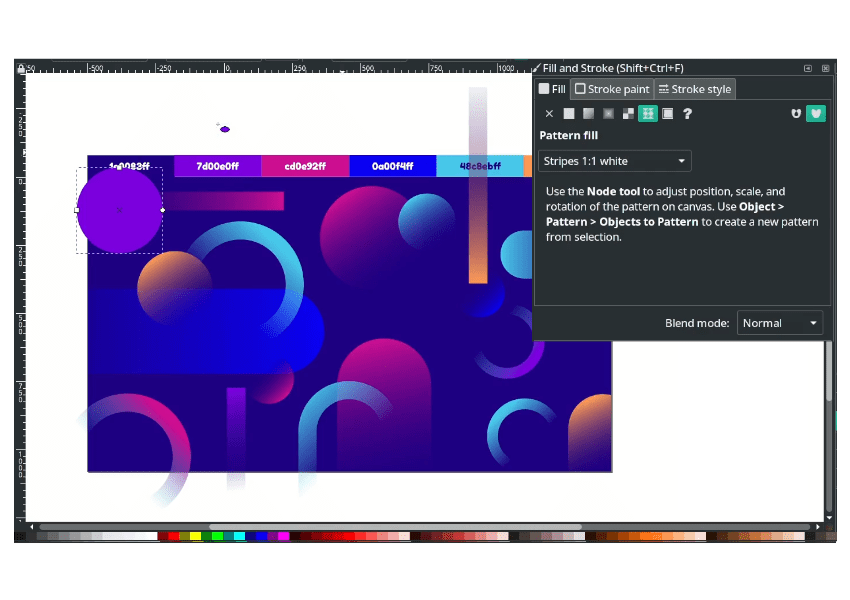
Rotate it by clicking twice until the rotate symbols appear.

Duplicate the shapes with Ctrl+D and place them as you want.

Smoothly Done!
Easy, I hope you learn to use a gradient with the shapes and patterns to create a geometric gradient background in Inkscape. Have a great day.