This tutorial will show you how to create a glassmorphism effect in Inkscape by using the gradient tool and blur effects.
What you will learn
- How to scale the object in
- How to rotate in Inkscape
- How to use gradient tool in
- How to align objects
- How to use guides
- How create a clipping mask
- How to create a rounded rectangle
- How to blur in Inkscape
- How to use noise fill in Inkscape
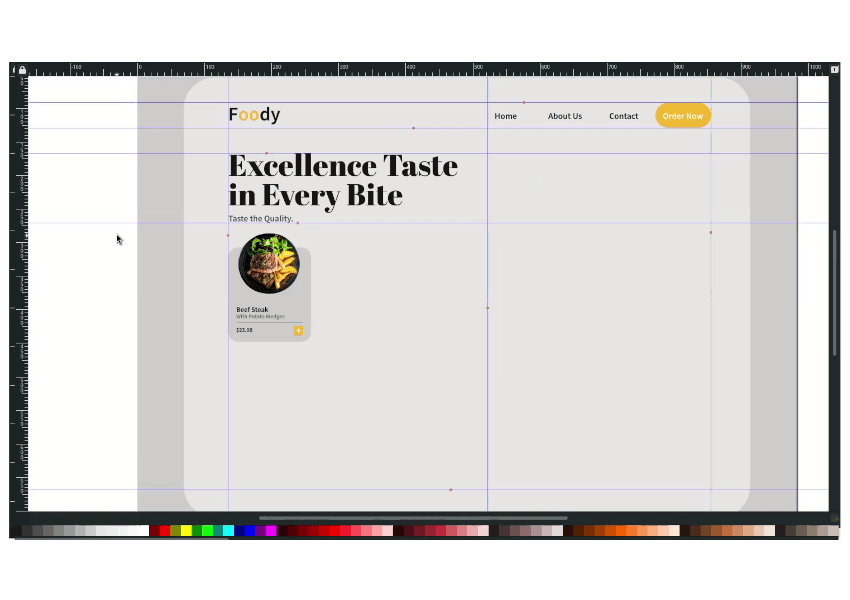
Step 1
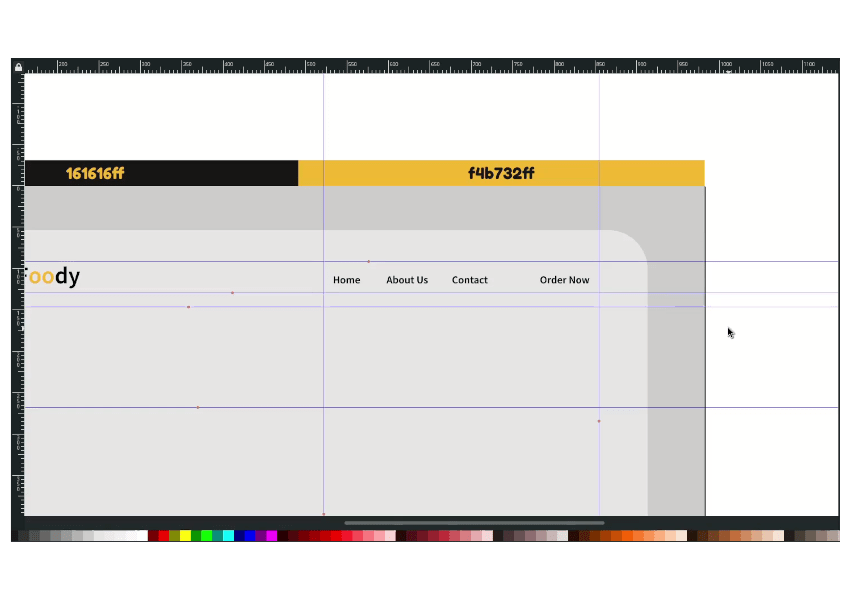
Create a background with rectangle tool (R) and change the color to 20% gray (#ccccccff).
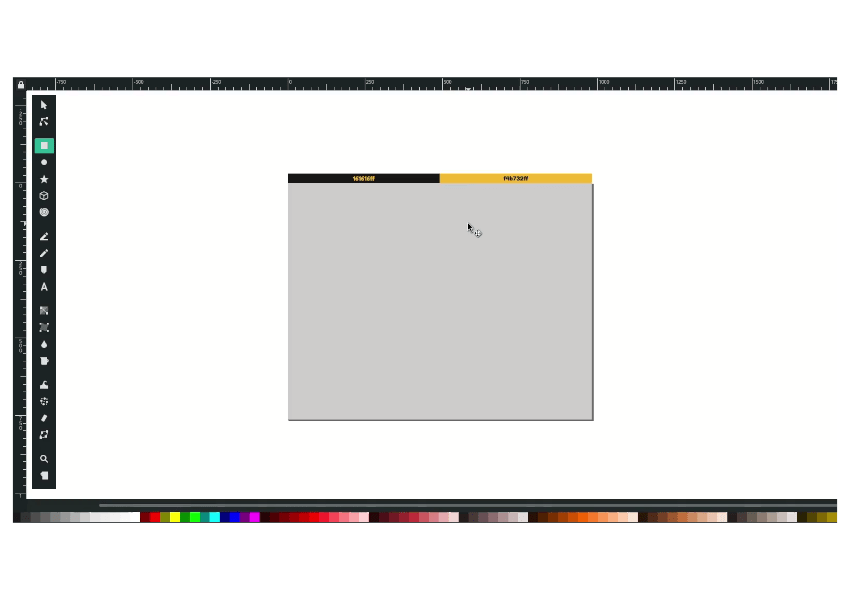
Duplicate the rectangle with ctrl+d then scale down by holding ctrl+shift, and change the color to 10% gray (#e6e6e6ff).
Press F2 to edit nodes and drag the handle to create a rounded rectangle.

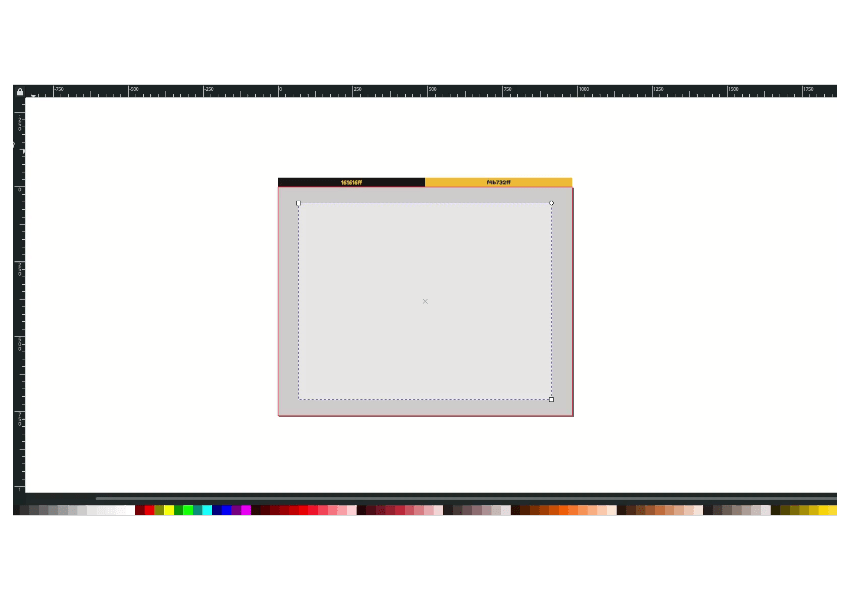
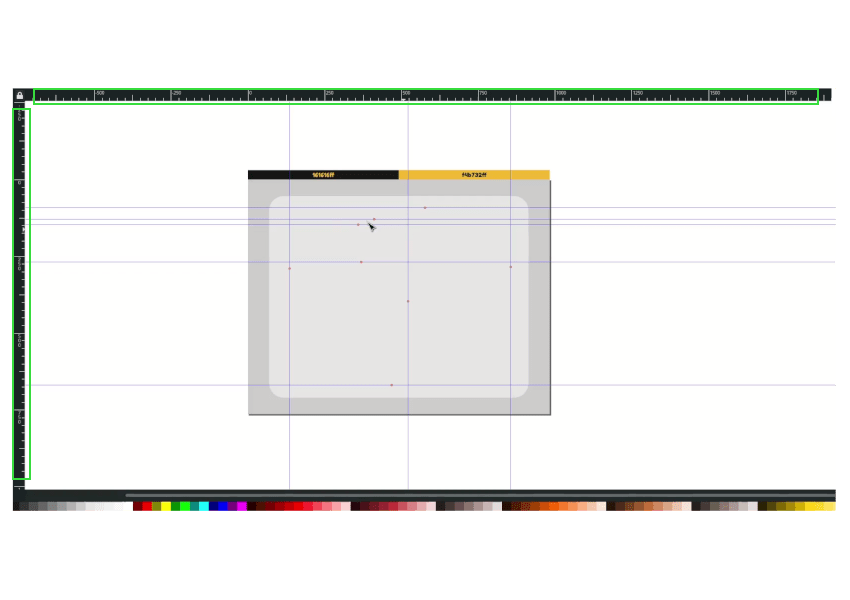
Step 2
Create guides by dragging from the left and the top for the element placement later.
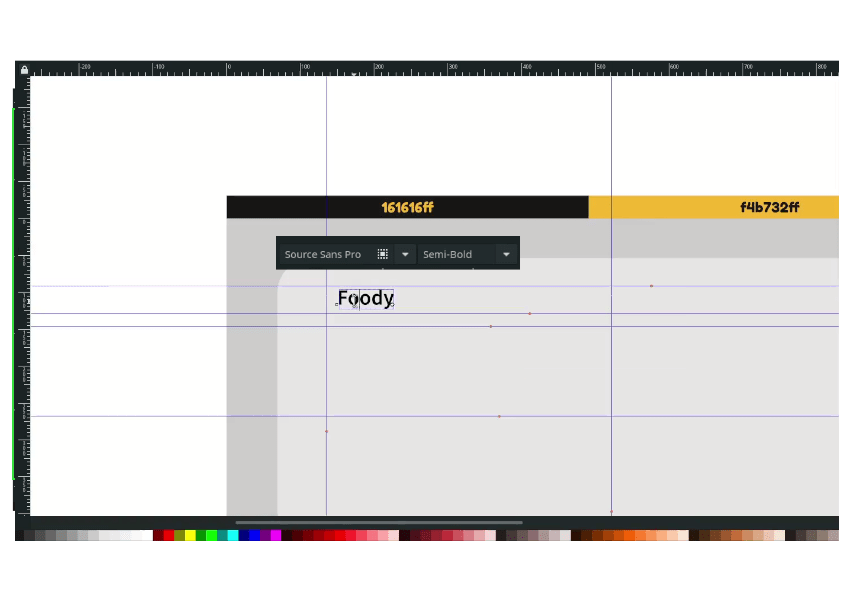
Step 3
Create a text with a text tool (T) for the title with Source Sans Pro fonts.
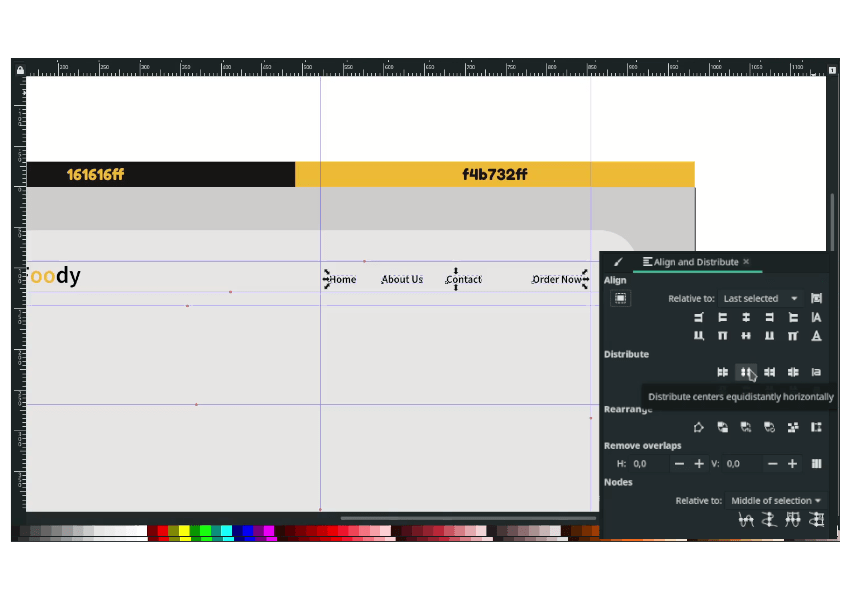
Add more text to the menu.
Step 4
Tips: you can align the menu to make it neat in aligning and distributing objects (Ctrl+Shift+a) > then choose distribution centers.
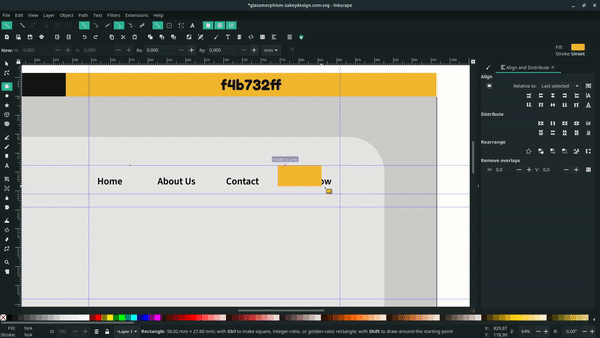
Create a button design with rectangle tool, and change the color to Orange Yellow (#f4b723ff)
Result:
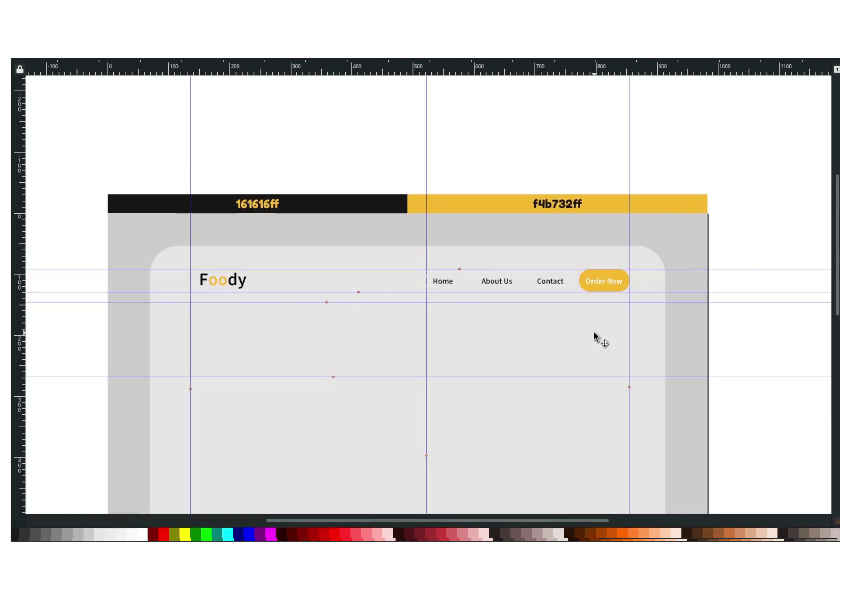
Add more text with Abril Fatface fonts.

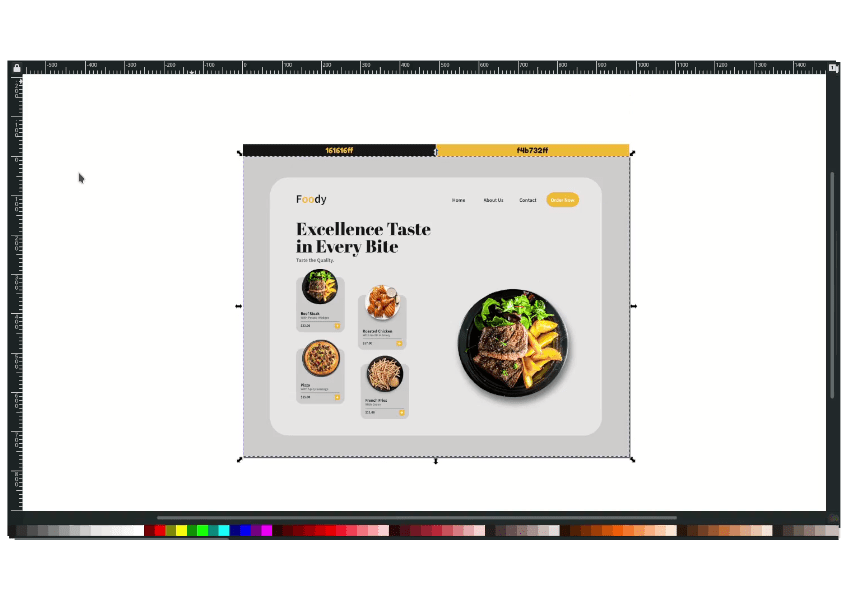
Step 5
Create a rounded rectangle with rectangle tool (R) and change the color to 20% gray (#ccccccff).

Impor the image in file > Import then you add some text elements.
Result:
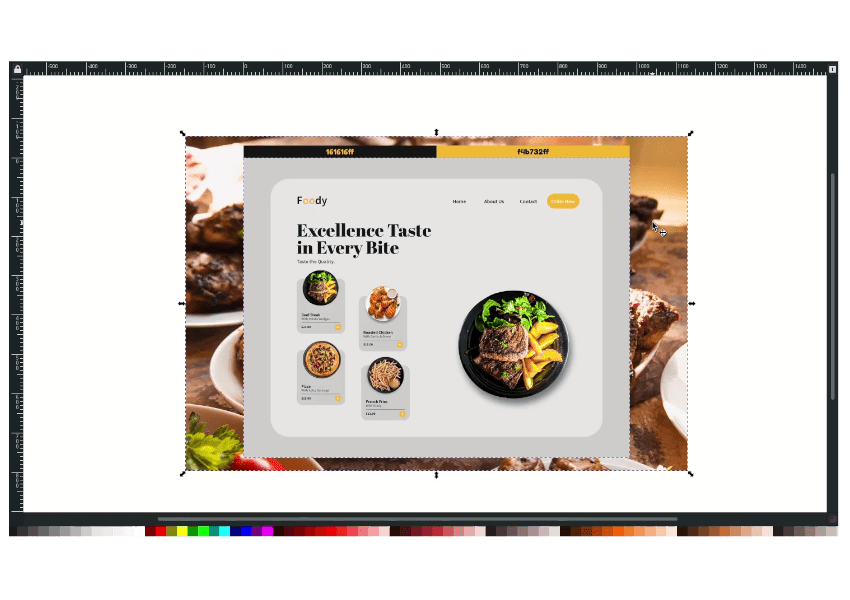
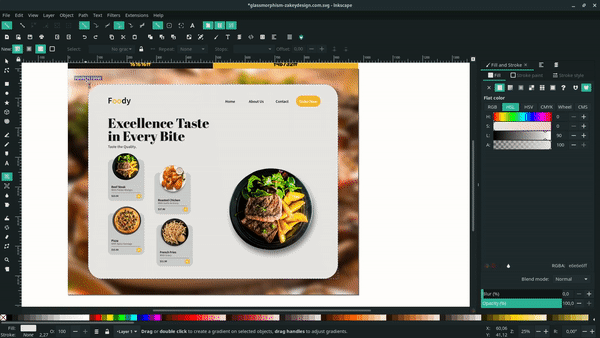
Step 6
Add a background image in file > import and send it to the lower back. Duplicate the background image with ctrl+d. Select the background rectangle, then the background image. Right-click> set clip.
And now, select the front rectangle and the background, right-click> set clip.

Result:
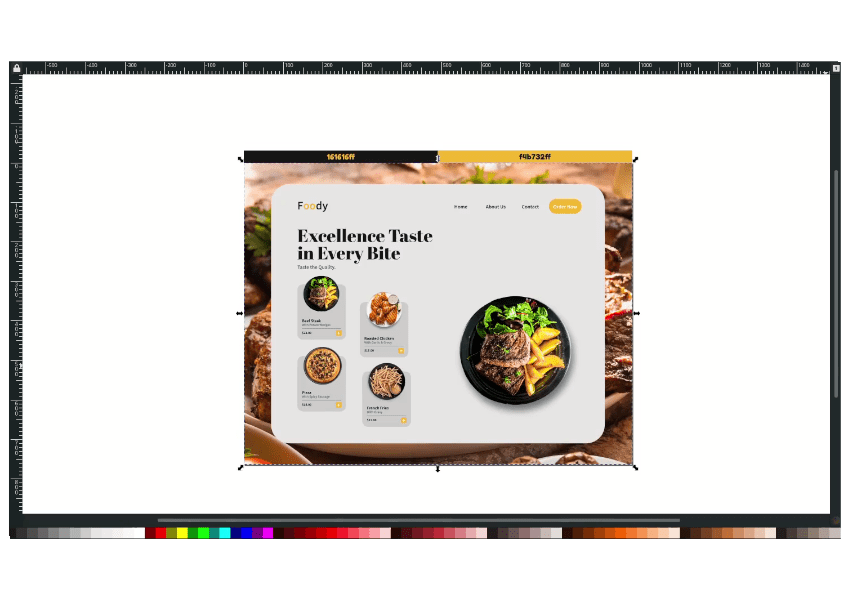
Step 7
Finally add the gradient with gradient tool (G) and change the color to white, and transparent.
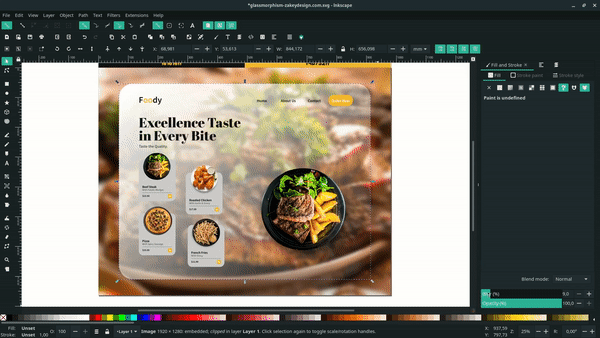
Done
That’s how you can create UI design on Inkscape with the glass morphism effect. Thank you for reading.

Tutorial Assets
- Steak
- Roasted Chicken
- Pizza
- French Fries
- Shish Kebab
- Green Leaves
- Chili
- Abril Fatface Fonts
- Source Sans Pro Fonts


