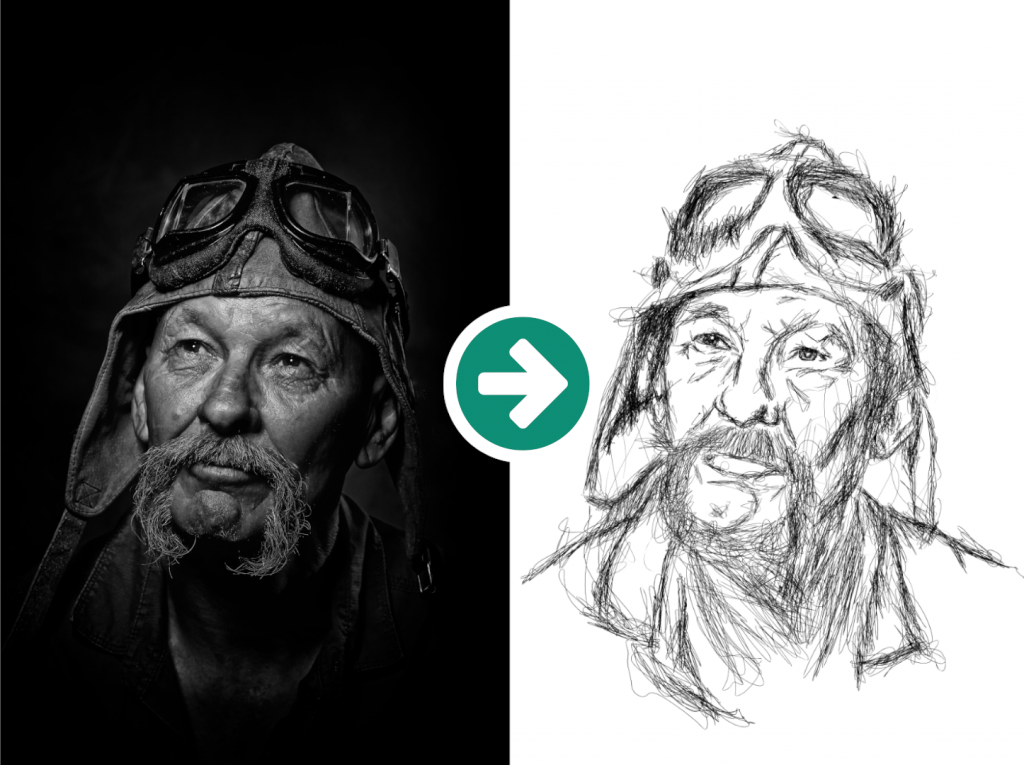
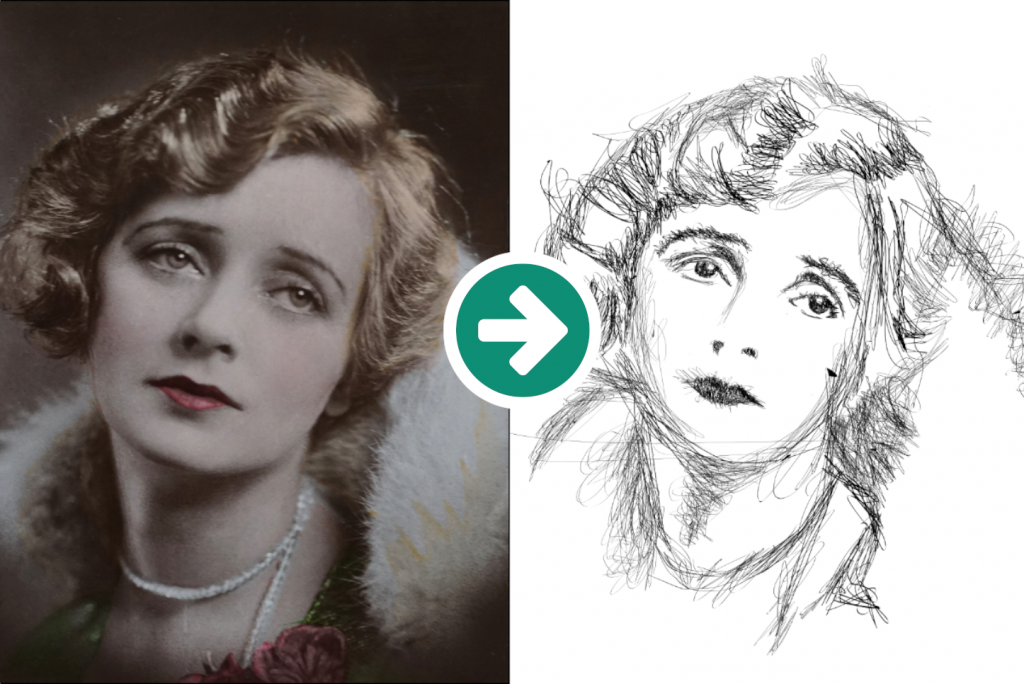
In this tutorial i’m going to show you how to cIn this tutorial, I will show you how to create a portrait scribble arts in Inkscape. Using Calligraphic tools, you can draw like a pencil drawing on paper.
What you will learn
- How to use calligraphic tools
- How to scale object
- How to create a layer
- How to lock a layer
- How to change layer opacity
Tutorial Steps
Step 1
The basics of the scribble arts, move your hand to any direction and avoid one direction stroke movements. use the calligraphic tools then set with no presets.
Tips: you can use draw freehand lines tool (P) too.

Step 2
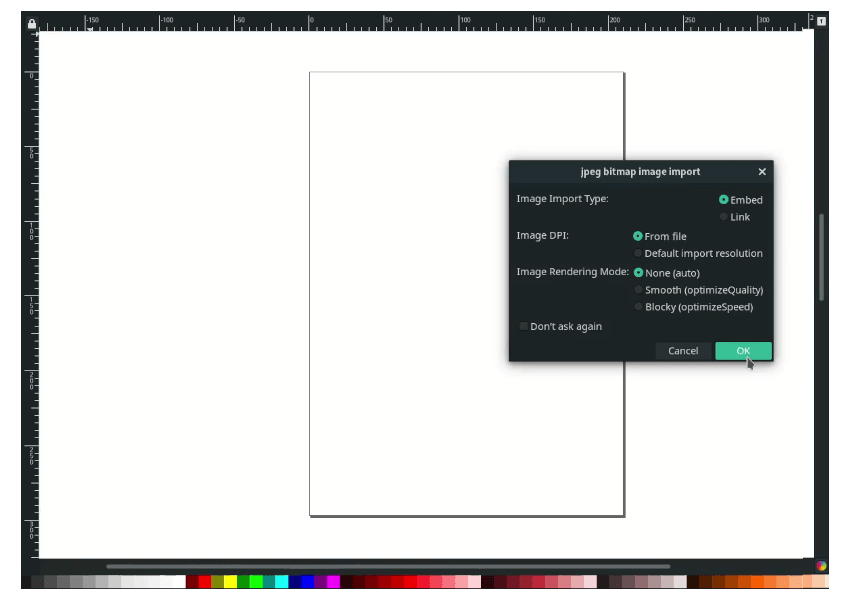
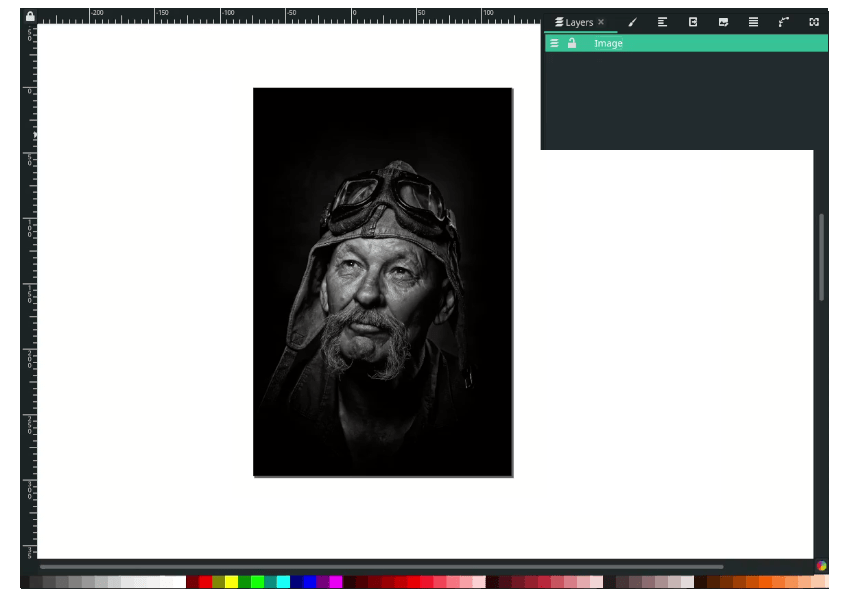
Import the image in file > import, then click OK.
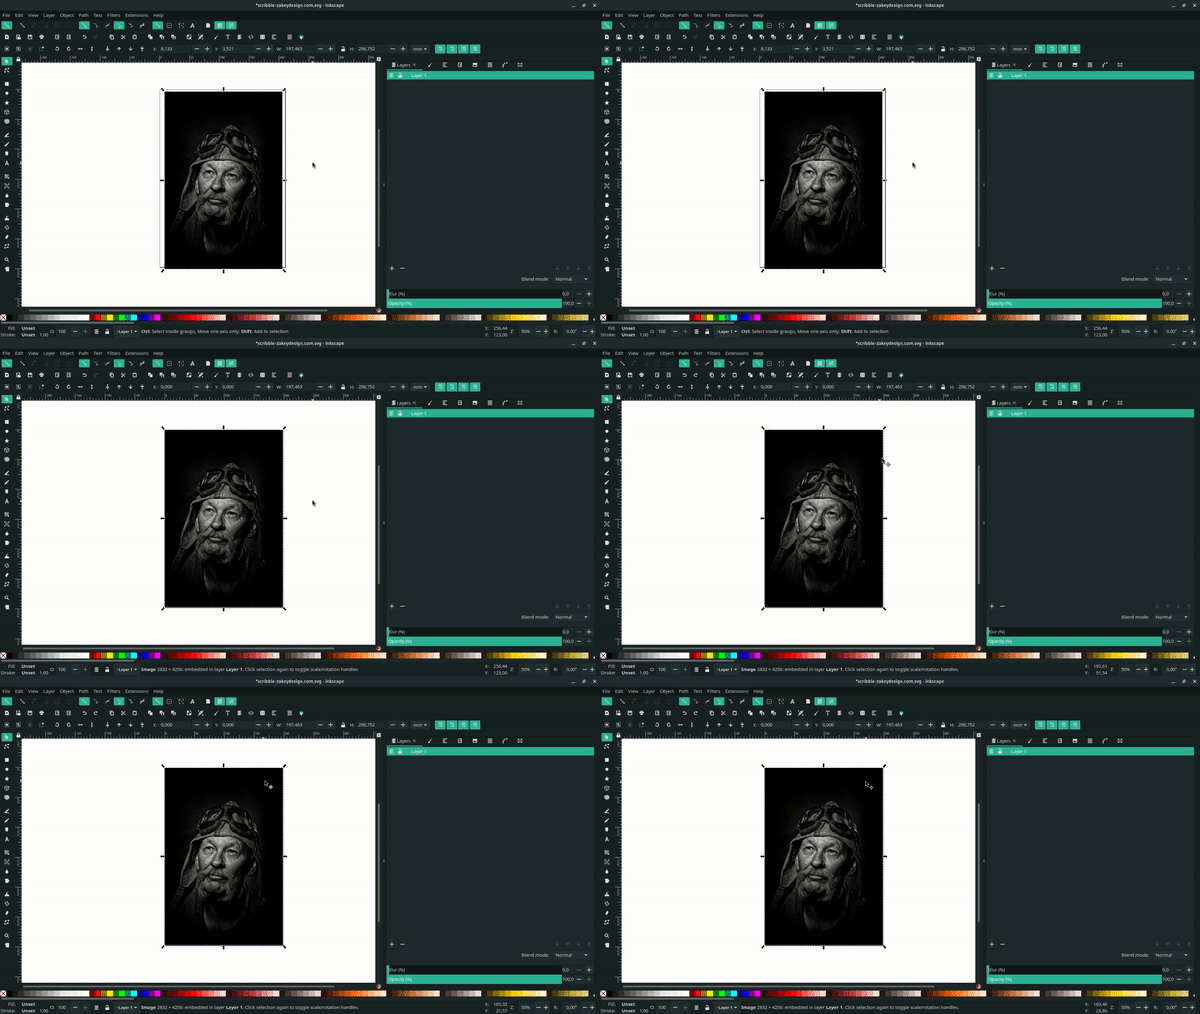
Scale it down by holding Ctrl+Shift. Then press Ctrl+Shift+R to automate the size of the same canvas size with the images.
Step 3
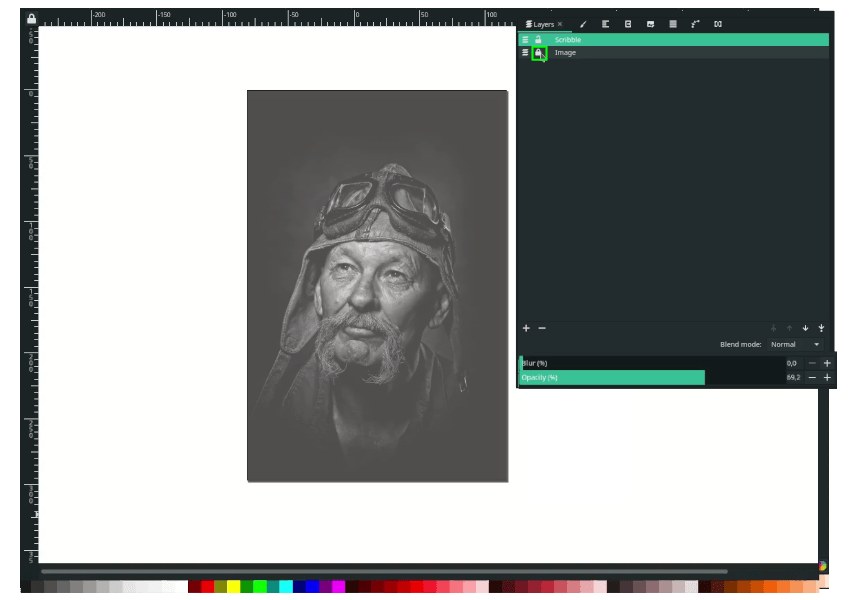
Next, set the layer. Rename the layer by double click on the layer and changing the name to “Image.”
Create a new layer and rename it “Scribble” (because you will draw in this layer later), lock the image layer by clicking the lock icon, and reduce the opacity to 68%.
Step 4
Now, begin to draw. Focus on the T area, the eyes, nose, and lips. Make it close as possible to the original images.
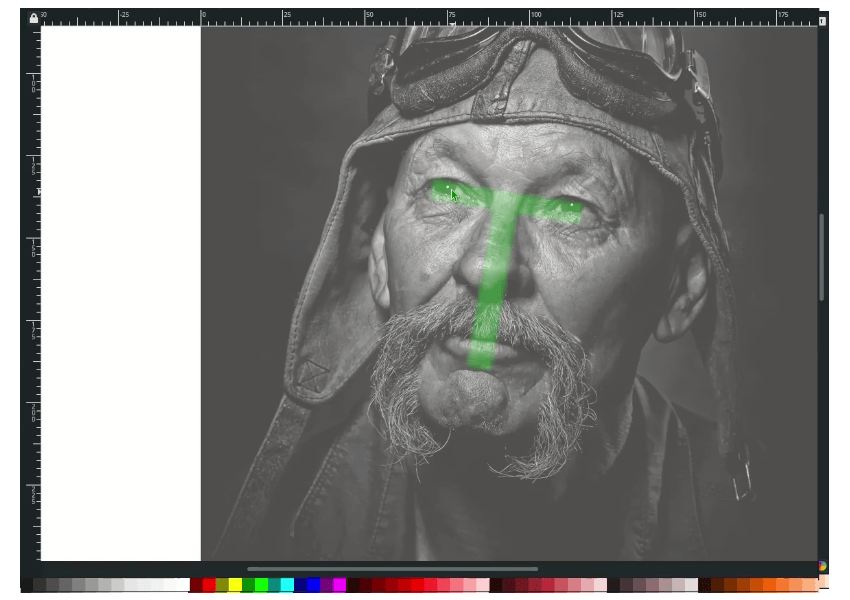
Result:
Continue to draw all parts of the faces.
Tips: if you work with a light background, for example, white, focus on the dark area of the faces. But if you work with a dark background, for example, black, focus on the light area like this video: Pablo Picasso – Scribble Arts.
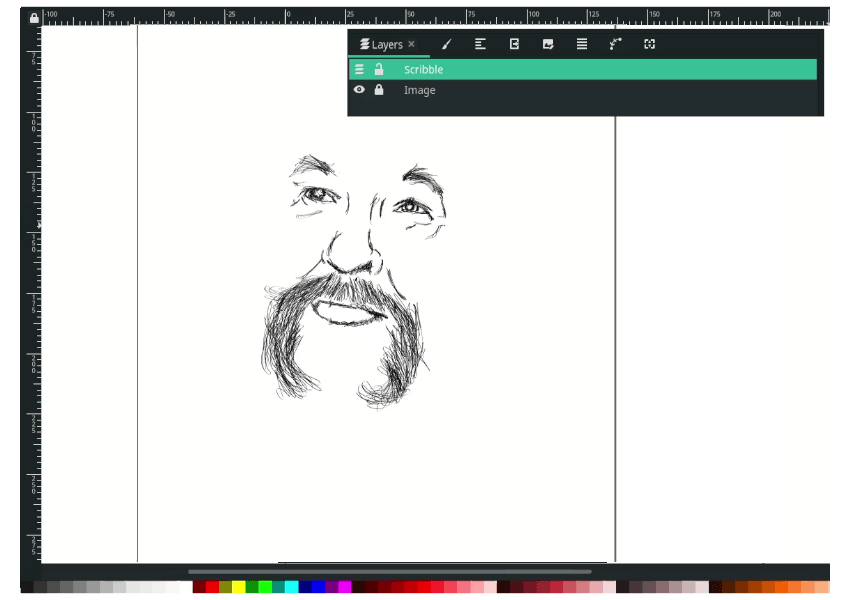
Congratulations!
I know it’s not easy for the first time, but always learn from mistakes and do better next time. Always try and try. Thank you for reading. See you in the next tutorial.
