How to create Liquid Style with Gradient, which is popular on website design using Inkscape. Using bezier tool and gradient mesh to create a semi 3d effect.
What you will learn
- How to create a gradient mesh
- How to use Interpolate Extensions
- How to use dropper tool
- How to make a clipping mask
- How to use bezier tool
Tutorial Steps
Step 1
Draw a shape with Bezier Tool (B).
![liquid-gradient-mesh-step-1](https://zakeydesign.com/wp-content/uploads/2021/08/liquid-gradient-mesh-step-1.png)
Step 2
Active the gradient mesh and double click to the shape. double click on the nodes, and change the top color to the Blue Panton (#4225aff), for the bottom to Sky Blue Crayola (#02dffaff).
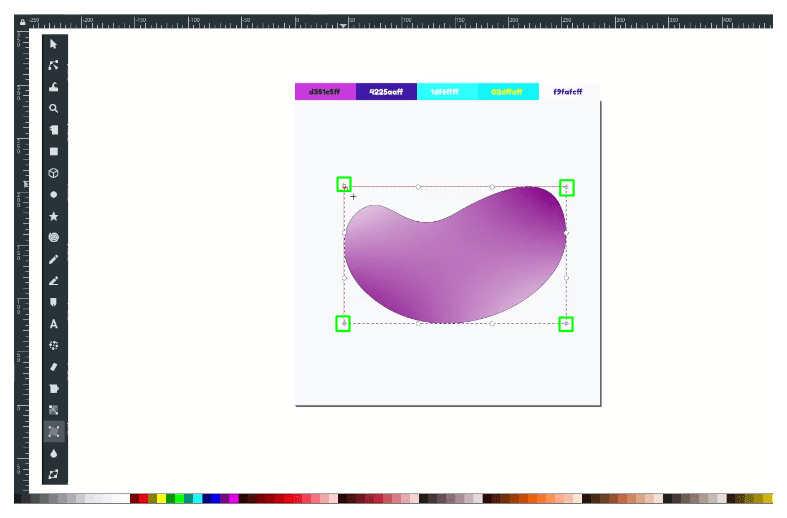
![liquid-gradient-mesh-step-2-1](https://zakeydesign.com/wp-content/uploads/2021/08/liquid-gradient-mesh-step-2-1.png)
Result:
![liquid-gradient-mesh-step-2-2](https://zakeydesign.com/wp-content/uploads/2021/08/liquid-gradient-mesh-step-2-2.png)
Step 3
Doube click on the edge of the selection to create more columns.
![liquid-gradient-mesh-step-3-1](https://zakeydesign.com/wp-content/uploads/2021/08/liquid-gradient-mesh-step-3-1.png)
Double click again to add more rows.
![liquid-gradient-mesh-step-3-2](https://zakeydesign.com/wp-content/uploads/2021/08/liquid-gradient-mesh-step-3-2.png)
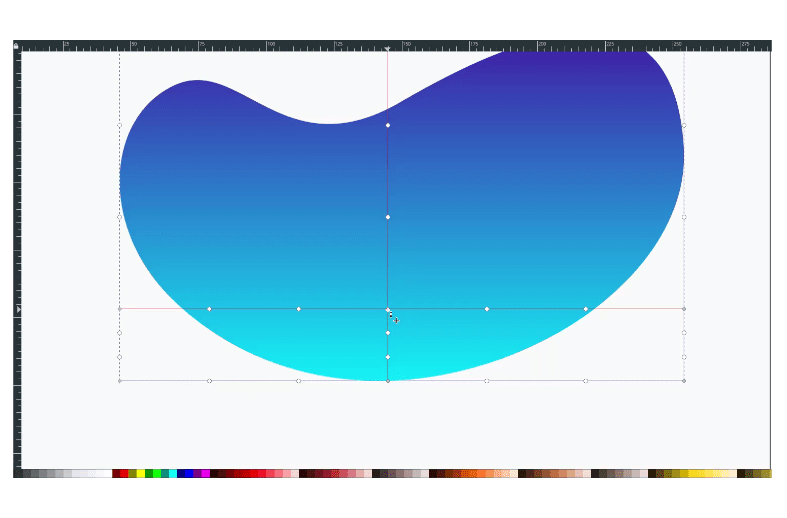
We can move the nodes by dragging and add more columns and rows by double click Feel free to move the nodes and changing the colors.
![liquid-gradient-mesh-step-3-3](https://zakeydesign.com/wp-content/uploads/2021/08/liquid-gradient-mesh-step-3-4.png)
Step 4
Add lines with Bezier Tool (B) hold Ctrl+Shift to lock in 15 degrees.
![liquid-gradient-mesh-step-4-1](https://zakeydesign.com/wp-content/uploads/2021/08/liquid-gradient-mesh-step-4-1.png)
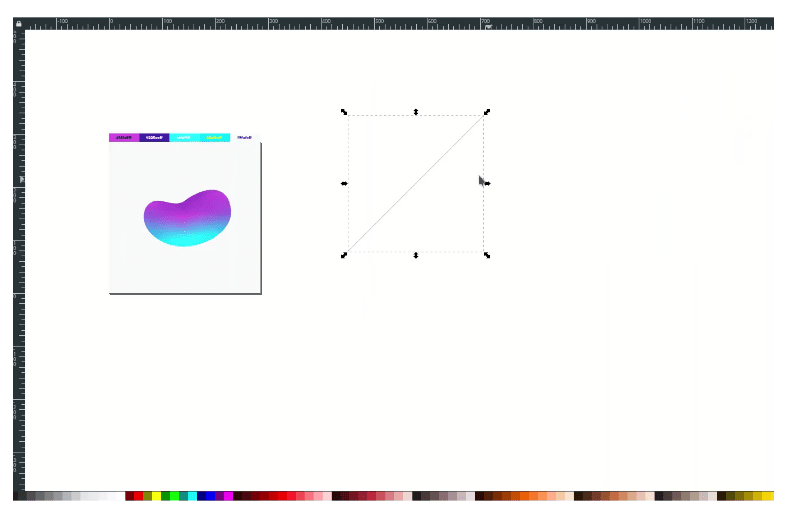
Duplicate more lines and convert the stroke to path in Path > Stroke to Path.
![liquid-gradient-mesh-step-4-2](https://zakeydesign.com/wp-content/uploads/2021/08/liquid-gradient-mesh-step-4-2.png)
Create an Interpolate in Extensions > Generate from path > Interpolate.
![liquid-gradient-mesh-step-4-3](https://zakeydesign.com/wp-content/uploads/2021/08/liquid-gradient-mesh-step-4-3.png)
Step 5
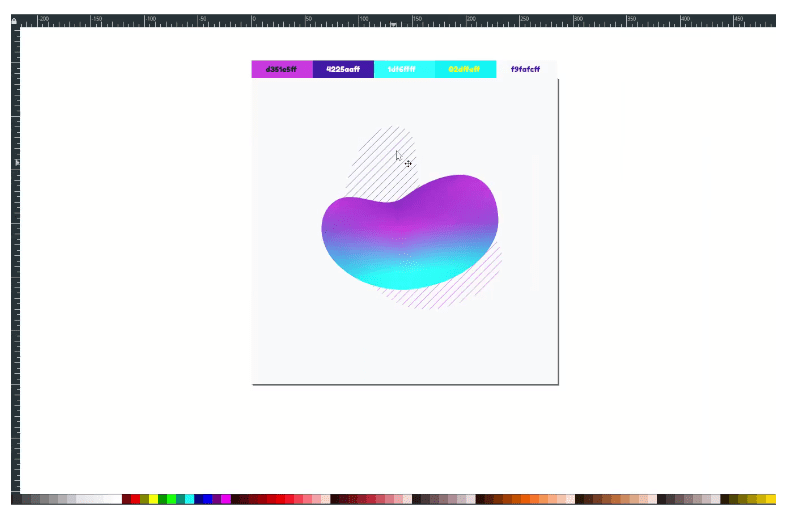
Draw a shape with the Bezier tool (B), then create a clipping mask by selecting these two objects and right-click > Set Clip.
![liquid-gradient-mesh-step-5-1](https://zakeydesign.com/wp-content/uploads/2021/08/liquid-gradient-mesh-step-5-1.png)
Move to the middle of the page.
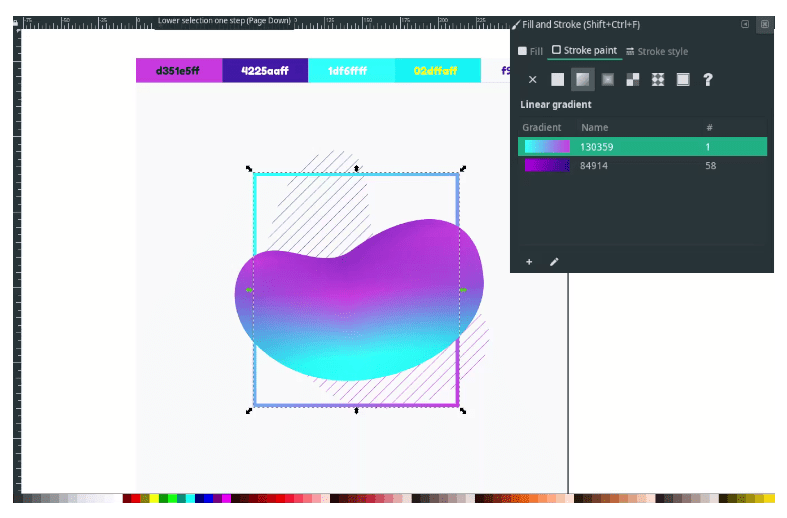
![liquid-gradient-mesh-step-5-2](https://zakeydesign.com/wp-content/uploads/2021/08/liquid-gradient-mesh-step-5-2.png)
Step 6
Create a rectangle with stroke only and change the color to the linear gradient in Fill and Stroke Menu > Stroke Paint.
![liquid-gradient-mesh-step-6-1](https://zakeydesign.com/wp-content/uploads/2021/08/liquid-gradient-mesh-step-6-1.png)
Add more elements like the circle,the X and Text.
![liquid-gradient-mesh-step-6-2](https://zakeydesign.com/wp-content/uploads/2021/08/liquid-gradient-mesh-step-6-2.png)
Finished!
![liquid-gradient-mesh-zakeydesign.com](https://zakeydesign.com/wp-content/uploads/2021/08/liquid-gradient-mesh-zakeydesign.com_-1024x1024.png)