This tutorial will create a Letter logo using Gradient and fluid shape to create a logo with a liquid look and using bezier tool and Gradient as our primary focus to make this thing.
What you will learn
- How to divide objects
- How to create a clipping mask
- How to use the bezier tool
- How to create a gradient
- How to unite objects
Tutorial Steps
Step 1
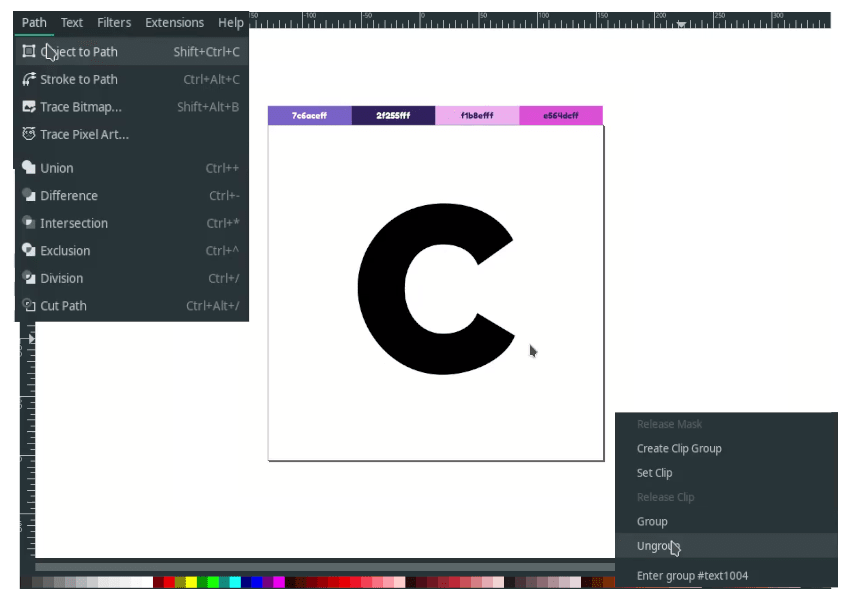
Create a text with Text Tool (T) and change the font to Raleway with Heavy type, then convert it to the Path in Path> Object to Path. Ungroup the letter with right-click > Ungroup.
Step 2
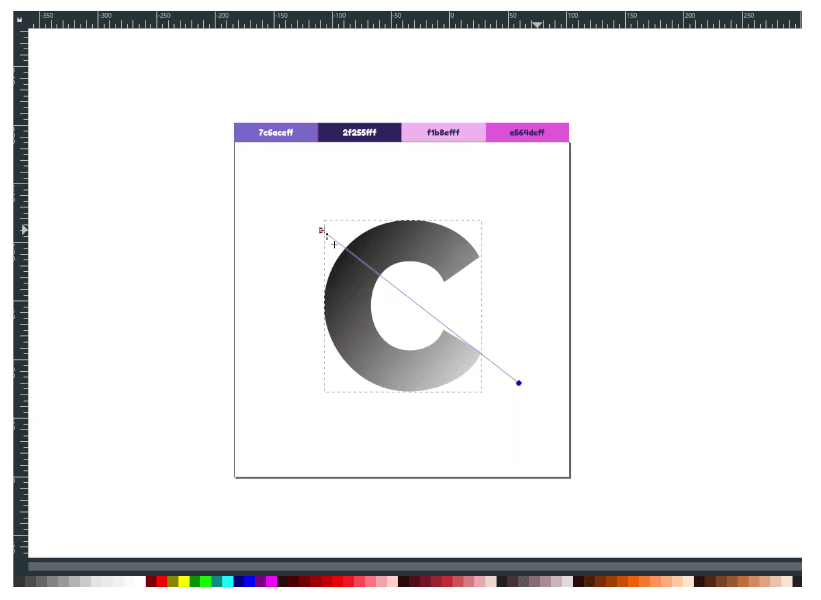
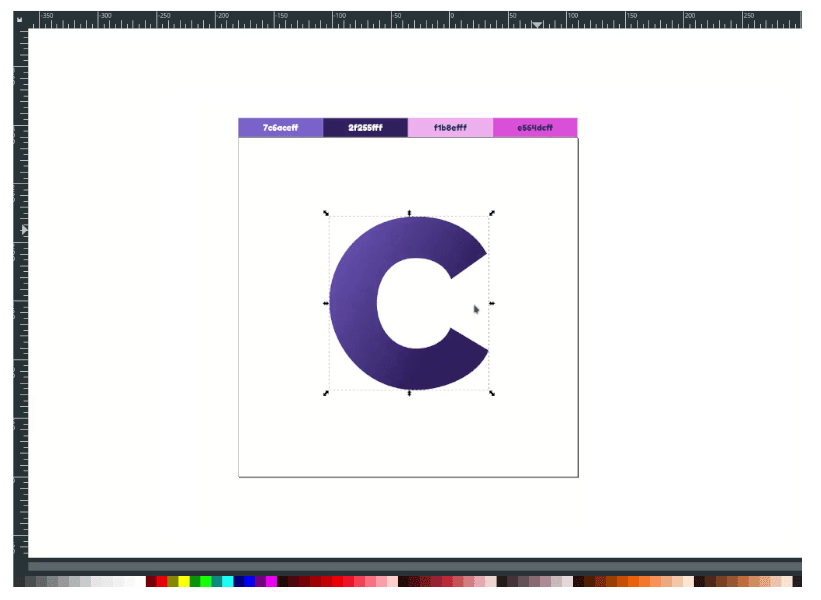
Create a linear gradient with Gradient Tool (G) drag from left to right. Change the color to Violet blue Crayola (#7c6aceff) and Russian Violet (#2f255fff).
Result:
Step 3
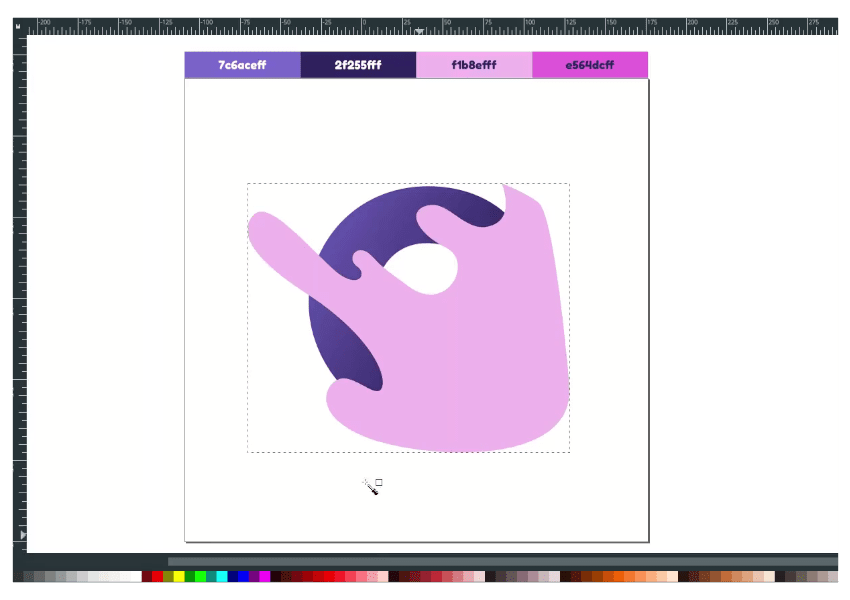
Draw a fluid shape with the Bezier tool (B) and change the color to Plum Web (#f1b8efff).
Step 4
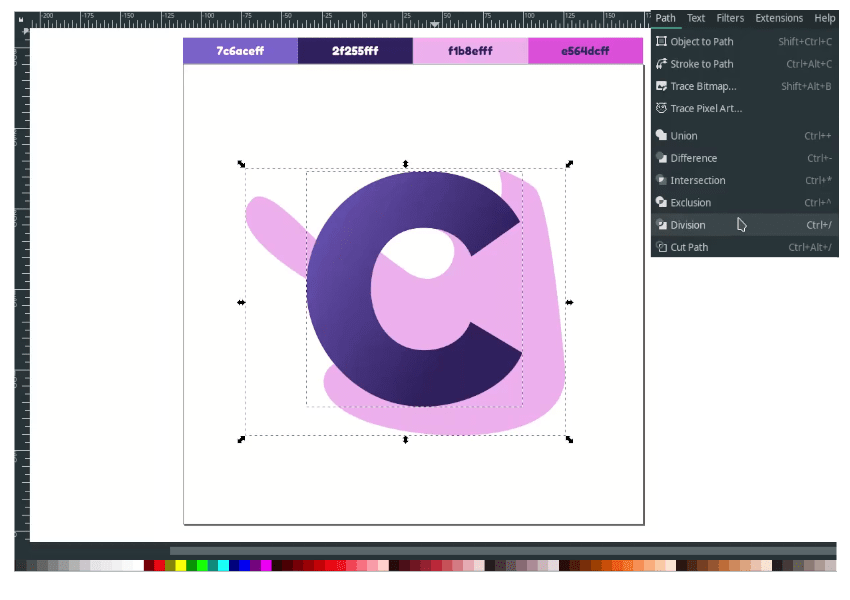
Divide the liquid shape with the C letter by duplicating the C letter with Ctrl+D and select these two objects in Path > Division.
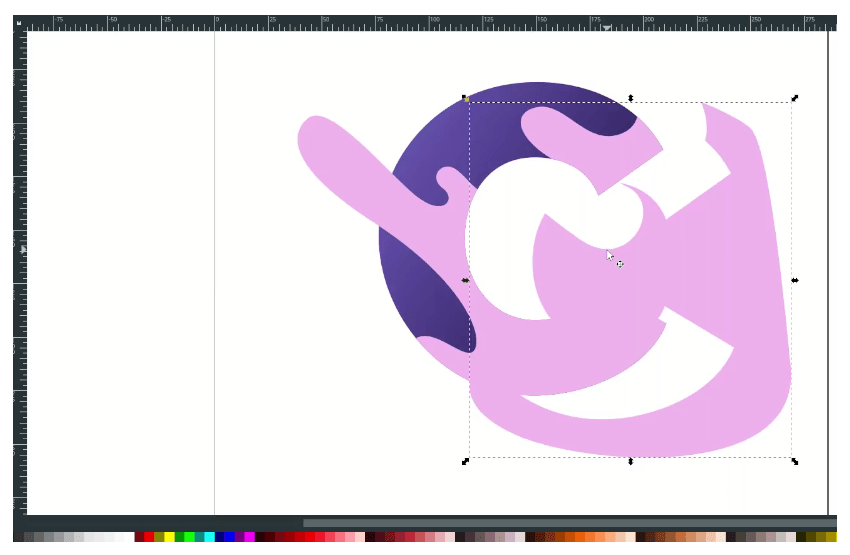
Move and delete these parts.
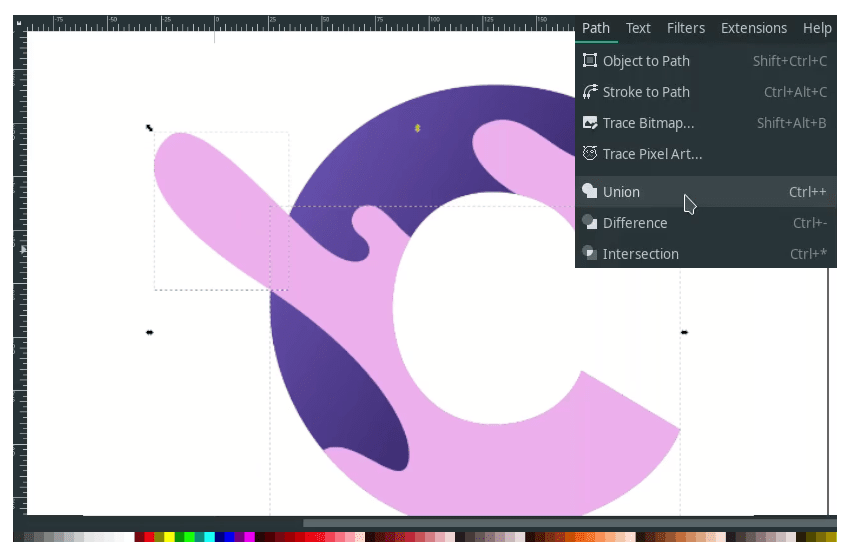
Combine the liquid objects in Path > Union.
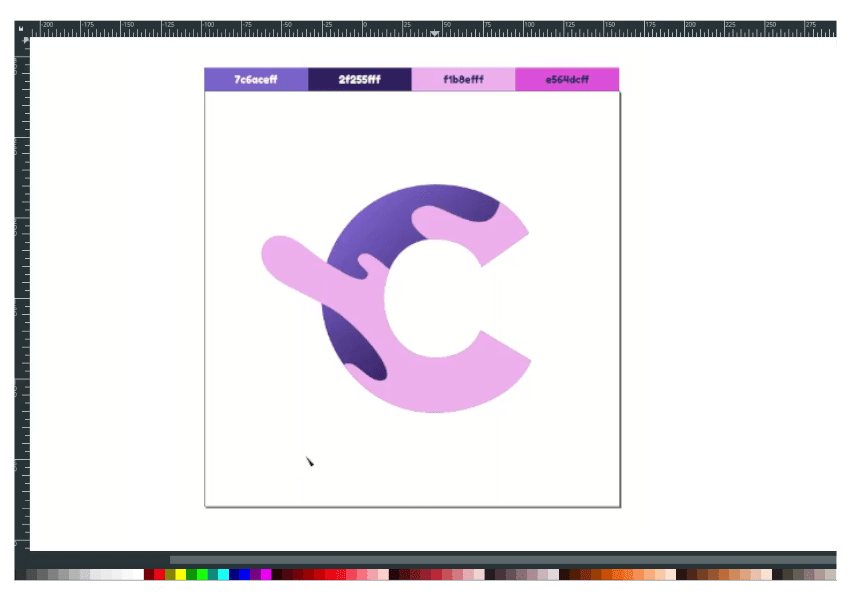
Result:
Step 5
Create a gradient for the liquid in the bottom node to change color to Orchid (#e564dcff).
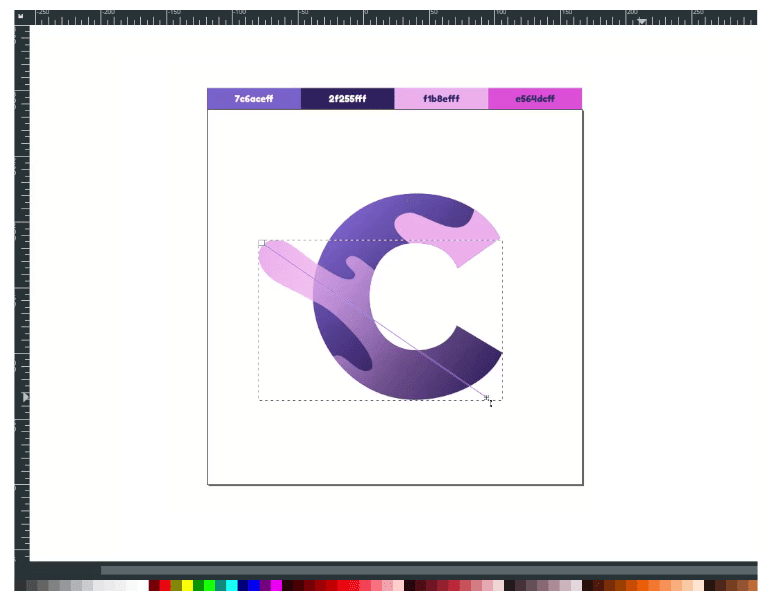
Result:
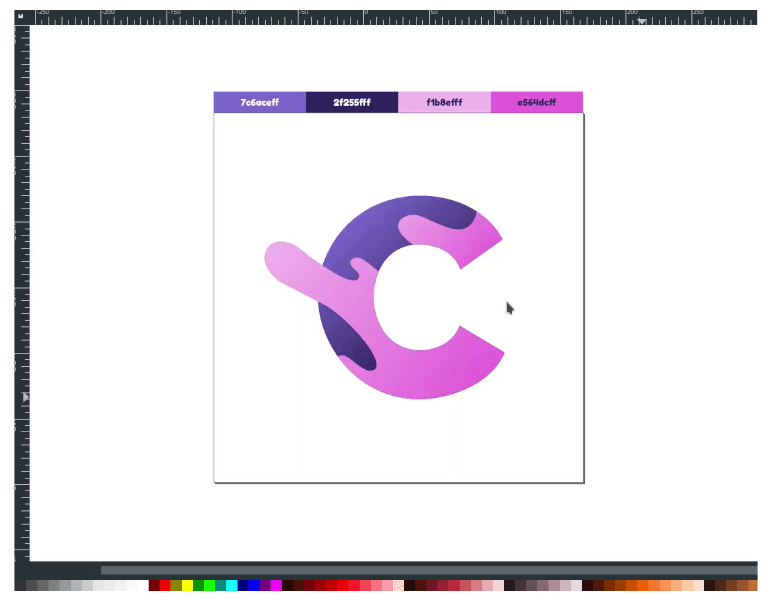
Step 6
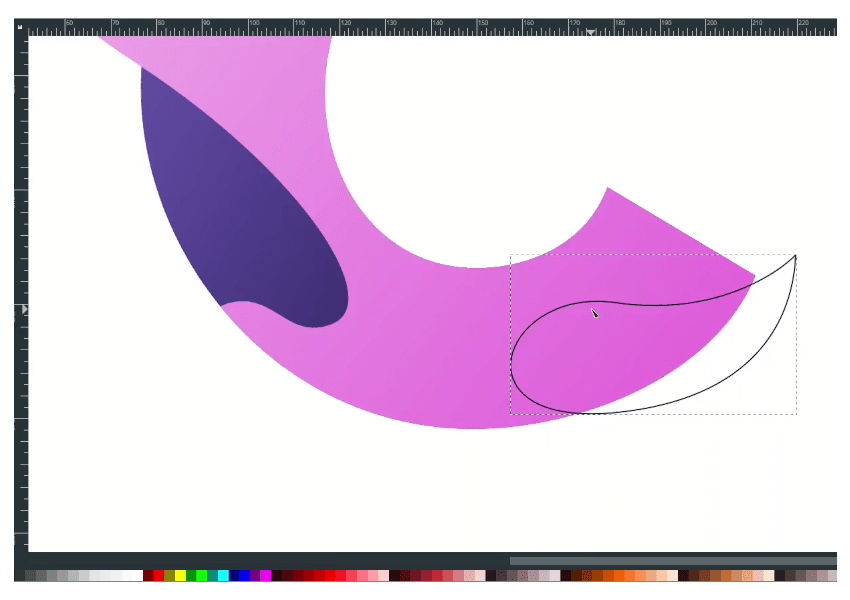
Draw a shape with the Bezier tool (B).
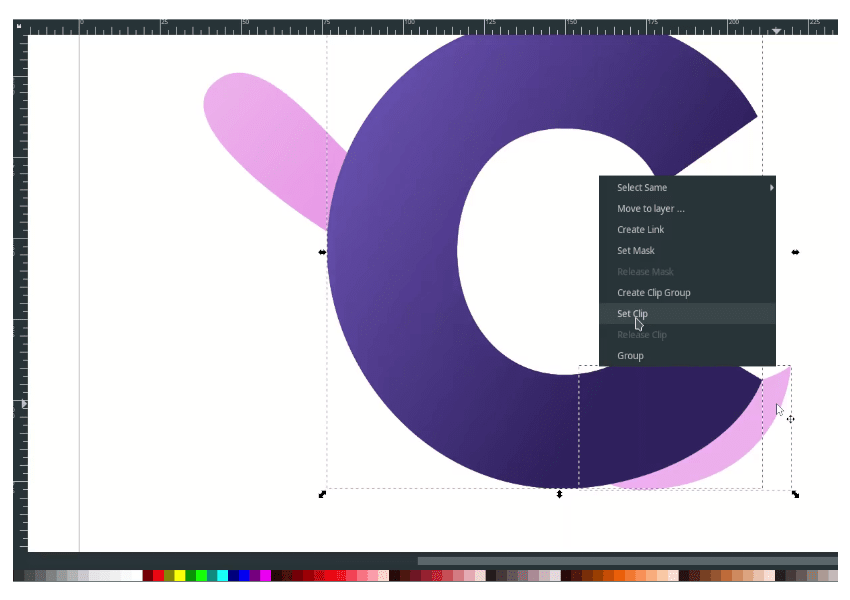
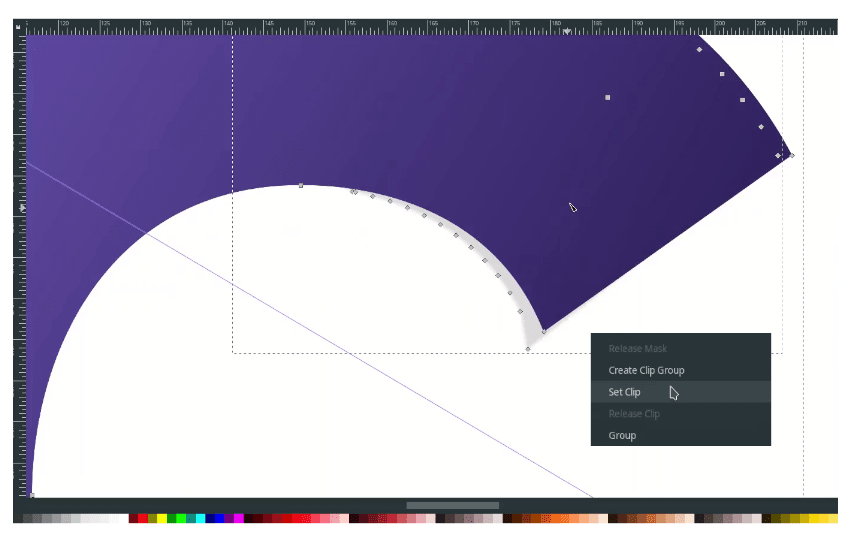
Create a clipping mask by duplicating the C letter, press Ctrl+D, and select these two objects; right click > Set Clip.
Create a gradient color with the Gradient tool (G) and change the color to Plum Web (#f1b8efff) and Orchid (#e564dcff).
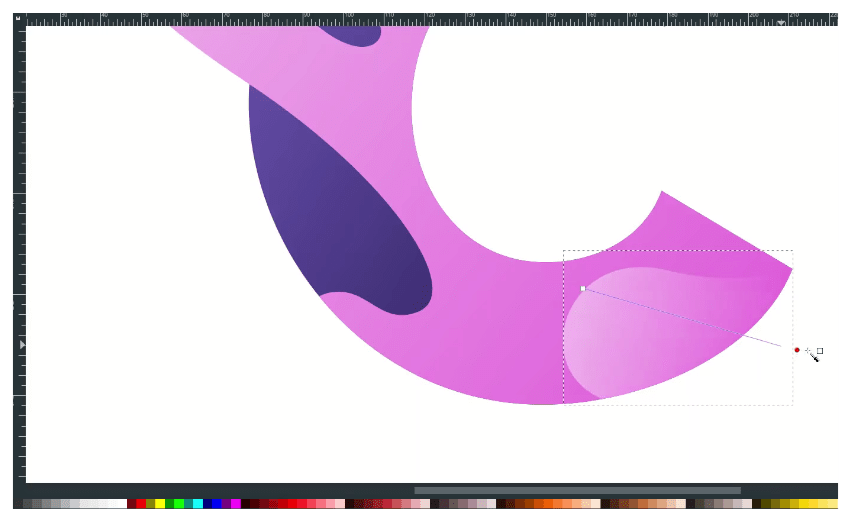
Result:
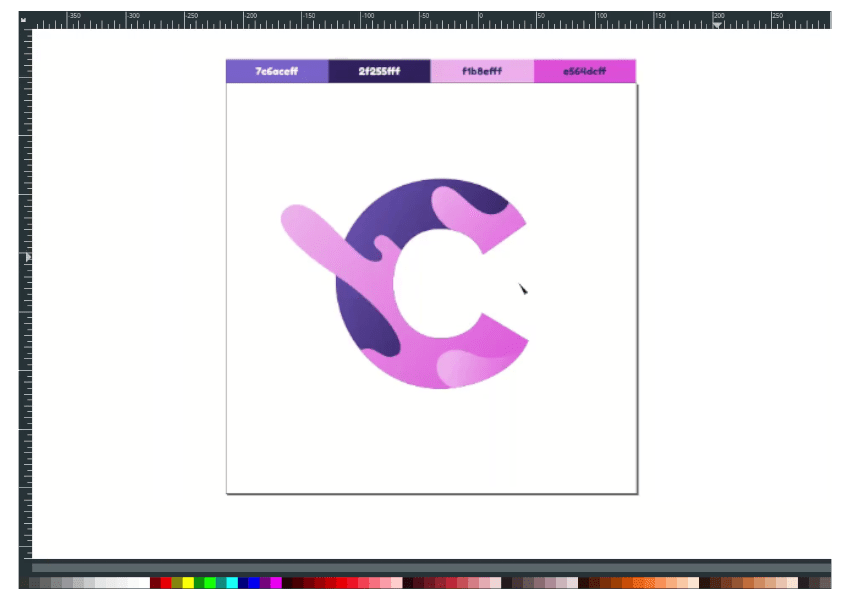
Step 7
Create a shadow by duplicating the liquid shape press Ctrl+D and change it to black color.
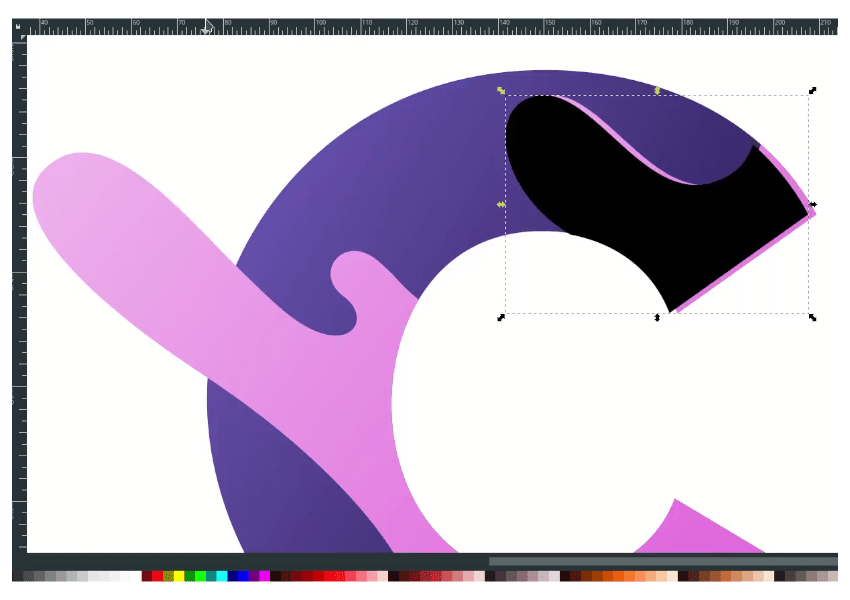
Reduce the opacity, increase the blur a little and send it to the lower back.
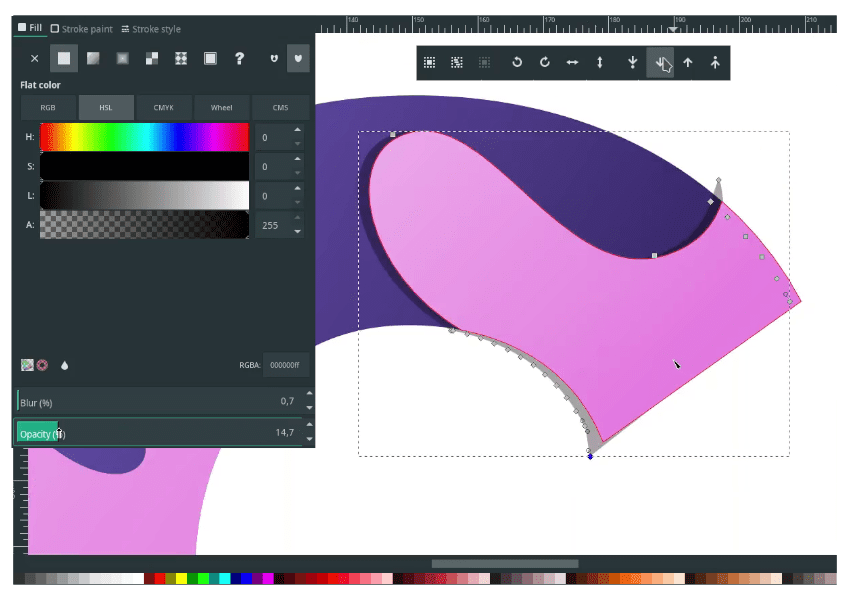
Create a clipping mask with the C letter with Ctrl+D to duplicate, then select these two objects; right click > Set Clip.
Result:
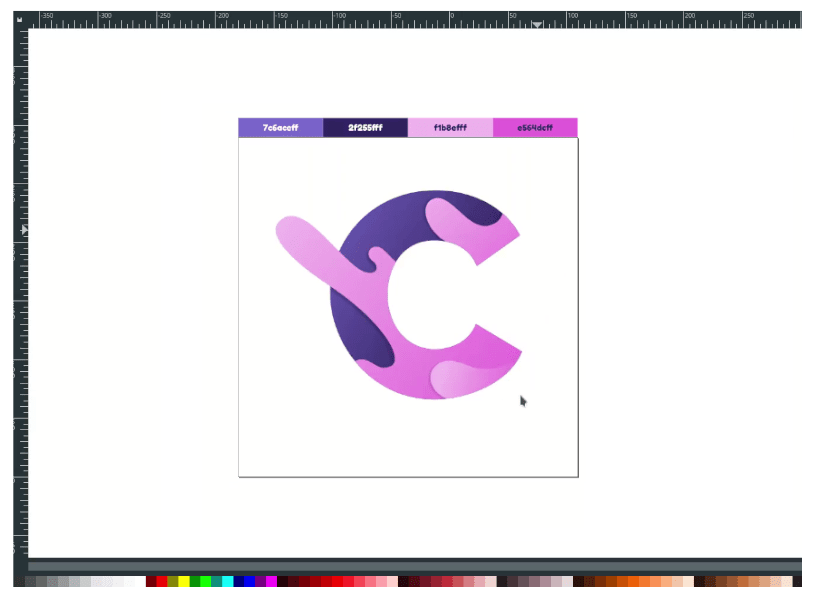
Step 8
Duplicate the fluid shape with Ctrl+D.
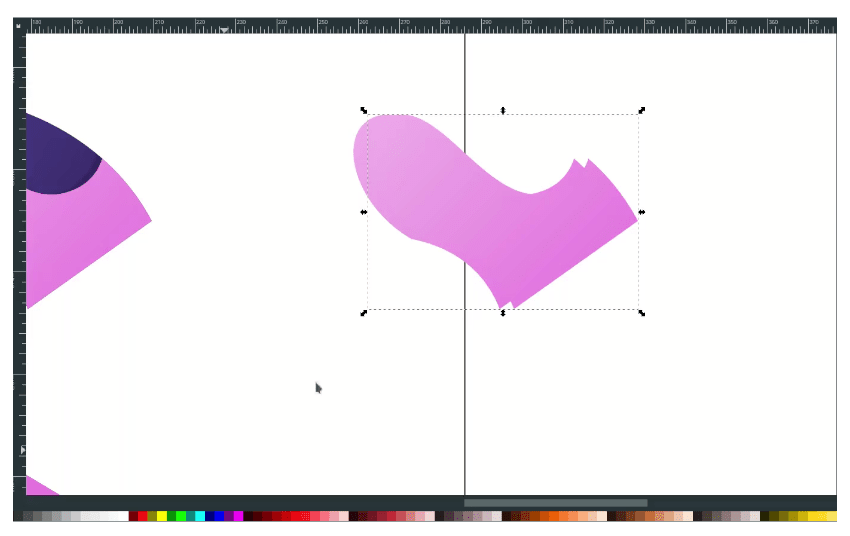
And change the front shape color to white. Create an Intersection by selecting these two objects; in Path > Difference.
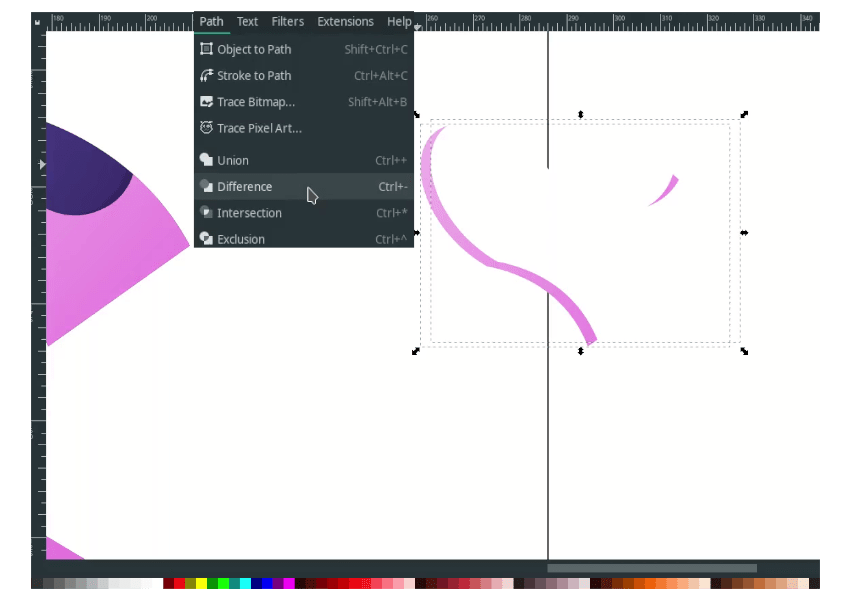
Turn on enable snapping for any snapping task.
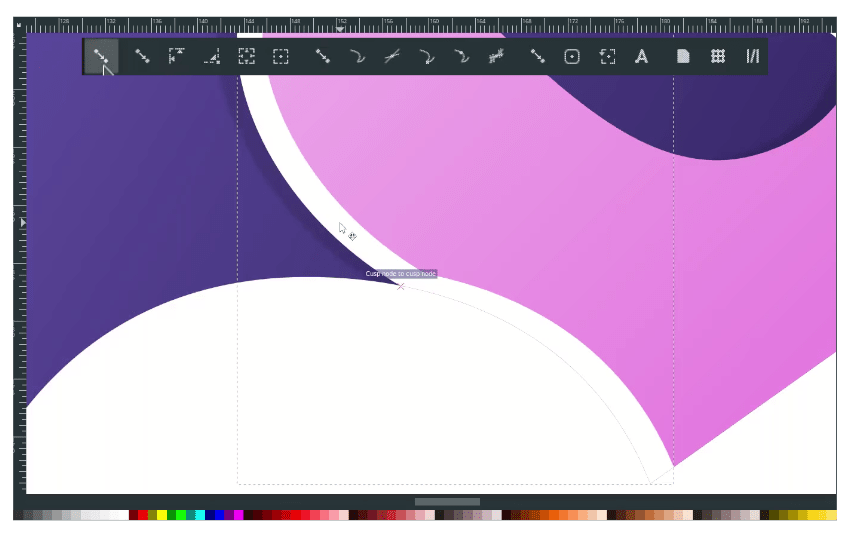
Reduce the opacity in the Fill and Stroke menu.
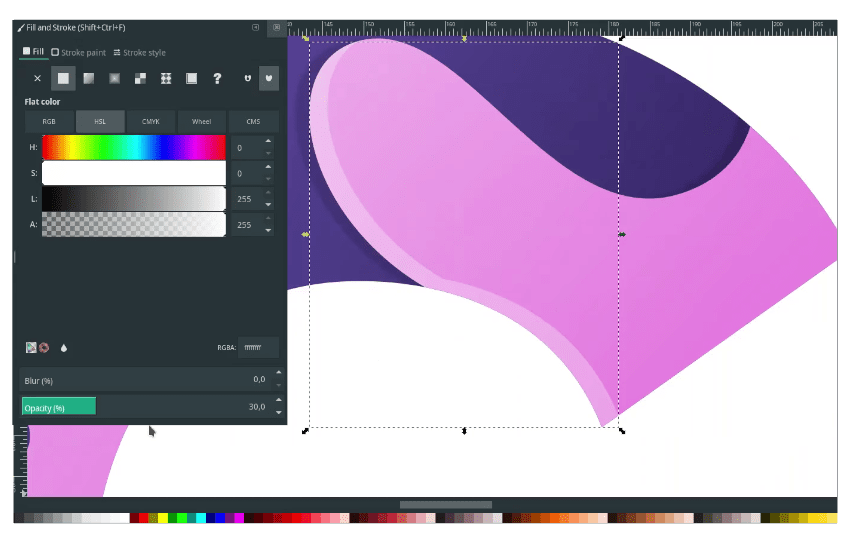
Result:
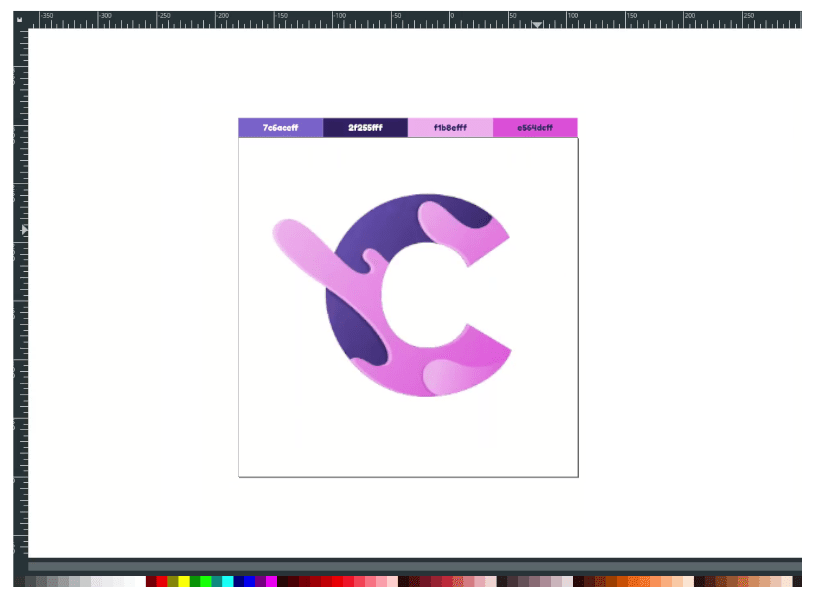
Step 9
Create a circle with the Circle tool (E) hold Ctrl+Shift to create a proportional scale.
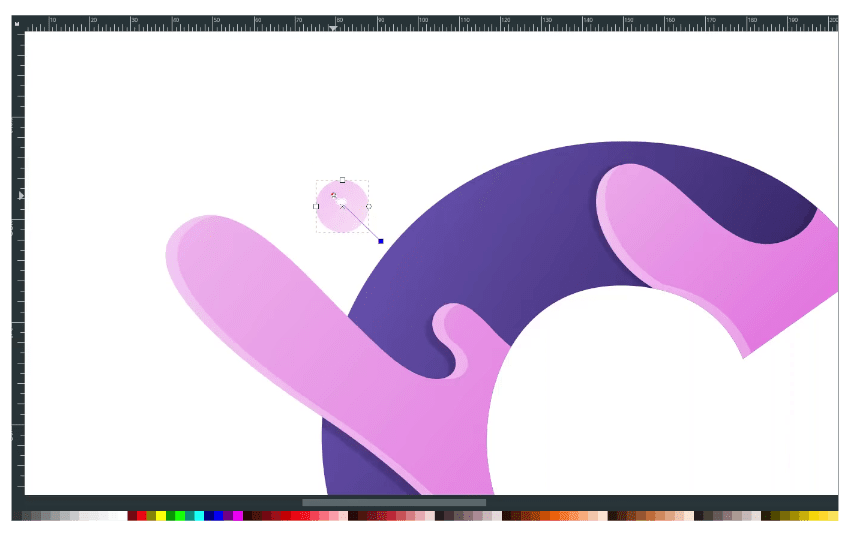
And create some linear-gradient change the color to Plum Web (#f1b8efff) and Orchid (#e564dcff). duplicate the circle with Ctrl+D and place it around the letter.
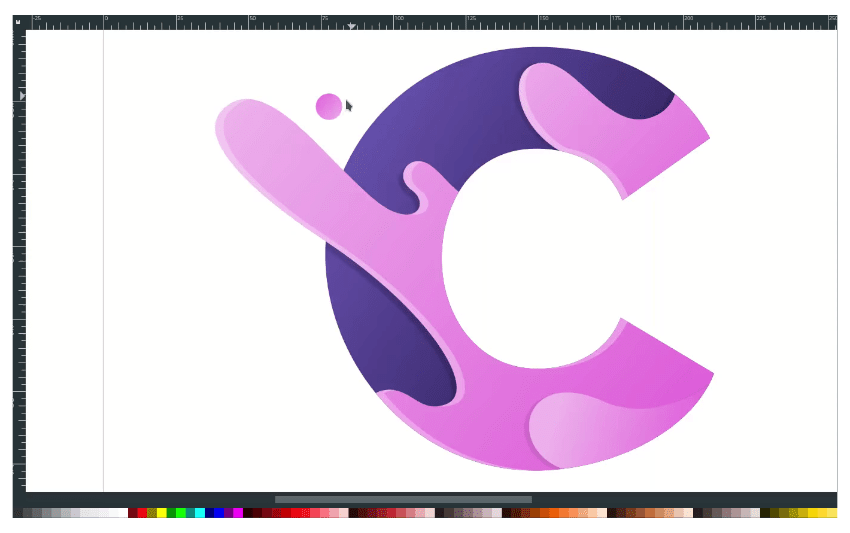
Great Work!
We’ve learned a few things about using gradient and bezier tools to create a fluid shape with the letter as our main elements to create that into Logo things. Keep practicing; thank you for reading.


