In this tutorial, we will create a quote poster design in Inkscape with the unique character how to access it in Inkscape to create more variation in the text.
How to use Text Glyphs
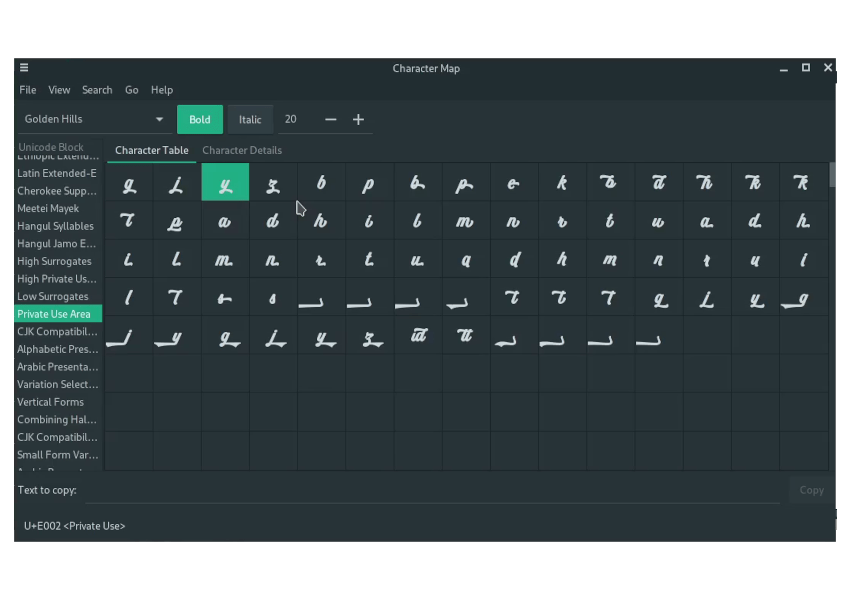
Open the start menu and type “Character Map” to view the character with any installed fonts.
Linux
Character Map > Find the Font name > Search for “Private Use Area”
Windows
Character Map > Find the Font name > Group by : Unicode Subrange > “Private Use Character“
Or see this video (Credits to The Artful Owl):
How to use text glyphs in Inkscape for Windows User
What you will learn
- How to create and modify a text
- How to use text glyphs in Inkscape
- How to duplicate object
- How to create outset/outstroke to the text
- How to create a clone with clockwise rotation
- How to change the color with dropper tool on Inkscape
Tutorial Steps
Step 1
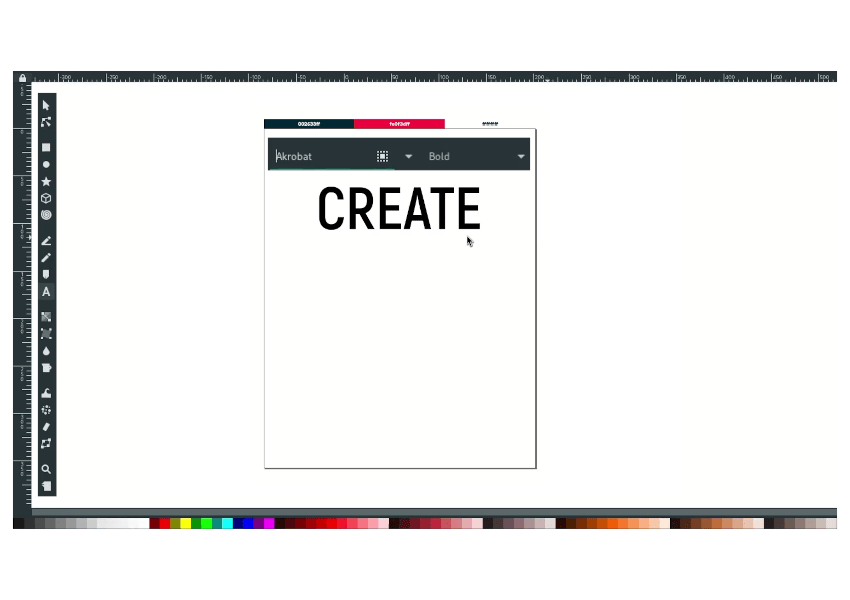
Create a text with Text Tool (T) and some words with Akrobat Fonts with Bold Type.
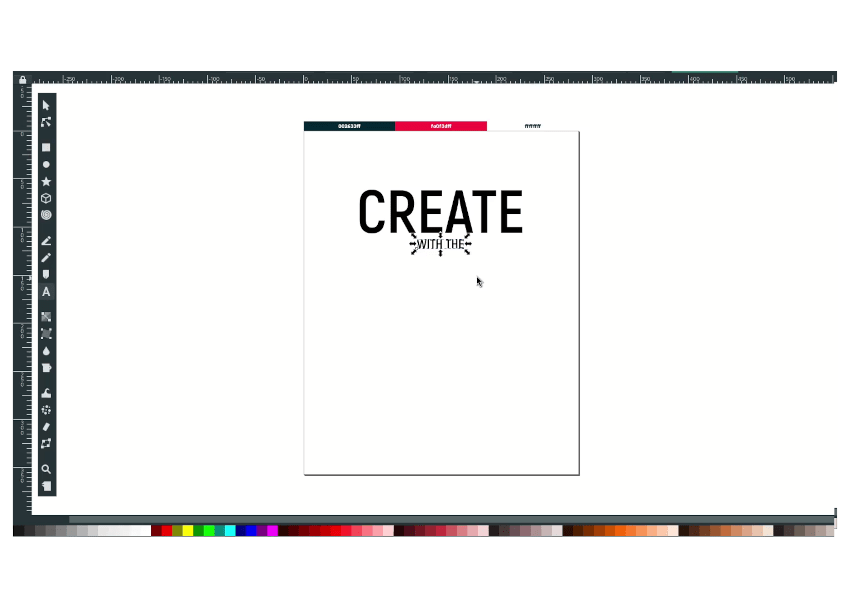
And type another word with Akrobat fonts.
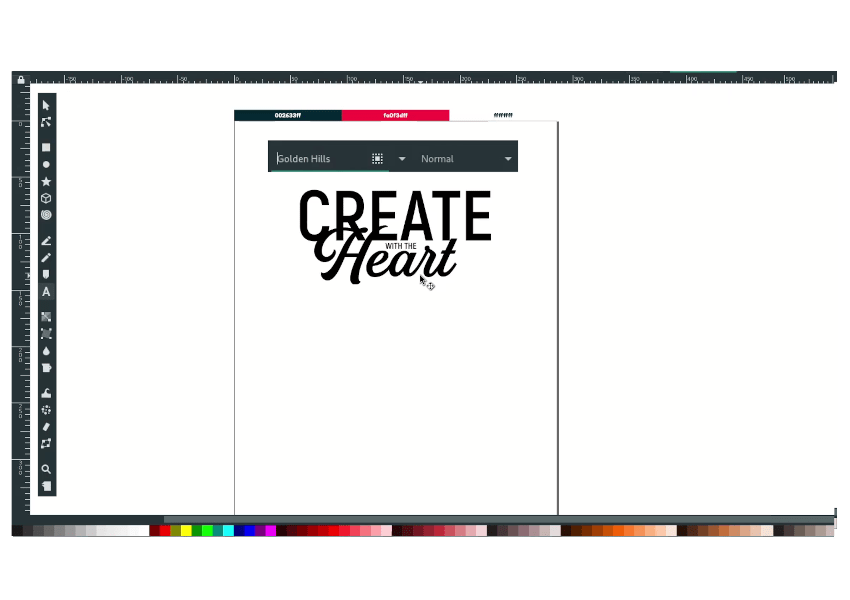
Add more text with Golden Hills Fonts.
Step 2
Golden Hills fonts come with glyphs, so you can choose the unique text you want in your design. see more about this fonts here. Next choose the character in Character Map, then click copy, and paste to the text.
If the character is not fit in the text box, fix this problem by converting to the path.
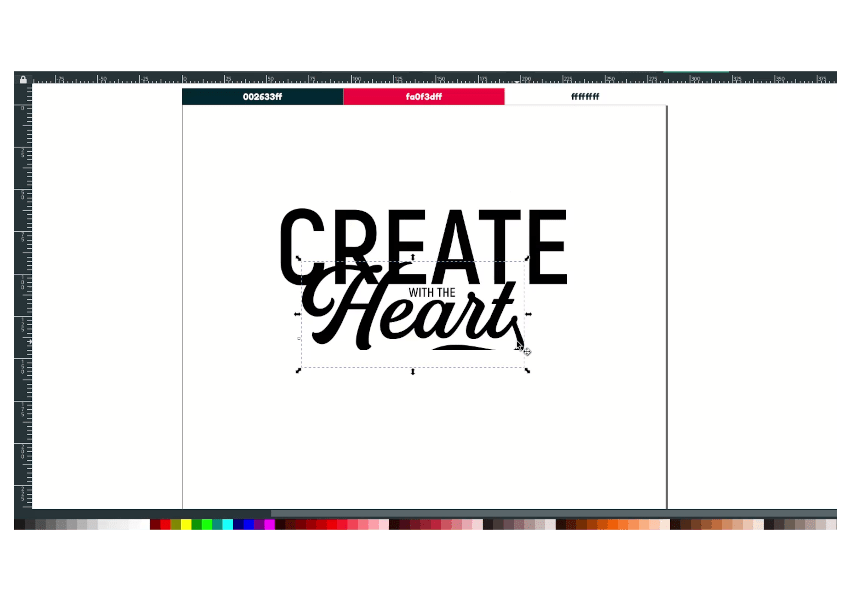
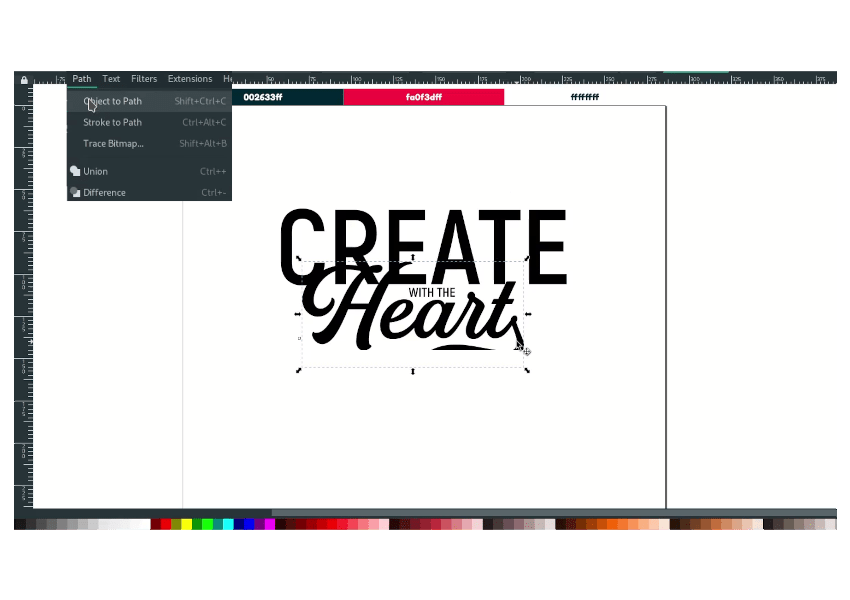
in Path > Object to Path to convert the text to a path.
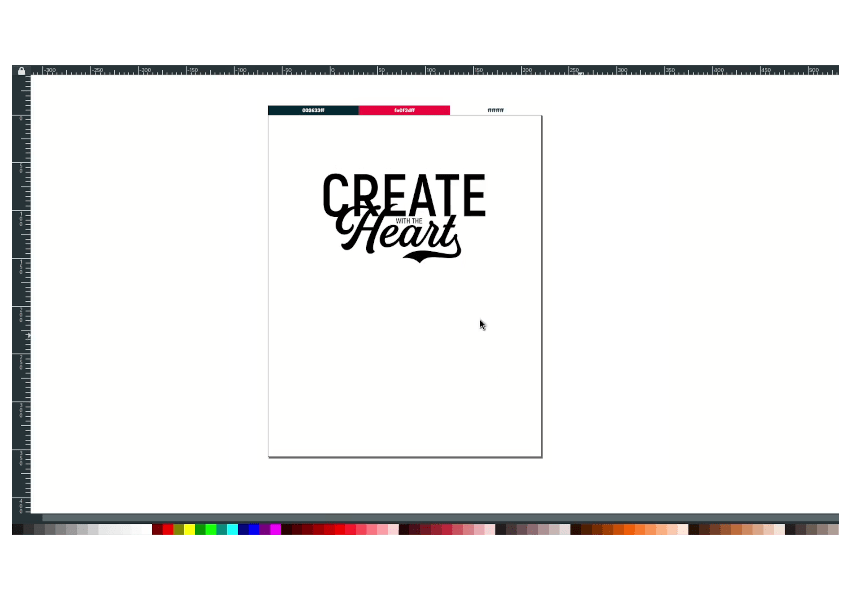
Result:
Step 3
Duplicate the text with Ctrl+D, and edit the text.
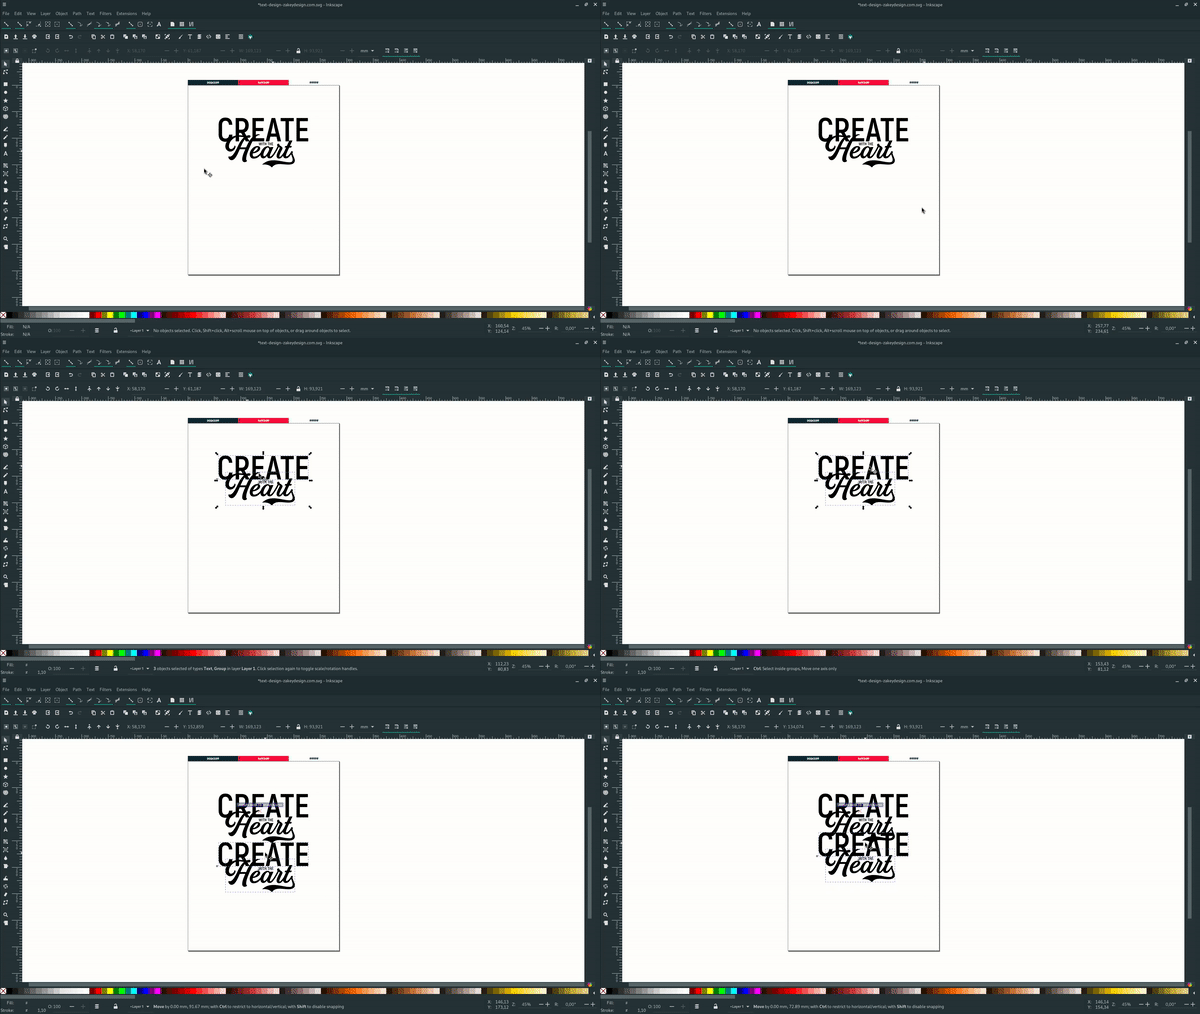
Result:
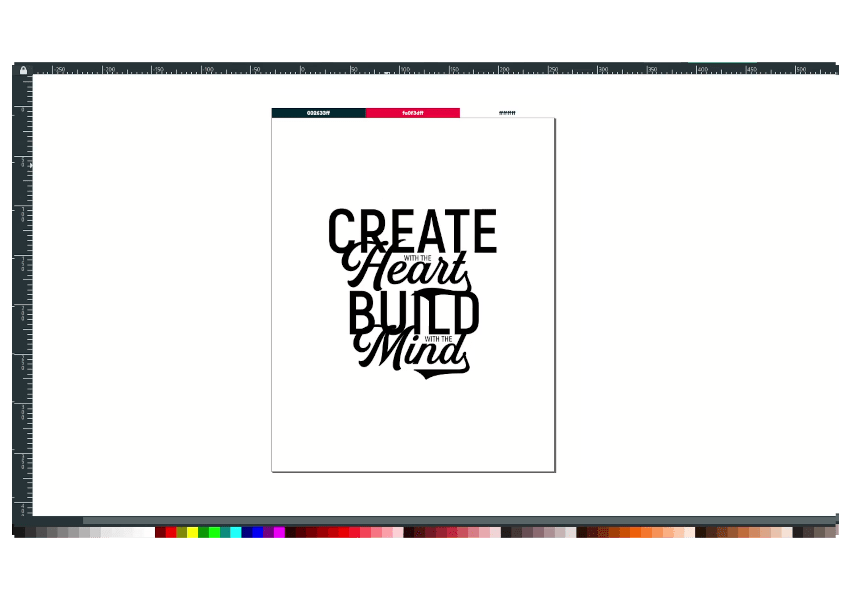
Step 4
Create a background with Rectangle tool (R), Then turn on the Toggle Snapping and Toggle Snapping to the page border.
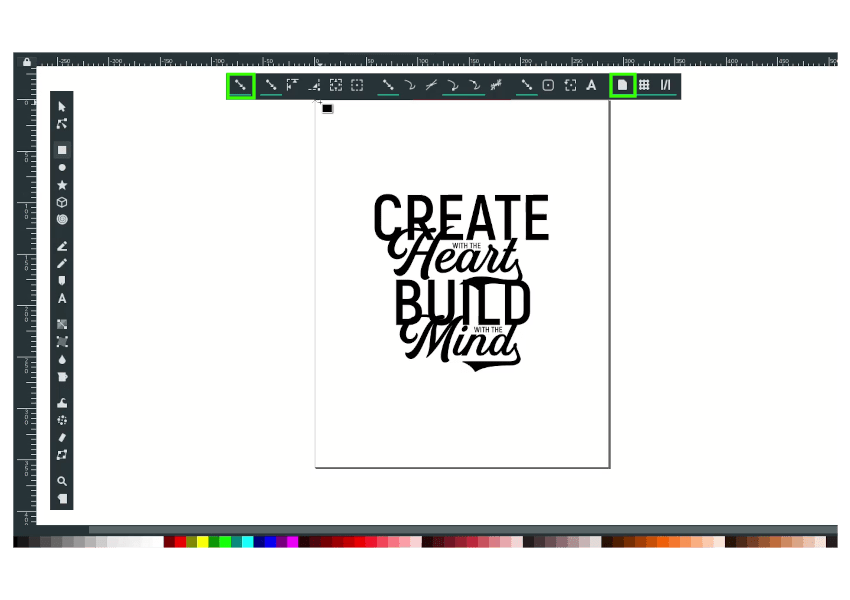
With Eye dropper tool (D), change the color to Gunmetal (#002633ff).
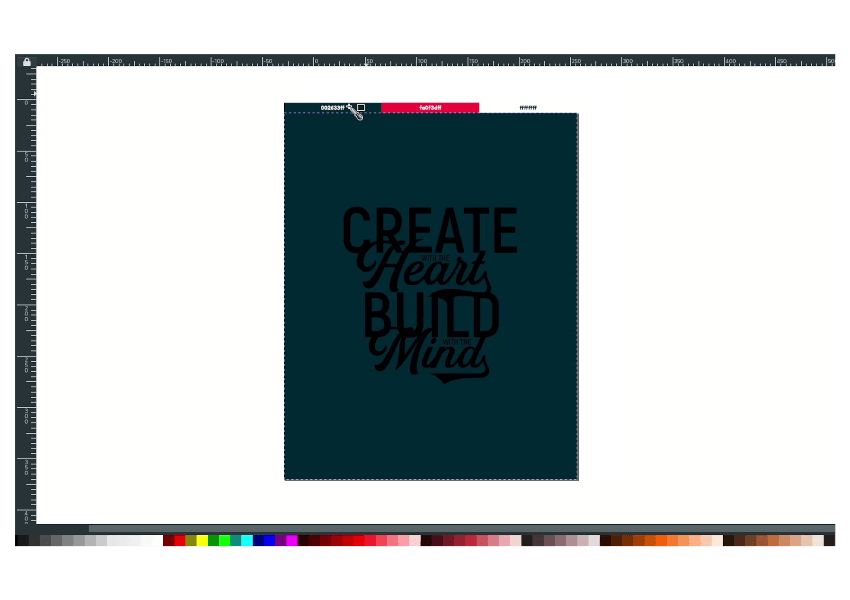
Also, change the text color to white and Red Munsell (#fa0f3dff).
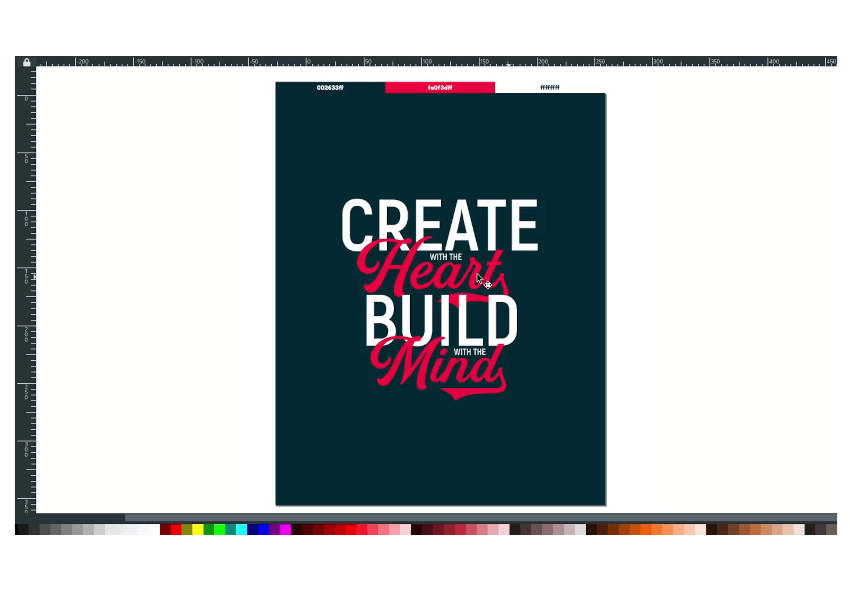
Step 5
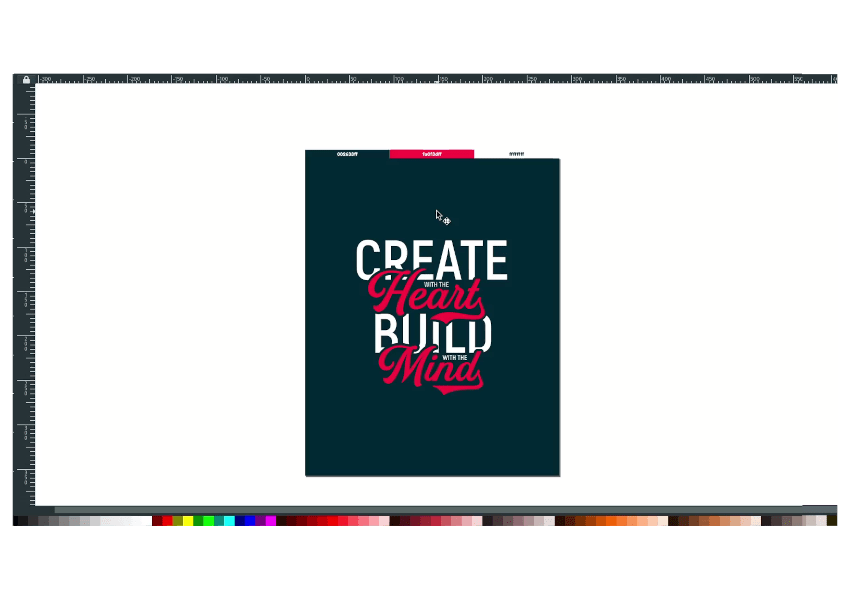
Now, we will create an outstroke effect by duplicating the “Heart” text by pressing Ctrl+D, Then combine the text in Path > Combine.
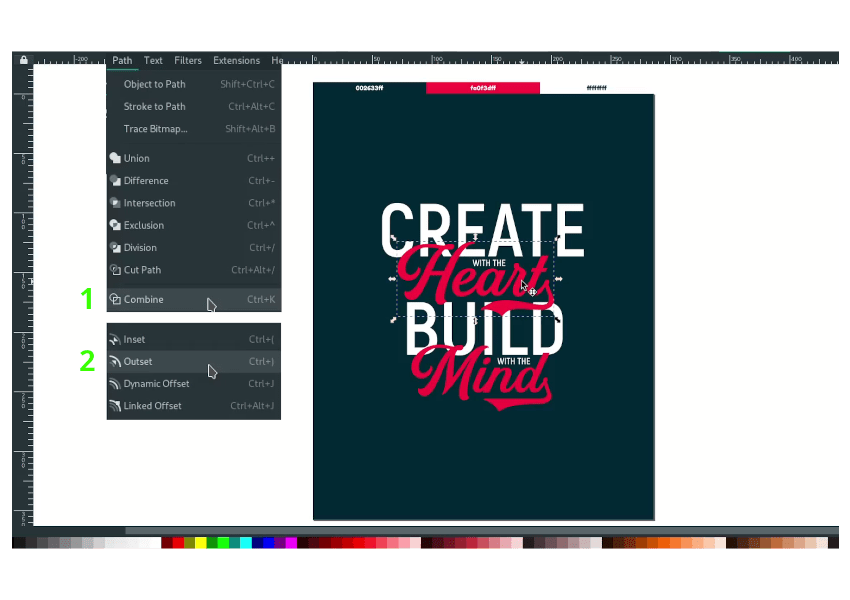
Press the Outset shortcut (Ctrl+)) for a few times (around 3-4).
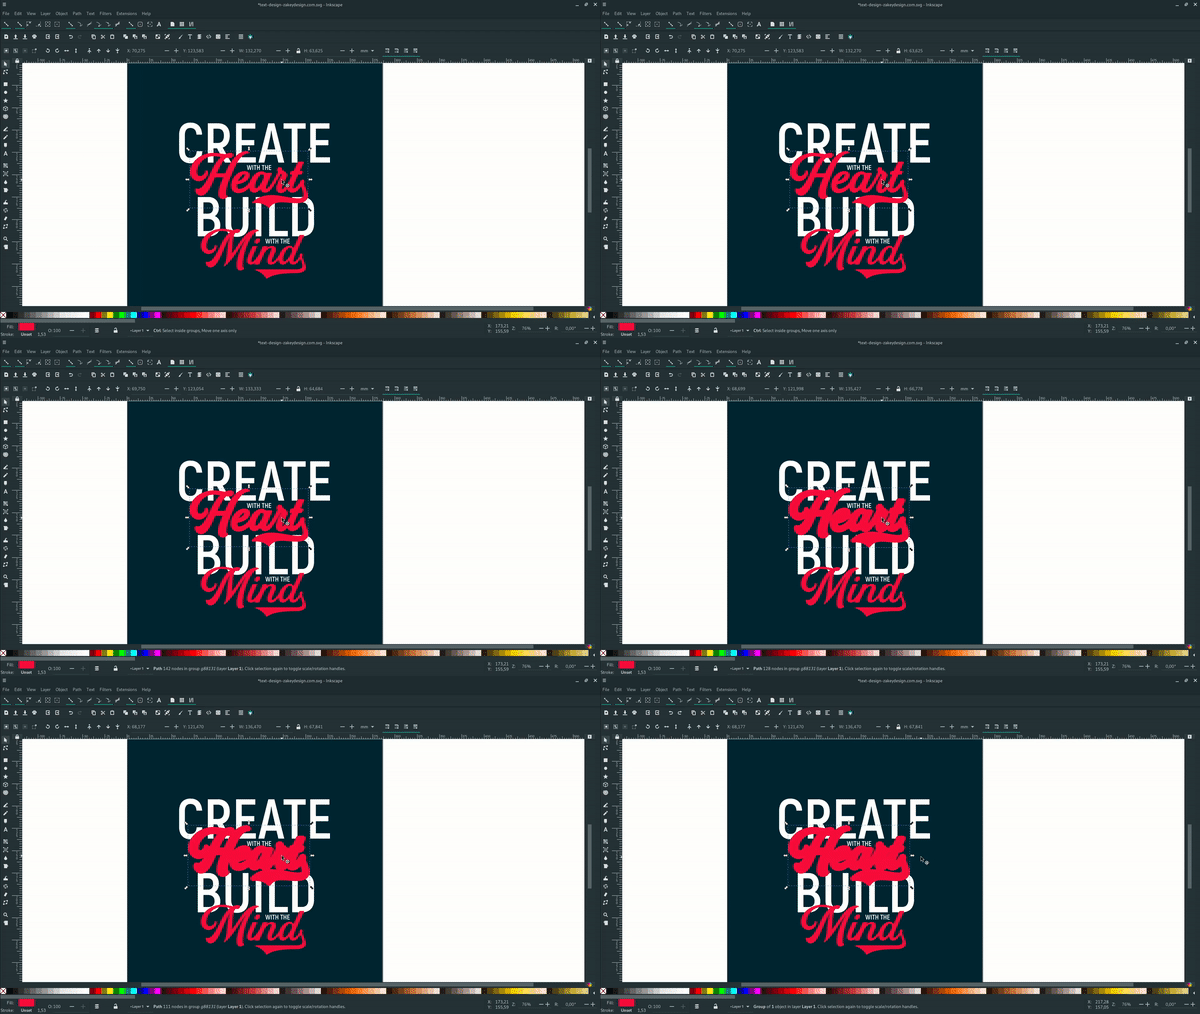
Change the text color with eyedropper tool (D) to the background Gunmetal (#002633ff).
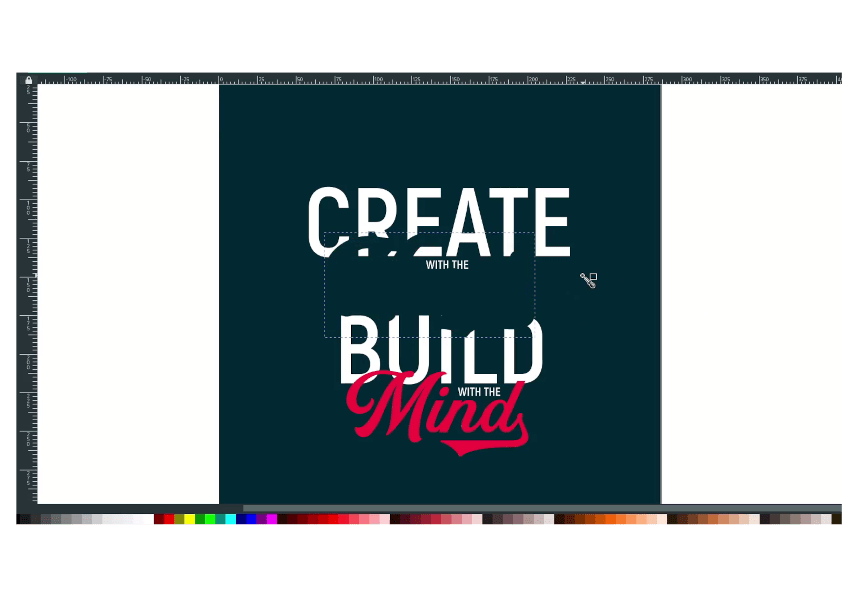
Send the “Build” text to the bottom.
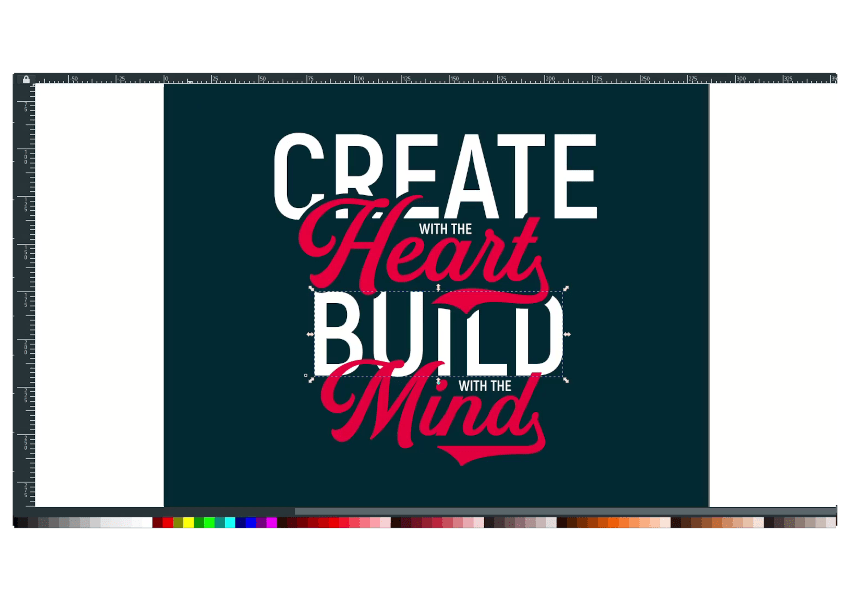
Do the same method to the “Mind” text.
Step 6
Next, create a light ray background with the bezier tool (B). Hold Ctrl to draw a straight line.
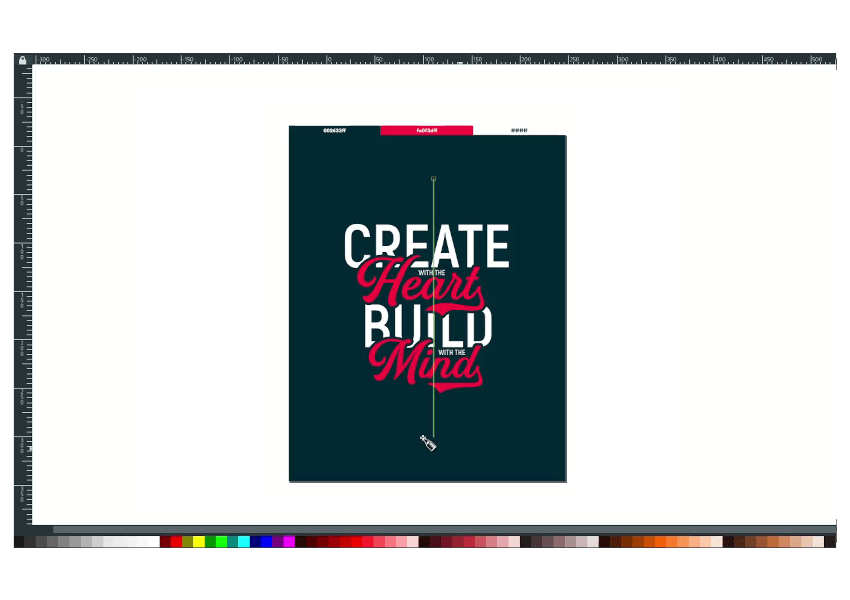
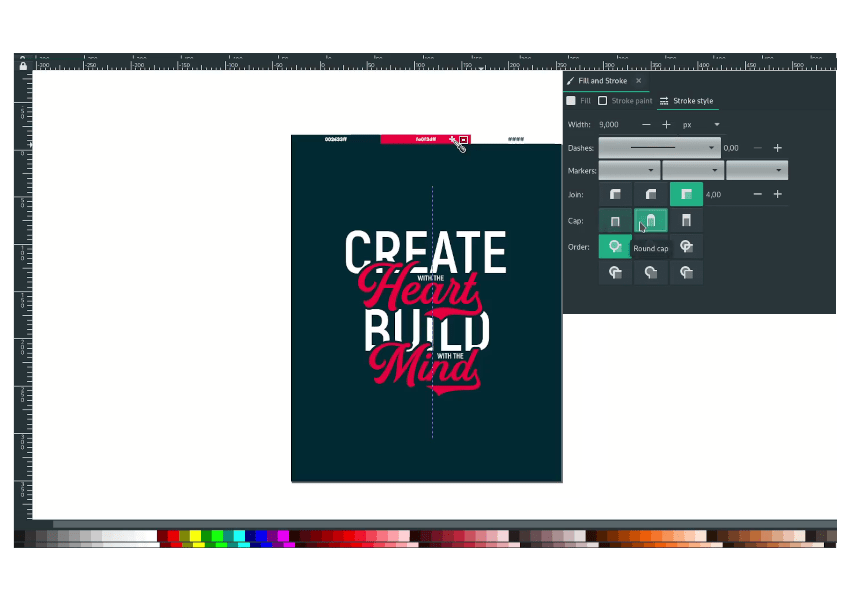
Change the color to Red Munsell (#fa0f3dff) with the eyedropper tool by pressing D and holding shift to give color to the strokes. Increase the stroke width to 9px, then activate the round cap.
With the transform tool in Object > Transform, click the Rotate tab and set the angle to 15 degrees. Press Ctrl+D to duplicate, then click apply. Repeat the steps.
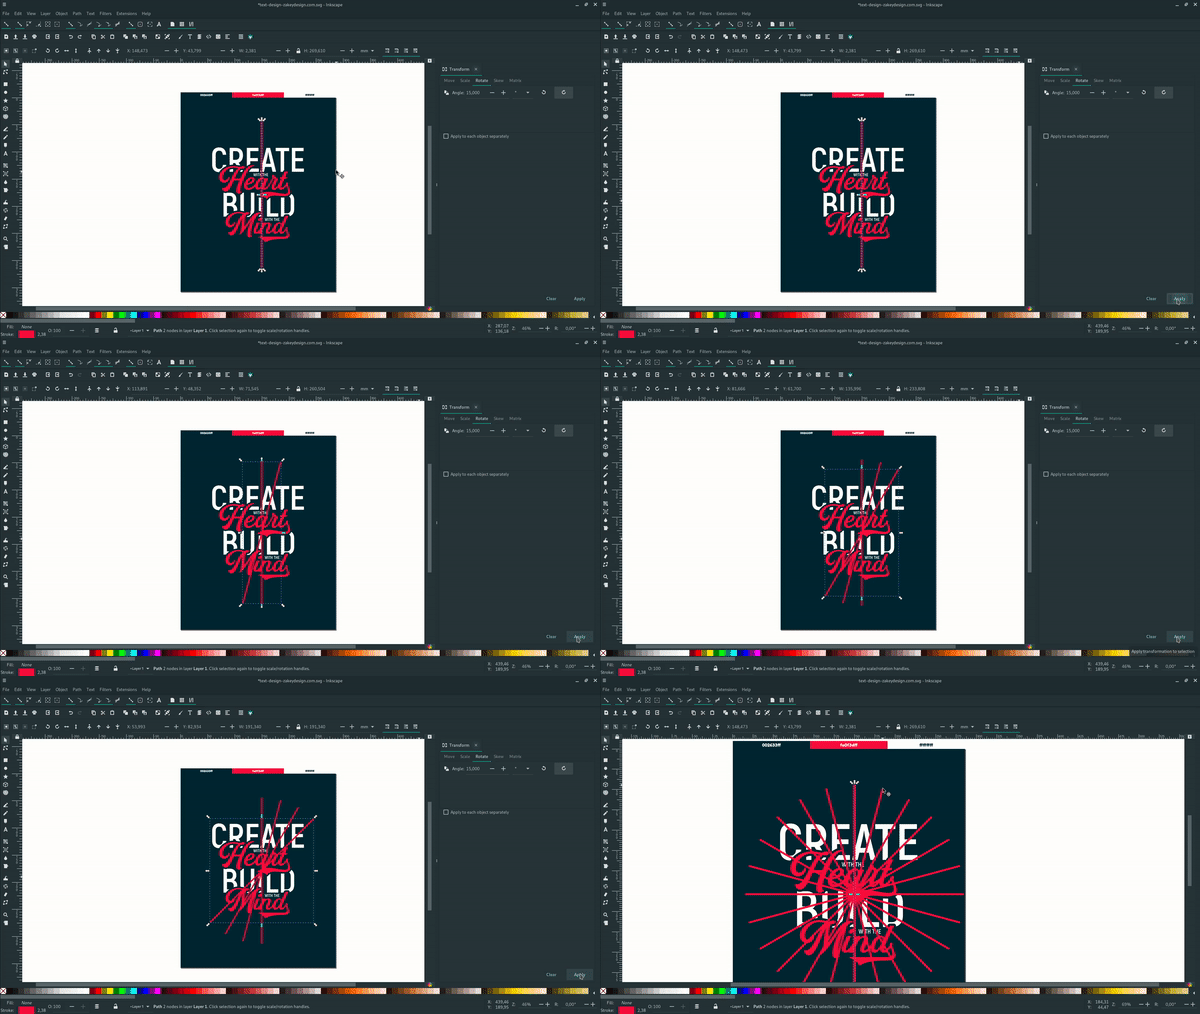
Select the all the strokes, then convert to strokes to path in Path > Stroke to path.
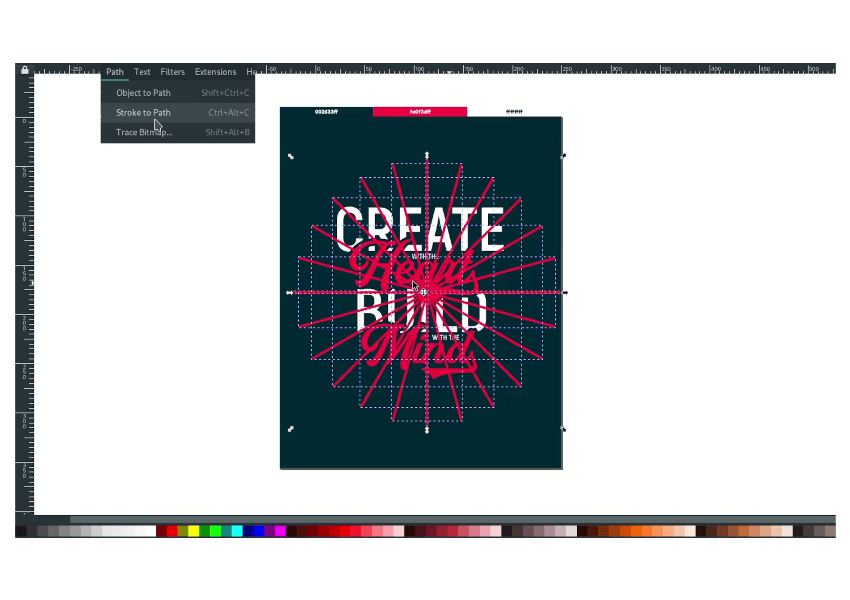
Unite all the stroke in Path > Union.
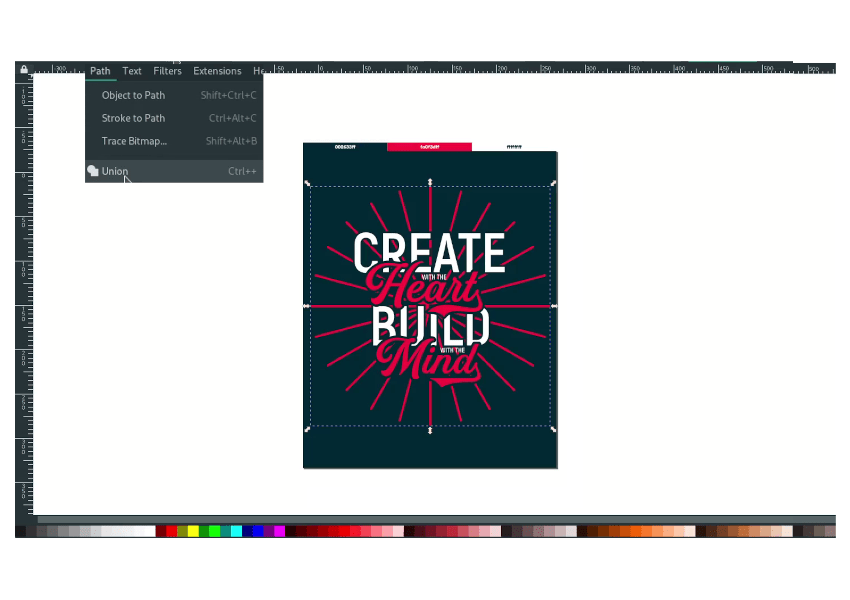
Step 7
Create a circle with circle tool then select the circle and the strokes and do Difference operation in Path > Difference.
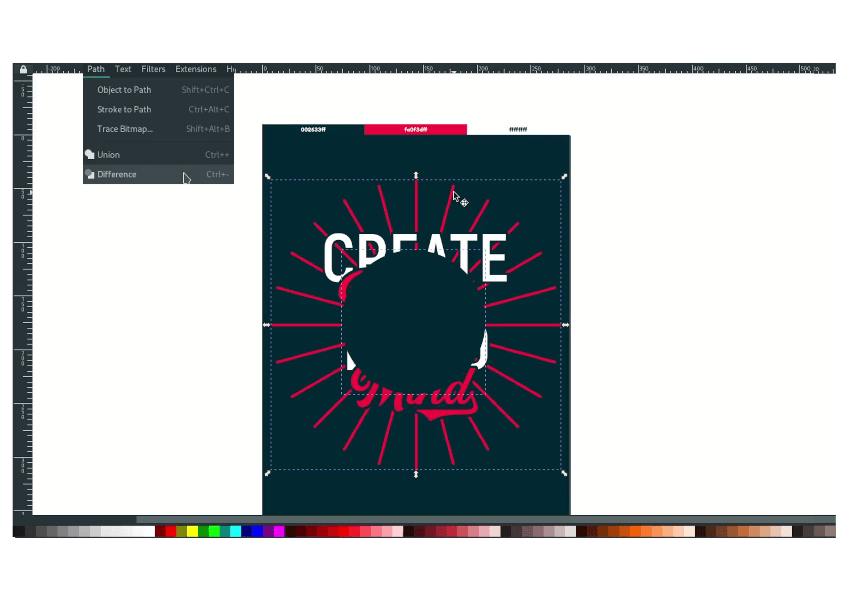
Result:
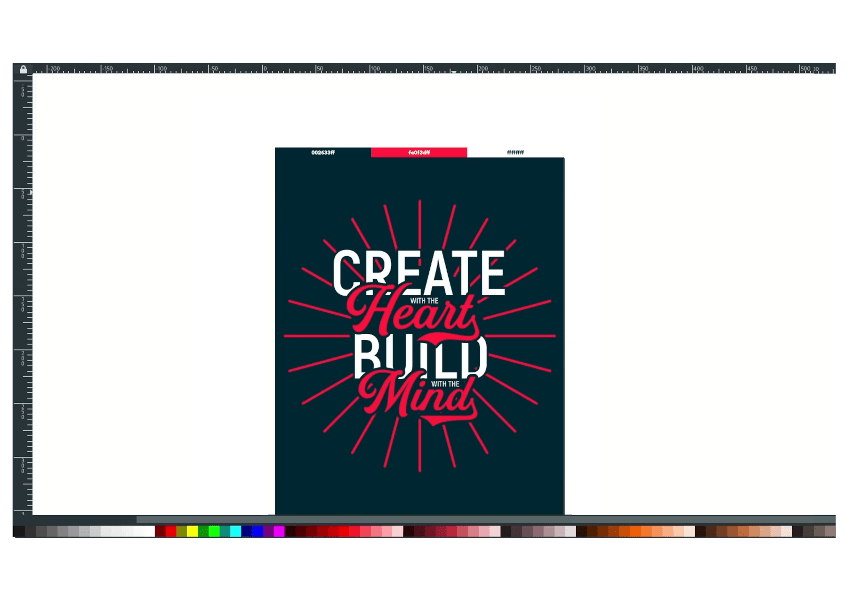
Create a rectangle path with bezier tool (B) then do the Difference Operation to the strokes in Path > Difference.
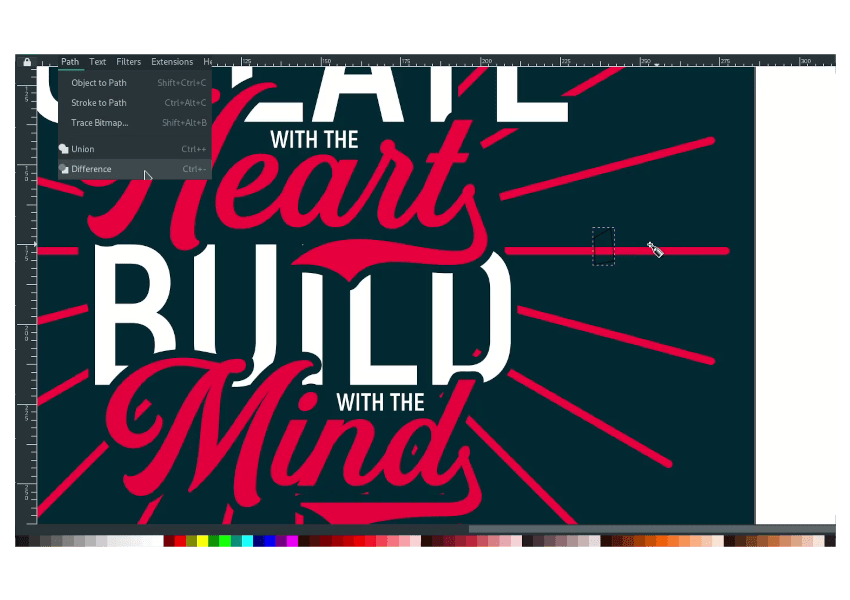
Result:
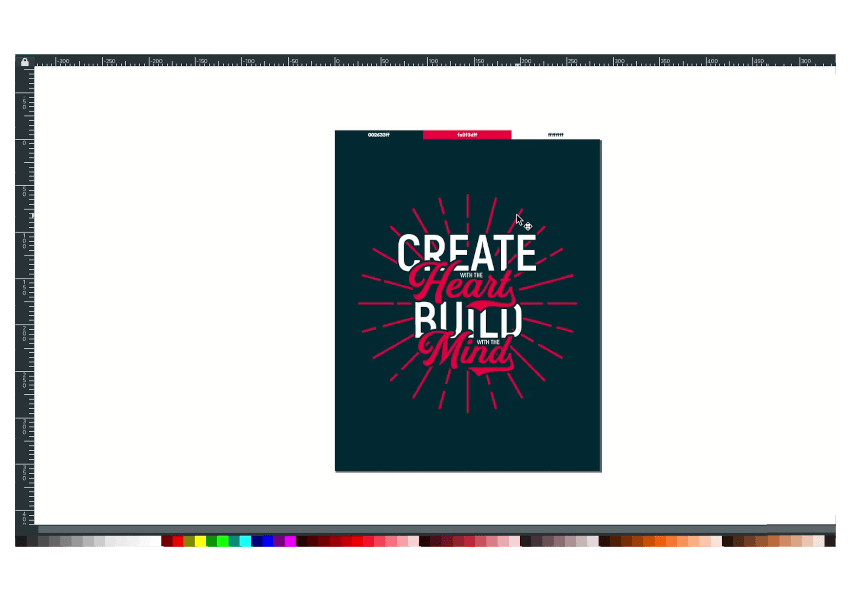
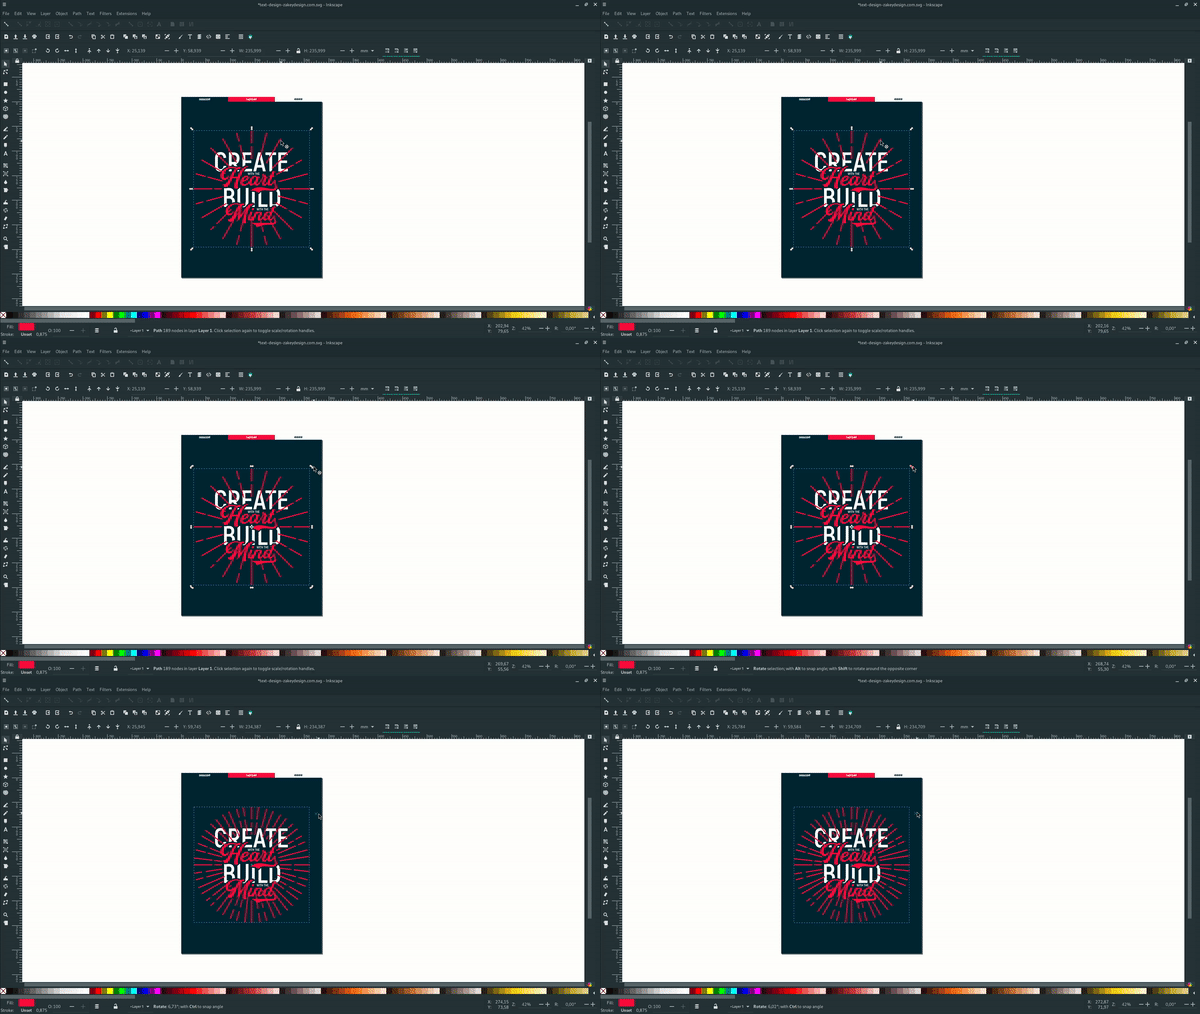
Duplicate the strokes with Ctrl+D and rotate, then scale it down.
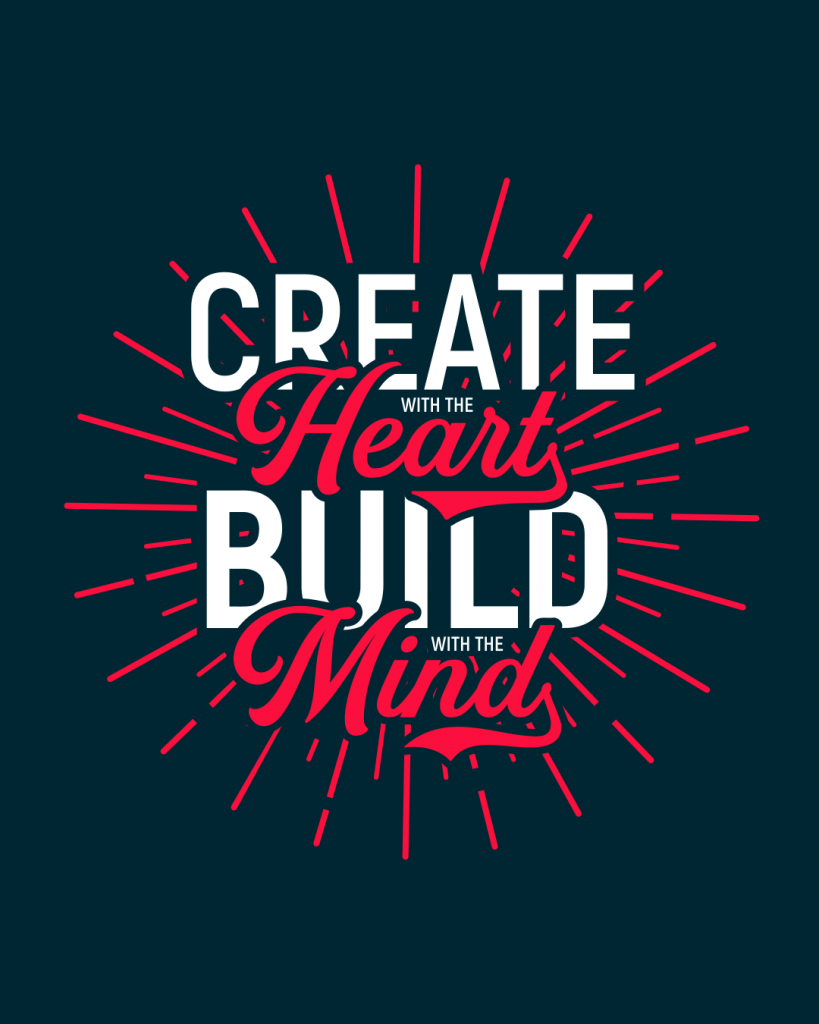
Well done, mate!
Tutorial Assets
Credits
- Inspired by Torpedo – Criss Jami Quotes


