In this today’s tutorial i will demonstrating how to make stacked text with inkscape using interpolate and also a little explanation about union and combine do.
The Different between Union and Combine. See here.
What you will learn
- Create a Text with Stroke
- Create a Noise Texture
- Making Interpolated Text
Step 1
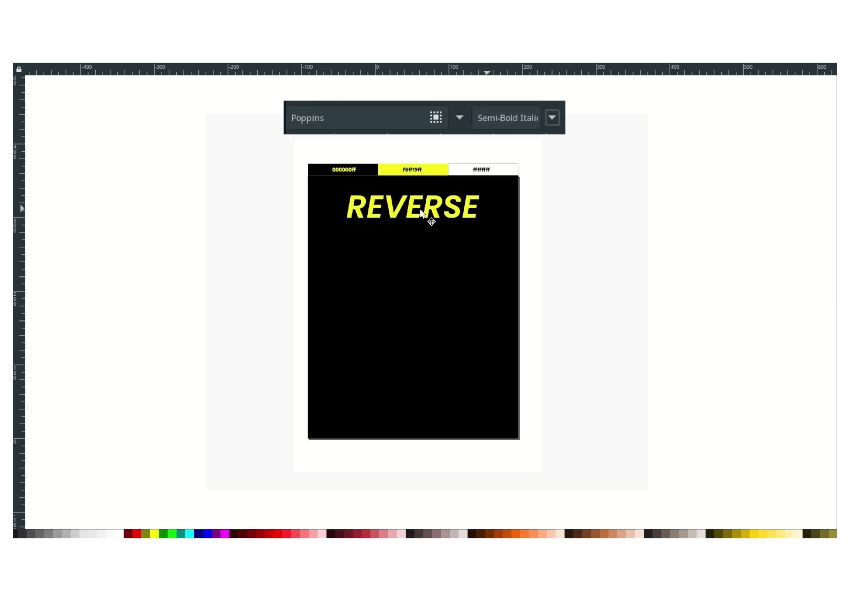
Create a background with Rectangle tool (R) and change the color to the Default Black (#000000ff).

Step 2
Then create a text with Text Tool (T) and change the font to Poppins with Semi-Bold Italic and the color to Lemon Glacier (#f8ff19ff).

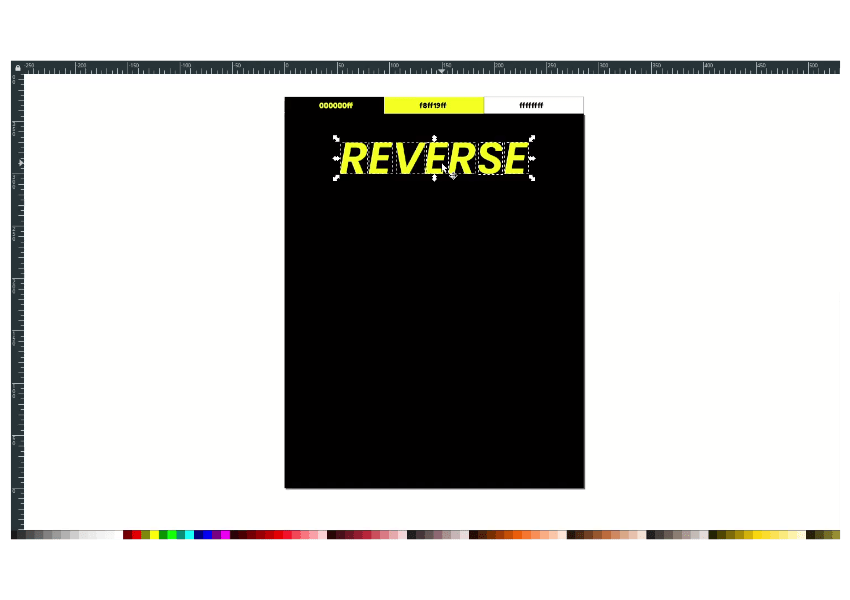
Next, create an interpolate to the text. But first, to make the interpolate works, we must ungroup the text into letters. Ungroup the text by right click > ungroup.

Result:

Step 3
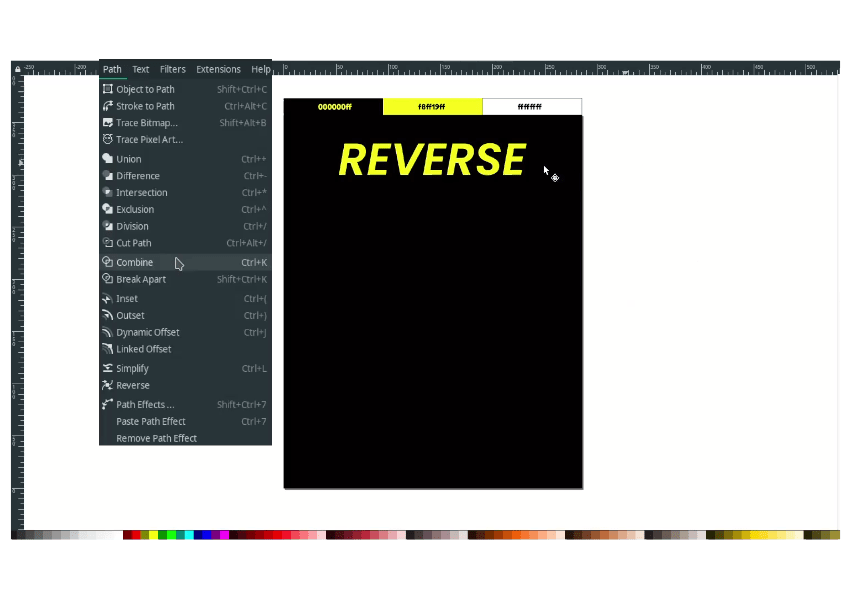
Combine all the letters in Path > Combine.

Duplicate the text with Ctrl+D and move it to the bottom. Select the two texts, then create an Interpolate in Extention > Genererate From Path > Interpolate. Adjust the Interpolation steps and activate the live preview.

Step 4
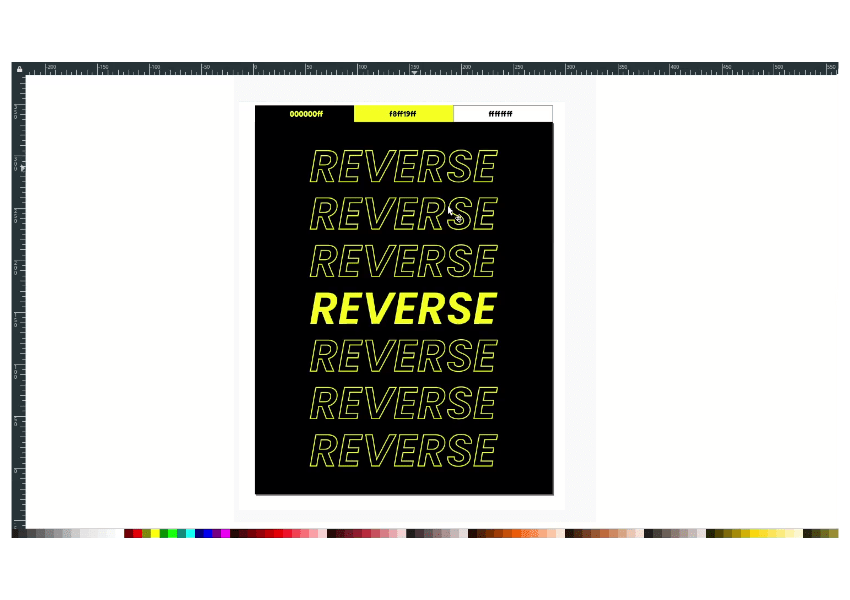
Select the text by pressing F2, then make it only stroke on the left corner, right-click > swap fill and stroke.

Result:

Add more text elements.

Step 5
The last thing, add some noise by duplicating the background and changing the color to Default White (#ffffffff).

select the background and head up to Filters > Overlays > Noise Fill to create the noise effect. In Noise Color tab, change the alpha to 0 and adjust the setting in Options tab freely.

Well done, You made it!
Remember when interpolating with the text to make the letters in ungroup to make the Interpolate work properly. Cheers!


