In this tutorial, we will create the effect of a stripy line on Inkscape using the interpolate and path effects.
What you will learn
- How to scale objects
- How to do path operation
- How to add text
- How to use Interpolate
- How to use Guides
Tutorial Steps
Step 1
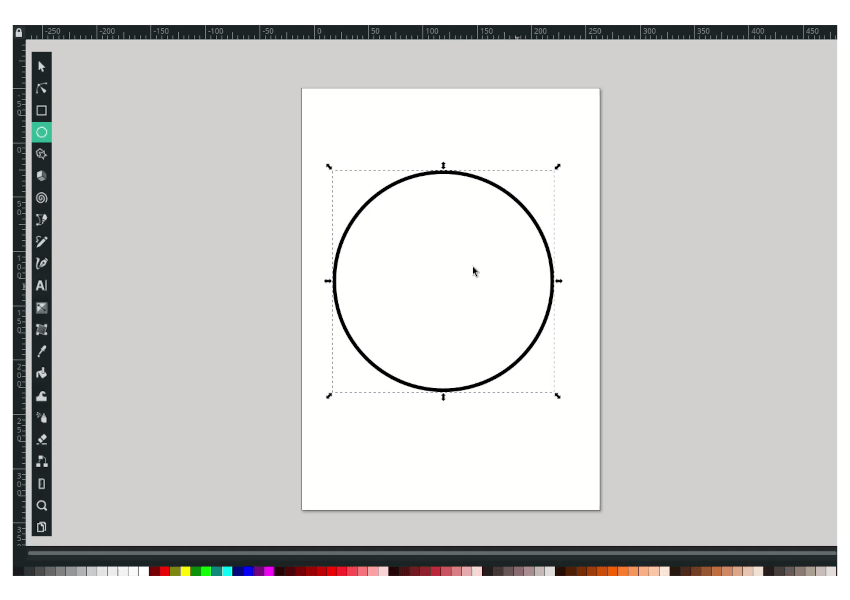
Create a circle with ellipse tools (E).
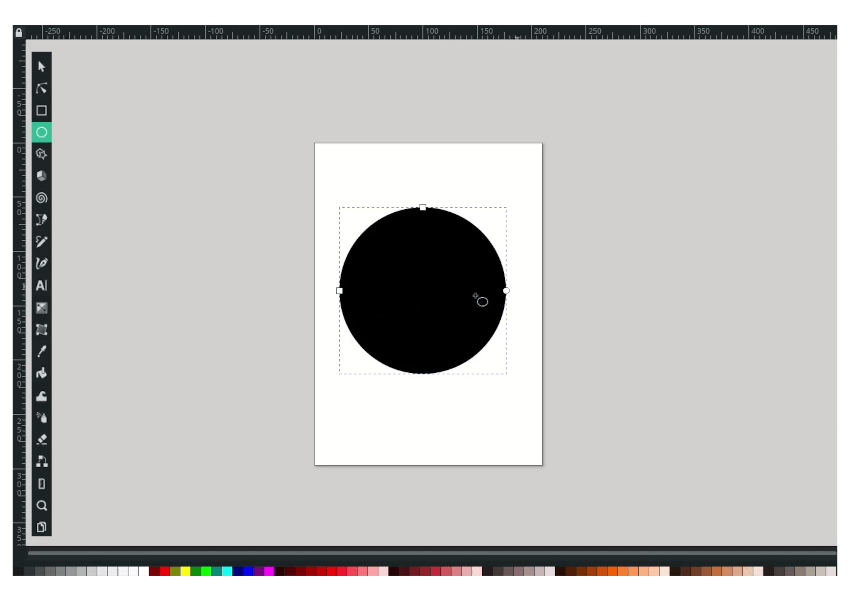
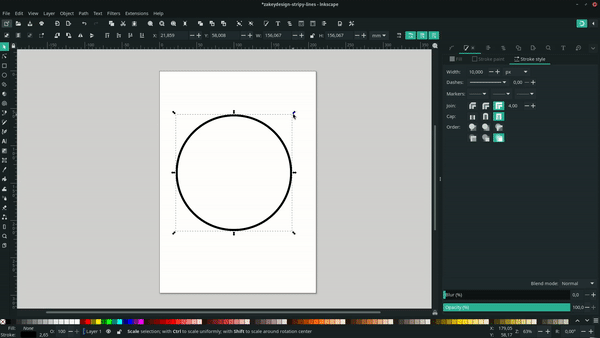
Remove the fill and make it only stroke with 10px.
Step 2
Duplicate the circle with ctrl+d, then scale down with ctrl+shift to create a proportional circle.
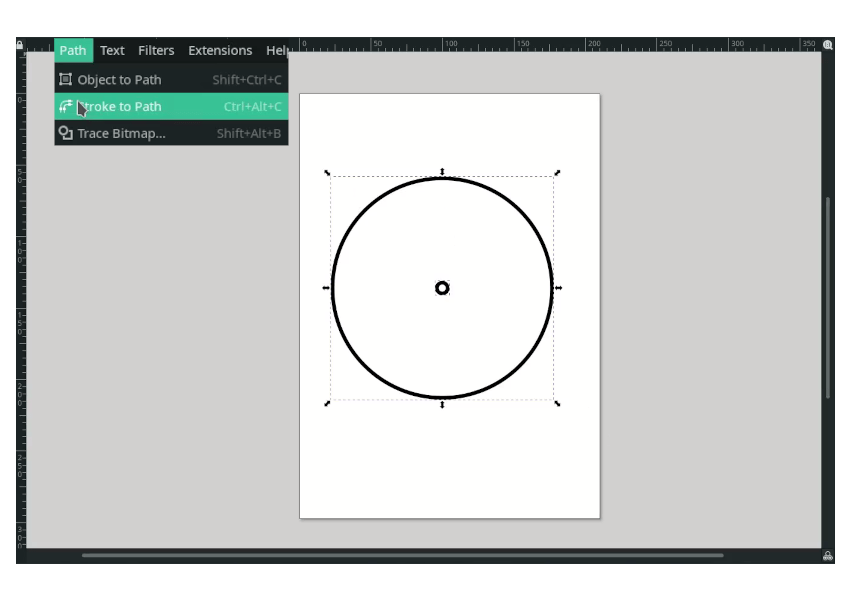
Step 3
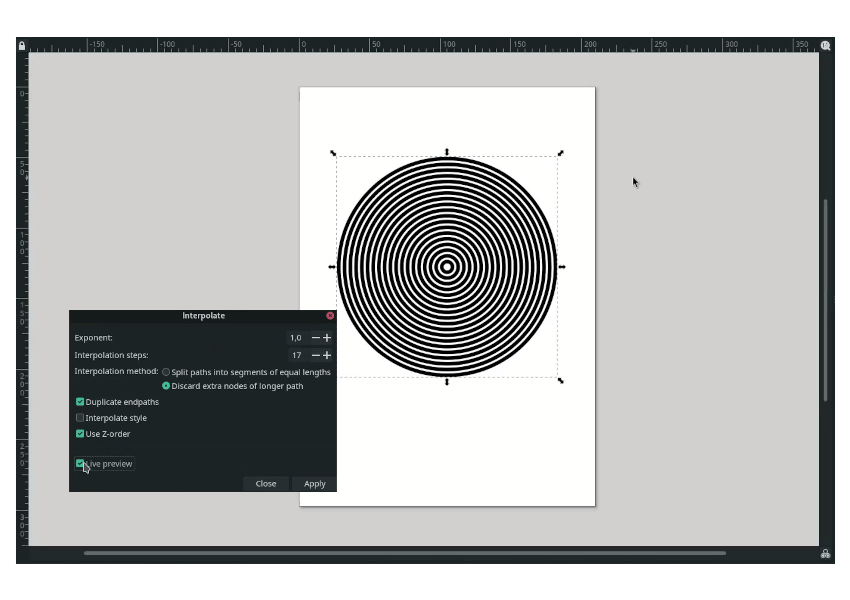
Convert all stroke to path in Path > Stroke to path.
Create an Interpolate effect in Path > Extensions > Interpolate. change the interpolation steps to 17 and activate the live preview to see the result.
Step 4
Ungroup all the strokes by right click > ungroup. Then make it unite in Path > Union.
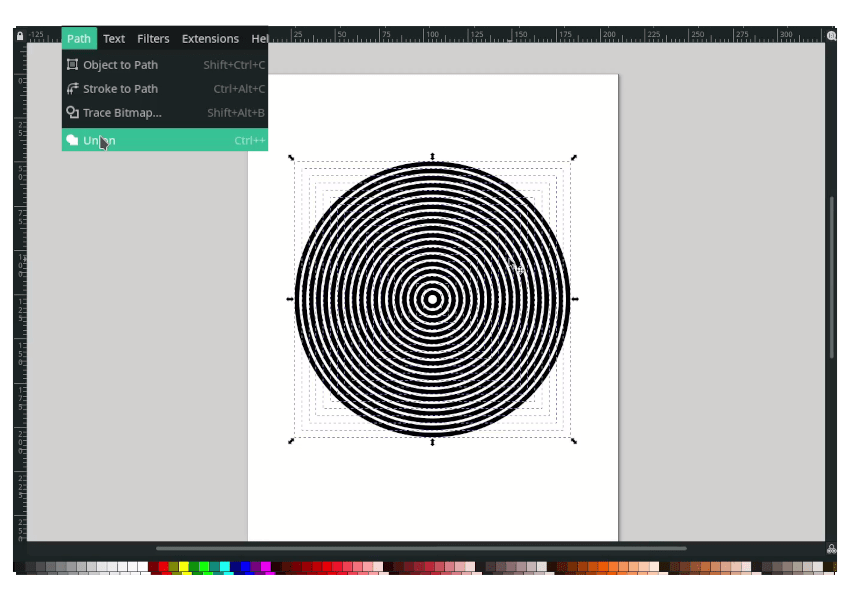
Result:

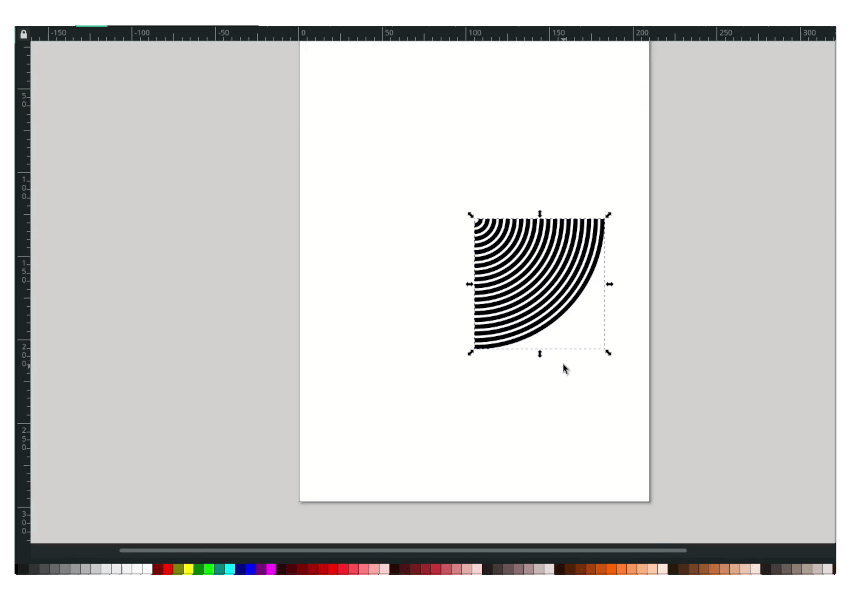
Step 5
Next, create a quarter circle with the rectangle tool, and start a drag from the circle’s center.
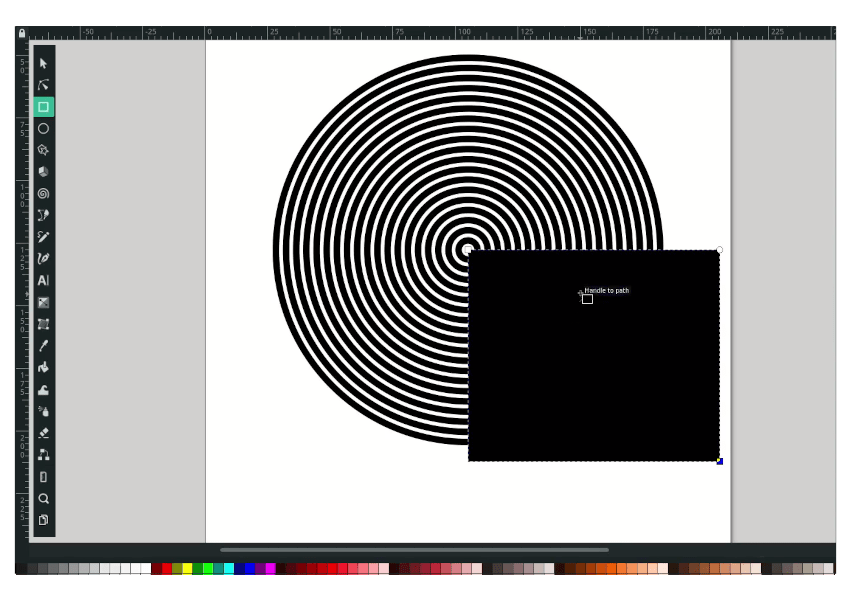
Select the circle and the rectangle, then create an Intersection in Path > Intersection
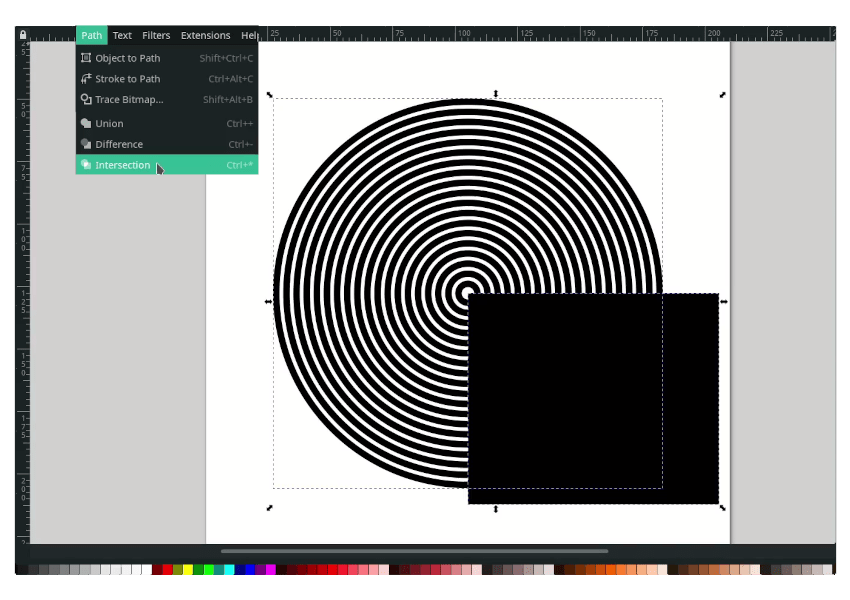
Result:
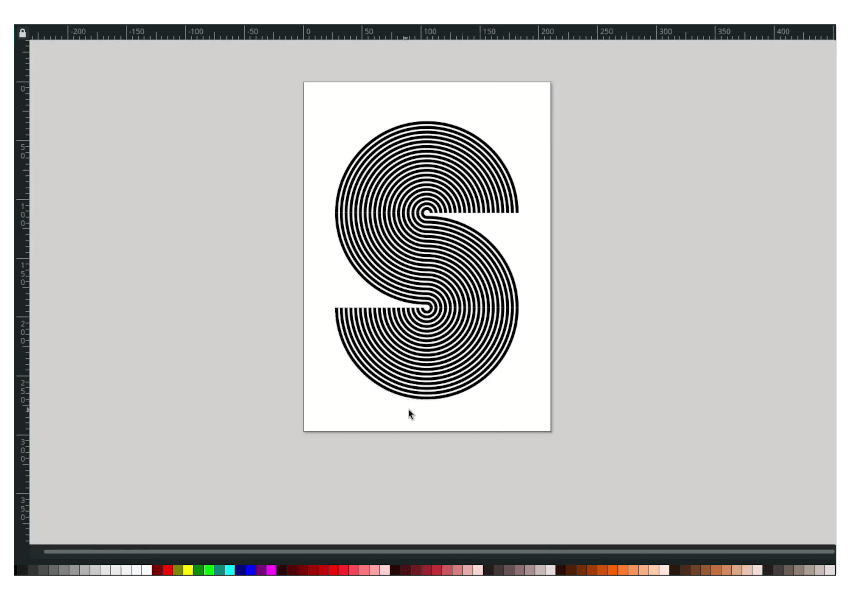
Step 6
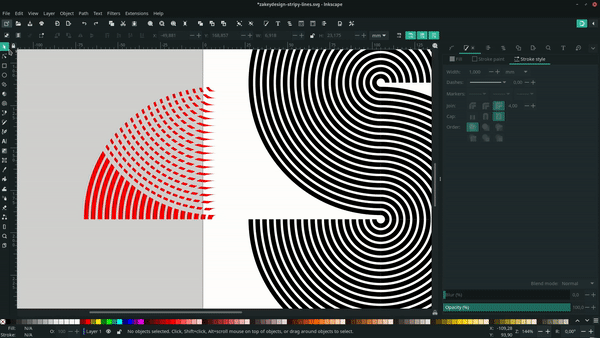
Duplicate the quarter circle with ctrl+d, move, and flip by pressing H horizontally. Make sure to turn on enable snapping for easier the path snap when you move it.

Press V to flip Vertically and arrange till it looks like S letters:
Duplicate the quarter circle again, change the color to red, and move it to the lower back.
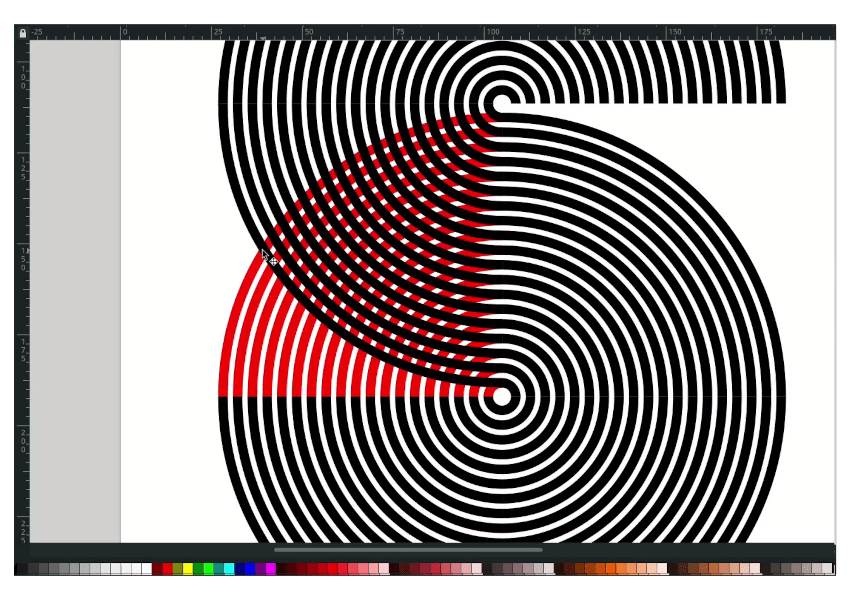
This time we will create a difference by duplicating the quarter circle, then select the red quarter circle and Path > Difference.
Move, select the red quarter circle chooses Path > Break Apart to remove the unwanted parts.
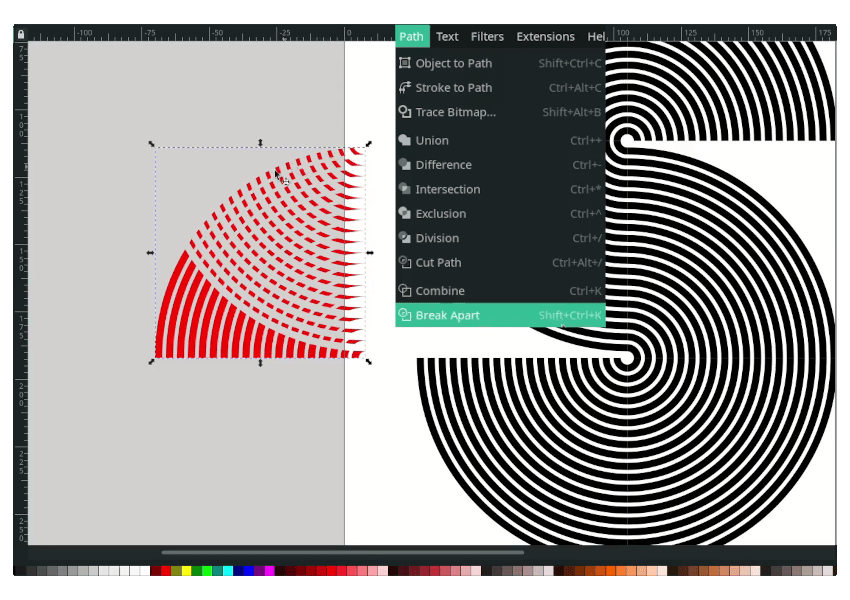
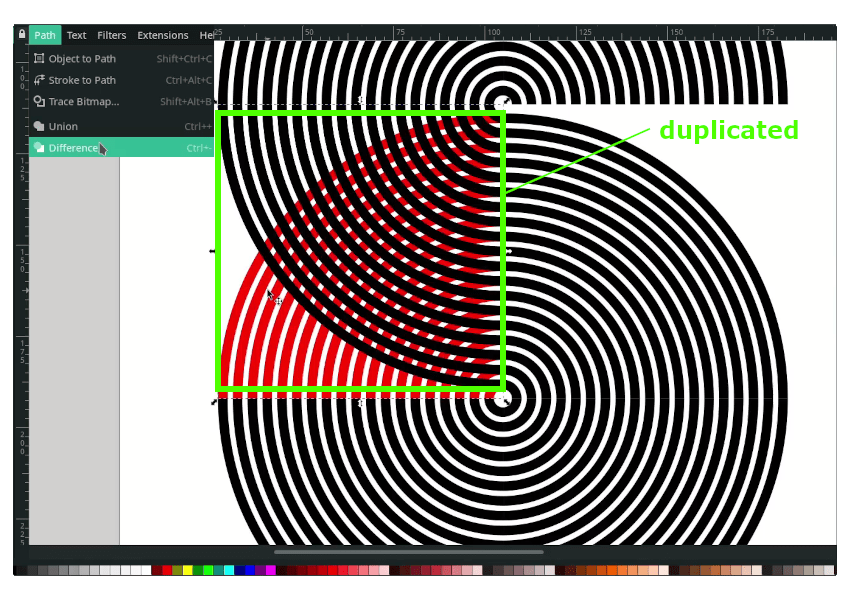
Move back to the S shape, then make it unite again.
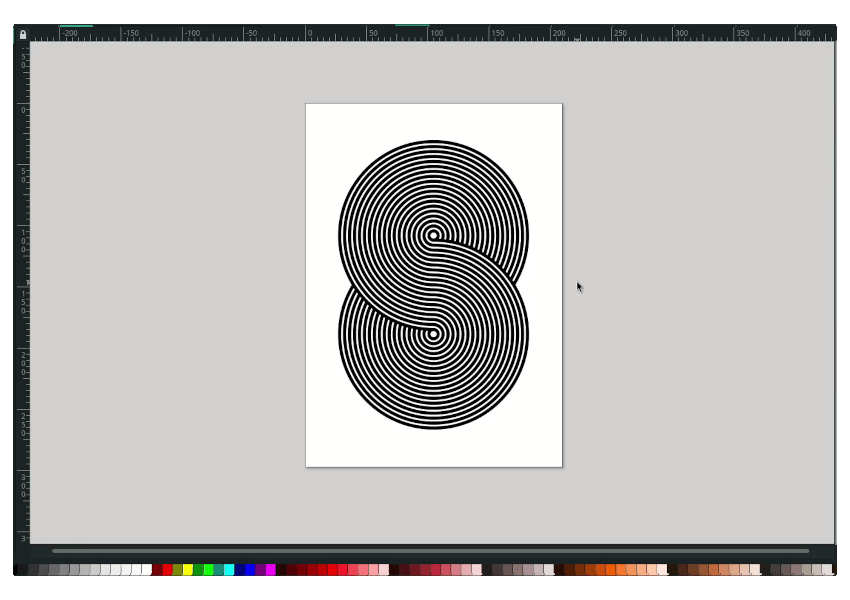
Step 7
Select all path, then make it Union.

Result:
Tips: To reduce the stroke width that already in Path, you can go to Path > Inset.
It’s Done!
The Interpolate, duplicate, flip and enable snapping is the key in this tutorial. Thank you for reading!

Tutorial Assets
Credits
- Inspired by Sun Kil Moon – Tini Cities
- Inspired by Veronika Peters – Poster Series


