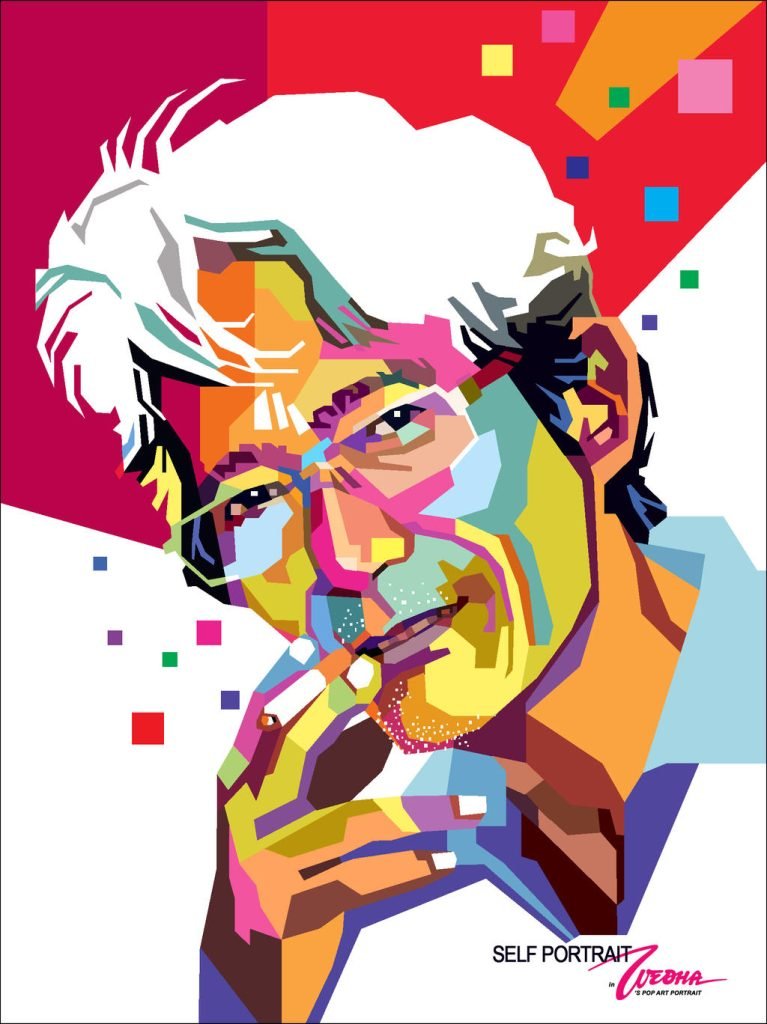
In this tutorial, I’ll show you how to create WPAP art, which is a standout for Wedha’s Pop Art Portrait founded by Mr. Wedha Abdul Rasyid from Indonesia. Using tracing technique and create a vibrant color based on the references image. You will learn how to trace with the bezier tool and using straight-line mode to create this amazing vector pop art portrait.
About WPAP
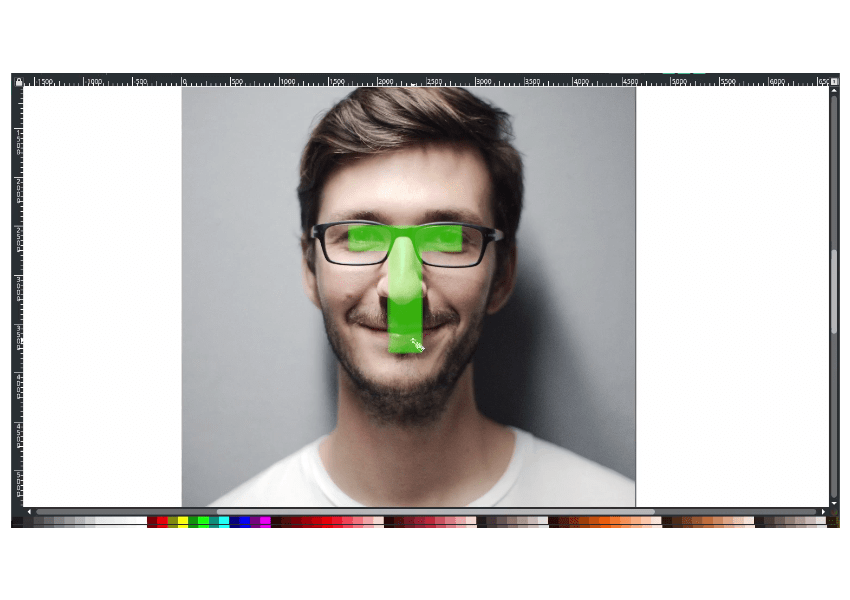
WPAP is an illustration style of human portraits dominated by flat areas that create dimension, formed by strong imaginary lines. The WPAP technique focuses more on Area T, which includes both eyes, nose, and mouth or lips. This keeps the position of the facial features and their proportions the same as in the original portrait through a creative tracing process.
The uniqueness of the discovery of this graphic illustration process is in creating the illustrations, where Mr. Wedha uses the original photo as a reference with a high level of difficulty, especially in terms of matching the lighting areas on the skin and the smoothness of the strokes. To overcome this, Mr. Wedha started by creating strong lines and flat design areas that are then filled with striking colors.
Initially, Mr. Wedha did not expect that the technique he created would have artistic value, considering that he developed the technique due to his declining vision and accuracy caused by age.
Here are some WPAP artists from Indonesia:
And of course, many more artists that I can’t mention one by one.
What you will learn
- Create Straight Line with no Curves with bezier tool
- Moving and Scaling object
- Create a new layer in Inkscape
- Locking a Layer in Inkscape
- Making Path Intersection
- Making Outline Stroke with Combine and Outset
- Fixing With Gap after path intersection
Step 1
Import the image by going to File > Import.
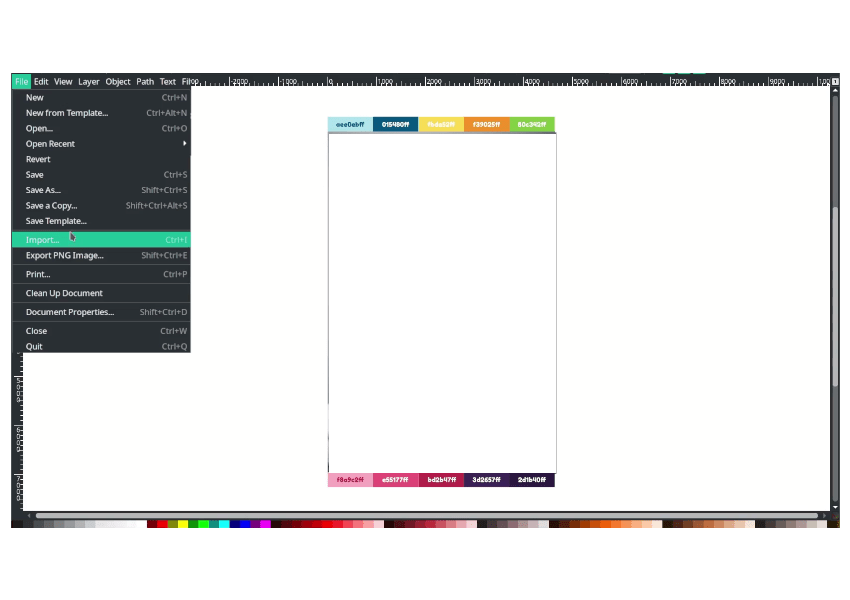
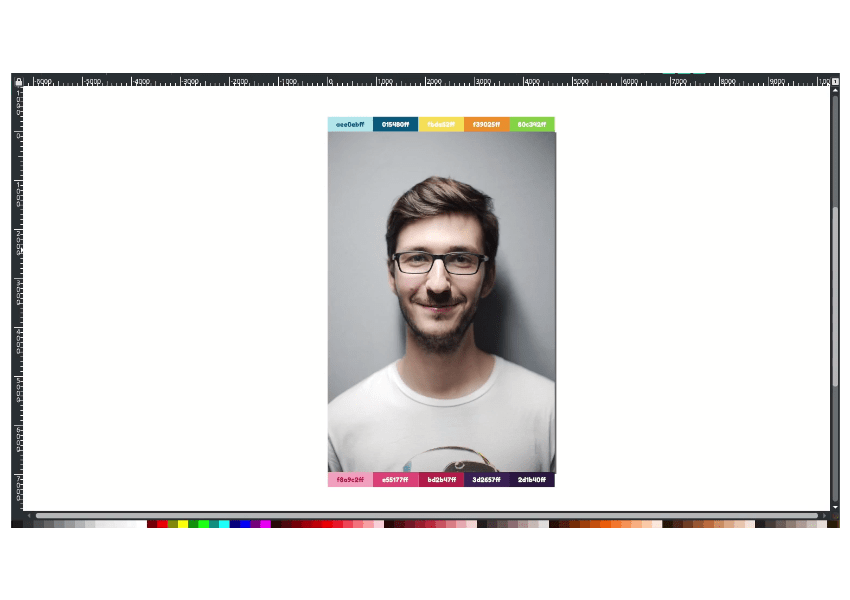
You can then move it and adjust its size to fit the page.
Tip: Alternatively, you can click on the image and press Ctrl+Shift+R to automatically fit the page to the image.
Result:
Step 2
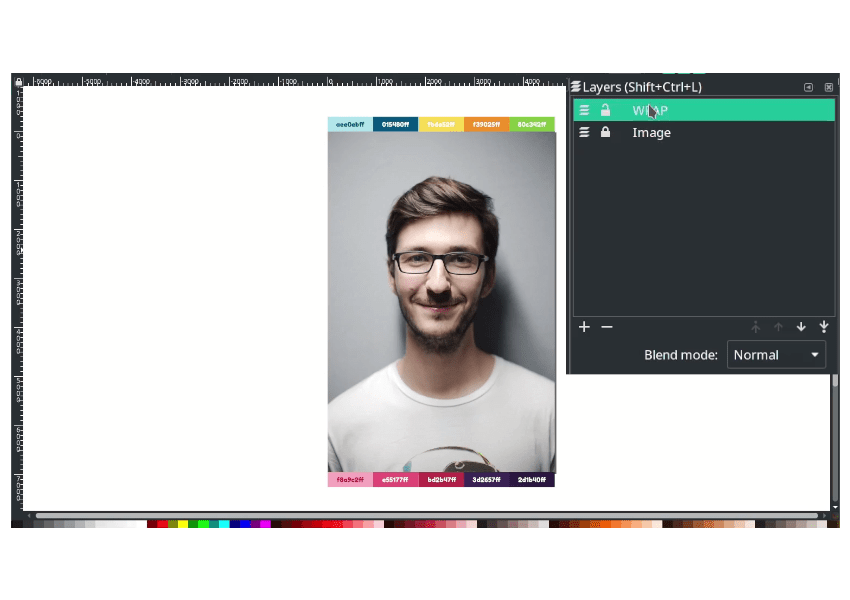
In the Layers toolbar, click on (+) “Add new layer” and name it “WPAP”. This layer is for the result traced with the Bezier tool.
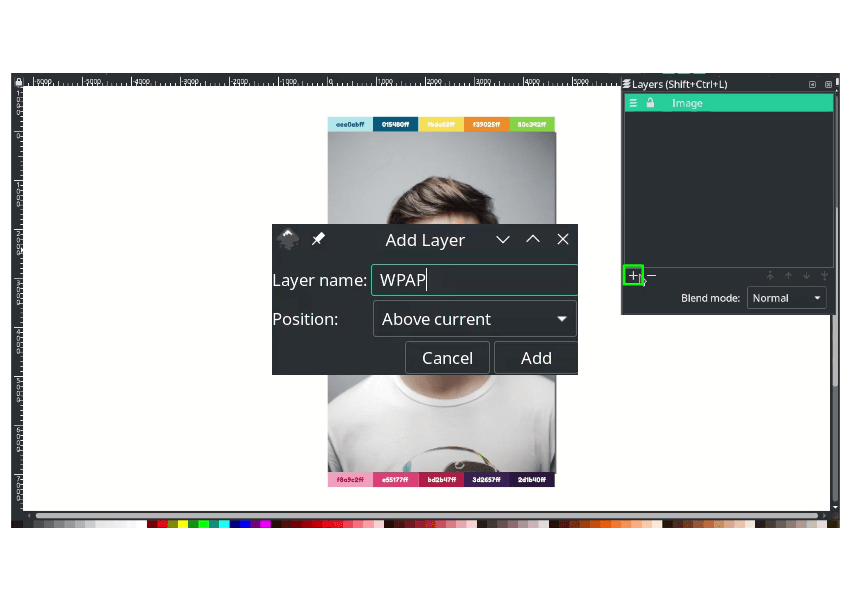
Lock the image layer to focus on the current layer (the “WPAP” layer).
Result:
Step 3
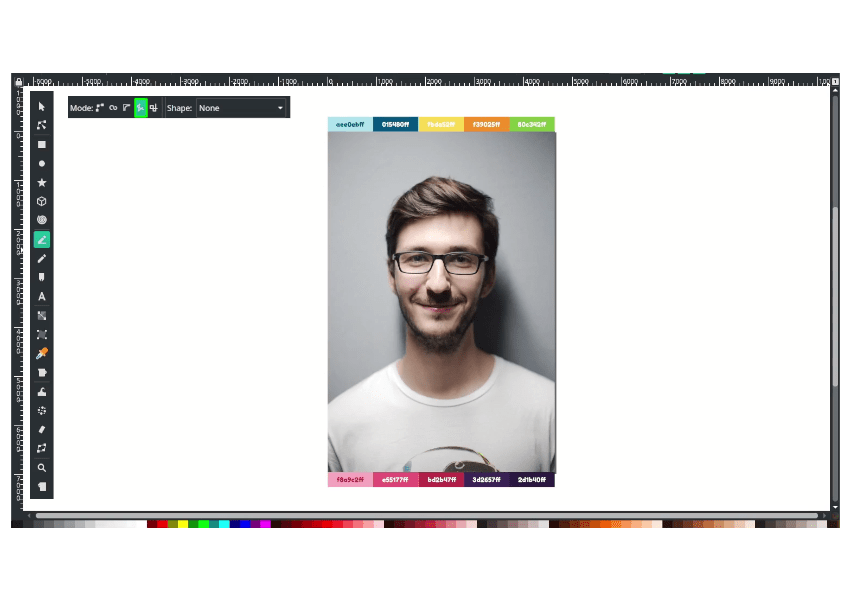
Press B to activate the Bezier tool, then change the mode to “Straight Line Segments” as WPAP only uses straight lines with no curves.
Focus on the “T” areas, which are the eyes, nose, and lips.
Start tracing from the eyebrows using the Bezier tool (press B and follow the shape).
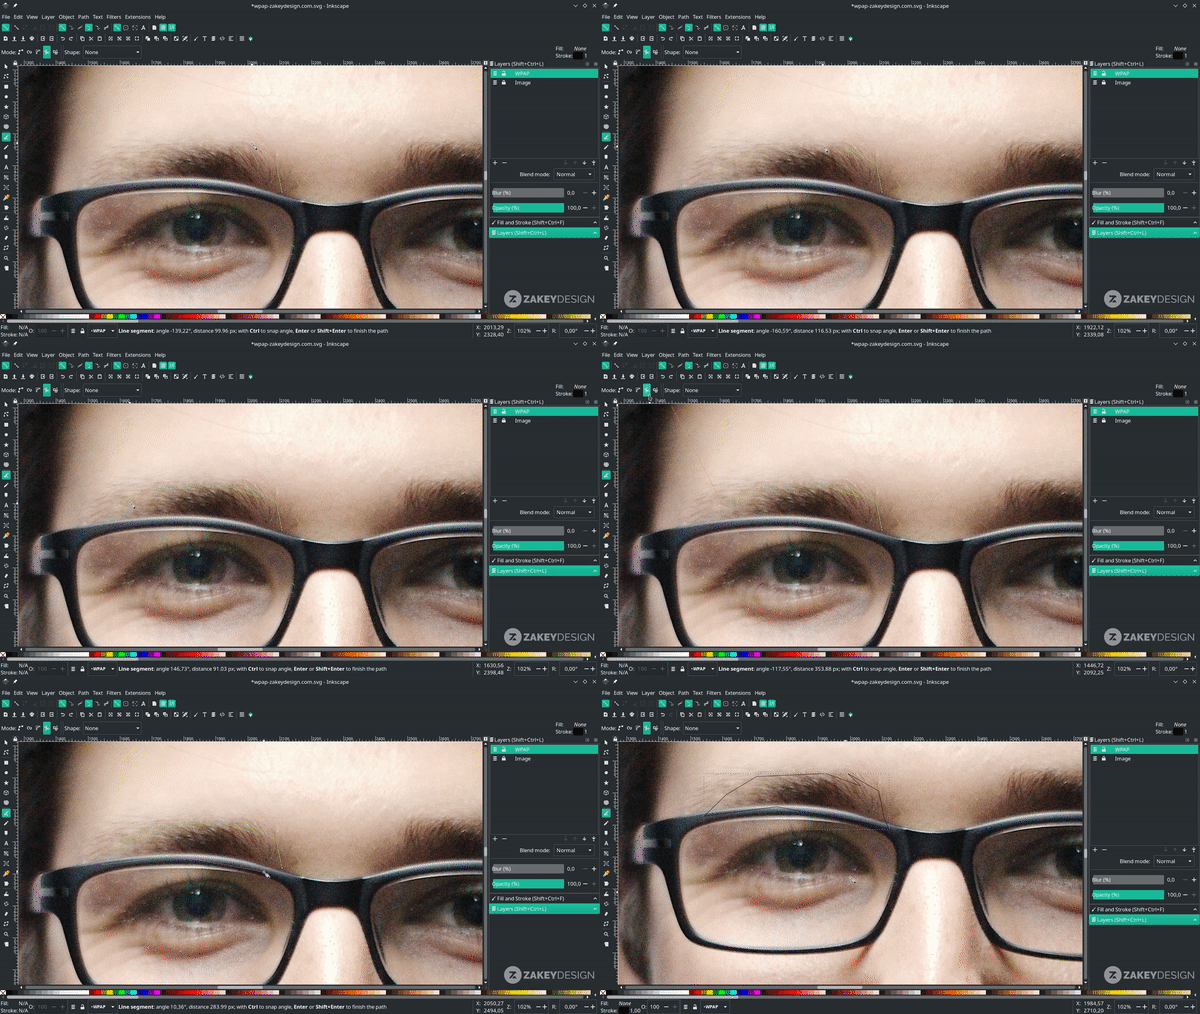
Continue working on the eye parts.
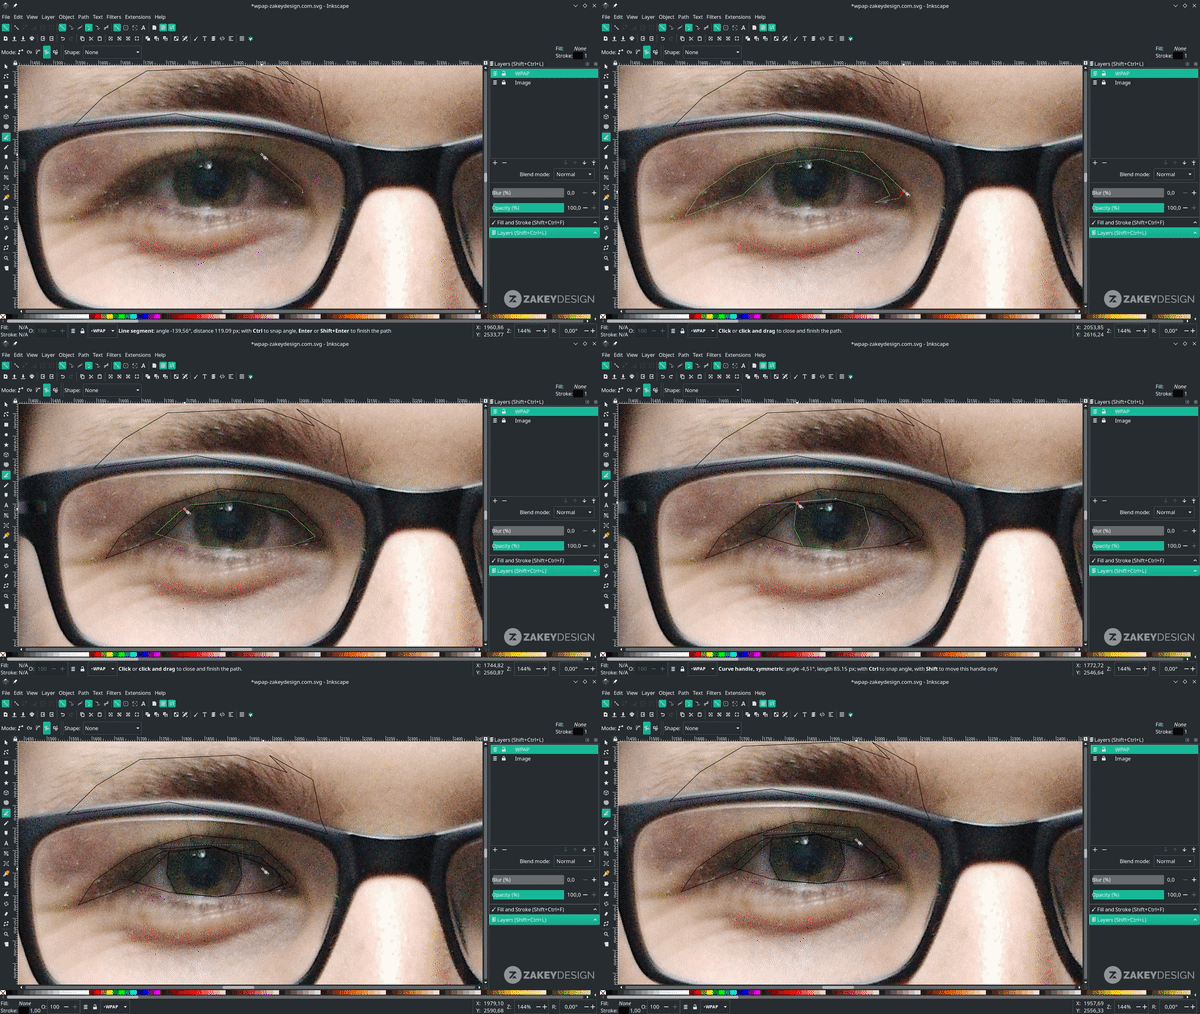
Result
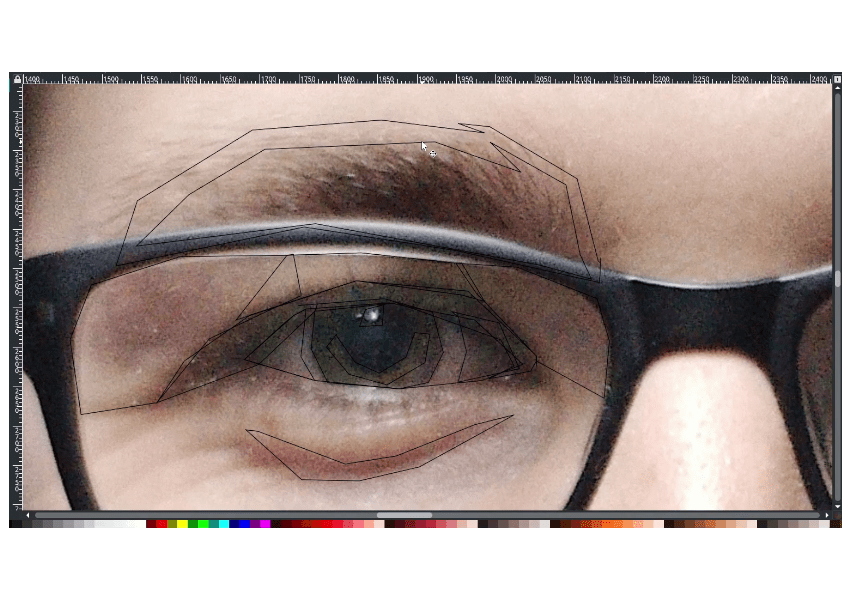
Step 4
For coloring, press D to activate the eyedropper tool. Fill in the color for each shape and continue with the side eyes.
For the eyeglasses, draw the shape and create an intersection.
Result
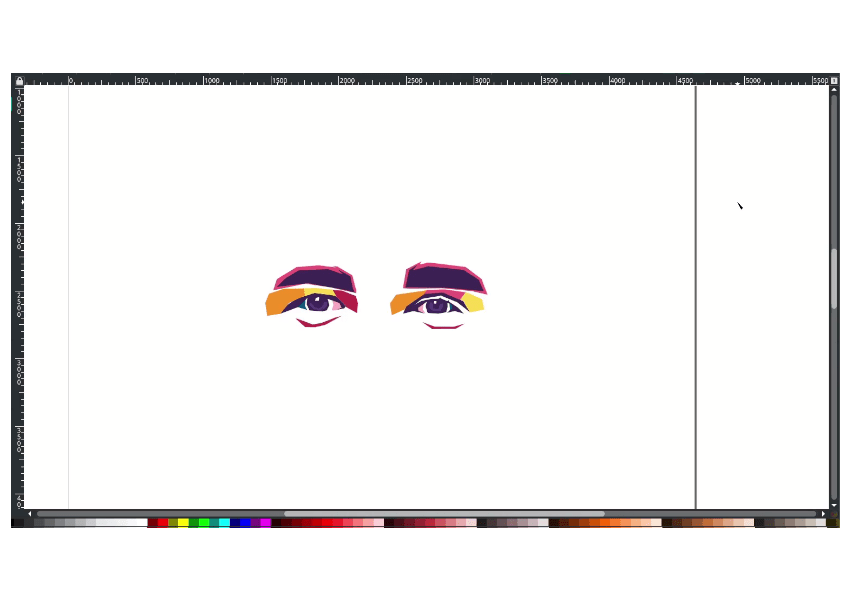
Step 5
Continue drawing the nose parts and then the lips.
Done
This is how you can create WPAP art using Inkscape. I am still working on perfecting my technique, so thank you for reading.


