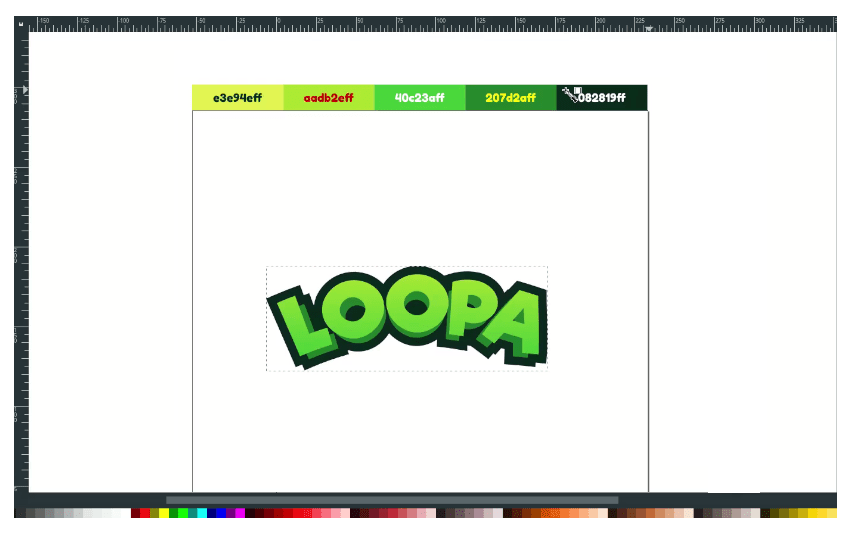
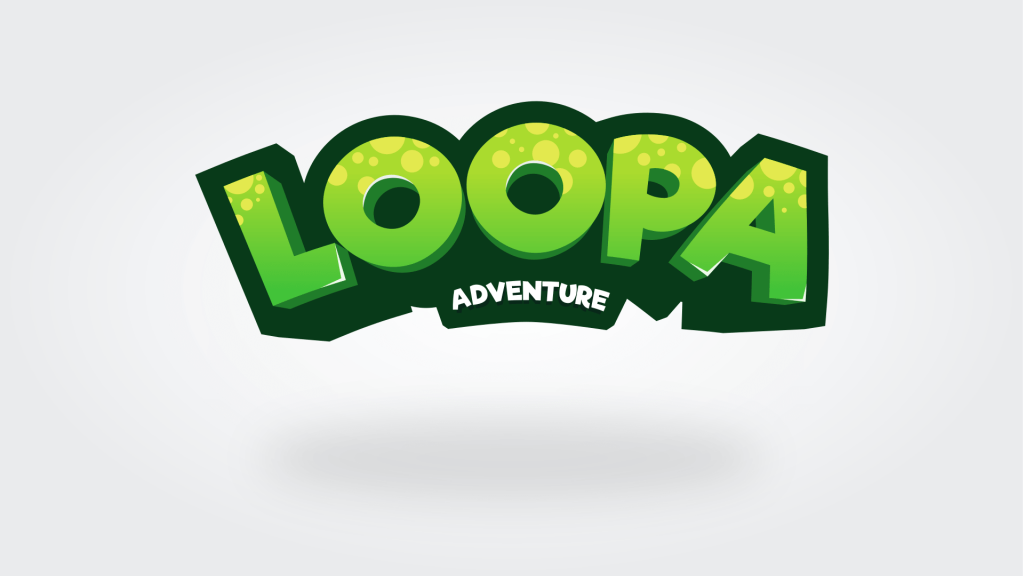
Hello Everyone, in this tutorial, we will create a game logo design with modified text as the main element in Inkscape by using The gradient tool, Path effects, and the Union makes an attractive pop look with the extrude effect.
What you will learn
- How to duplicate objects
- How to unite objects
- How to create shadow effect
- How to use bezier tool
- How to use path effects
- How to curve text
- How to create a clipping mask
- How to create a Gradient
Tutorial Steps
Step 1
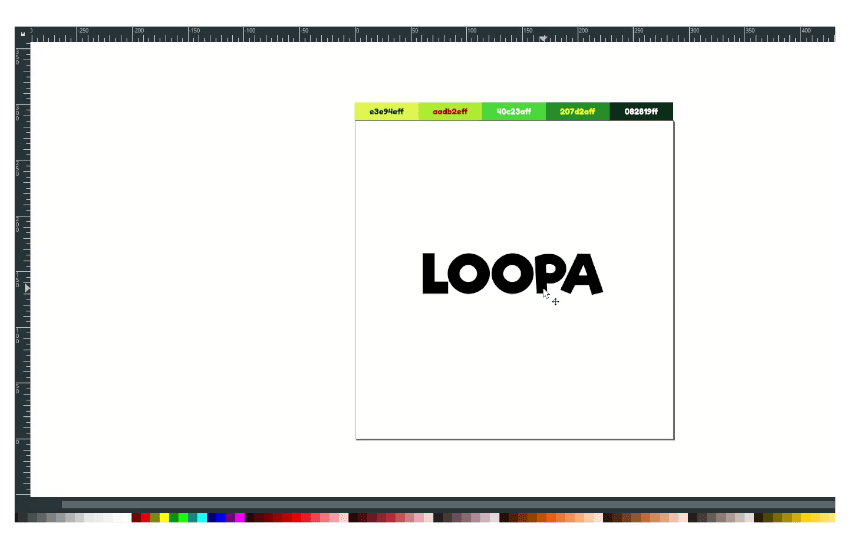
Create a text with Text Tool (T) and change the fonts to Riffic.
Step 2
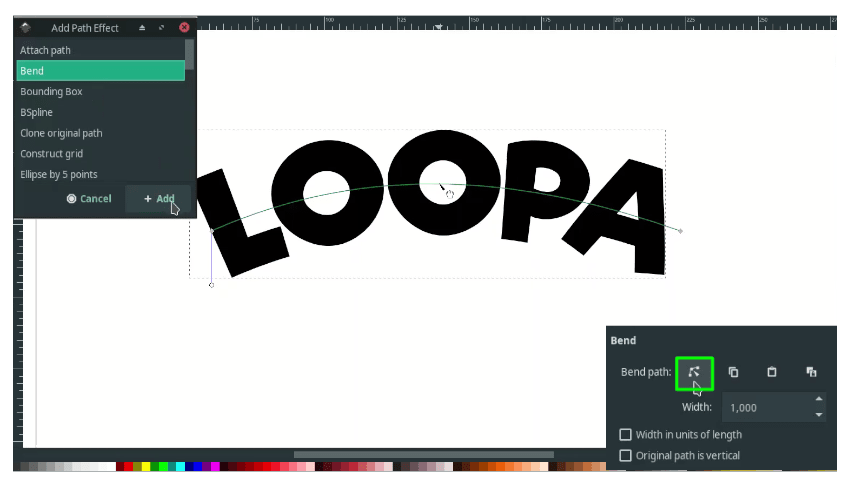
Bend text with path effect by converting to the Path in Path> Object to Path. Then in Path> Path Effects > click the (+) button > Bend, then drag it up.
Step 3
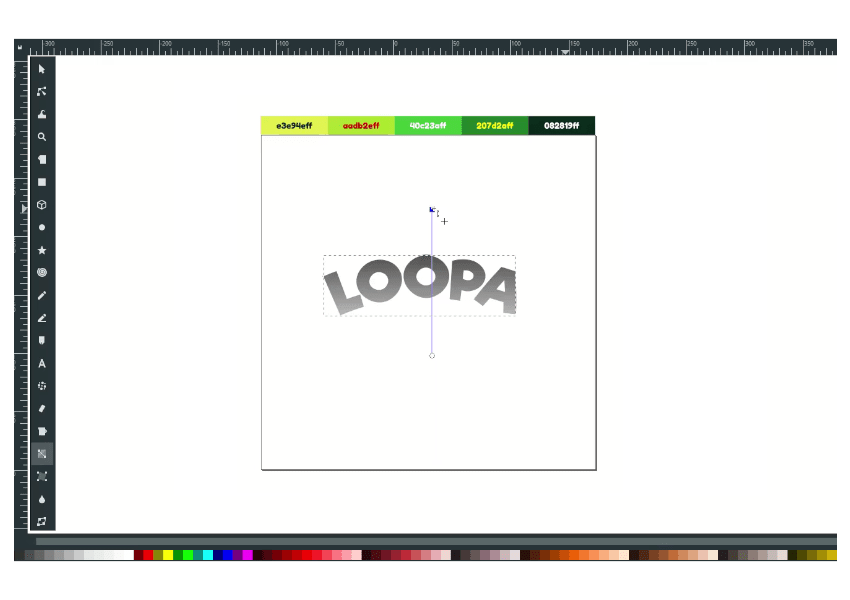
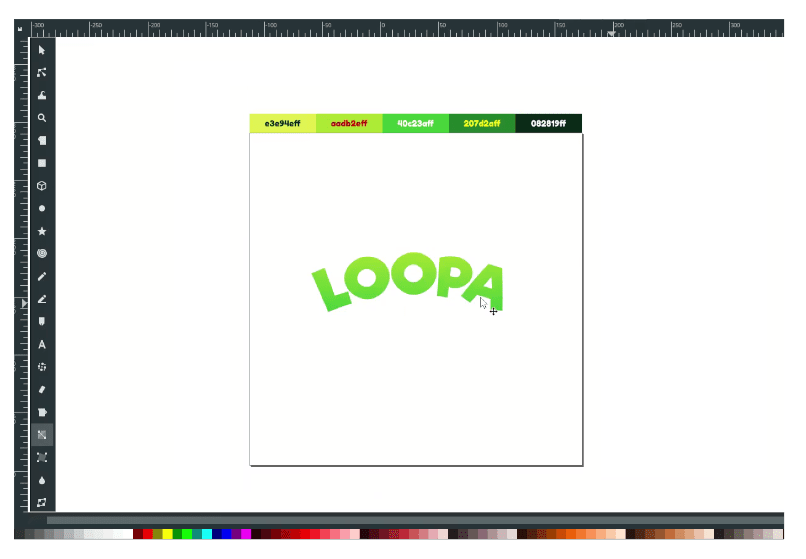
Create a gradient with Gradient Tool (G) and drag it to the text. And change the color to yellow-green (#aadb2eff) and dark pastel green (#40c23aff).
Result:
Step 4
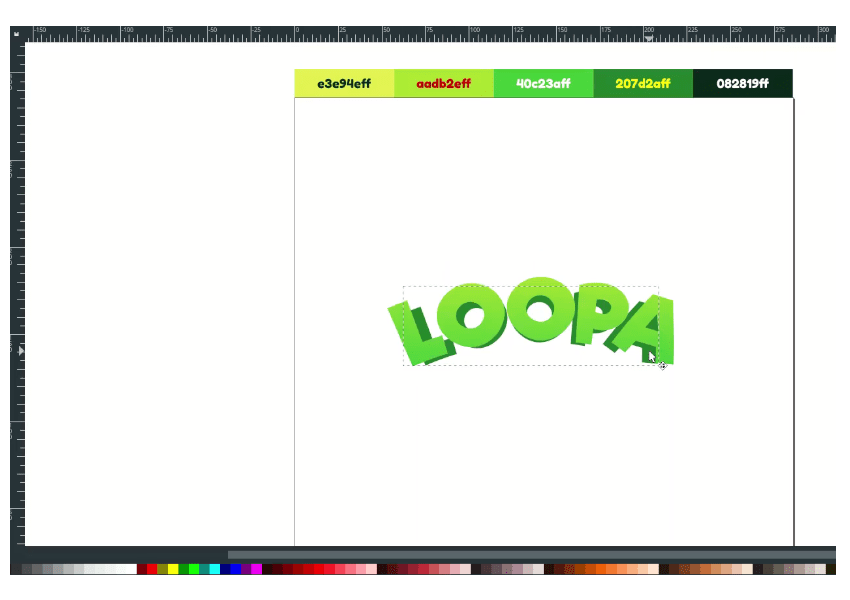
Duplicate the text, press Ctrl+D, and send it to the lower back. Change the color to Ao English green color (#207d2aff).
Step 5
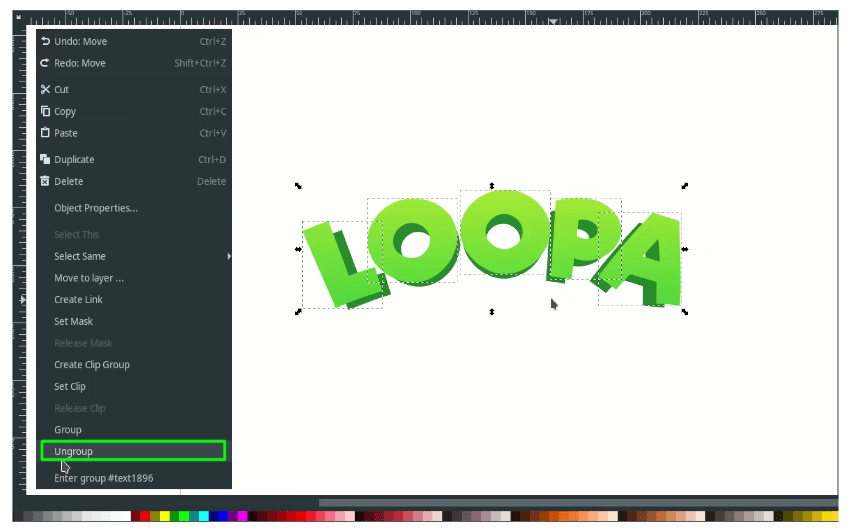
Duplicate the text and the shadow; press Ctrl+D then Ungroup by right click > Ungroup.
Step 6
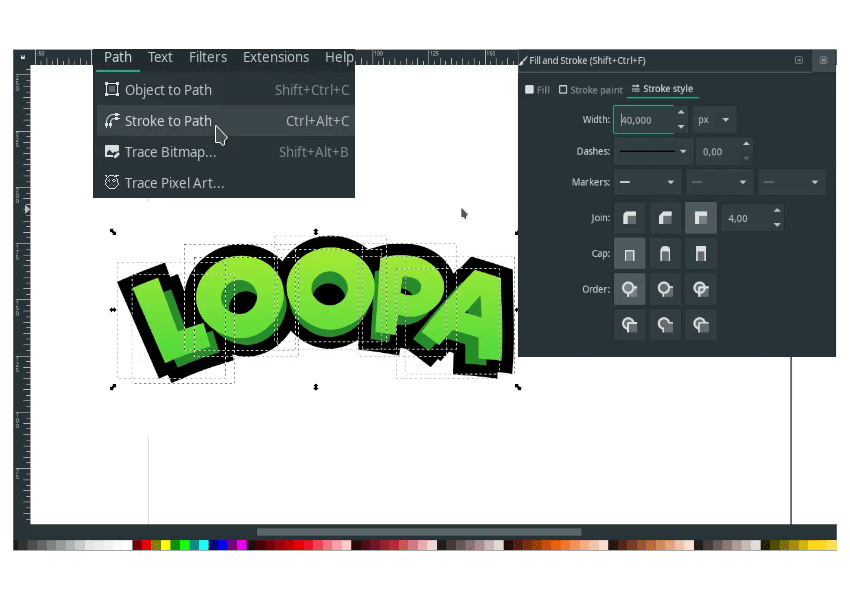
Create a stroke with 40px width then convert the stroke to path in Path > Stroke to Path.
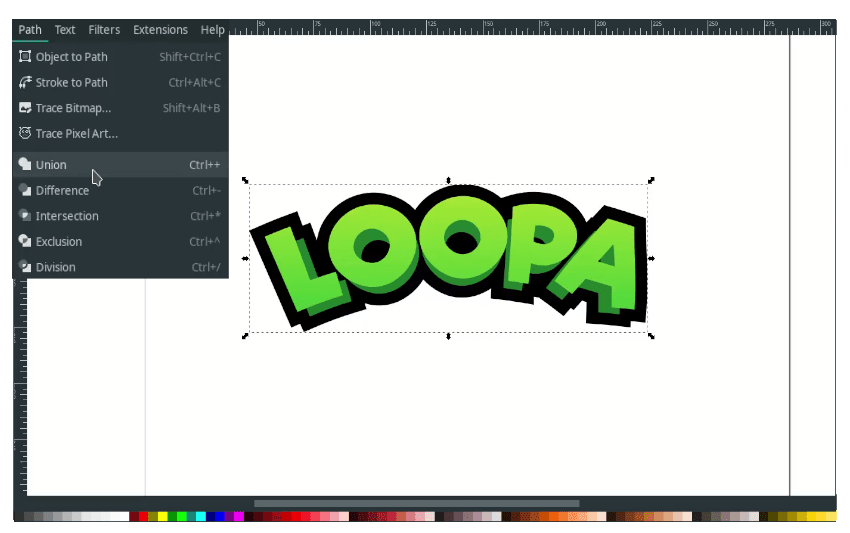
Make it union in Path > Union.
Send it to lower back then change the color to Dark Green (#082819ff).
Step 7
Now create an extrude effect with bezier tool (B).
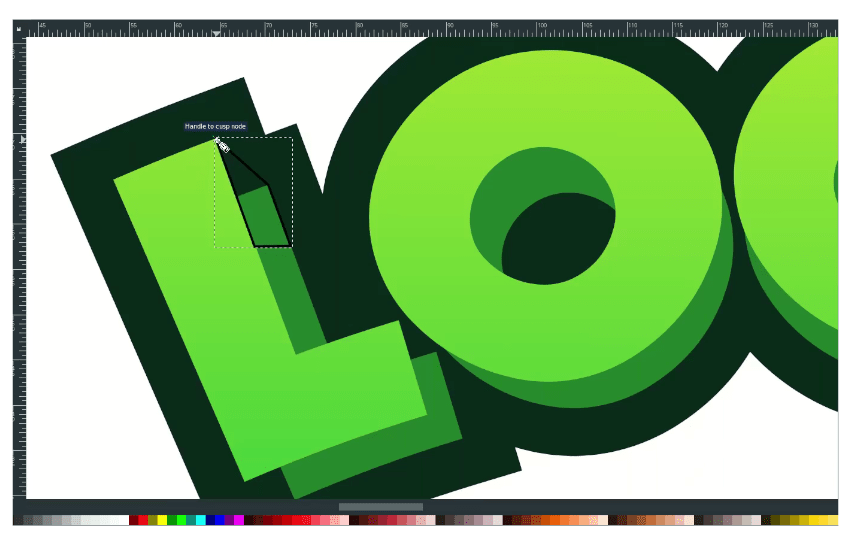
Remove the stroke and change the color to Ao English green color (#207d2aff).
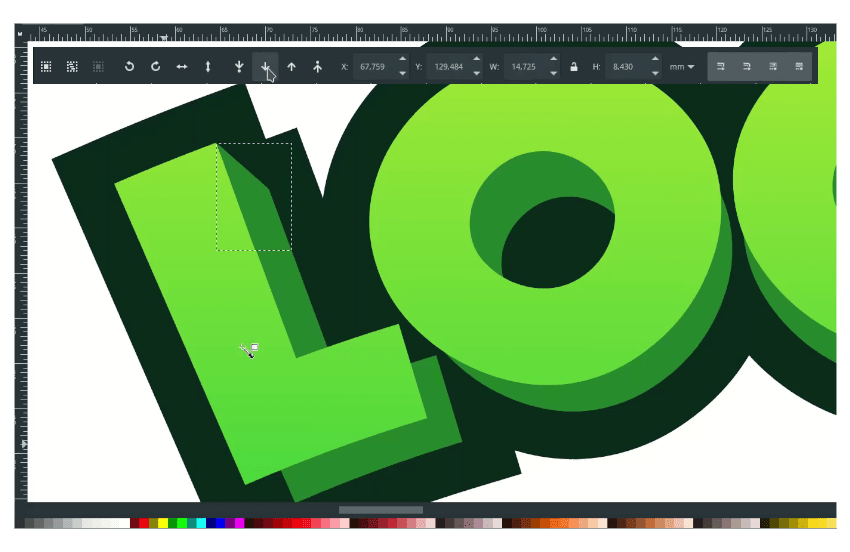
Select the three-part and combine them in Path > Union.
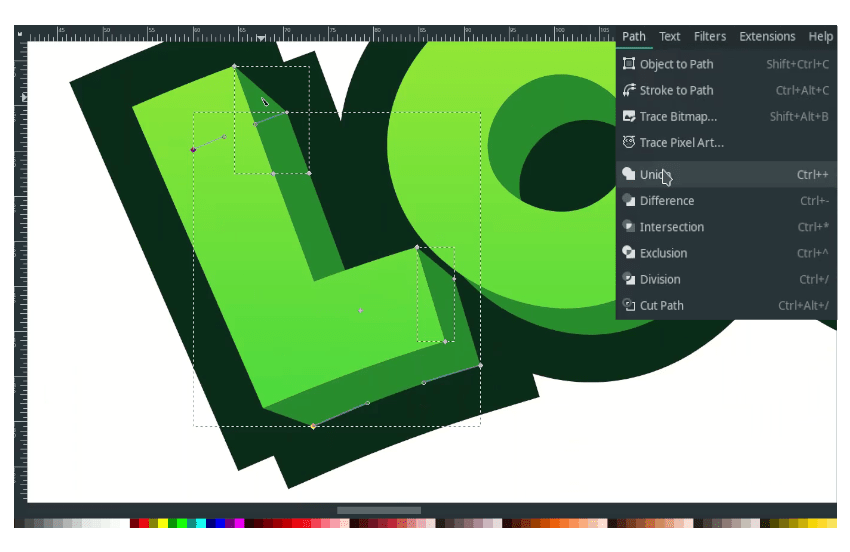
Result:
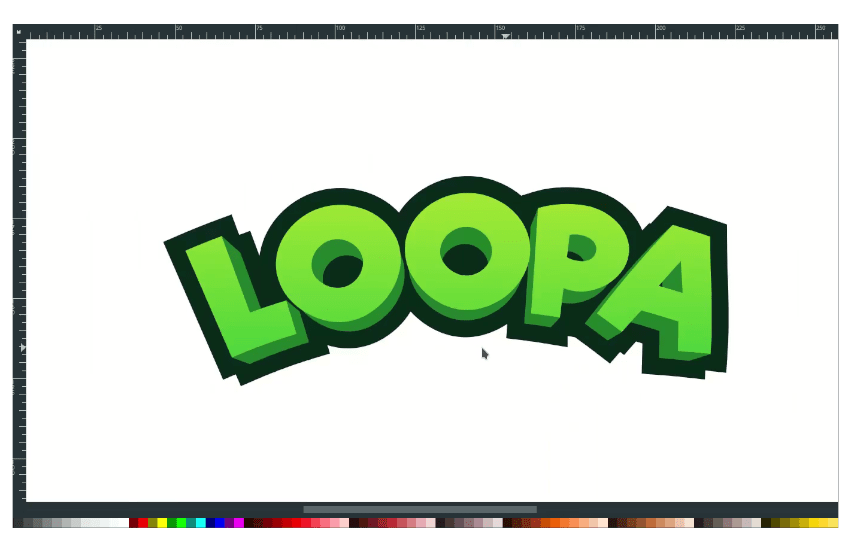
Step 8
Create an extrude effect for the stroke, press F2, then delete these two nodes.
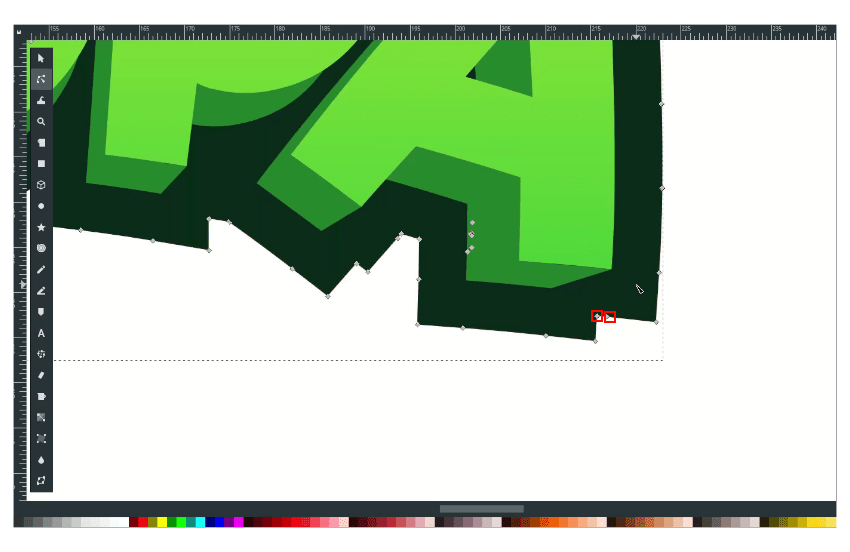
After deleted, select these two nodes by pressing F2, then click the Make Selected Segments Lines icon.
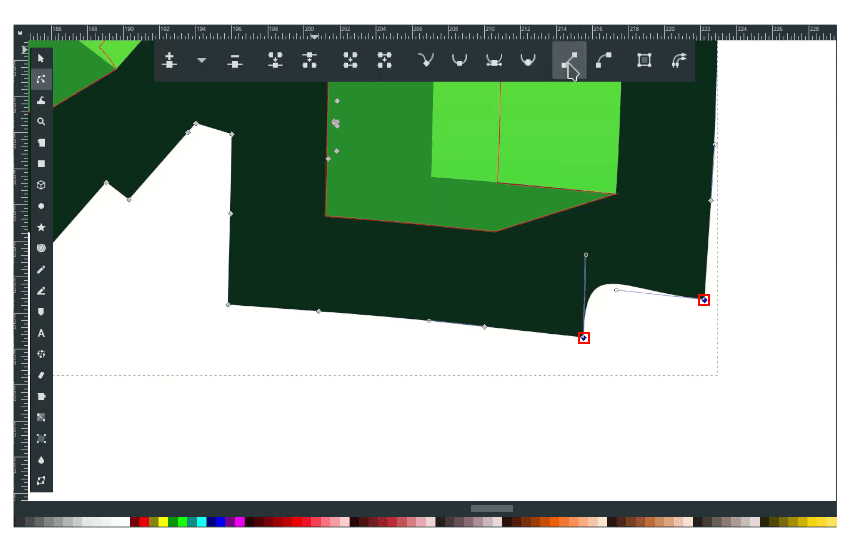
It will straight like this:
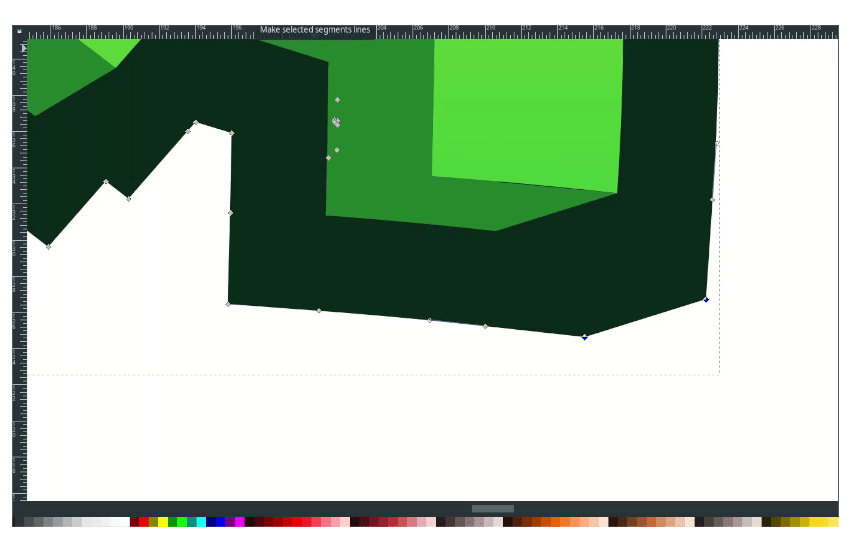
Step 9
Duplicate the stroke with Ctrl+D and send it to the lower back.
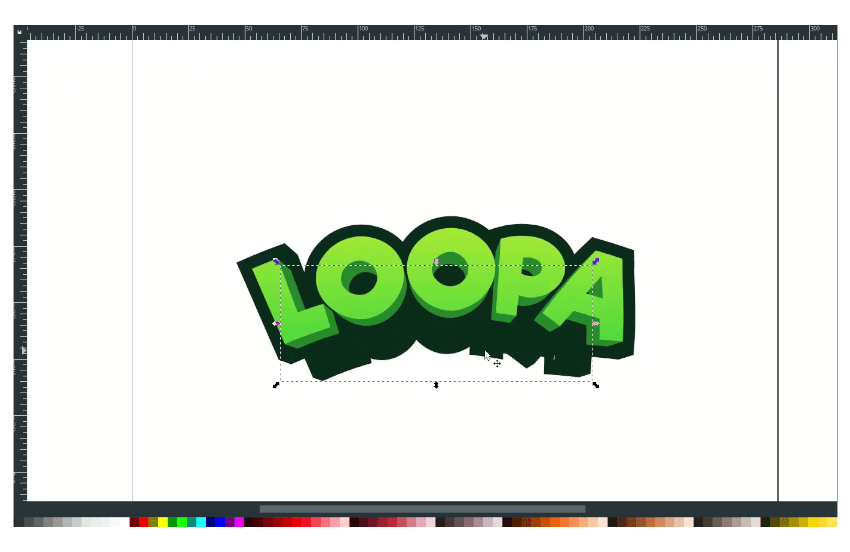
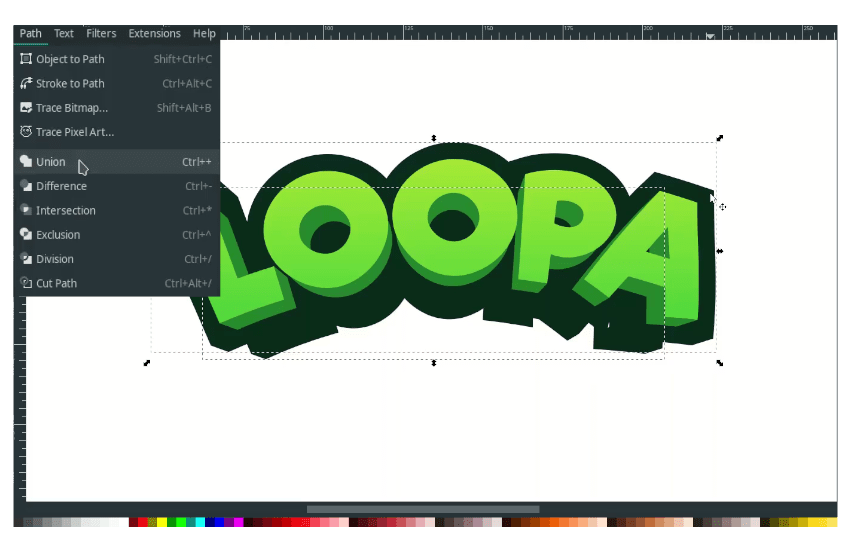
Unite the duplicated stroke with the front stroke in Path > Union.
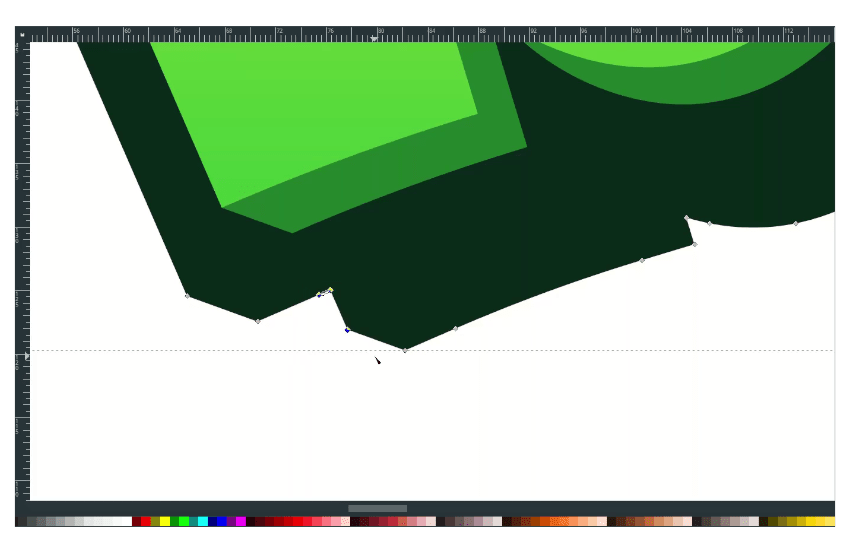
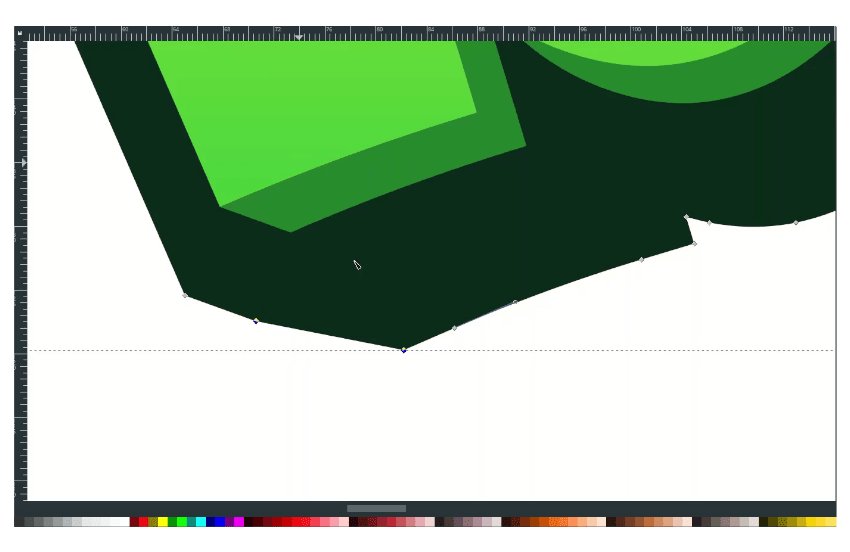
Delete these two nodes by selecting with F2.
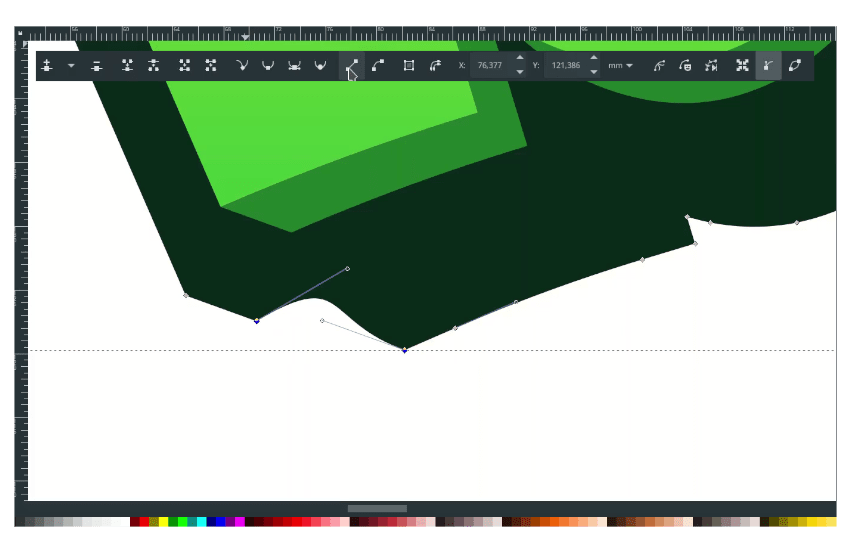
After deleted, select these two nodes by pressing F2, then click the Make Selected Segments Lines icon.
Result:
And do the same for other parts.
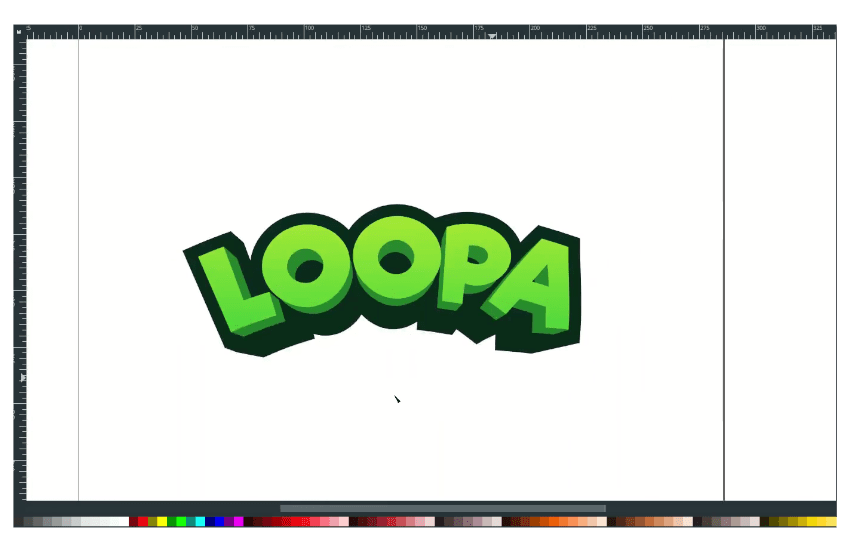
Result:
Step 10
Create a shape with bezier tool (B).
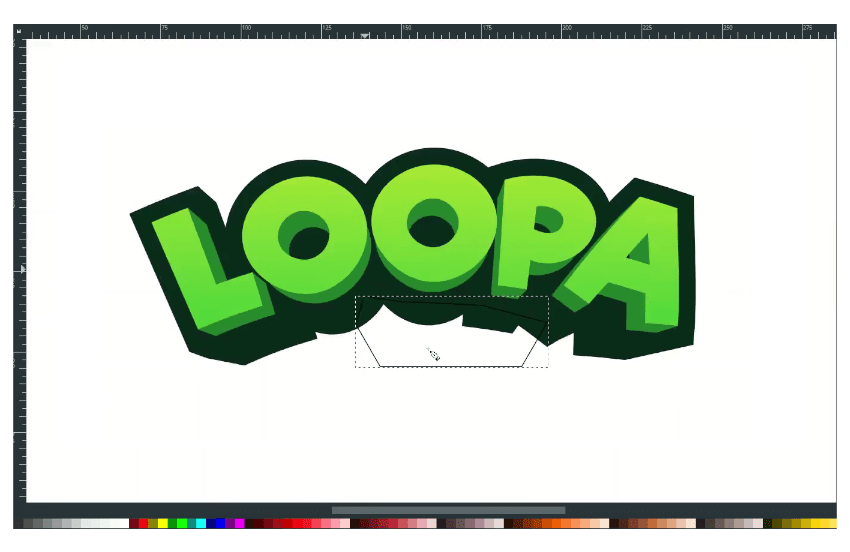
Change the color to dark green and remove the stroke.
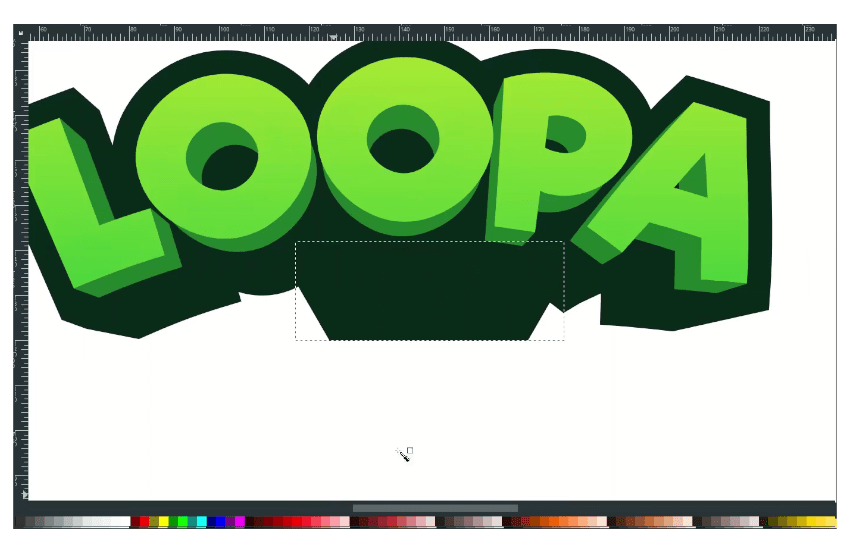
Press F2 and move to the edge of the shapes.
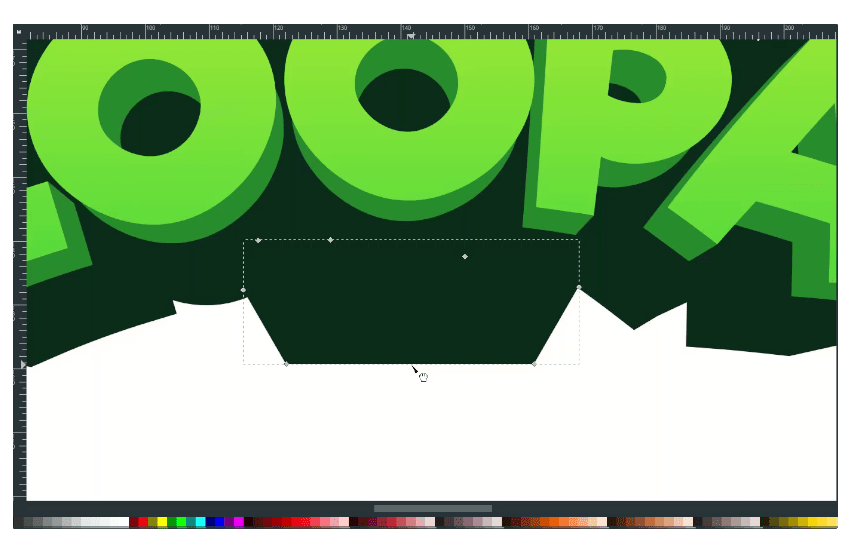
And just drag it up.
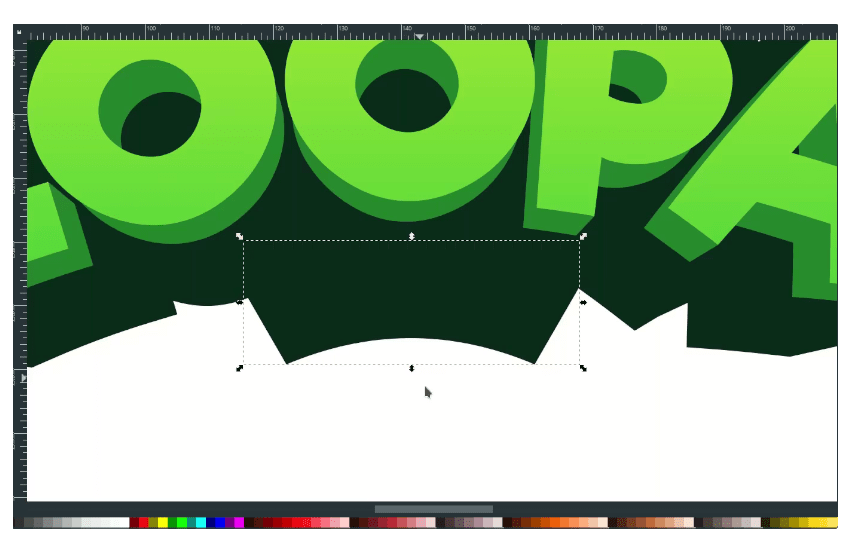
Step 11
Create a text with Text tool (T) and change the font to Riffic.
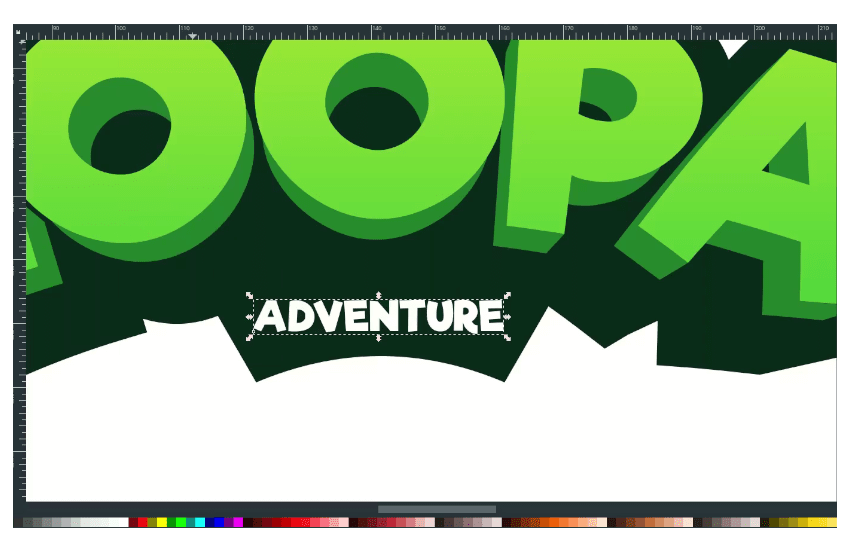
Then make it bend with path effects.
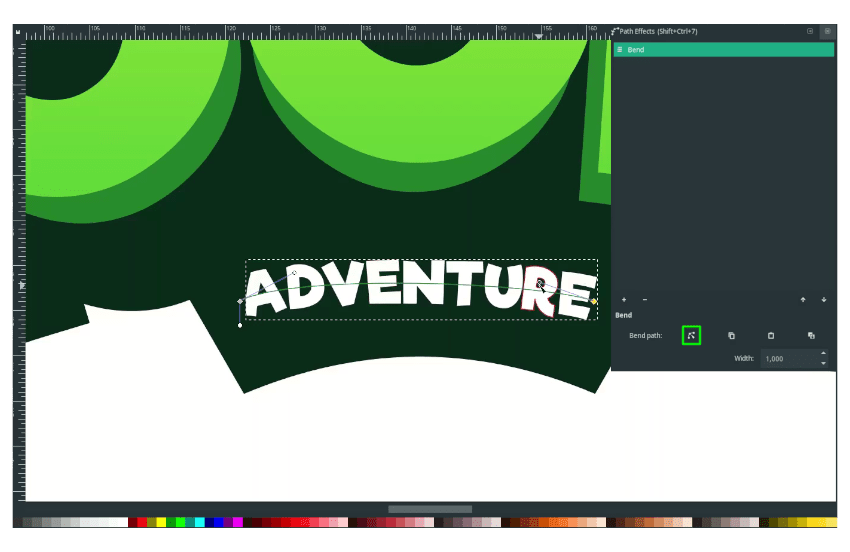
Step 12
Create an extrude effect with bezier tool (B).
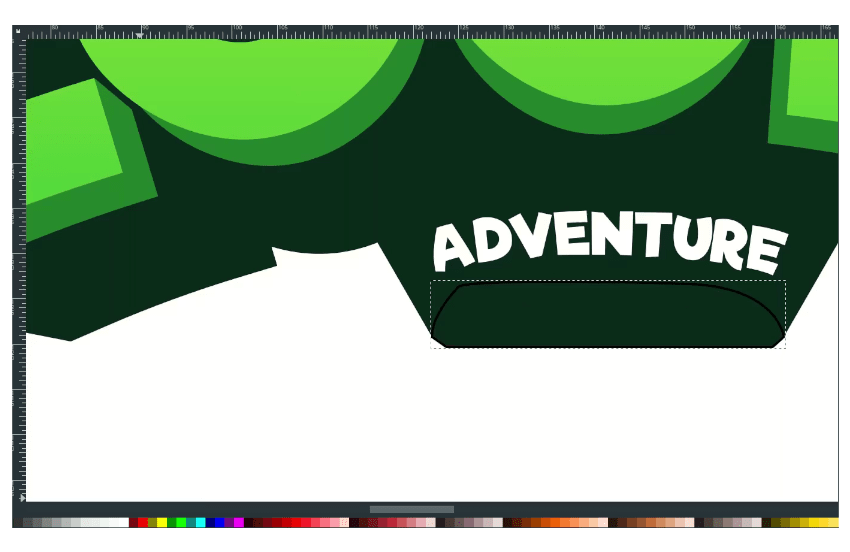
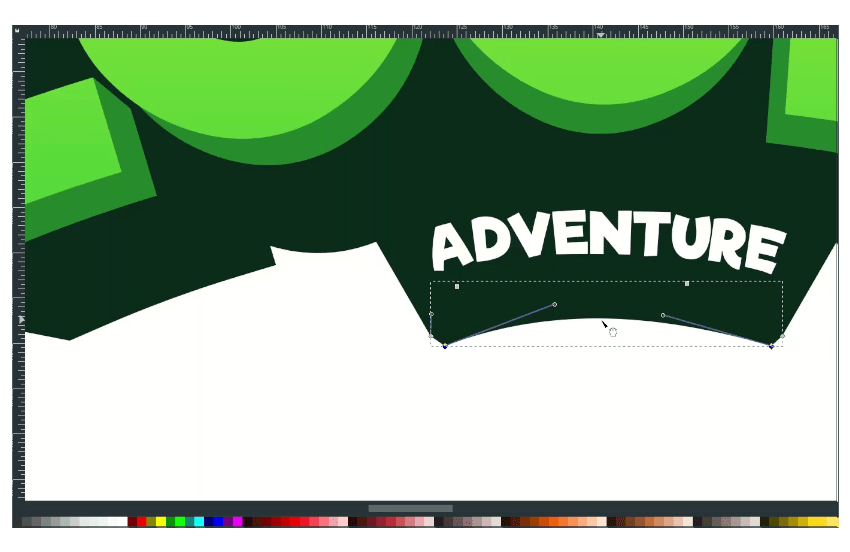
And press F2. Just drag it up to make bend effects.
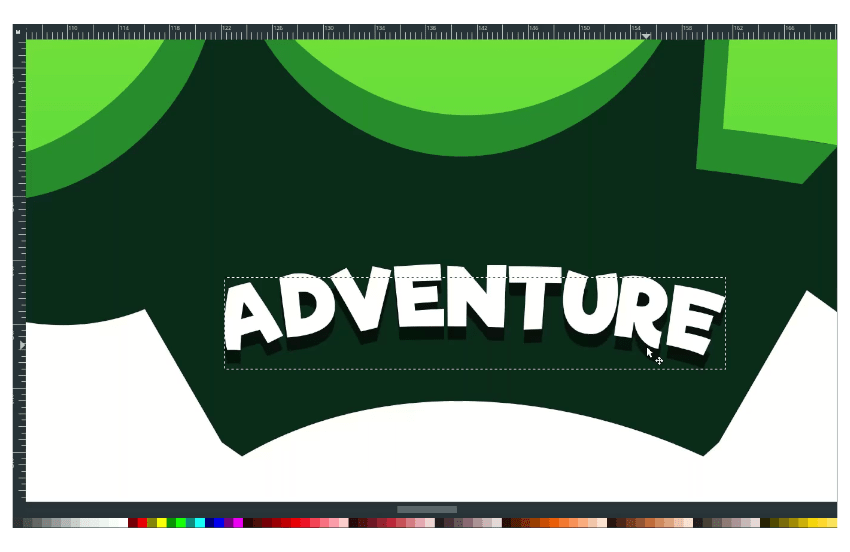
Create a shadow for the text by duplicating the text and change the color to dark green (#04120bff).
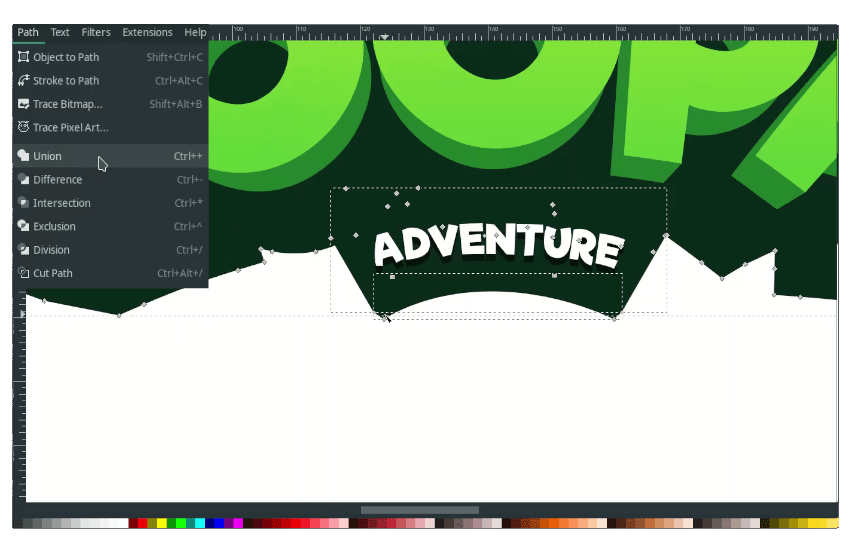
Combine the text stroke and the shapes in Path > Union.
Step 13
Create a circle and change the color to Maximum Green Yellow (#e3e94eff).
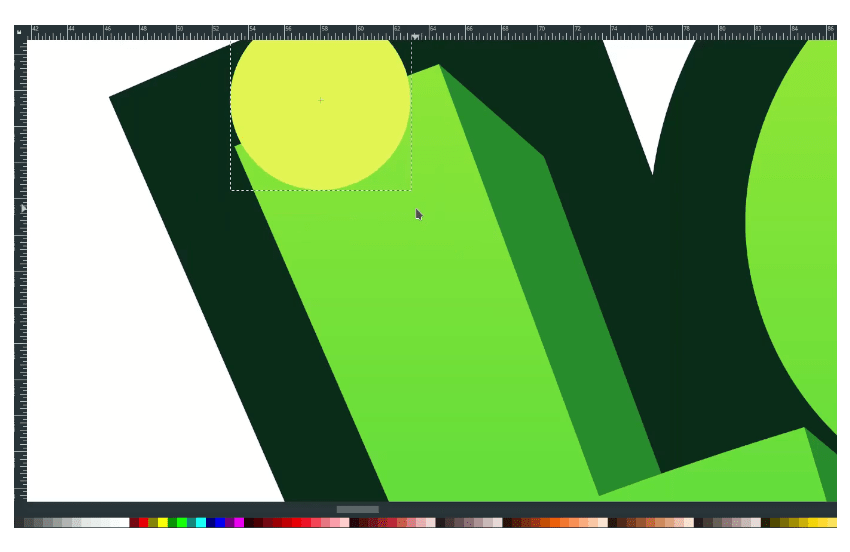
And duplicate more with Ctrl+D and place around the letter.
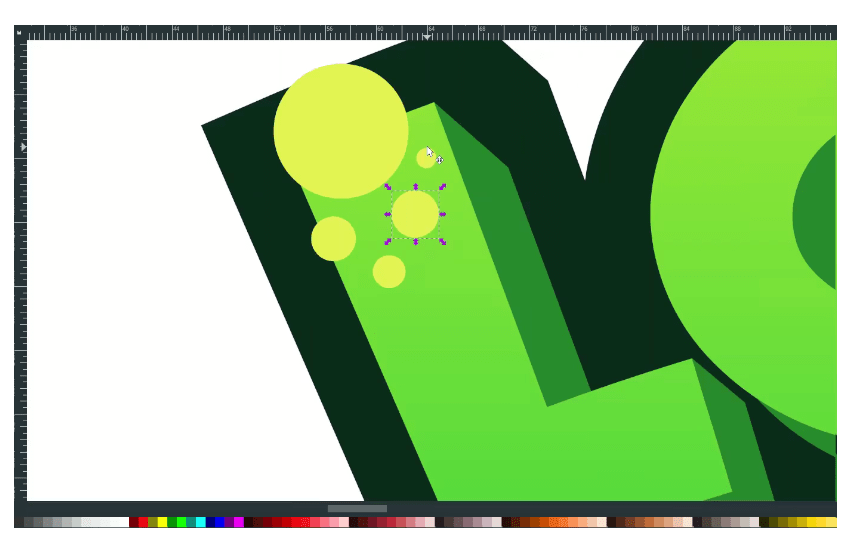
Duplicate the L with Ctrl+D letter and select the outer circle, and right-click > Set Clip.
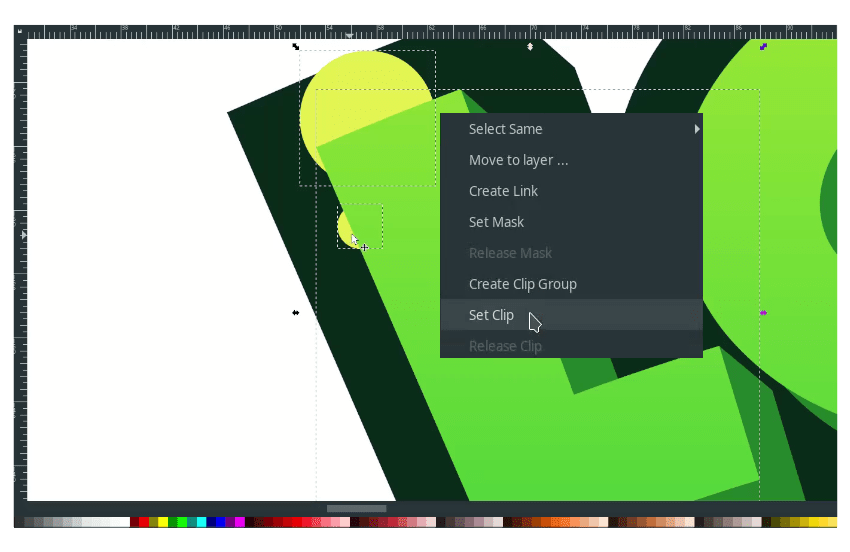
Result:
Do the same thing for another letter and add more elements.
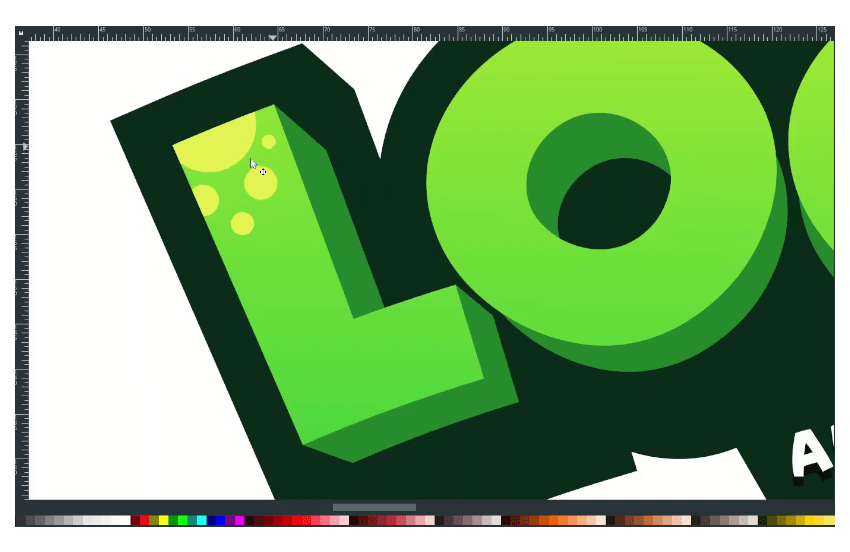
Fantastic work!
Now we’ve learned how to create game logo design with text in Inkscape. We’ve created the extrude effect manually by duplicating the stroke and sending it to the lower back, then join it with Union to make it pop, attractive non-flat design with gradient. Thank you for reading; keep Practicing!
Tutorial Assets
Credits
- Inspired by Koopa Gaming – keiraarts


