Many people have struggled when do compositing from a different layer in GIMP. In this tutorial, we are going to use the fastest method how you can match the color in GIMP by adjusting some layer modes and create some fill colors in the layer. Okay, let’s jump into it!
What you will learn
- How to use the curves.
- How to retouch final images.
- How to make glow effect.
- How to blur.
- How to create a Vignette.
- How to make selection.
- How to create a layer mask.
Tutorial Step Part 1
Step 1
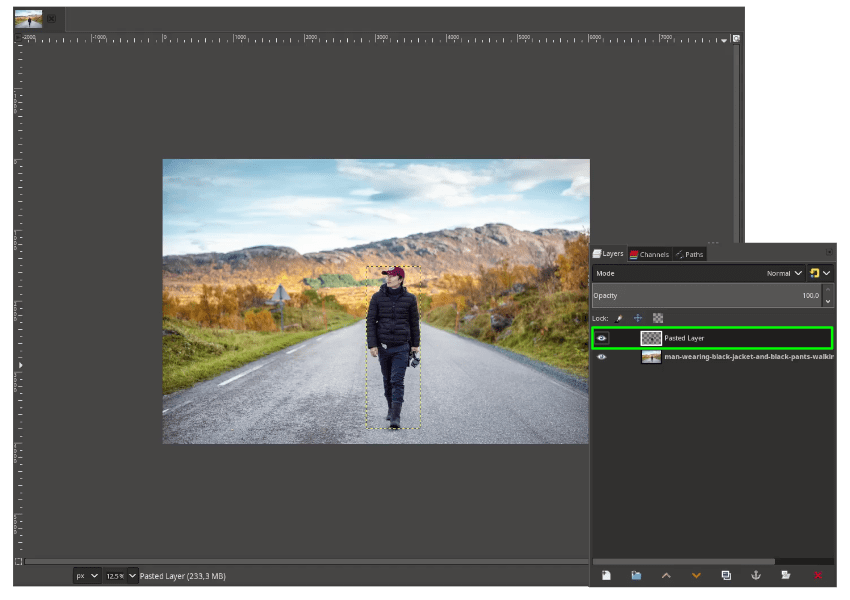
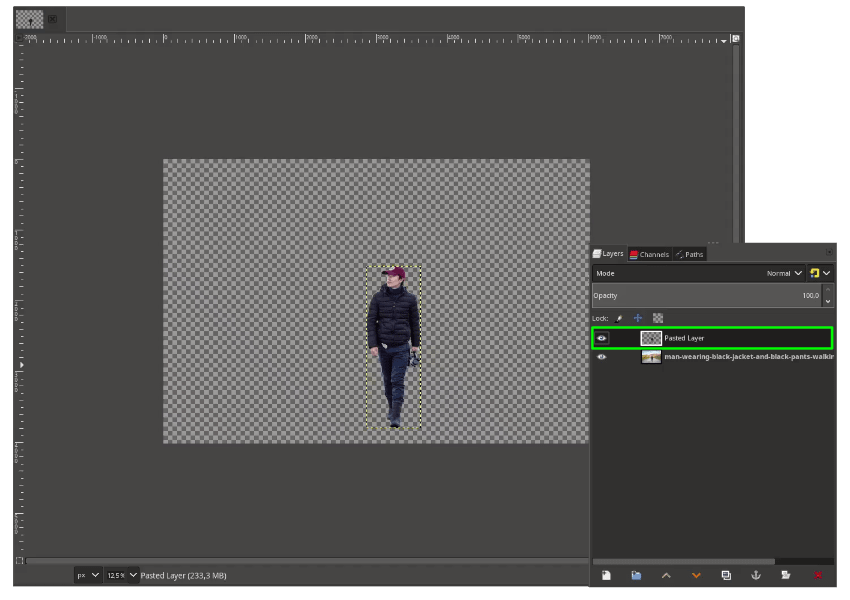
First, open the file in File > Open and you can select with Bezier Tool (B).
Step 2
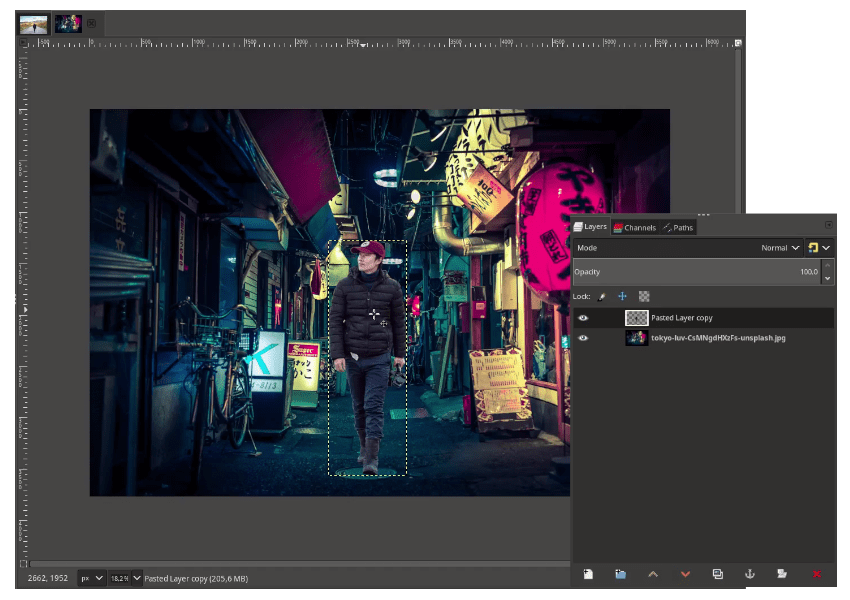
Open the Tokyo background to a new file in File > Open then drag the selected man into a new canvas.
Step 3
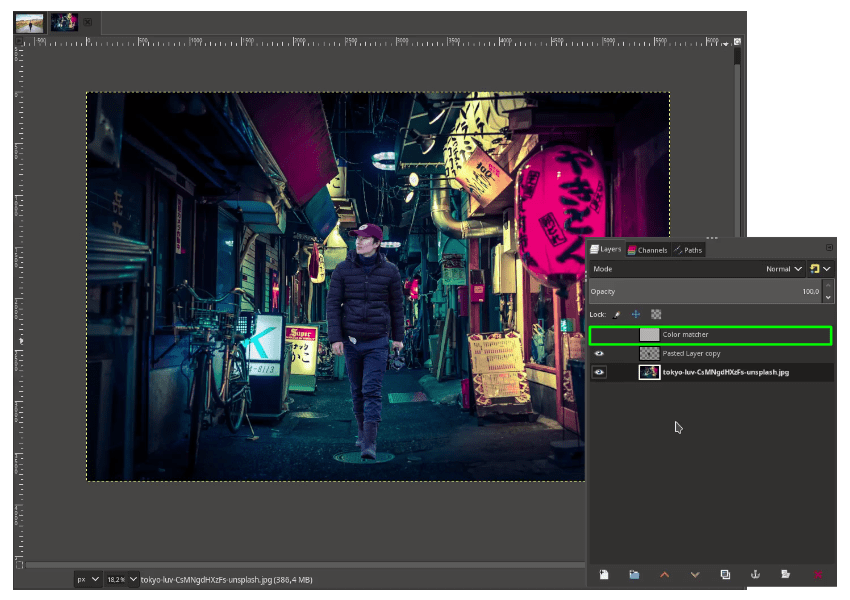
Create a new layer for the Color Matcher and fill it with 80% grey color (#b3b3b3). With the bucket fill tool (Shift+B), click on the canvas.
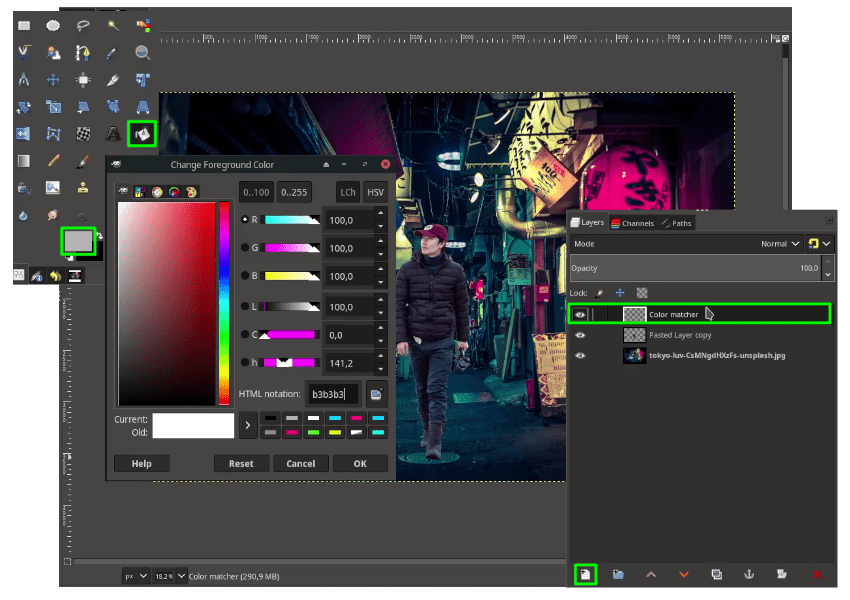
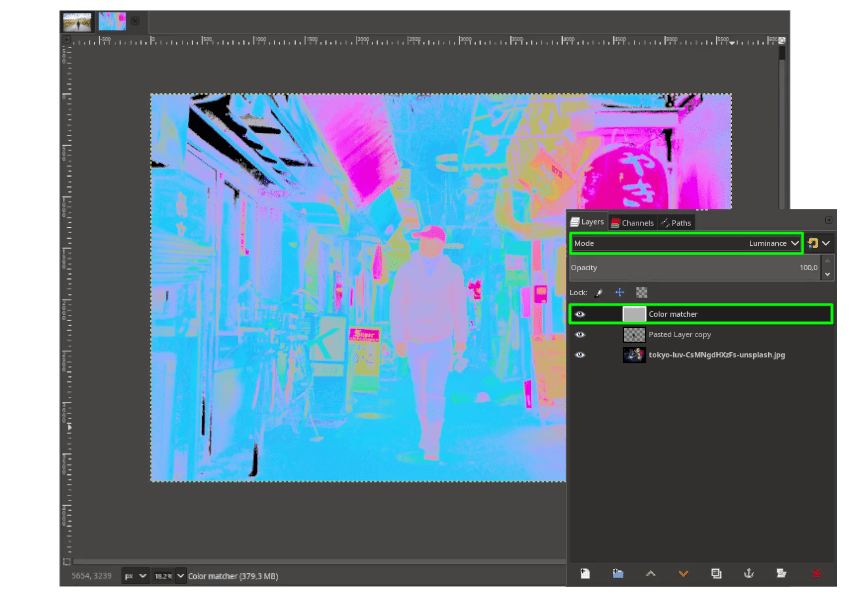
Change the Layer Mode to Luminance to see what happens in the color.
Step 4
Now, match the color to the background with curves in Colors > Curves. You can drag down the Channel to Red, Green, and Blue to make it match.
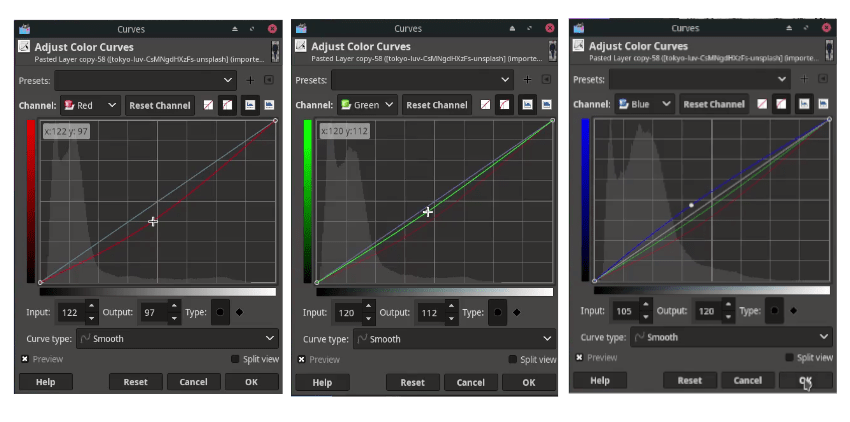
Hide the Color Matcher layer to see the result:
Step 5
Create a new file for the shadow and place it below the man layer. With Paintbrush Tool (P) and black color, you can adjust the aspect ratio to make the brush become an ellipse shape.
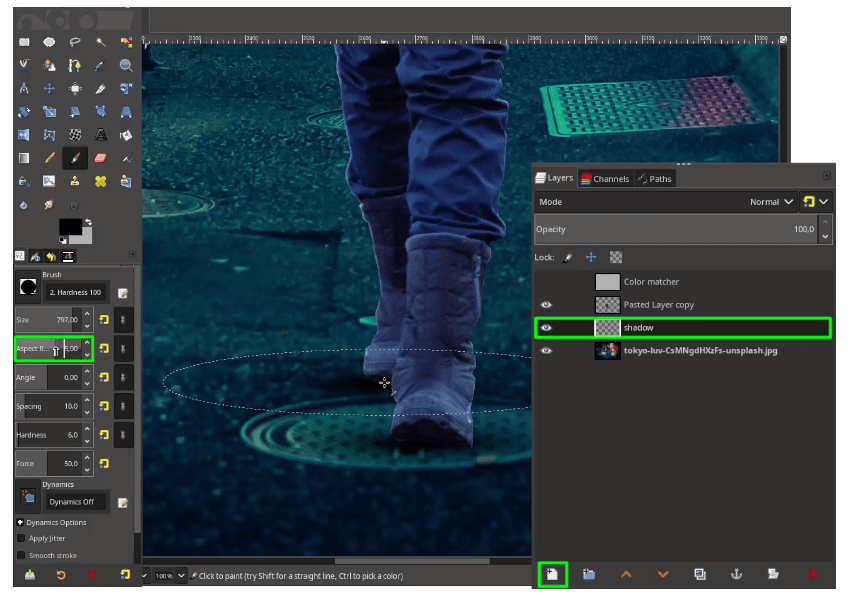
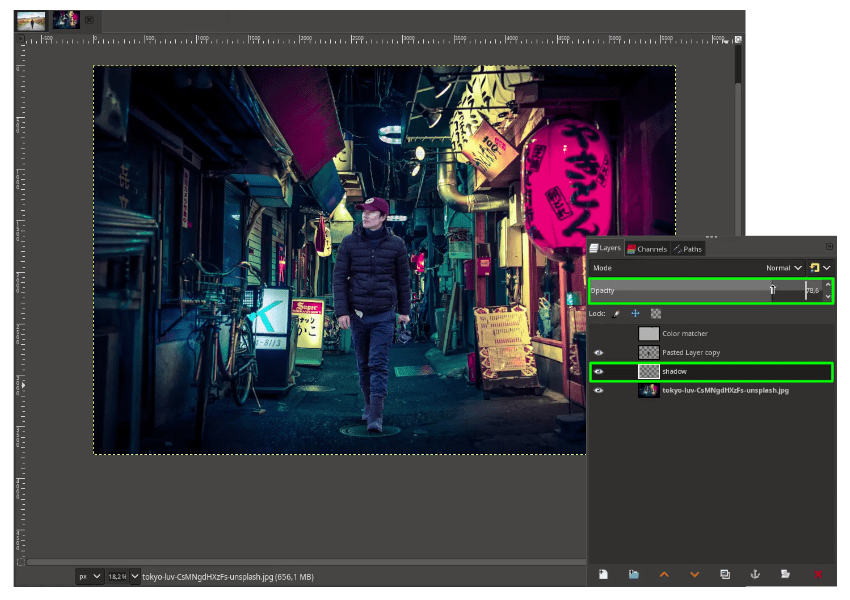
And reduce the shadow opacity.
Step 6
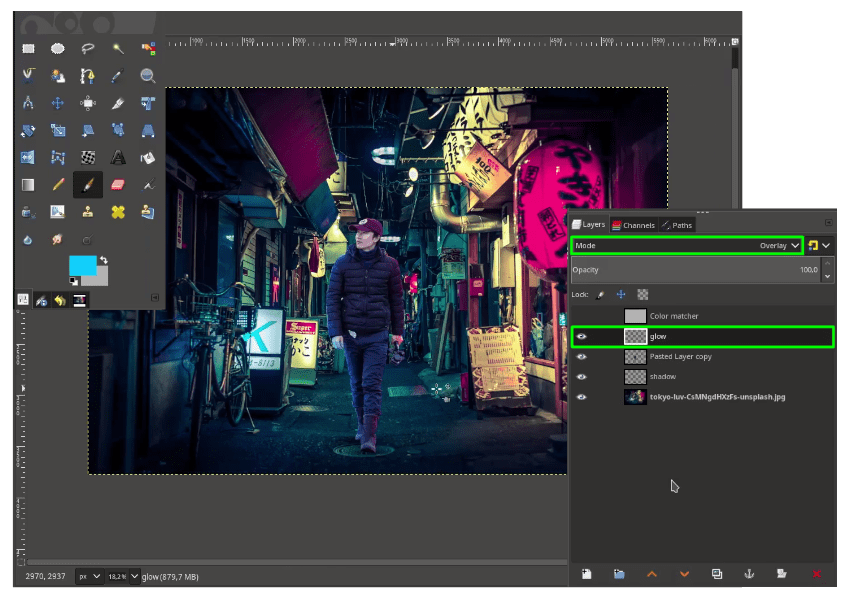
Create a new layer for the Glow.

Make a selection in the man layer by right-click > Alpha to Selection.
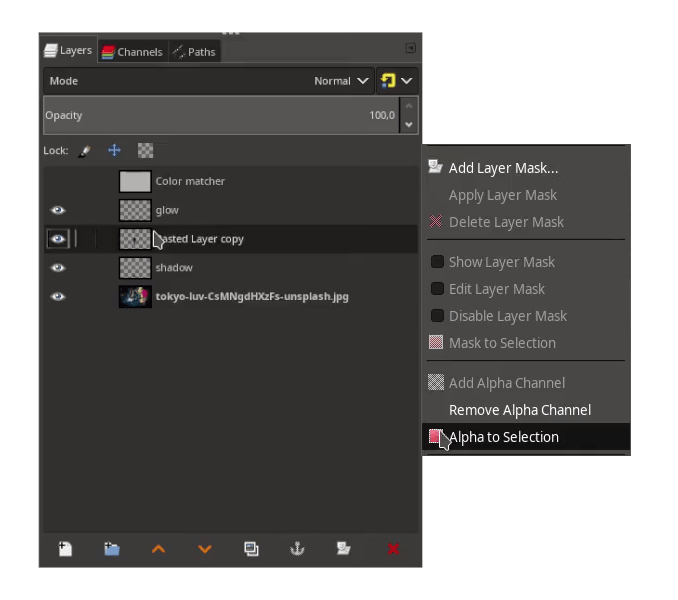
while in selection, click Paintbrush Tool (P) and change the color to cyan (#ff017d) then brush to the glow layer.
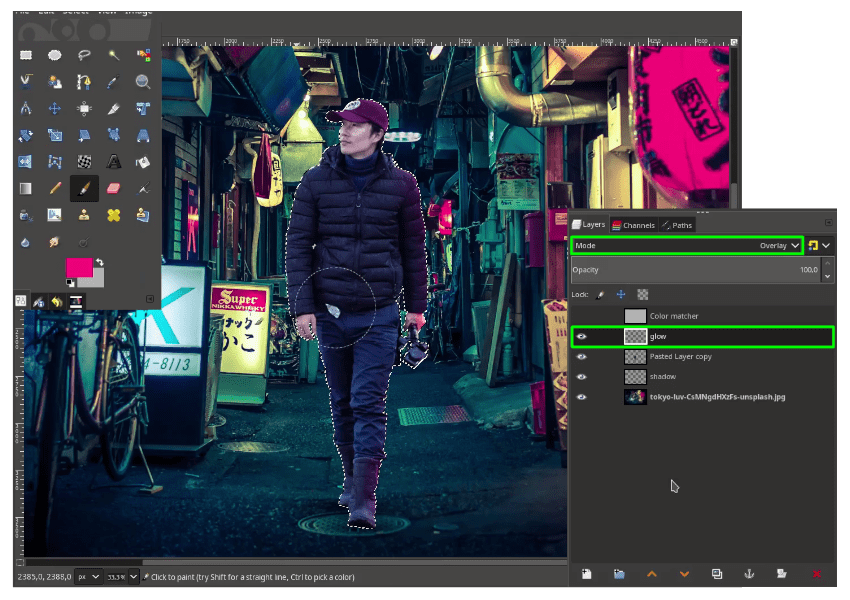
This time for the blue color, while in selection brush to another side.
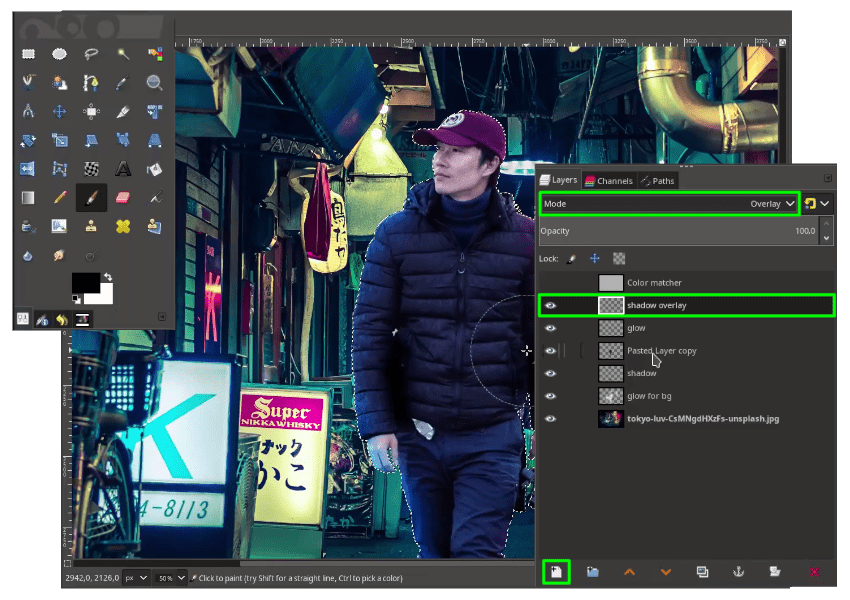
Step 7
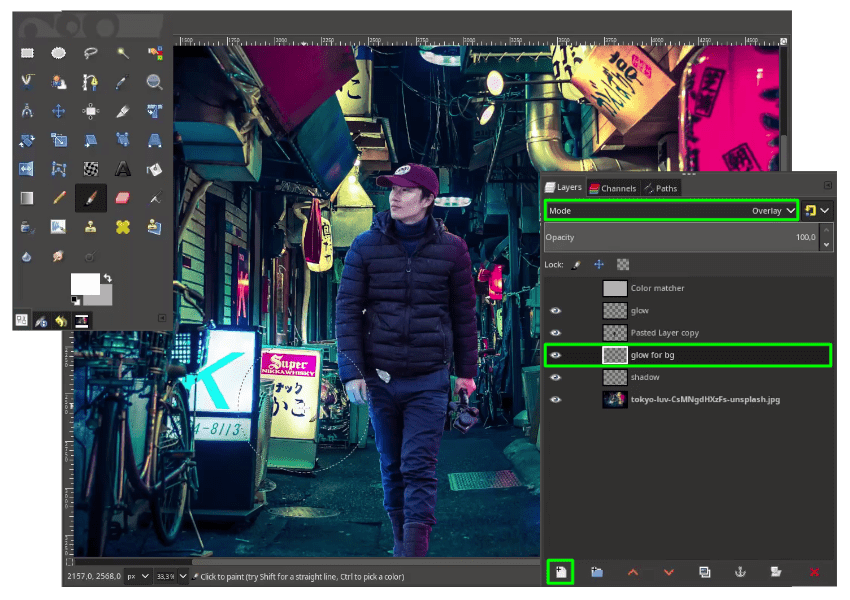
Create a new layer for the glow to the background, change the layer mode to Overlay and change the active color to white. With Paintbrush Tool (P) brush to the lights lamps.
Make a selection to the man layer by right click > Alpha to Selection then for the shadow part, create a new layer and change the layer mode to overlay and Black color as active, brush to man layer.
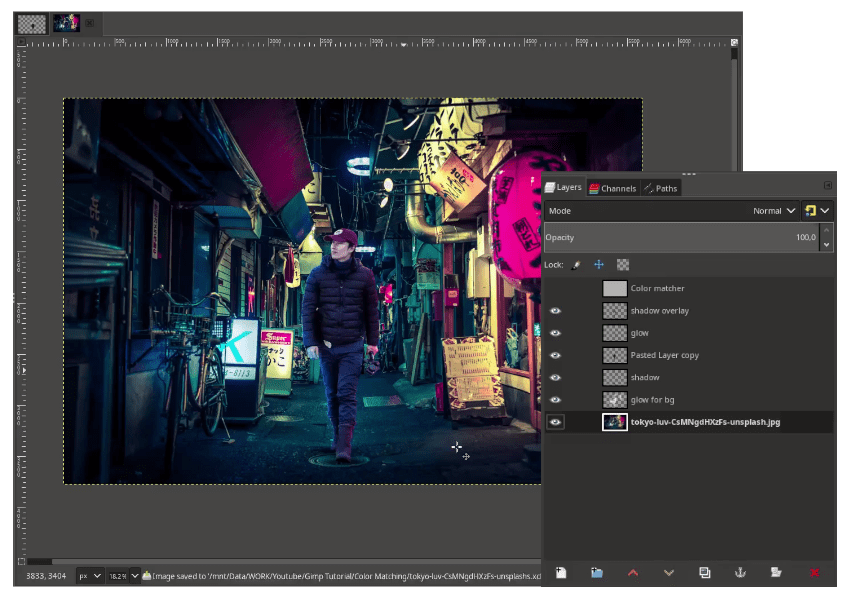
Result:
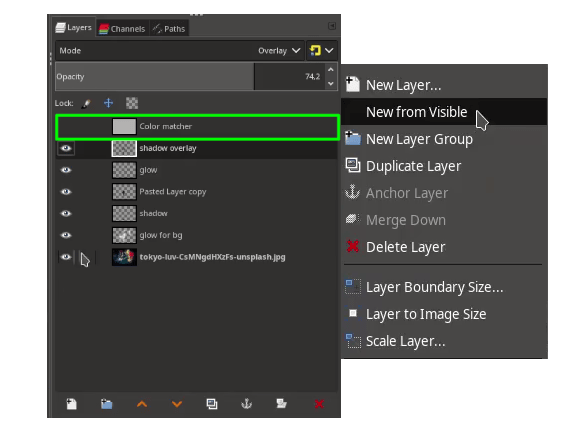
Step 8
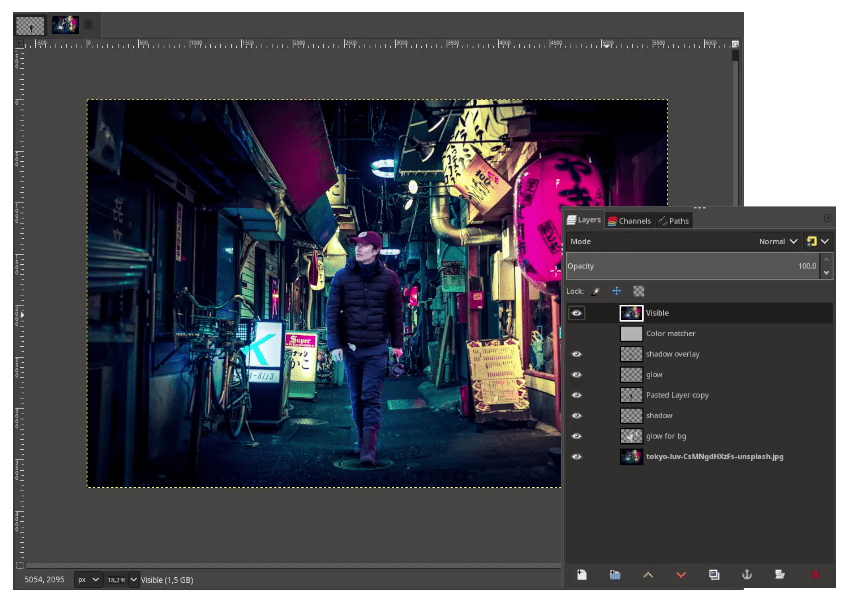
The last, for tweaking, in the top of layer right click > New from visible.
it will create all visible layers into one layer.
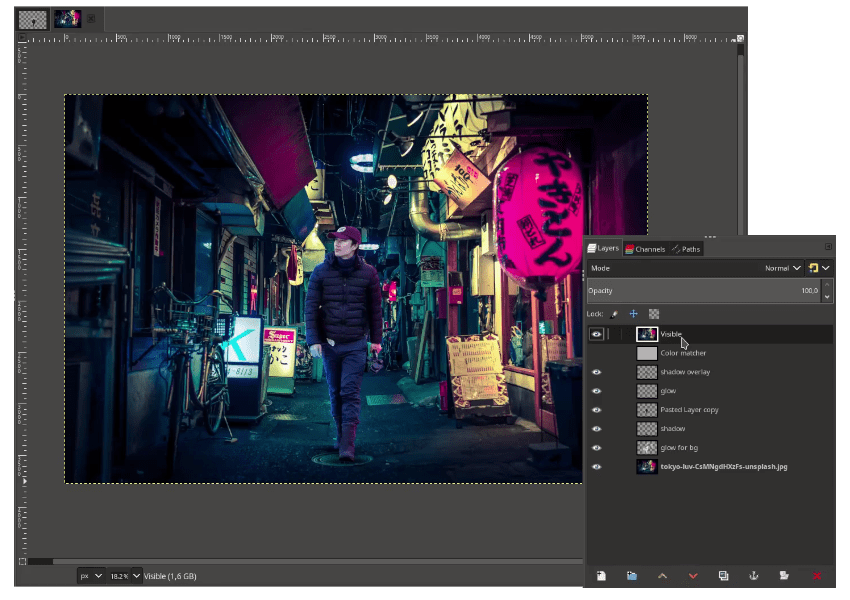
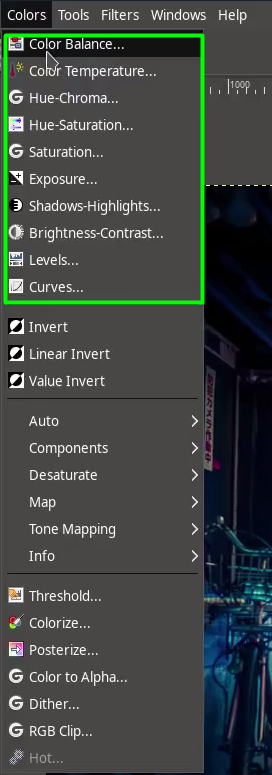
You can adjust the Color Balance, Color Temperature, Curves, Level and many more for the final image in Colors menu.
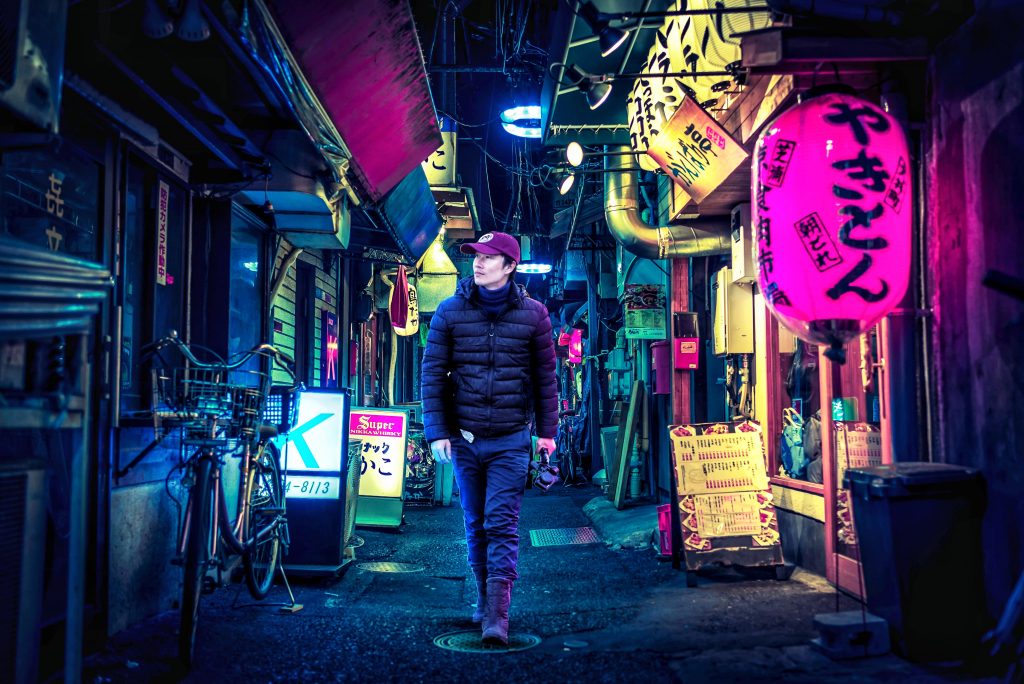
Final result:
Tutorial Step Part 2
Step 1
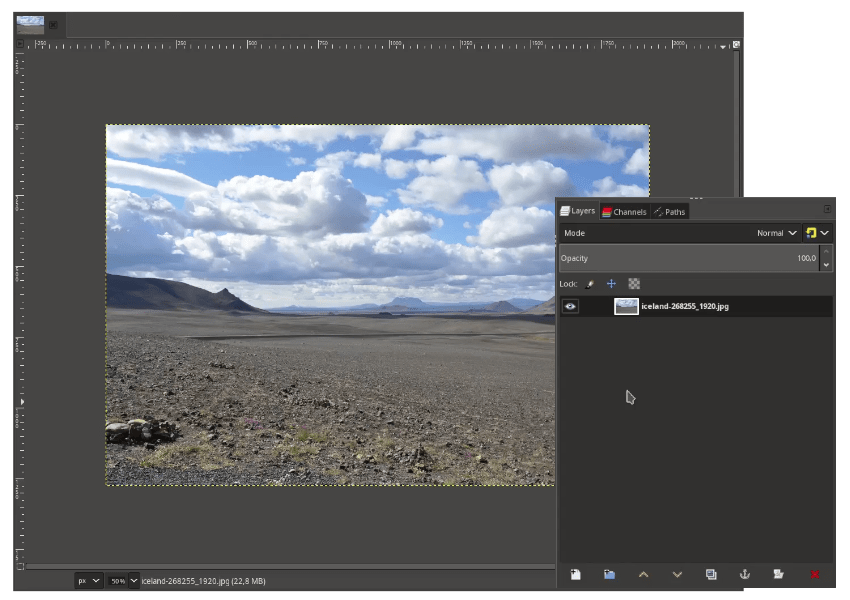
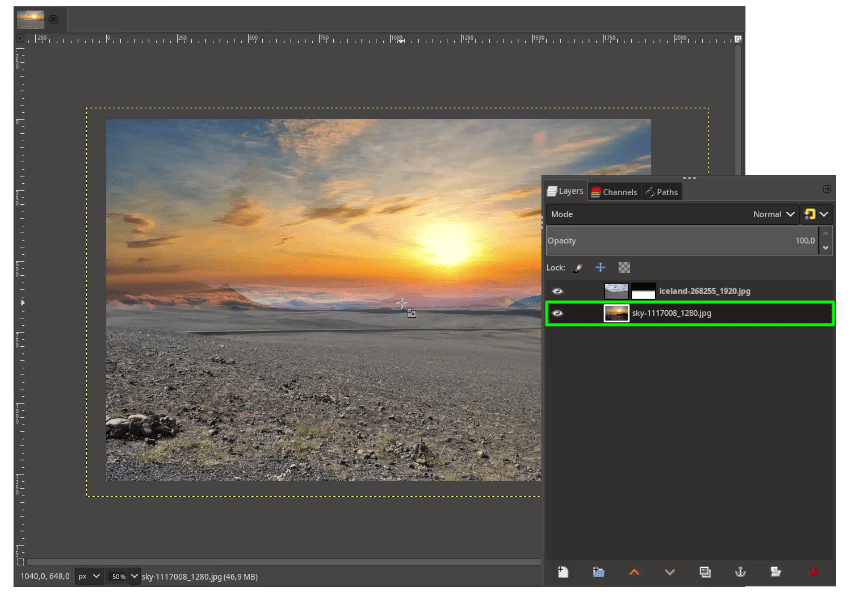
Open the iceland images in File > Open.
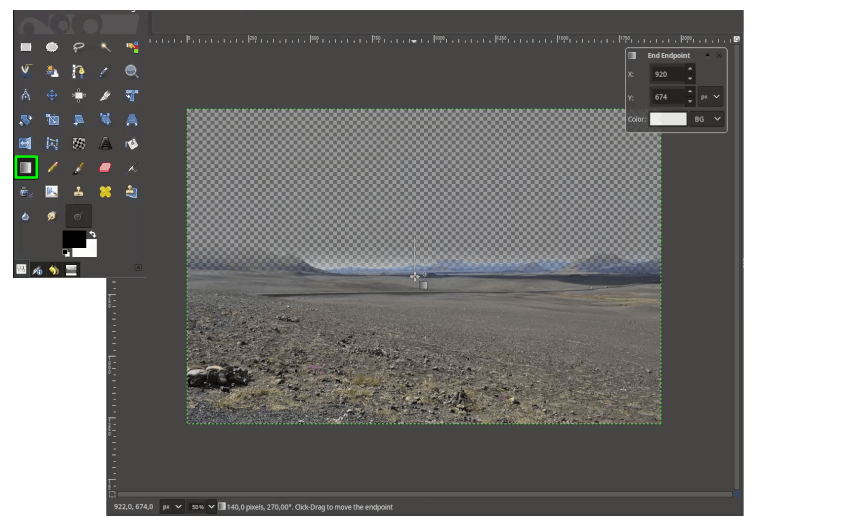
Add layer mask by right click > Add Layer Mask > White (full opacity) > Add.

With Gradient Tool (G) and black color just drag it down.
Step 2
Open the sky file in File > Open as Layers and place the layer below the iceland.
Step 3
Adjust the curves in Colors > Curves to make it slightly darker.

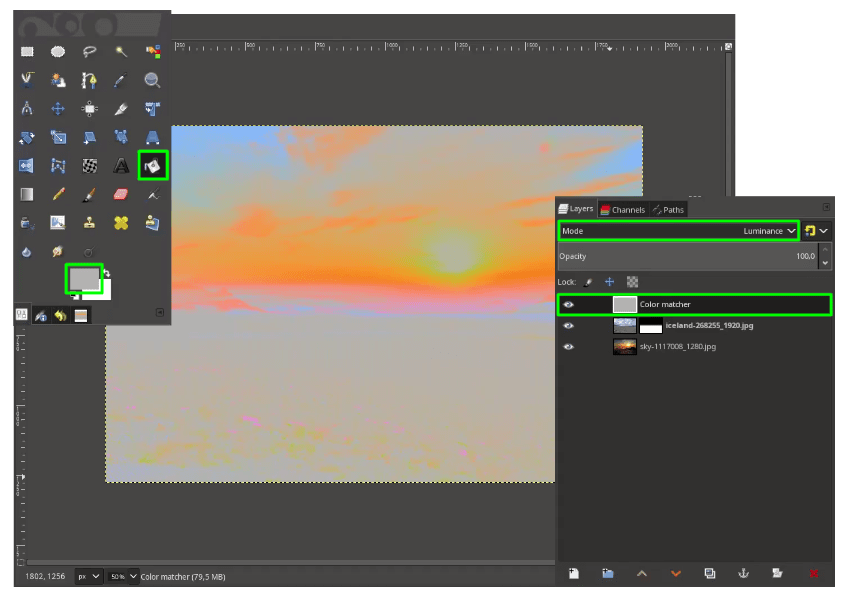
Step 4
In the same method, create a new layer for the color matcher and fill it with grey color with Bucket Fill Tool (Shift+B). Change the layer mode to Luminance.
Step 5
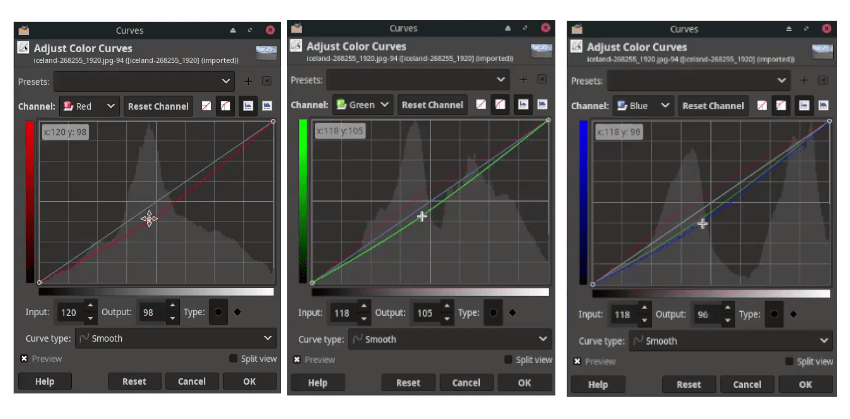
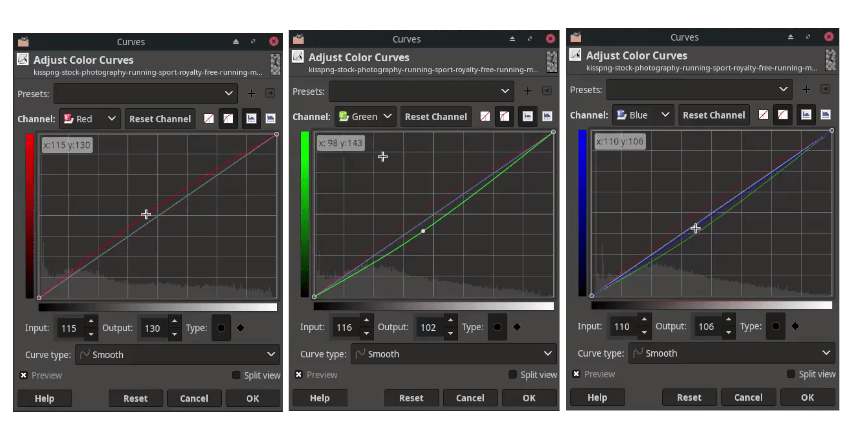
Match the iceland color with curves in Colors > Curves.
Step 6
Bring the running man png, in File > Open as Layers.
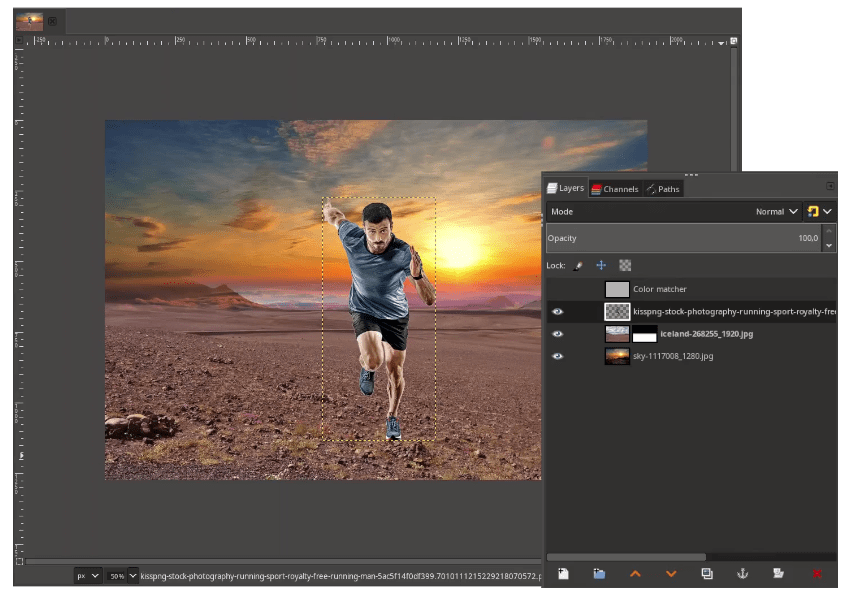
Turn on the Visibility of the Color Matcher layer.
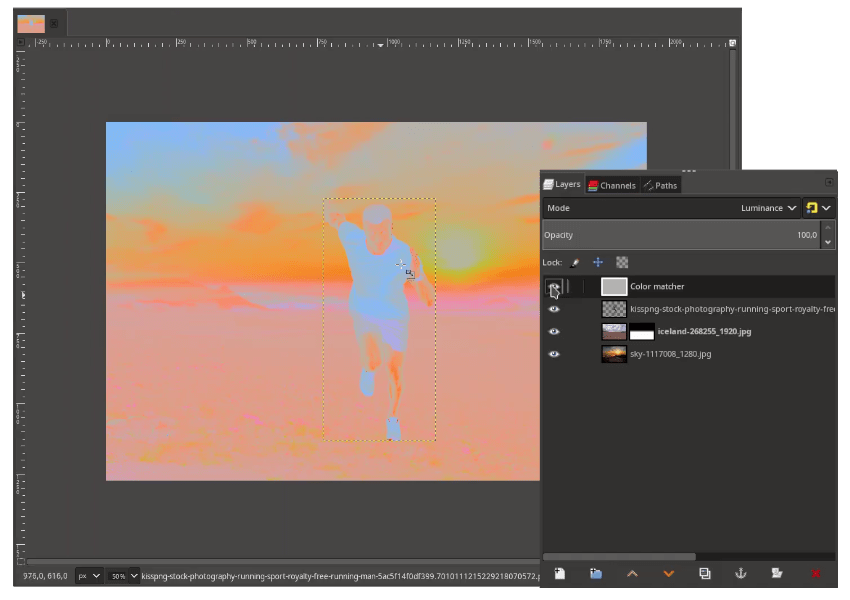
Try to match the color of the running man to the background with curves by click to dropdown the Channel.
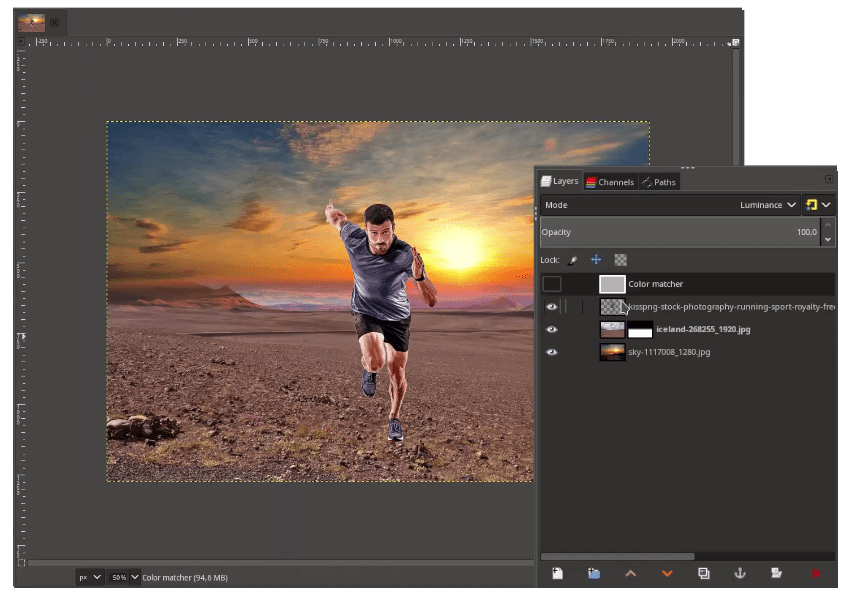
See the result by hiding the color matcher layer.
Step 7
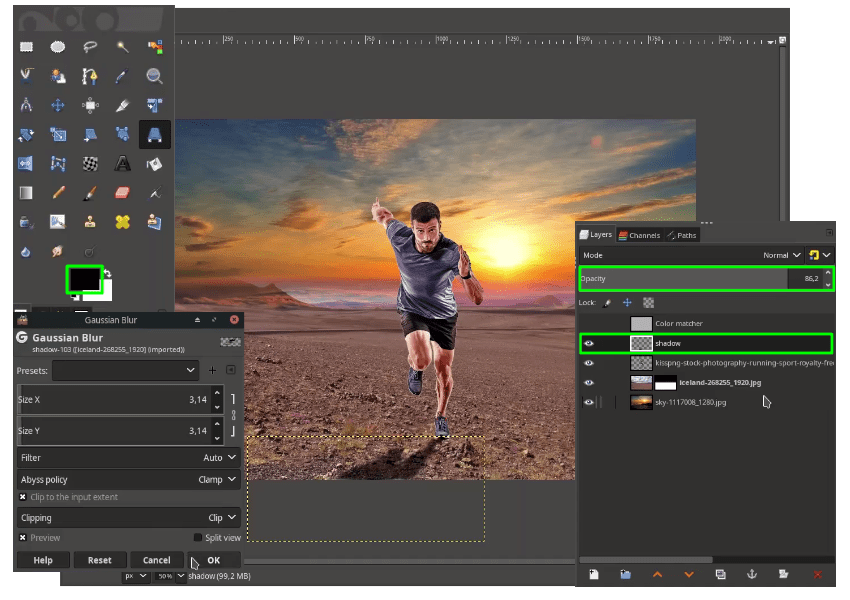
Next, create a realistic shadow by duplicating the running man layer, and rename it to “Shadow”. Then adjust with Perspective Tool (Shift+P).
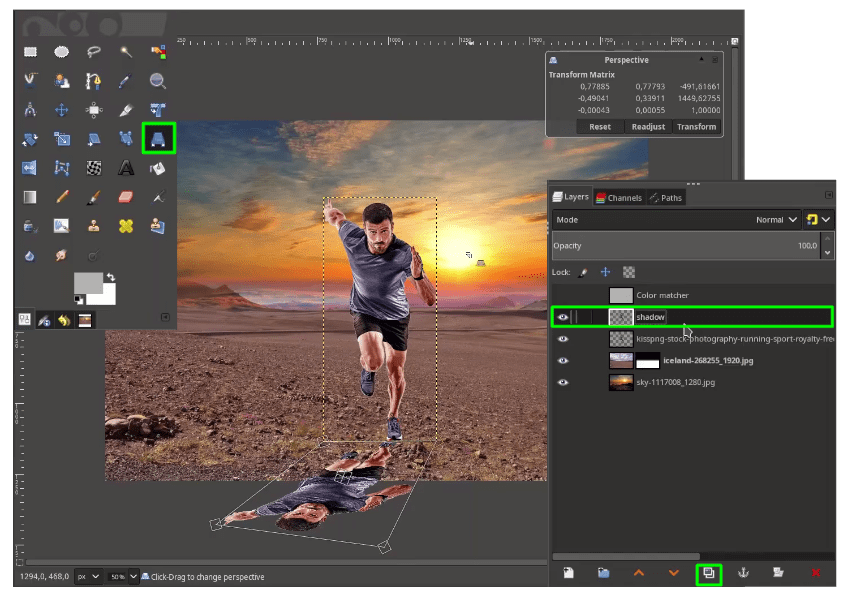
Make a selection by right click on the shadow layer > Alpha to Selection.
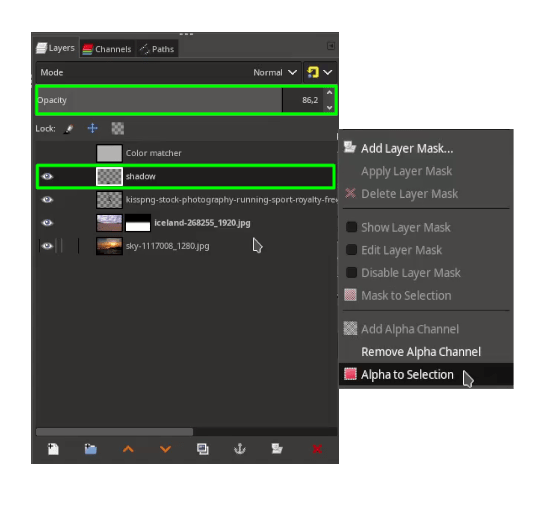
Go to Edit > Fill with FG Color (Make sure black color as foreground). Then make a blur a little in Filter > Blur > Gaussian Blur then reduce the opacity.
Step 8
Make a selection to the man layer by right click > Alpha to Selection.
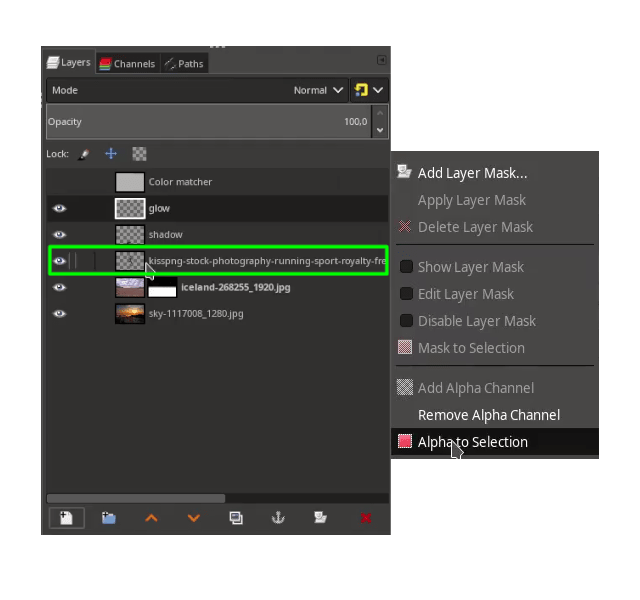
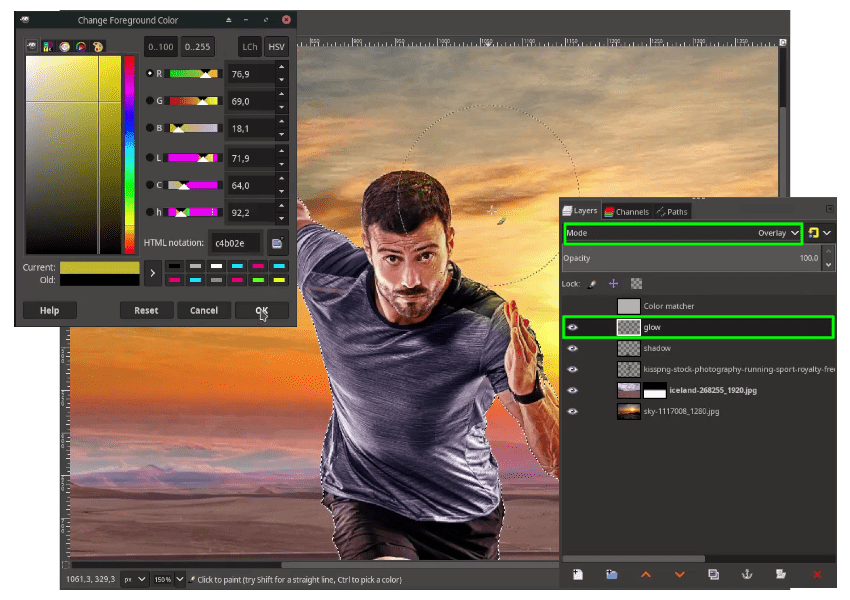
While in the selection, create a new layer for the glow then active Paintbrush Tool and give some yellow color (#c4b02e) and brush over the running man side (where the sun will reflect).
Step 9
Add the dust png in File > Open as Layers and place it below the running man layers.
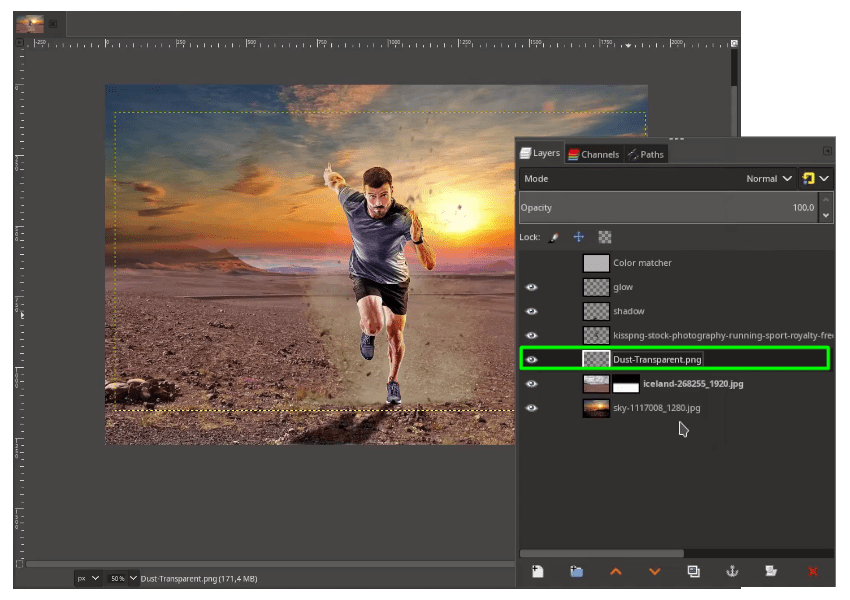
Step 10
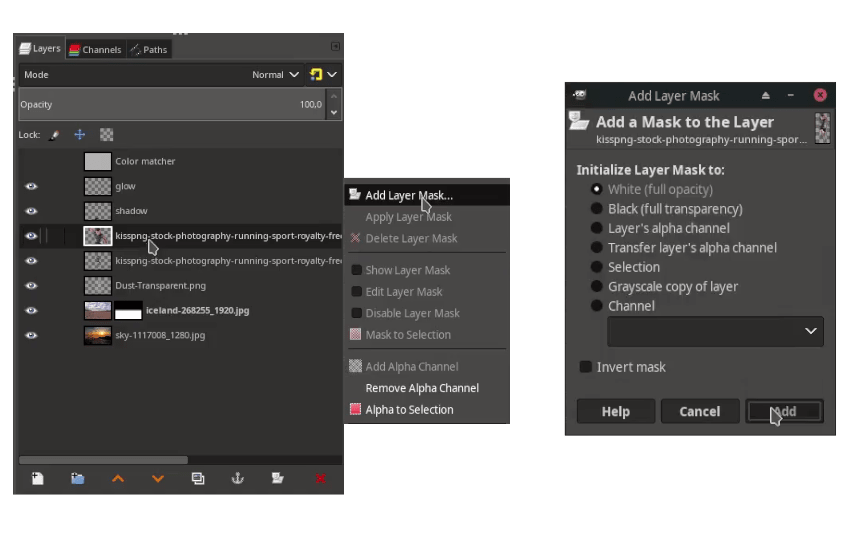
Duplicate the running man layer, and add layer mask by right click > Add Layer Mask > White (full opacity) > Add.
With Gradient Tool (G), just drag until the transparency appear.
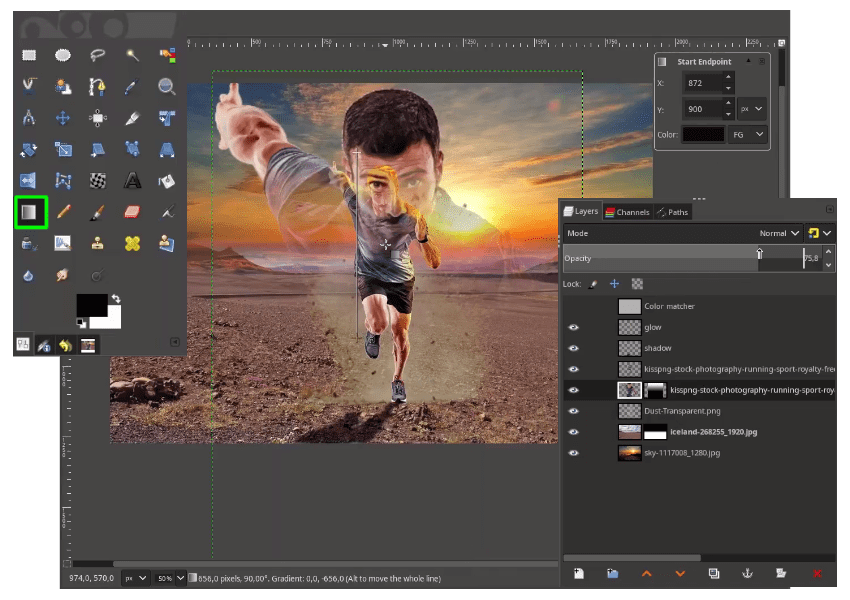
Then reduce the opacity.
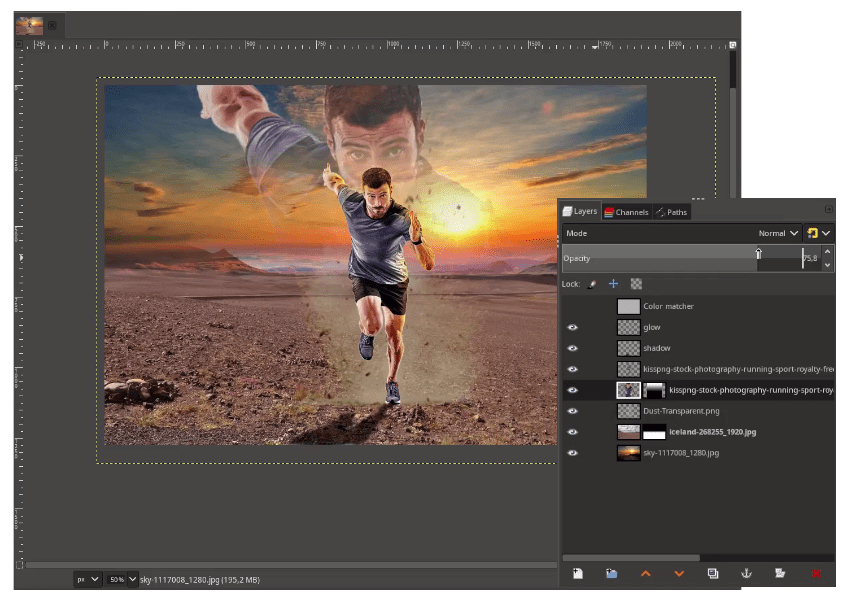
Step 11
The last thing, create a Vignette effect by create a new layer and name it “Vignette”. Create a Vignette effect in Filter > Light and Shadow > Vignette.

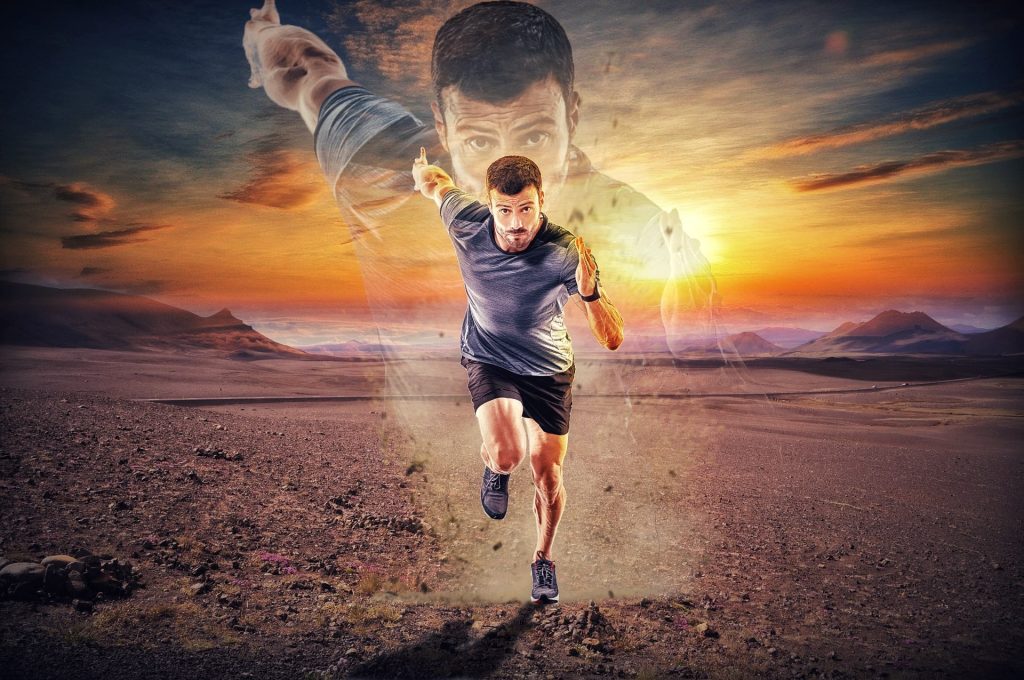
Result:

It’s Nicely Done!
I hope you learn how to color match in GIMP. This method, not 100% works for all images, but if you want to match, this is one of the solutions.