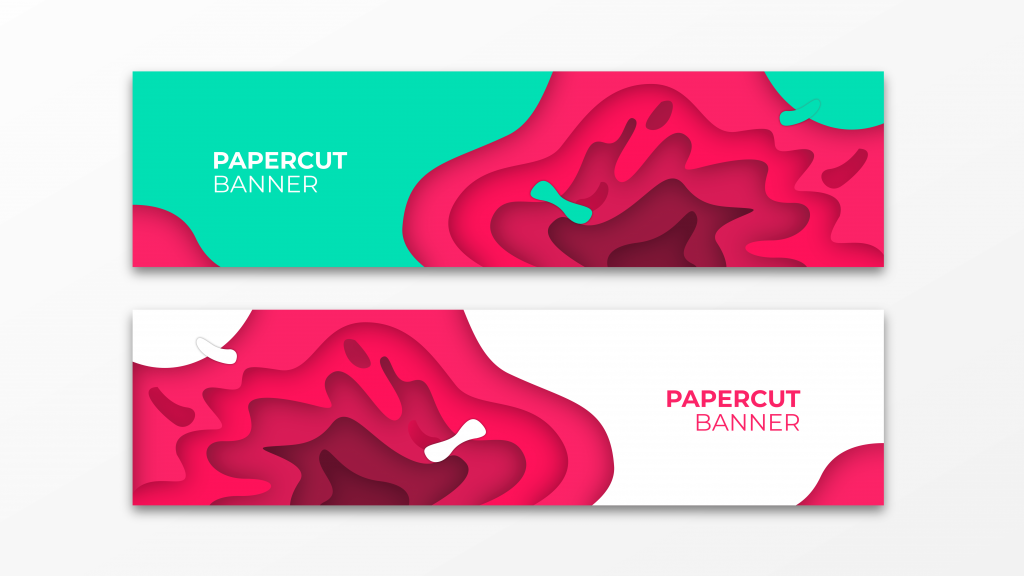
In this tutorial, we will create a paper cut out banner design in Inkscape with shapes and the drop shadows as the key for creating paper cut out object look likes.
What you will learn
- How to use bezier tool
- How to use dropper tool
- How to create a drop shadow effect
- How to create a background with Rectangle Tool
- How to create a Clipping Mask
Tutorial Steps
Step 1
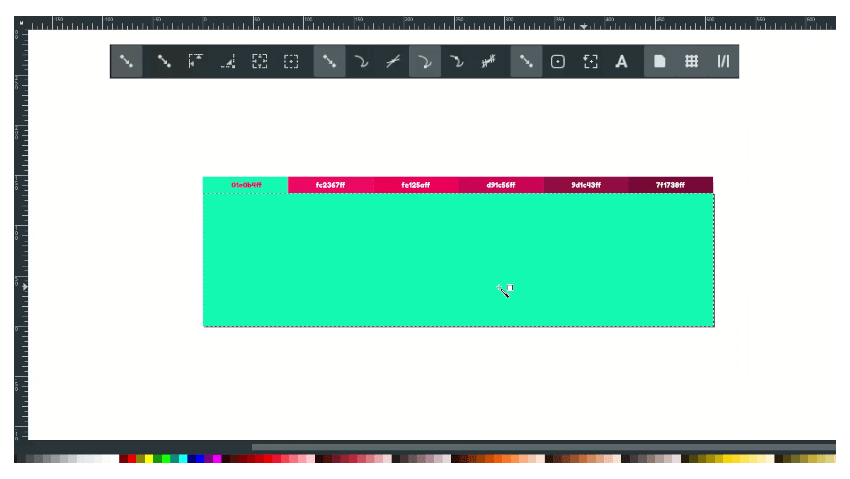
Create a new background with Rectangle Tool (R) and change the color to green color with Dropper Tool (D) (#01eb04ff).
Step 2
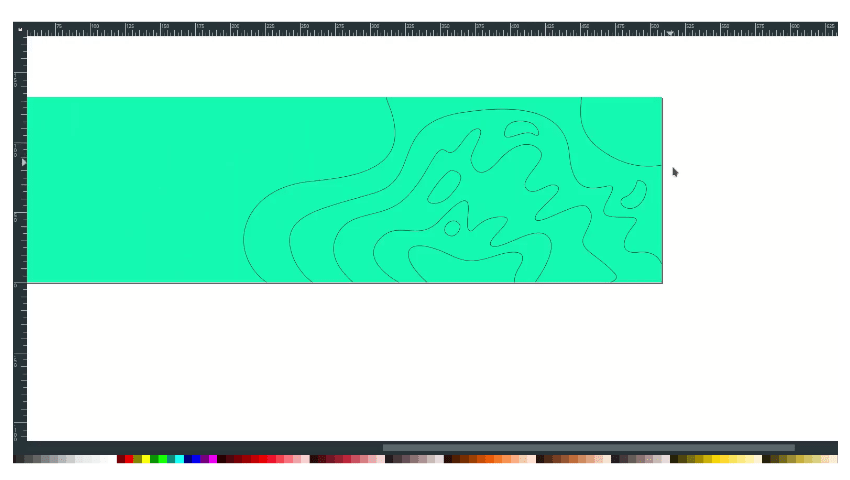
Draw a liquid shape with Bezier Tool (B).
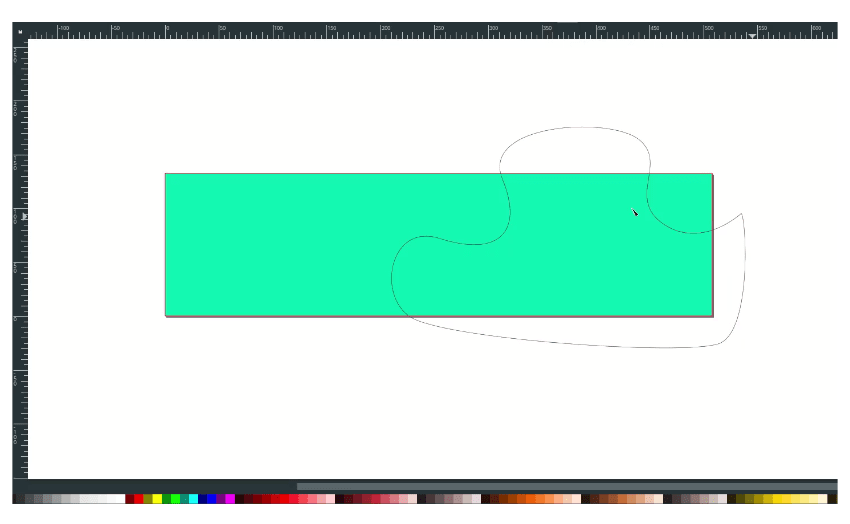
Then duplicate the background, press Ctrl+D, and hold Shift to select the object. Also, create a clipping mask by right click > Set Clip.
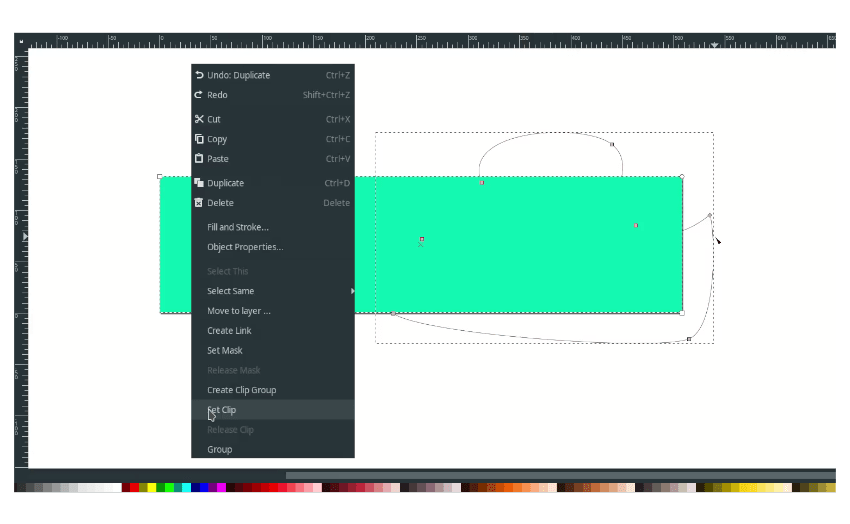
Create more shape then make a clipping mask like this:
Step 3
Add color to shape with Dropper Tool (D).
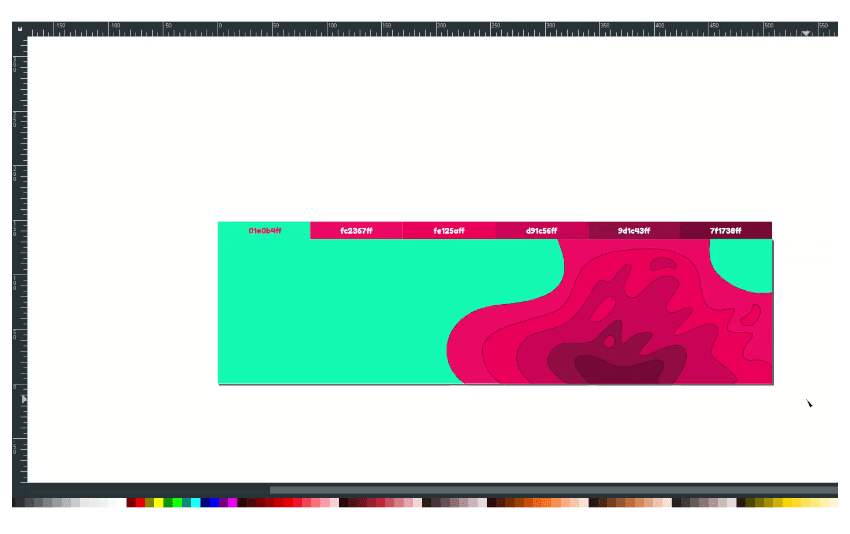
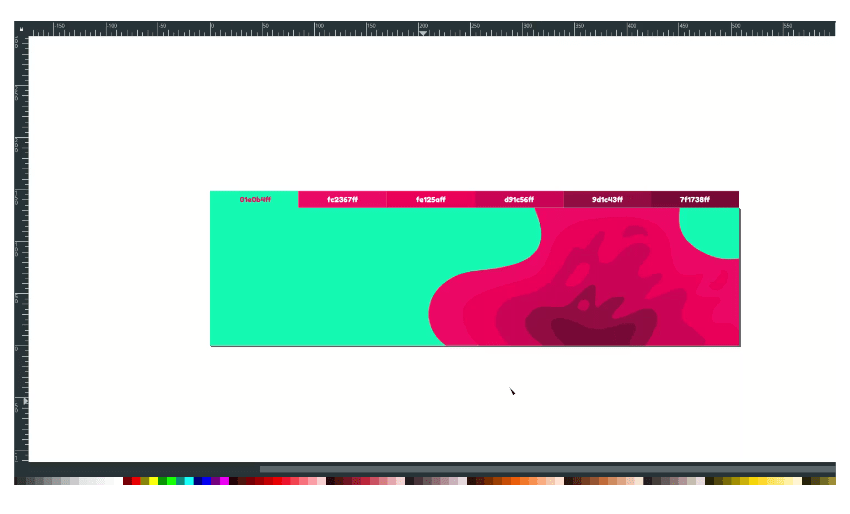
Remove the Stroke by selecting all shape then in the stroke option, on the left corner screen, right-click > Remove Stroke.
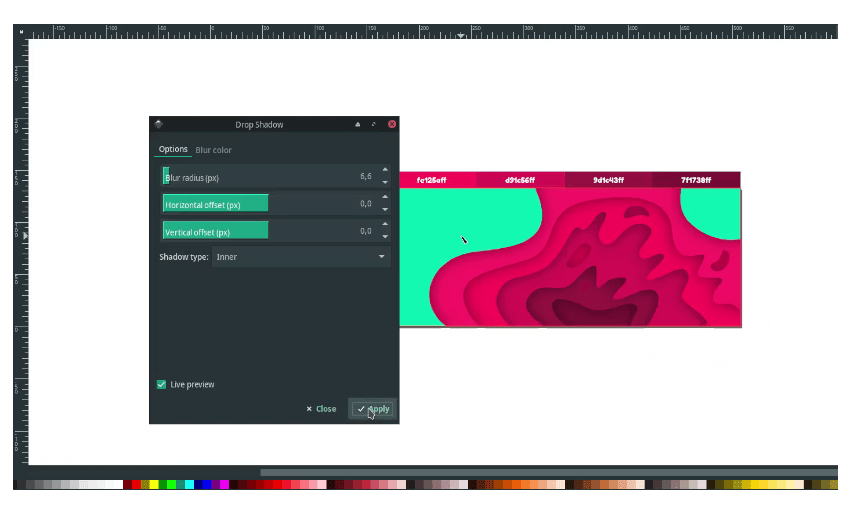
Add a drop shadow effect by selecting all the shapes, then go into Filters > Shadows and Glows > Drop Shadow. Change the Shadow type to Inner.
Step 4
Add more shape with Bezier Tool (B).
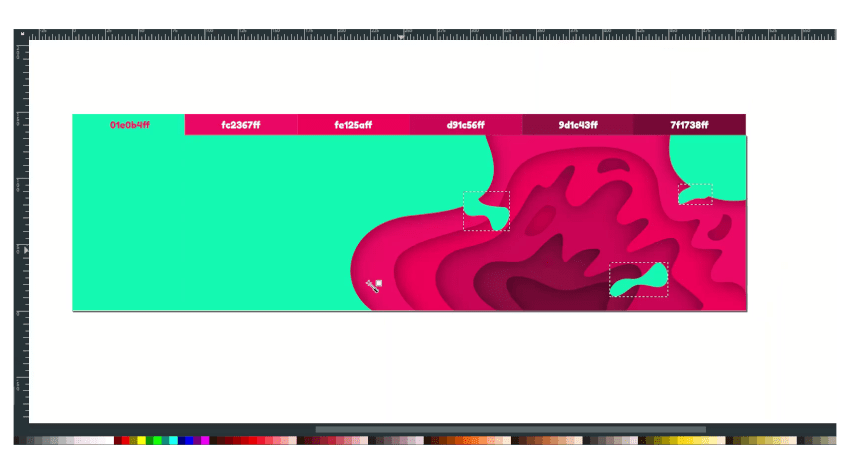
And create a drop shadow to the shapes with Outer Shadow type.
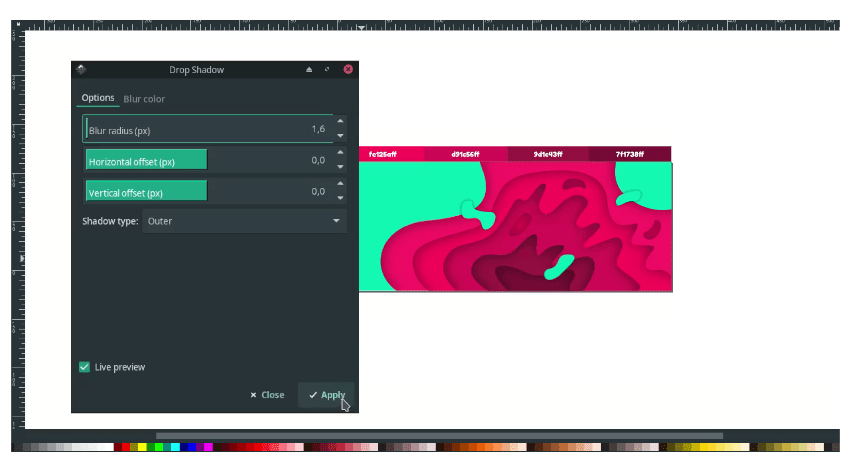
Finished
Easy, right? The key of this tutorial is the drop shadow to make the papercut effects look. Thanks for reading!
