Hello everyone, in this tutorial, we will create a twisted sunburst Vector in Inkscape with the easy method only with the Ellipse tool and moving the pivot point.
What you will learn
- Scaling Object
- Moving the Rotate Point
- Rotating Clockwise with Transform Tool
- Aligning Object
- Make Outlining Text
Tutorial Steps
Step 1
Draw a circle with Ellipse Tool (E); hold Ctrl+Shift to create proportional scale. Click and drag down to the selected rectangle to create a sliced pie chart.

It should be like this:
Then convert it to path in Path > Object to Path.
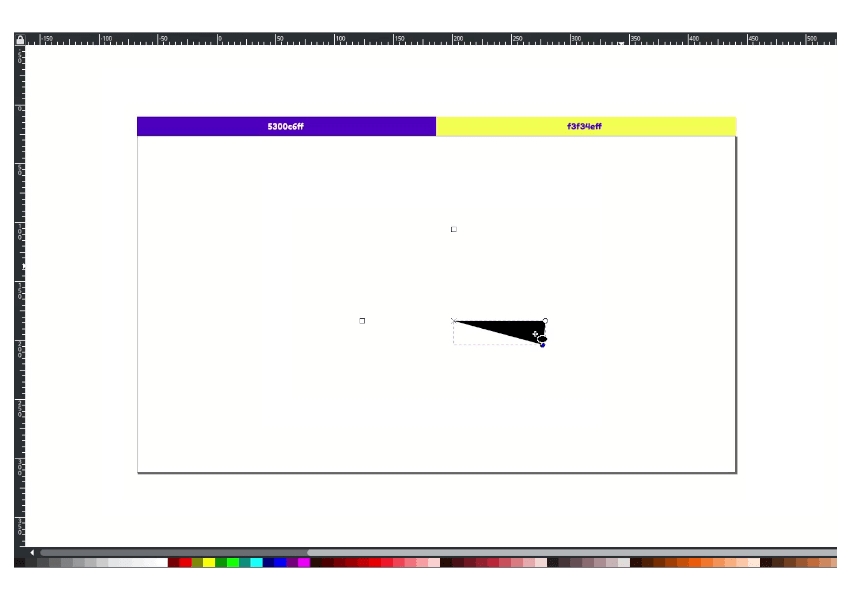
Press F1, Then scale it up a little with Ctrl+Shift.

Step 2
Click Twice until the rotate arrow appears, then move the pivot point to the left top.
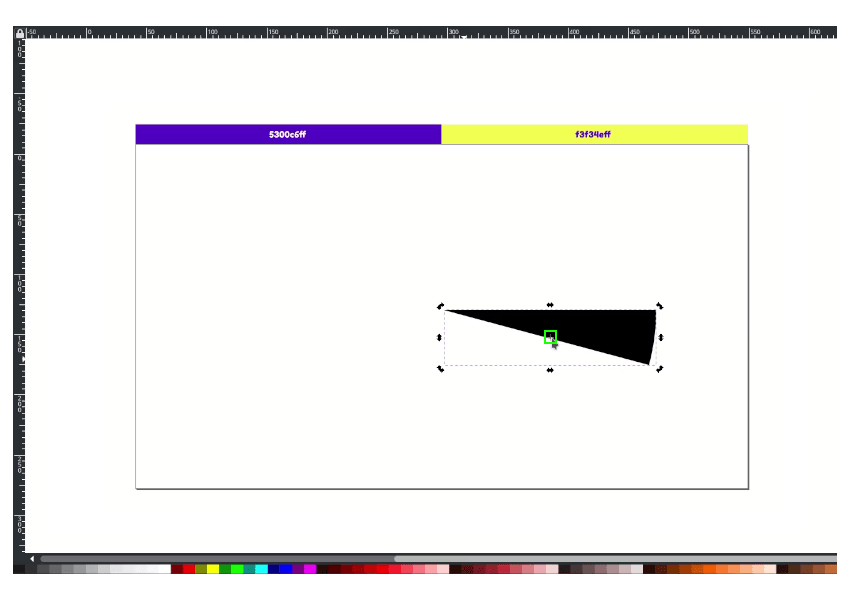
Result:
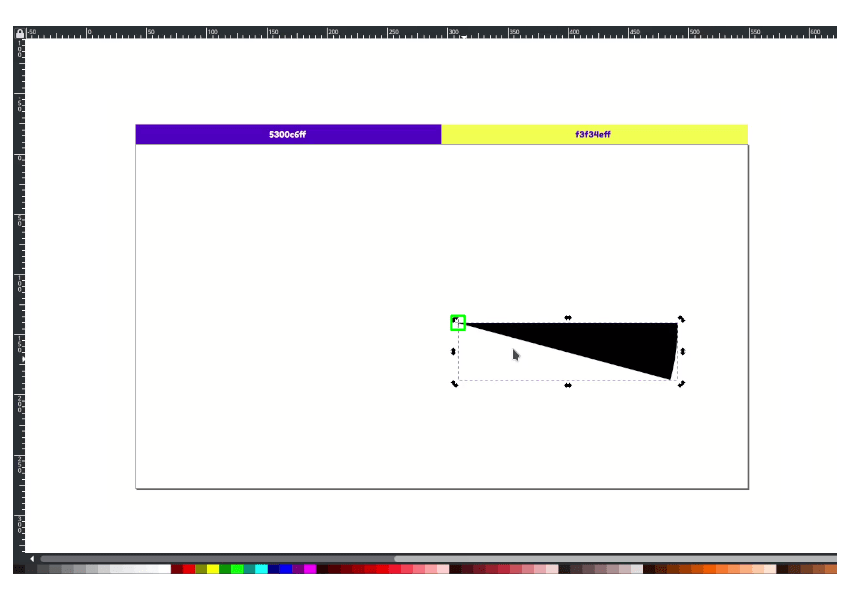
Step 3
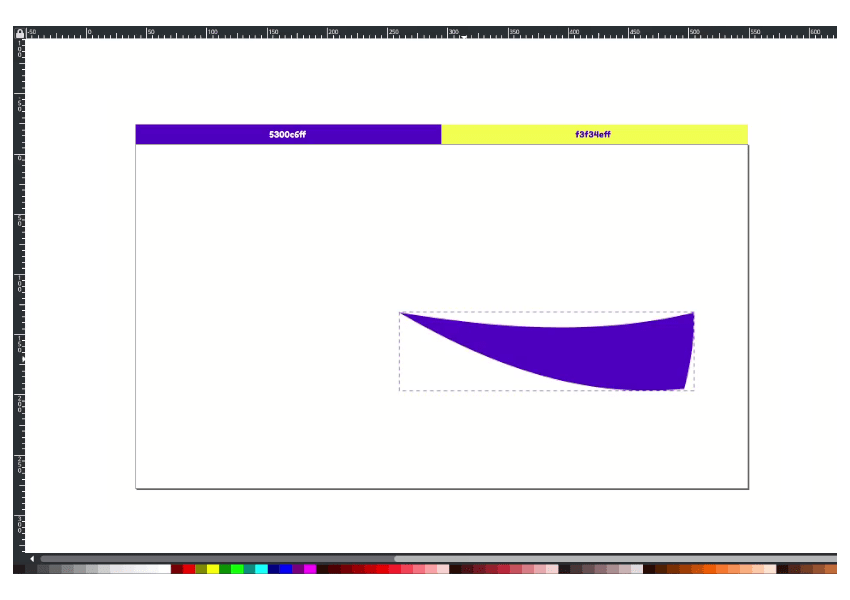
Press F2 and drag down the line shape, make it slightly bend down.
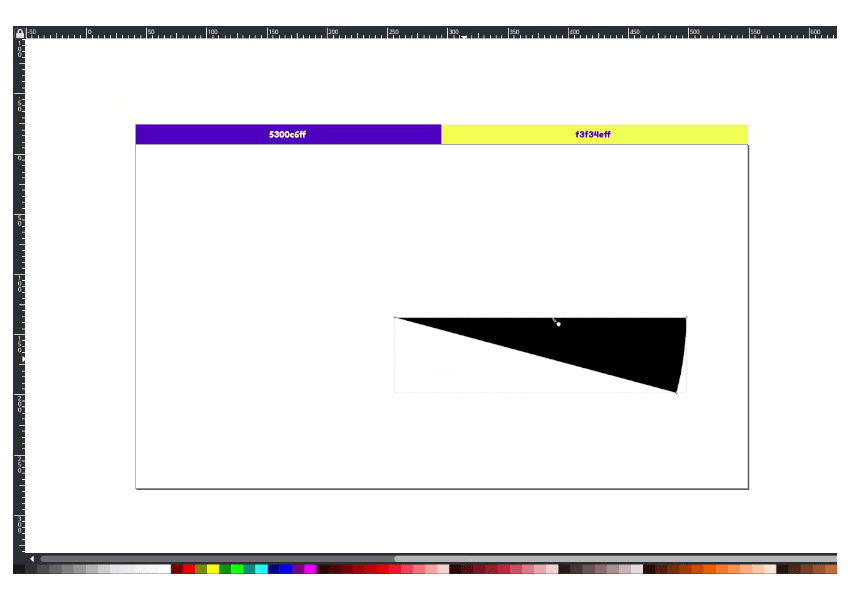
Press D to active the dropper tool and change the color to Purple (#5300c6ff).
Step 4
Now we are going to duplicate and rotate with Transform Menu in Object > Transform. In Rotate Tab, change the angle to 30, press Ctrl+D to duplicate, and click apply. Repeat the step until the sunburst is full.
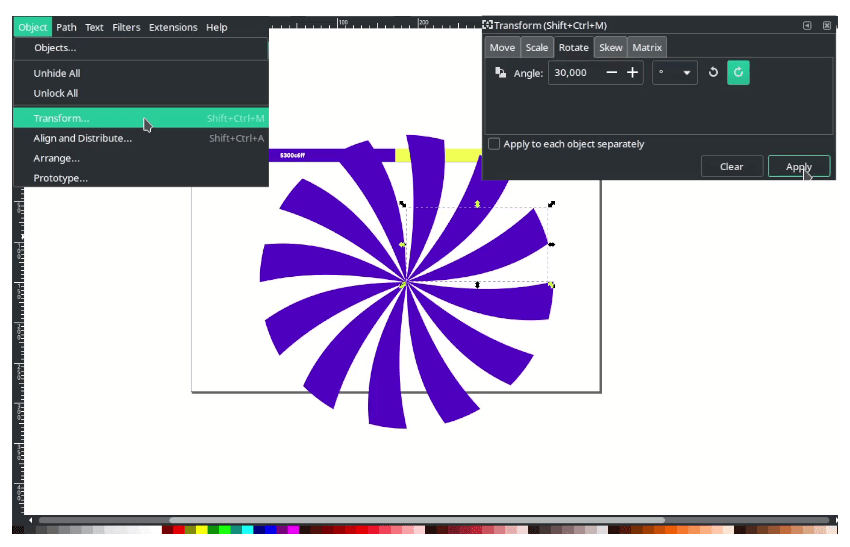
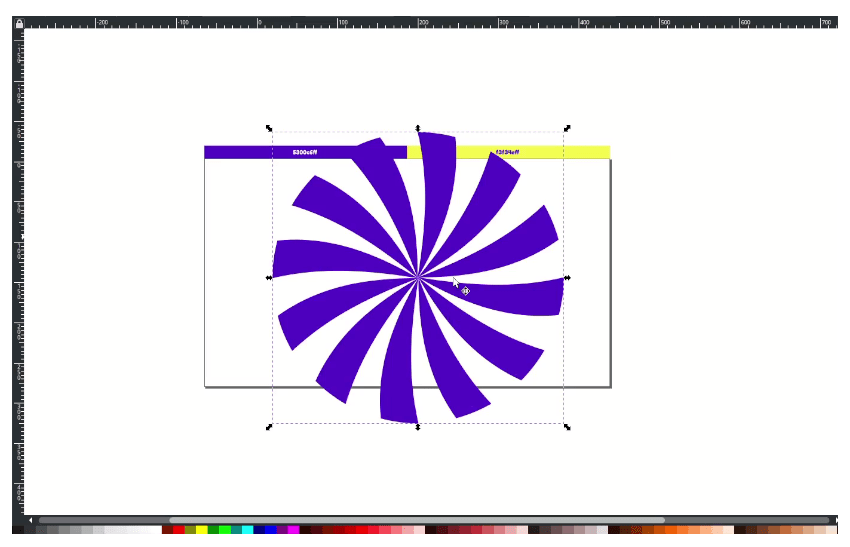
Group the sunburst shapes with Ctrl+G.
Step 5
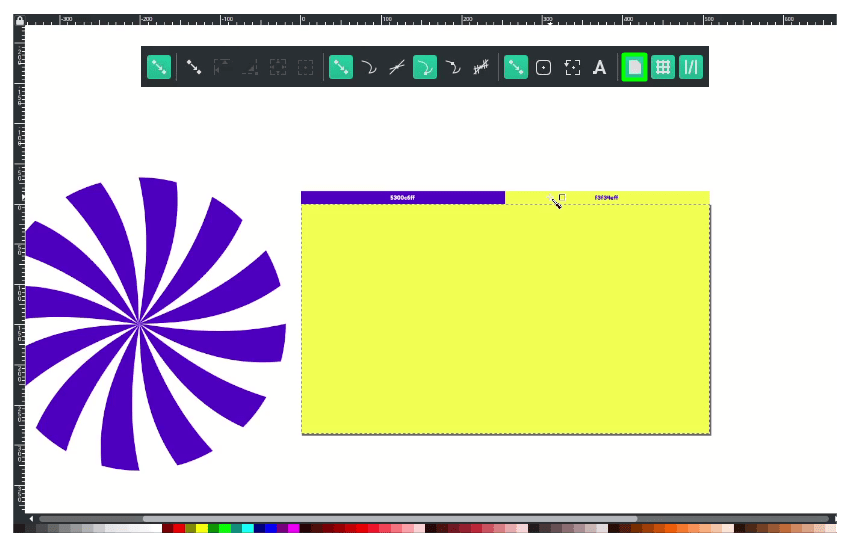
Move the sunburst shape to the left. And this time, we are going to create a background with the Rectangle tool (R); make sure you activate the Snap to the page border to make it auto fit to the canvas when you drag in. Change the rectangle color to Icterine (#f3f34eff).
Move the sunburst to the center with Align and Distribute (Shift+Ctrl+A); click the sunburst shape first and next to the Rectangle. Change the Relative to Last Selected (Because we want to set in the center of the Rectangle). Click Center on Vertical Axis and Center on Horizontal Axis.
Create a clipping mask by duplicating the Rectangle, press Ctrl+D, select the two objects, then right-click > Set Clip.
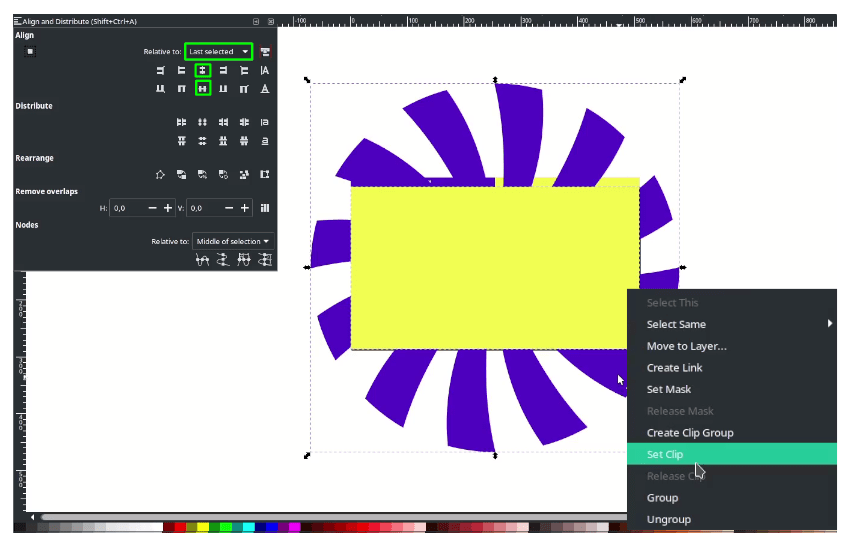
Result:
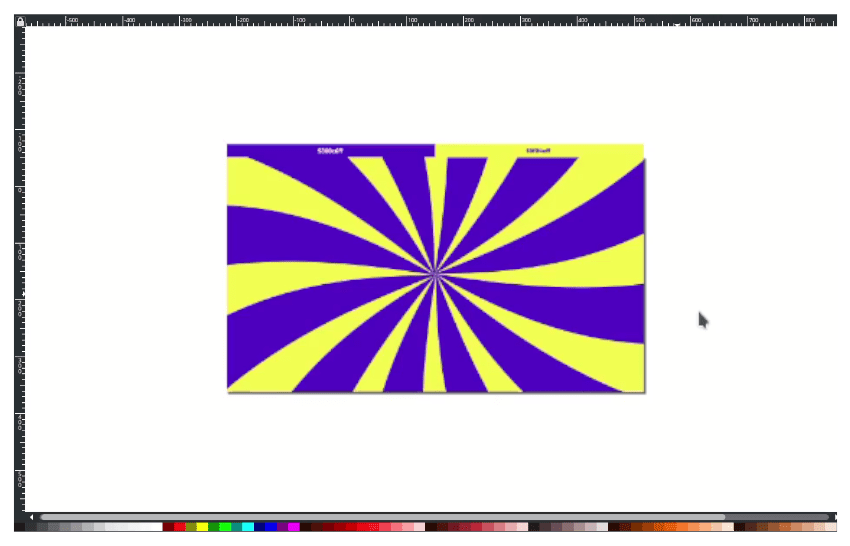
Step 6
Create a text with Text Tool (T) and change the text to Panton with Italic type then change the color to white.
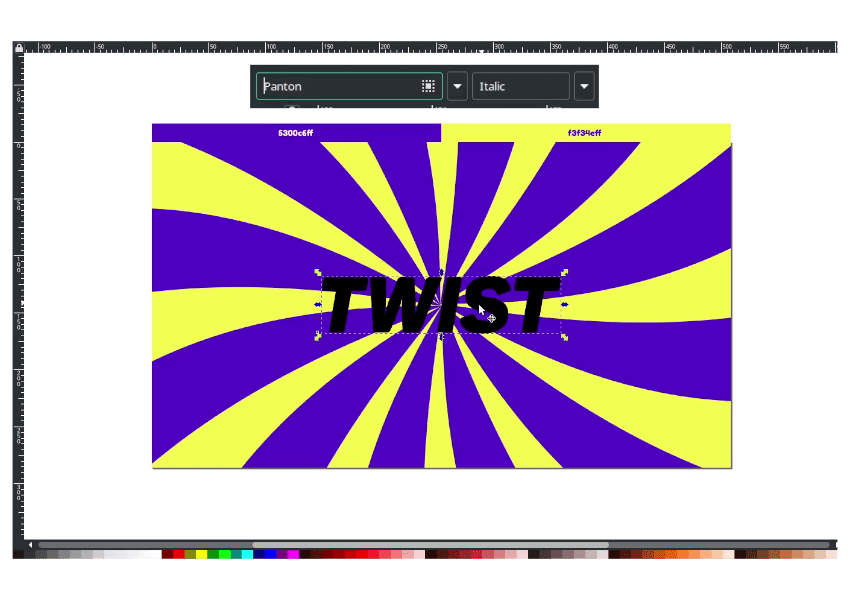
Duplicate the text with Ctrl+D and change the duplicated one to the stroke only with 80px width and send it to the lower back of the original text. The stroke color is Indigo (#400098).
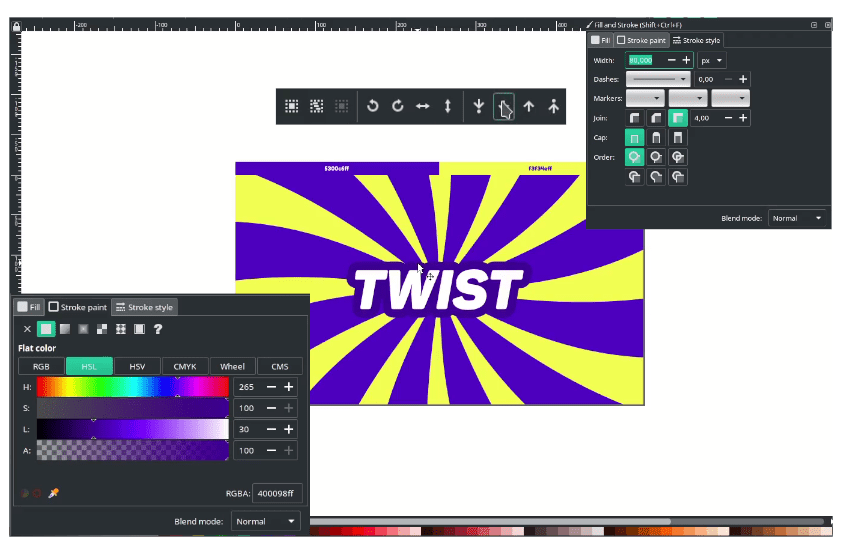
Step 7
Duplicate the stroked text with Ctrl+D and move to the South-East a little.
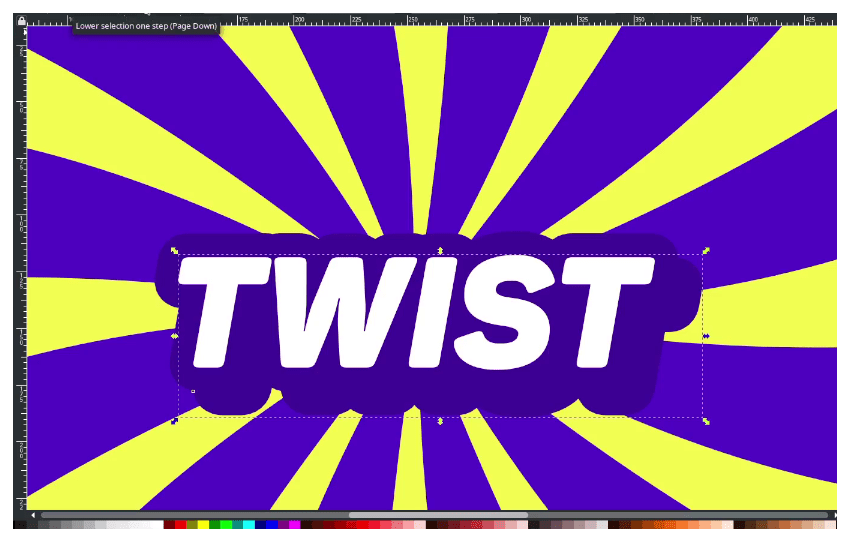
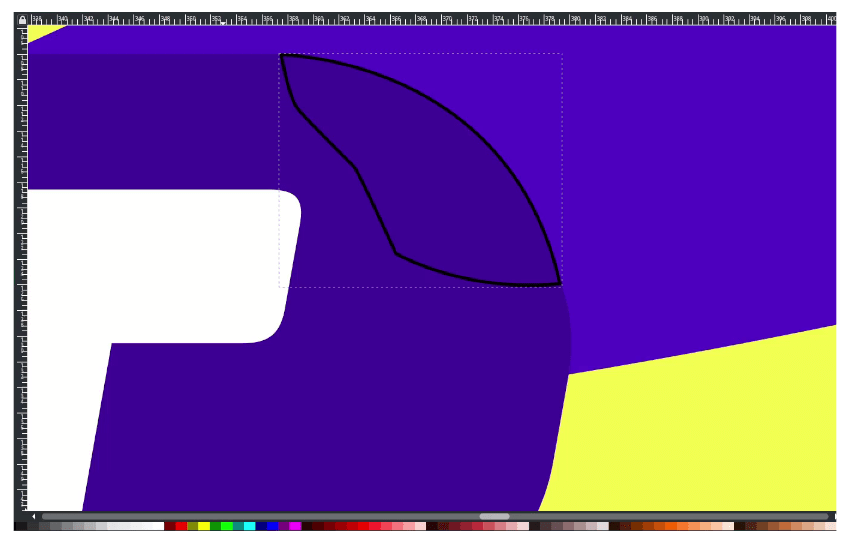
Create an extrude effect with Bezier Tool (B) and connect the stroke to duplicated stroke. See this tutorial for more information: How to Custom Type Design in Inkscape
Finally Done!
It’s easy, right? The fastest method to create a sunburst vector in Inkscape only with the Ellipse tool, Moving the pivot point and Duplicate rotating. Don’t stop learning and Thank you for reading!
