There are many ways to design a logo, one of them is using sketch manually then trace it with design software, or you can do it by tracing reference images like in this video step-by-step explanation using Inkscape.
What you will learn
- Adding Layer and Lock Layer
- Using Bezier tool
- Locking corner with Bezier tool
- Smoothing Lines
- Duplicating Object
- Intersecting Path
- Using Gradient Tool
- Kerning Fonts
Step 1
Import the image in File > Import. Then click (+) to create a new layer for the logo later.
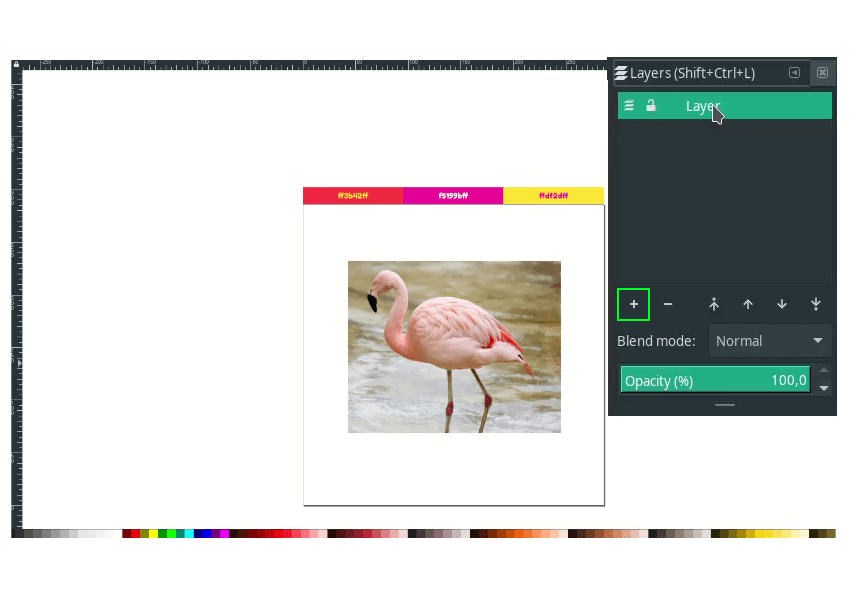
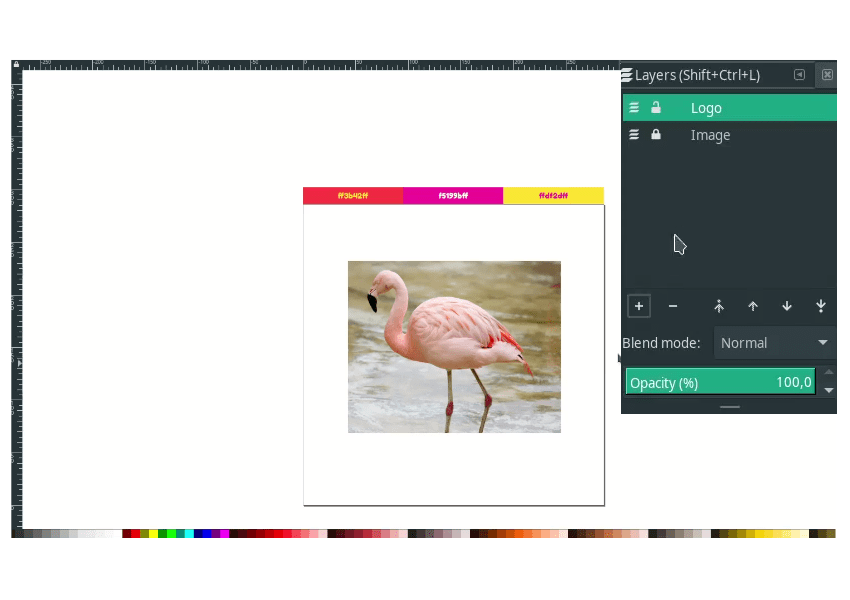
Rename it to “Image” for the image layer by double-clicking and lock the image layer. Now, we are working on the Logo Layer.
Step 2
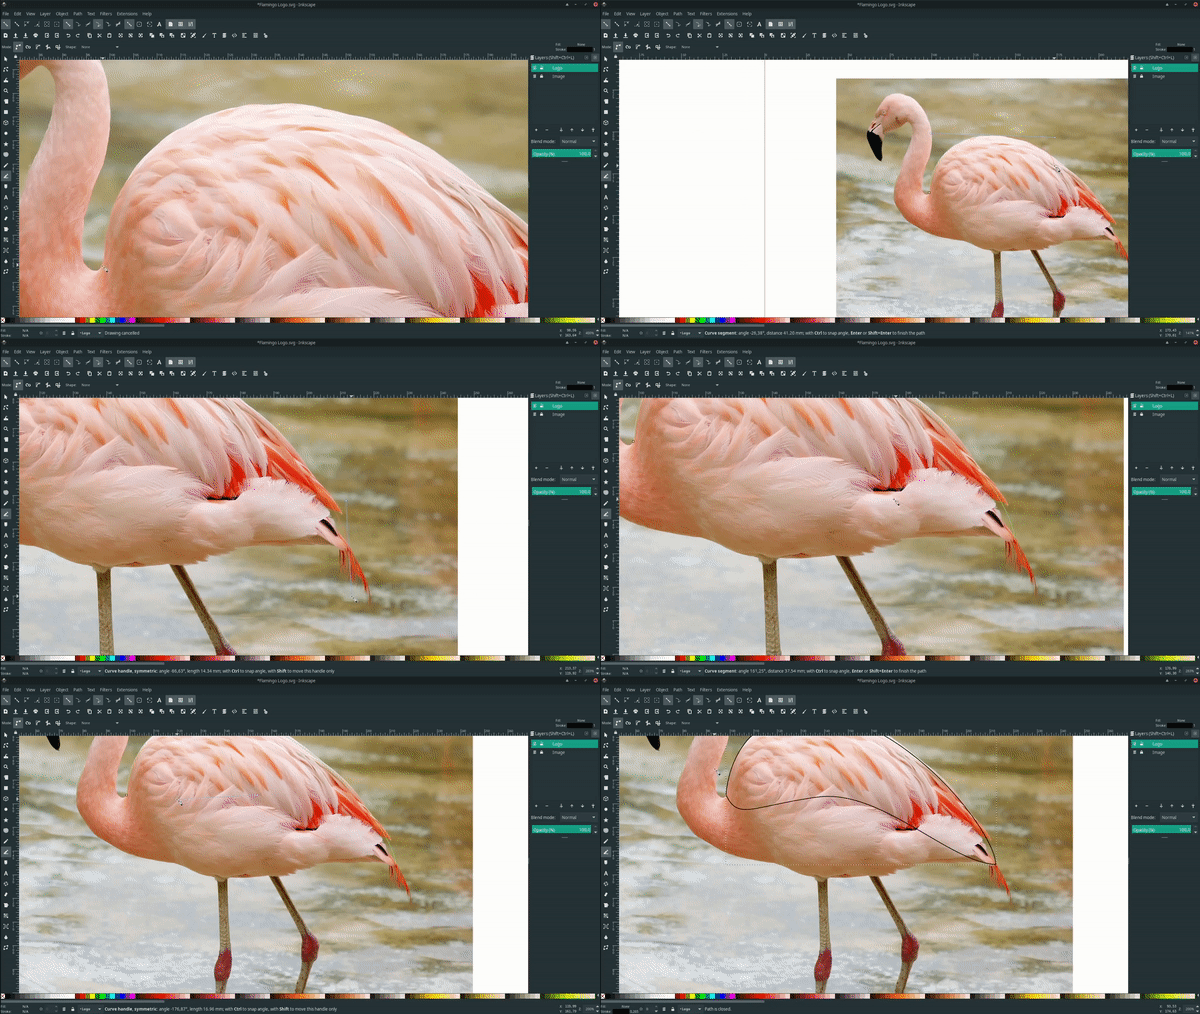
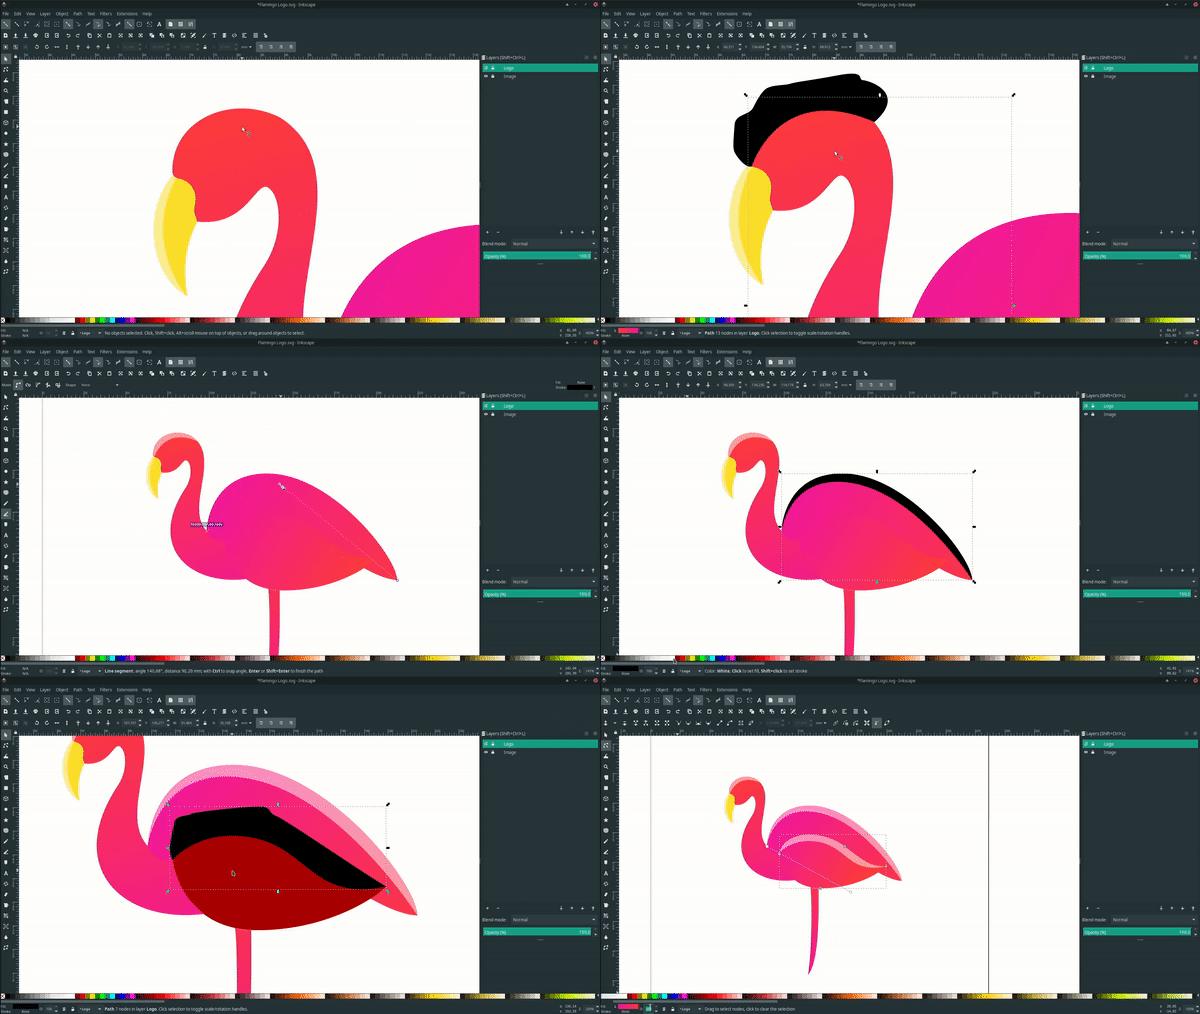
Create a shape with a bezier tool (B) for each part of the Flamingo.
Tips: hold shift to lock the corner, then release.
Result:

Step 3
Refine the path by clicking the path and pressing F2, and deleting some nodes. Remember, the fewer nodes, the smoother the result.
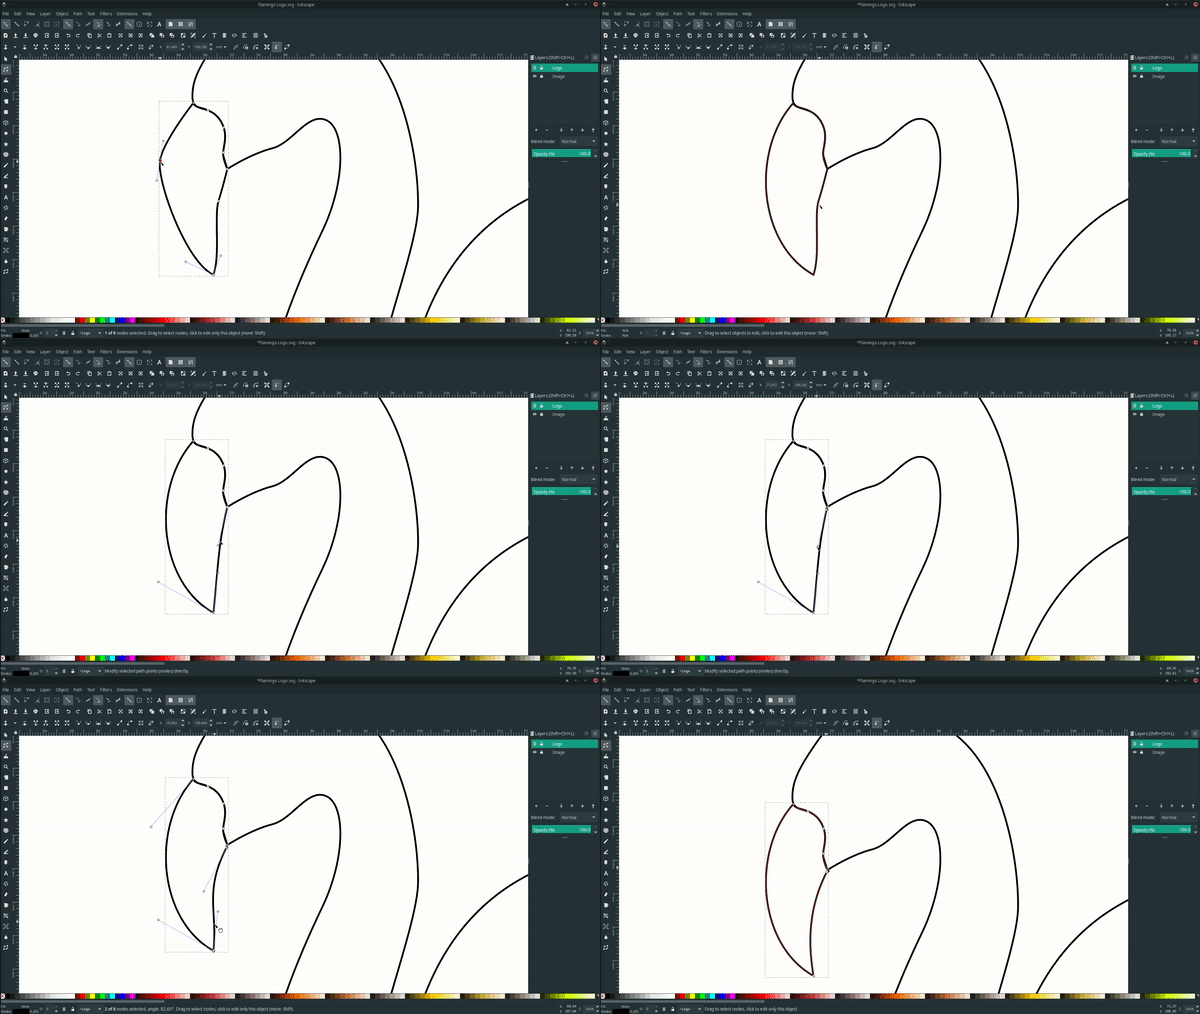
Continue to refine another paths.
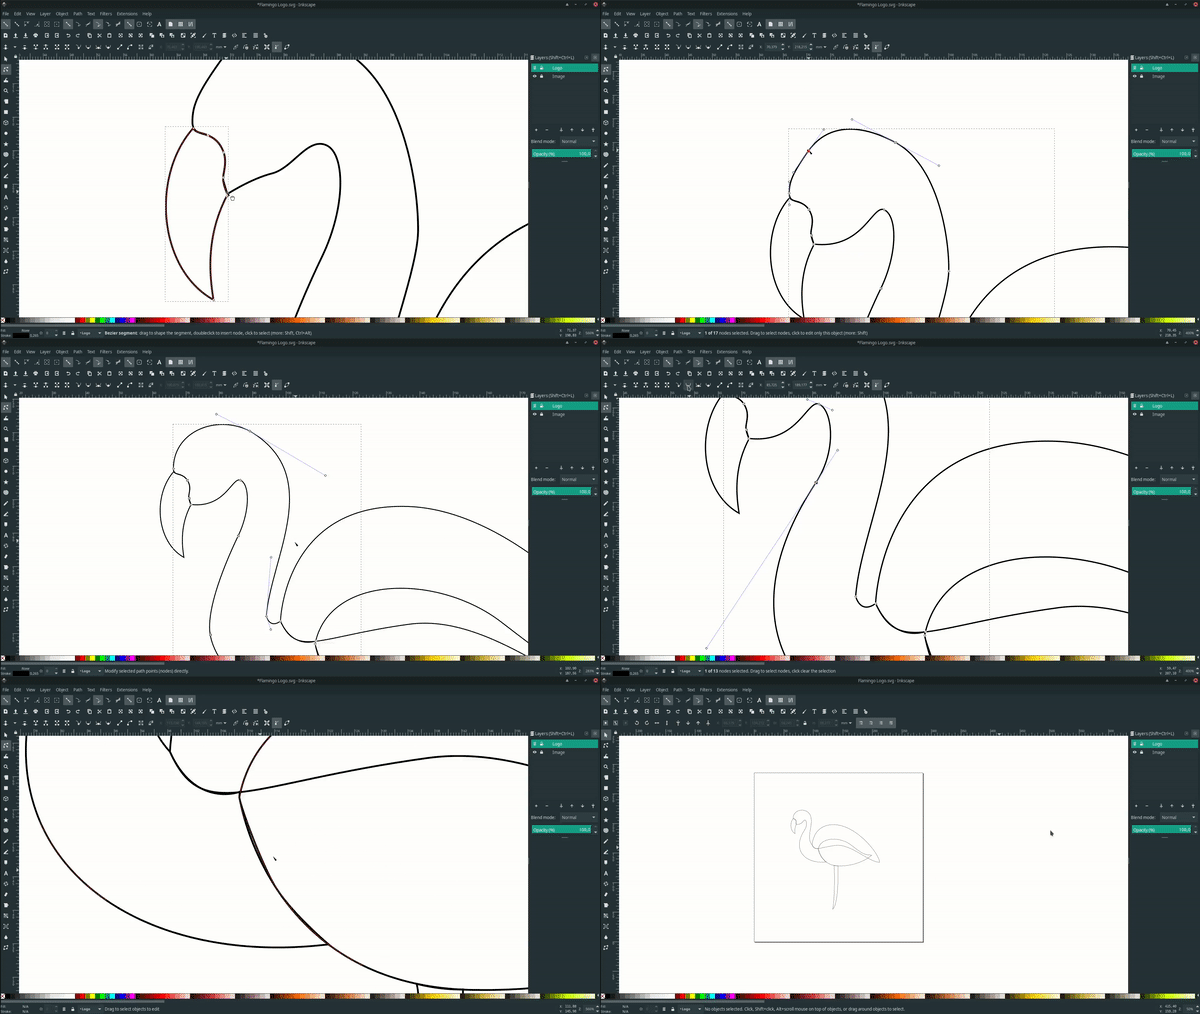
Result:
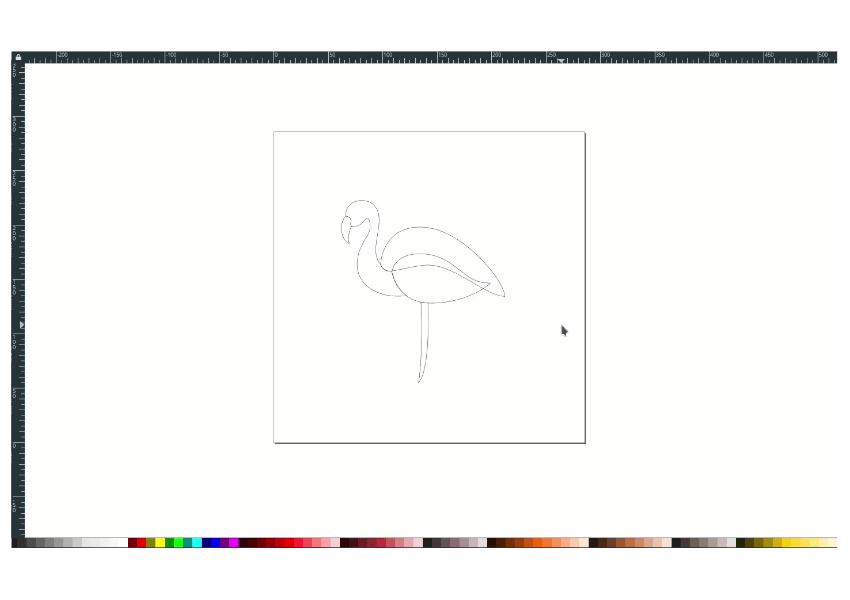
Step 4
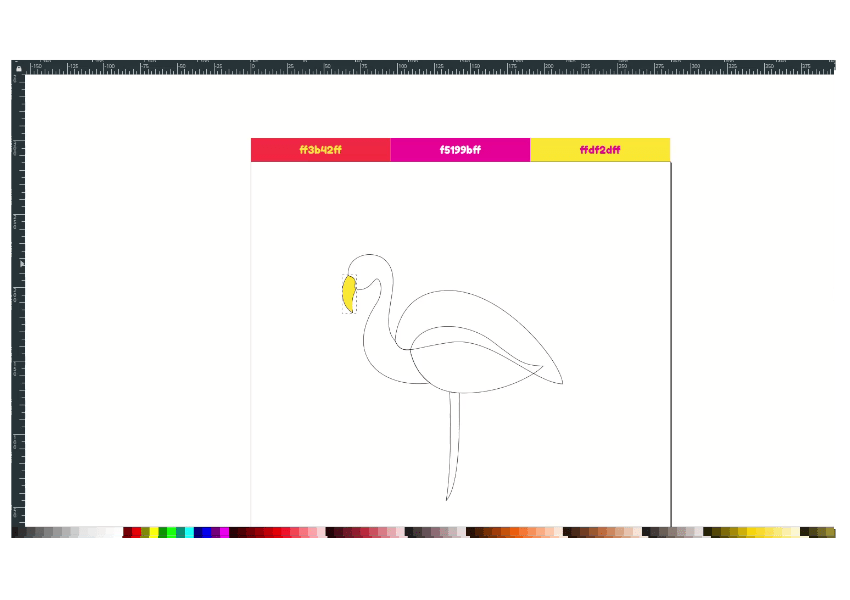
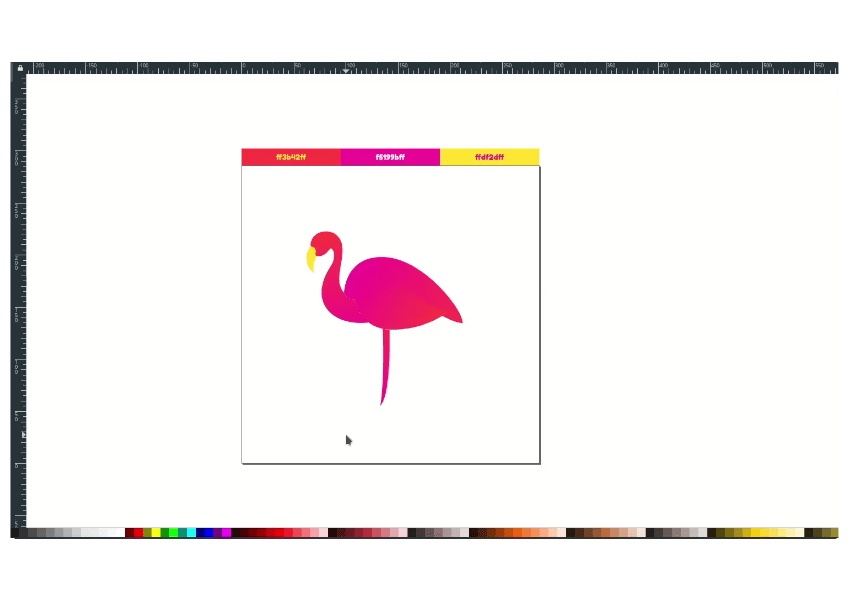
Give a color to the path with Golden Yellow (#ffdf2dff) in Edit Objects (Ctrl+Shift+A) on the Fill and stroke tab > Fill > choose Flat Color > in RGBA Section.
And you can do the gradient by clicking the path first, pressing G to activate the Gradient Tool, and drag diagonally. change the color to Red Salsa (#ff3b42ff) and Fashion Fuchsia (#f5199bff).
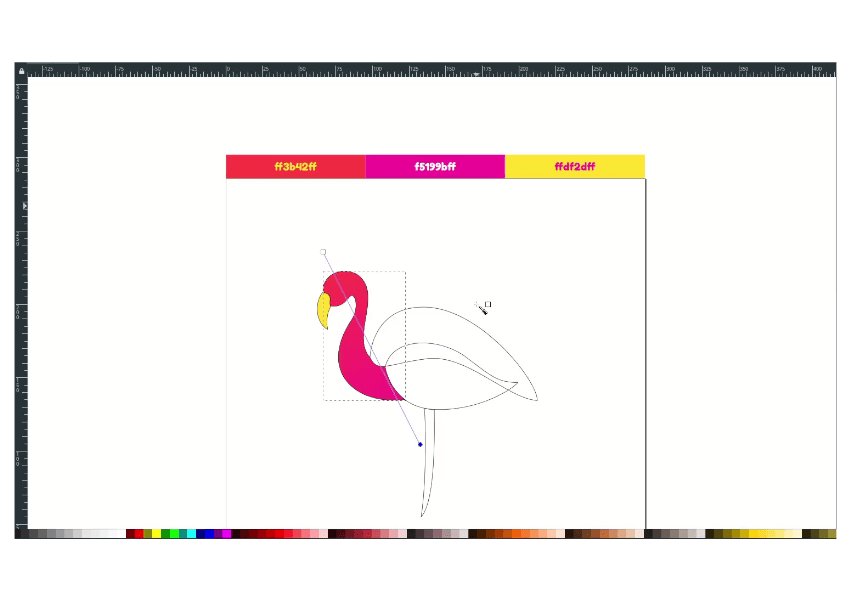
Create a gradient for another paths.

Remove the stroke by selecting all paths, in the bottom left corner on stroke, right click > remove stroke.
Result:
Step 5
Now, for the shading. create a shape with bezier tool (B) and change the color to black.
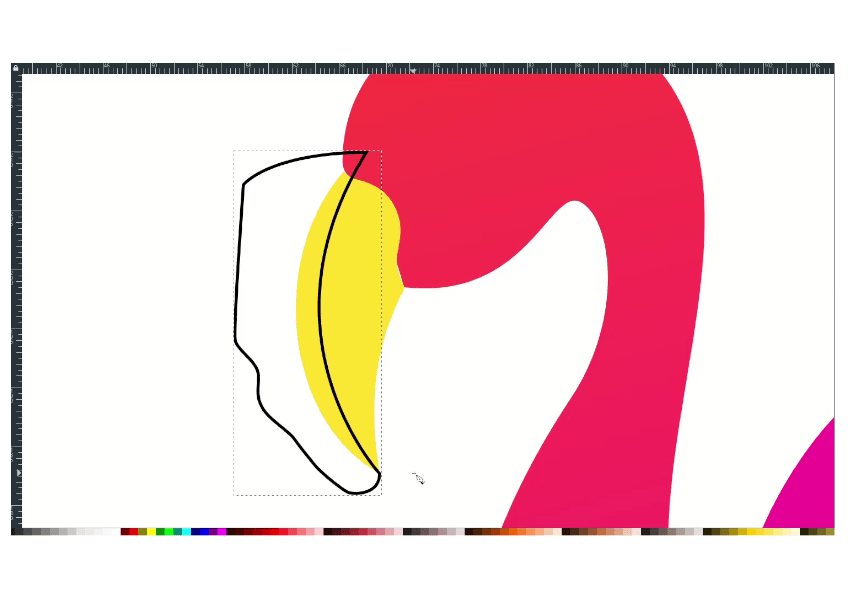
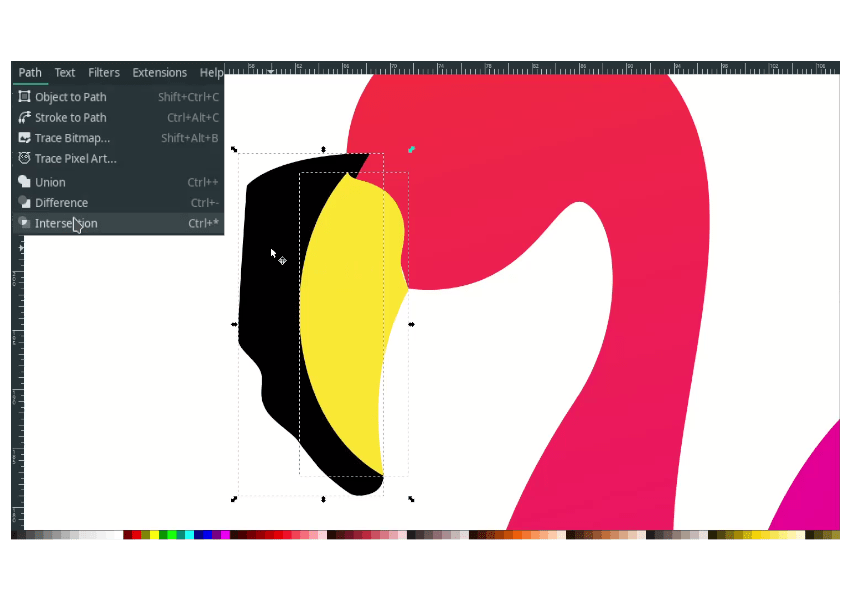
Duplicate the beak with ctrl+d, then select the duplicated beak and the paths with shift-click. Go to Path > Intersection.
Change the color to white and reduce the opacity to 50%.
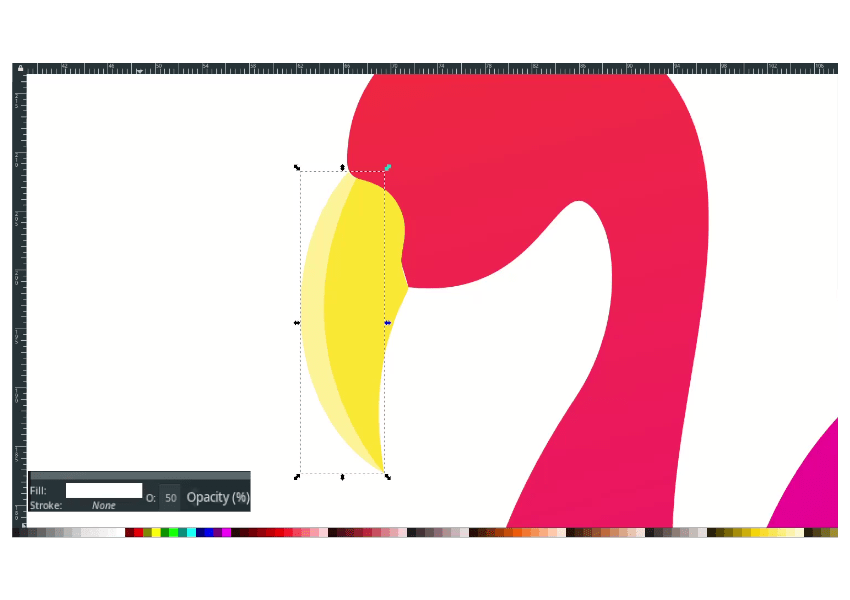
Continue to another paths.
Done
You can create logos from an image by tracing with bezier tools. Thank you for reading, and have a great day.


